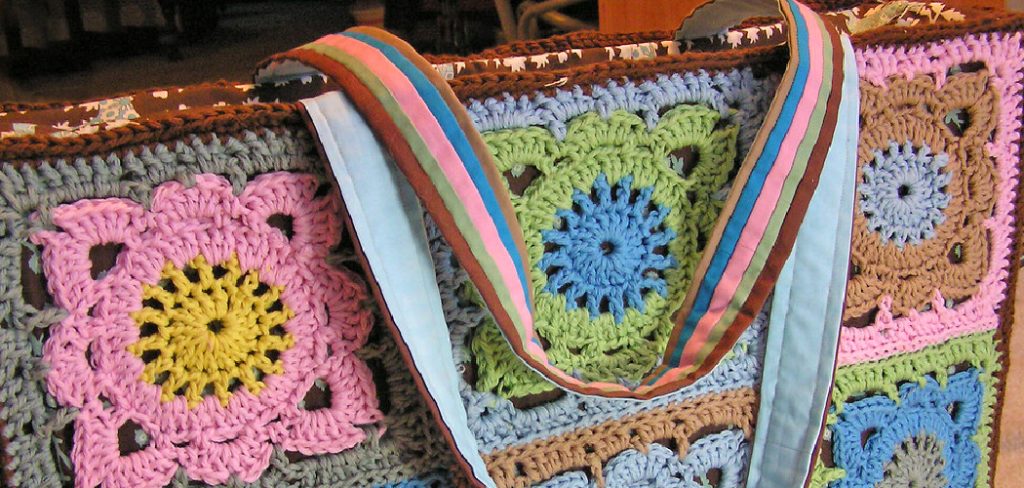
When it comes to crocheted bags, adding a lining can take the project from good to great. It provides extra structure and support for the bag, as well as a tidier and more professional-looking aesthetic than without a lining. There are also practical purposes for adding a lining: it’s easier to clean and helps protect the crochet stitches. Adding a lining to a crochet bag is not difficult and can be done in just a few steps.

Sewing a lining into a crochet bag can help to add structure, shape, and stability to the bag. Not only that, but it can also provide an extra layer of protection against dust and dirt. Furthermore, sewing in a lining allows you to use different colors or patterns for the fabric than what was used in the crochet stitch pattern, so you can customize the bag to fit your own individual style.
It also allows you to play around with different textures and materials when sewing in a lining. In this blog post, You will learn in detail how to sew a lining into a crochet bag.
Materials You Will Need
- A crochet bag
- One or two yards of fabric for the lining
- Matching thread
- Scissors
- Pins
- Measuring tape
- Seam ripper
- Iron and ironing board (optional)
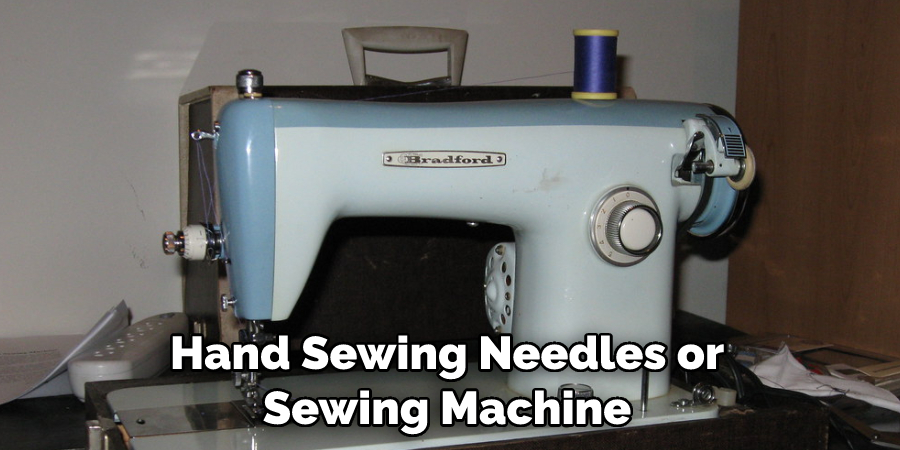
- Hand sewing needles or sewing machine with zig-zag stitch foot attachment
- Seam Allowance Guide

Step-by-Step Processes for How to Sew a Lining Into a Crochet Bag
Step 1: Inspect Your Crochet Bag
Before you start, inspect the crochet bag. Make sure all of your stitches are even and sturdy. This will ensure that your lining is properly secured in place when it is sewn in. Measure and cut a piece of lining fabric to fit the interior of your crochet bag. It should be slightly smaller than the bag to allow for proper fitting and stitching.
Step 2: Attach the Lining to the Crochet Bag
Pin or baste one edge of your lining fabric to the raw edges of your crochet bag. This will help keep it in place while you sew. Start sewing from the bottom side, using a straight stitch and coordinating thread. Carefully sew around all sides, making sure to keep the stitches uniform and even.
Step 3: Secure the Lining in Place
When you reach the corners of your crochet bag, secure them in place by backstitching several times. This will ensure that the lining won’t slip out when it is filled with items. Leave a small opening at one corner so that you can turn the lining right side out when finished.
Step 4: Turn and Finish the Lining
Turn your lining right side out through the opening that you left in step 3. Smooth out the fabric and press it with an iron to remove any wrinkles or creases. Finally, hand stitches the opening closed, and you will have a fully lined crochet bag.
You can easily sew a lining into your crochet bag with these four steps. By taking the time to make sure your stitching is even and secure, your finished project will look professional and polished.

Safety Tips for How to Sew a Lining Into a Crochet Bag
- Make sure to read through the entire pattern before starting. Many patterns have specific instructions for inserting a lining, so ensure you understand them before proceeding.
- Use the same fabric and thread used in the project’s main body when sewing on the lining. This will keep everything looking uniform and will help the lining blend in with the rest of the bag.
- Choose a strong and durable fabric; lightweight fabric may pull apart over time.
- Select a thread that matches the color of your fabric for the best results. If you can’t find matching colors, choose a neutral shade like white or black.
- Cut the lining fabric slightly larger than the measurements specified in the pattern to ensure a snug fit.
- Pin the lining to the bag and double-check that everything lines up before beginning to sew. This will save time and frustration later on!
- Use hand stitching or a sewing machine, depending on what is recommended in the pattern. If using a sewing machine, increase your stitch length and use a zigzag stitch along the edges to ensure everything holds together well.
- Lastly, always remember to check for loose threads and knots before wearing or using the finished bag.
Following these safety tips can help ensure that you have a successful experience when sewing a lining into your crochet bag.
How Can You Prevent the Lining From Bunching Up Inside the Crochet Bag?
One method to prevent the lining from bunching up inside your crochet bag is to use a stay stitch, which is a type of basic sewing stitch. To do this, pin the lining fabric along the top edge of the crochet bag and then sew a straight line between 1/4 and 1/2 inch from the edge. This will create a stay stitch that will keep the lining fabric in place during the sewing process.

Another option is to use fused interfacing, which is an additional layer of fabric that can be fused between the lining and crochet bag using an iron. This helps to stabilize the pockets and also prevents wrinkling as well. For best results, choose an interfacing that is the same weight as your lining fabric.
Finally, if you are using a cotton or jersey-knit lining fabric for your bag, it is a good idea to use fusible interfacing on the entire lining piece before stitching it into the crochet bag.
How Should You Care for a Lined Crocheted Bag to Ensure Its Longevity?
After you’ve sewn the lining into your crocheted bag, there are certain steps you should take to ensure its longevity and keep it looking new. First, try to avoid exposing your lined crochet bag to any direct sunlight or heat sources, as they can cause damage to the fabric of both the exterior and interior of your bag. If the lining is made of a delicate fabric, keep the bag away from sharp objects that could snag or tear it.
When laundering your lined crochet bag, turn it inside out and spot-clean it with cold water and mild detergent. Avoid washing the bag in a machine or submerging it in water, as this can cause the lining to shrink. To restore its shape after washing, lay it flat and reshape it with your hands. Finally, take care when storing your lined crochet bag by folding it carefully and placing it in a dustproof bag or container.
Not only will this protect the fabric from getting dirty or damaged, but it will also help keep it in good shape for as long as possible.

How Do You Prevent Fraying on the Edges of the Lining Fabric?
Fraying is common when sewing with fabrics, but it can be easily prevented. To prevent fraying on the edges of the lining fabric, you will need to use an overcasting stitch. This type of stitch is used in both hand and machine sewing and involves wrapping the thread around each edge of the fabric and stitching along its length. This method not only helps prevent fraying but also gives the fabric a neat, finished look.
If you are hand-sewing, use an overcast stitch with a long-running stitch, and if you are machine sewing, then set your machine to an overcasting stitch setting.
For further reinforcement and protection against fraying, consider using a fray stopper on the lining fabric’s edges. A fray stopper is a special glue that can be applied to the fabric before sewing and will help to keep it looking neat. Finally, always use sharp scissors when cutting the lining fabric and apply extra caution when handling it so that you don’t accidentally snag or tear it. These simple steps will help ensure your lining fabric stays in good condition.
Conclusion
One of the major disadvantages when it comes to sewing a lining into a crochet bag is that it can add extra bulk and make the overall look of your project less professional. If you are not careful, the stitches may be visible on both sides of the bag and create an uneven texture. It can also be difficult to fit a curved or complex-shaped lining into the bag, as you have to match up the edges of the fabric with the shape of the crochet.
In conclusion, sewing a lining into a crochet bag is not as difficult as it may seem. With the right materials and tools, you can easily transform your crochet bag from being unlined to having an attractive, professional-looking lining. Plus, adding a lining makes your bag more durable and gives it extra structure so that its contents stay securely in place.
I hope this article has been beneficial for learning how to sew a lining into a crochet bag. Make Sure the precautionary measures are followed chronologically.


