
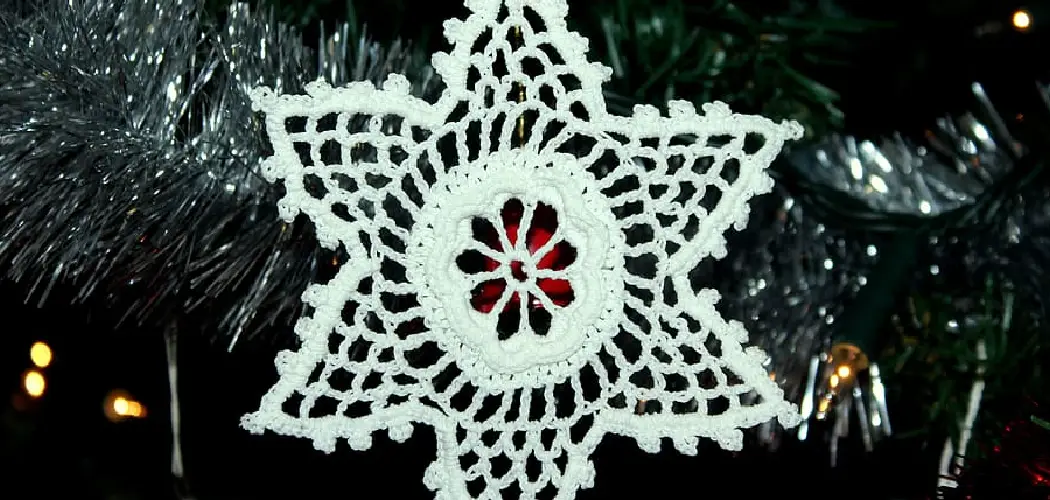
If you’re looking for a project that combines artistry and skillful manipulation of yarn, then crocheting a large star is the perfect challenge. Not only is it incredibly satisfying to watch as your star gradually takes shape, but there’s great potential to get creative with color schemes and pattern making.
Whether you’re completely new to crocheting or are simply interested in learning how to crochet a large stellar piece, this blog post will offer an easy-to-follow guide on how to crochet a large star and all the necessary steps. Read on for some helpful tips!
Is Crocheting a Large Star Worth It?
Crocheting a large star can be a labor-intensive project. Depending on the design you choose, it could take many hours to complete. But the end result is worth it! A large crochet star makes an impressive statement and can be used as wall décor or draped over furniture for a cozy, inviting look. It’s also perfect for special occasions such as birthdays and holidays, making it an ideal gift for family and friends.
The great thing about crocheting a large star is that you don’t need any special tools or materials; all you need are your own two hands and some basic crochet supplies like yarn and a crochet hook. You’ll also want to make sure you have enough time to devote to the project, as it could take anywhere from a few hours to several days.
The main thing to remember when crocheting a large star is that practice makes perfect! With some dedication and patience, you’ll be able to create a beautiful and unique crochet star. So if you’re up for the challenge, go ahead and give it a try—you won’t regret it!
No matter the occasion, crocheting a large star is sure to make an impressive statement and bring delight to those who receive it. So if you’re looking for a special gift or unique décor item, pick up your crochet hook and some yarn and get started on your own beautiful masterpiece! With just a little bit of effort, you can create something that will be cherished for years to come.
10 Methods How to Crochet a Large Star
1. Choose the Right Yarn
The first step in crocheting a large star is to choose the right yarn. You will want to use a worsted-weight yarn for this project. Worsted weight yarn is a medium-weight yarn that is available in a wide variety of colors. It is a good choice for many projects, as it is not too heavy or too light.
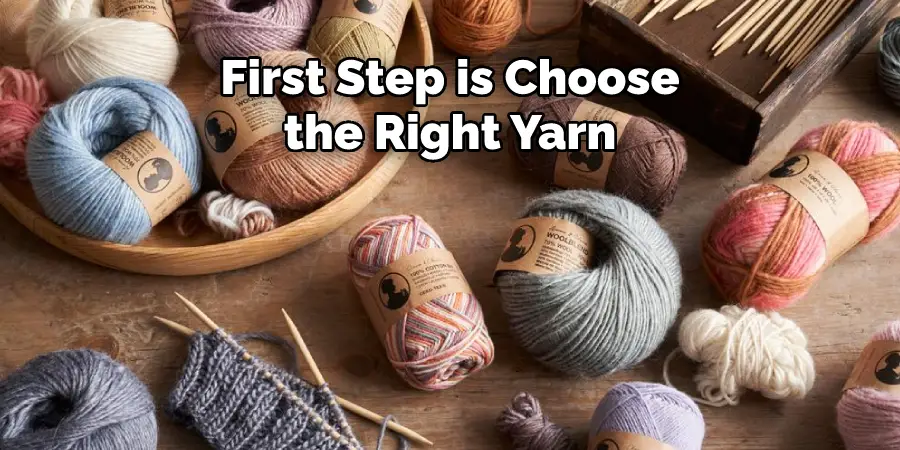
If you plan to make a large star, it is important to use a worsted-weight yarn for the best results. However, if you prefer a different type of yarn, you can also use that. Try to choose a yarn that is suitable for crochet projects. Make sure to check the label for hook size, yarn weight, and care instructions before you buy.
2. Choose the Right Hook
The second step is to choose the right hook. You will want to use an 8mm crochet hook for this project. This size hook should be able to handle the bulky yarn you will be using for this project. If you don’t have an 8mm crochet hook, you can always substitute it with a 9mm or 10 mm crochet hook and adjust your stitches accordingly.
If you are using a smaller crochet hook, the stitches may be too small, and the star will not get as large. To ensure your star is the correct size, you will want to use an 8mm crochet hook. Although selecting the right hook is just one of many steps in crocheting a large star, it is an important one.
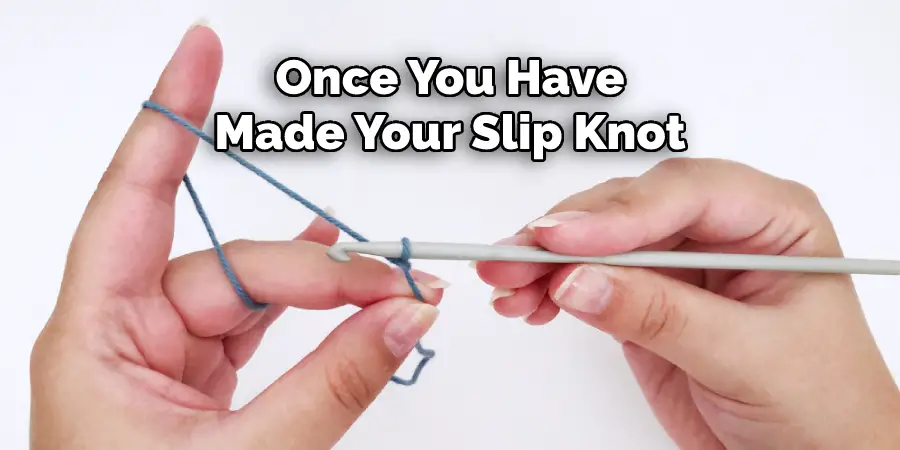
3. Make a Slip Knot
Once you have chosen the right yarn and hook, you will need to make a slip knot. To do this, start by making a loop with the yarn around your fingers. Then, insert the hook into the loop and pull the yarn through the loop. This will create a new loop on the hook, which is your slip knot.
If your slip knot is too tight, simply loosen it by tugging on the end of the yarn. To begin crocheting the large star, you’ll need to chain four stitches.
To do this, yarn over (yo) and pull the yarn through the loop on your hook to make one chain stitch (ch 1). Do this three more times for a total of four chains. Additionally, you will need to join the first and last chain stitches together with a slip stitch (sl st) to form a ring of four chains.
4. Make a Chain
Once you have made your slip knot, you will need to make a chain. To do this, simply wrap the yarn around the hook and pull it through the loop on the hook. Continue doing this until you have made a chain that is 18 inches long. If you need to add more chains, simply keep repeating this process until you have the desired length.
Although it may seem tedious, making a chain is an important step in the crochet process as it serves as the basis for the entire project. While you are crocheting, be sure to check that your stitches are loose enough to make your star.
5. Join the Chain into a Circle
Once you have made your chain, you will need to join it into a circle. To do this, insert your hook into the first chain stitch and then pull the yarn through both loops on the hook. This will create a slip stitch, which will join your chain into a circle. Once you have joined the chain into a circle, you will be ready to start crocheting your star.
If your chain isn’t joined properly, it will be difficult to crochet the points of your star. To ensure the chain is properly joined, make sure your slip stitch looks like a regular single crochet stitch. By doing so, your circle will be secure and ready to crochet. However, if you find that your chain is difficult to join, it’s okay to pull out the stitches and start again.
6. Make Single Crochet Stitches in the Circle
Now that you have joined your chain into a circle, you will need to make single crochet stitches in the circle. To do this, insert your hook into the center of the circle and then pull up a loop of yarn (you should now have two loops on your hook).
Next, yarn over and pull through both loops on your hook (this will create one single crochet stitch). Continue making single crochet stitches until you have made 12 stitches in total.
7. Join with a Slip Stitch and Fasten Off
Once you have made 12 single crochet stitches, you will need to join with a slip stitch and fasten off. To do this, insert your hook into the first single crochet stitch and then pull up a loop of yarn (you should now have two loops on your hook). Next, yarn over and pull through both loops on your hook (this will create one slip stitch).
Fasten off by cutting the yarn and pulling it through the loop on your hook. Your large star is now complete, and you can choose to embellish it with beads or sequins for a unique look. With a little bit of practice, you can create a variety of stars in all sizes to use as decorations for your home or to give away as gifts.
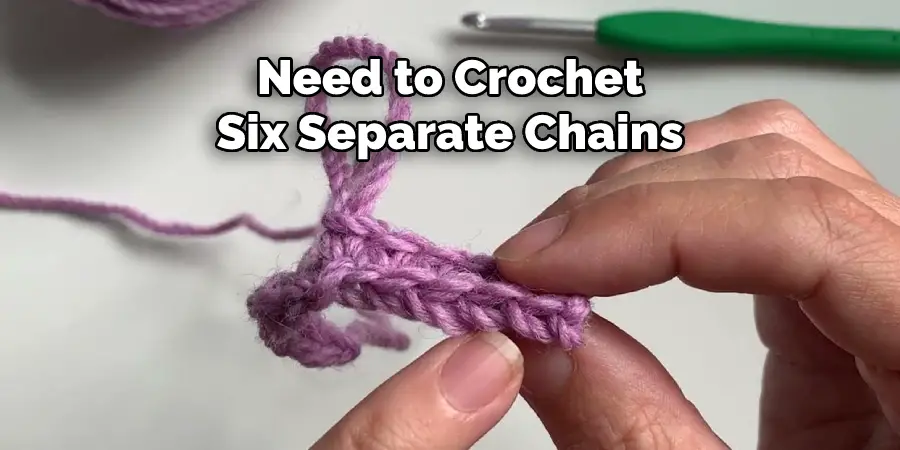
8. Make the Star Points
The last step is to make the star points. To do this, you will need to crochet six separate chains (each with seven stitches). For each chain, start by making a slip stitch in the first stitch at the end of the round.
Crochet one single crochet in every stitch along the chain until you reach the end. Turn your work and make two single crochets in each of the next four stitches. Then, make three single crochets in the last stitch. Repeat this pattern for each of the six chains to complete your star points.
9. Join the Chain into a Circle
Once you have made all six chains, you will need to join them into a circle. To do this, take the last stitch of your chain and slip-stitch it with the first stitch. Make sure to keep track of the stitches as you join the chain.
10. Make the Last Round of Single Crochet Stitches
Lastly, you will need to make the last round of single crochet stitches. To do this, you will need to make four single crochet stitches in each of the first five points of your star. You can then make a slip stitch in the next point and repeat this pattern for another 4 rounds. Finally, make a slip stitch in the next point to finish off your work.
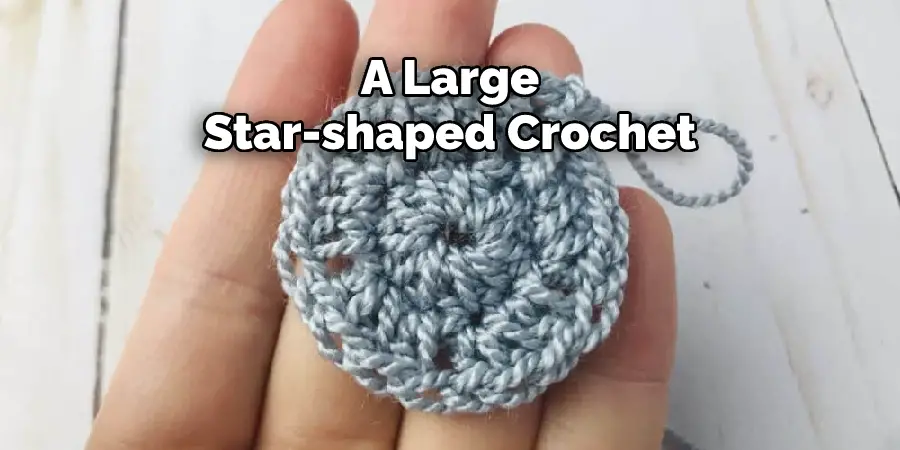
If you have done the previous steps correctly, you should now have a large star-shaped crochet project. Congratulations! You’ve successfully completed your first large star. Now, why not try making one in different colors or using different yarn? You can also experiment with changing the size of your star or adding more points to it.
Conclusion
Congratulations – you now know how to crochet a large star! It may seem tricky at first, but with a little practice and the right supplies, it’s not too hard. We hope you found this blog post helpful in learning how to make beautiful tapestry stars.
As you can see, there are several different ways to crochet these popular shapes. Whether you decide to make a single star or create an entire blanket of them, they will be sure to make an eye-catching addition to any home décor. Take your time and enjoy the process of creating something unique and handmade.