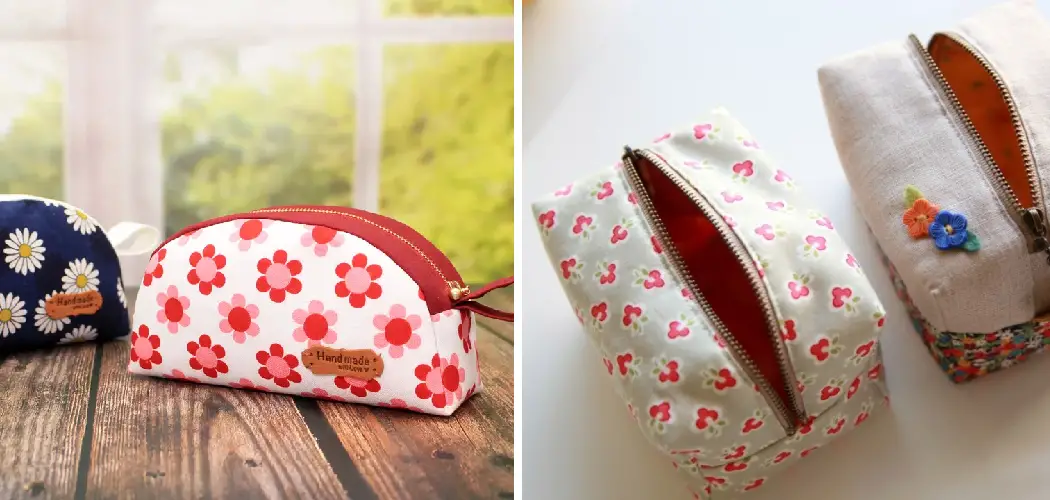
Are you looking for an easy way to add more space to a bag or pouch? Sewing in a gusset can be the perfect solution. A gusset is a triangular piece of fabric extending the sides and base of your bag, allowing it to expand as needed. Here’s how to sew a gusset in a bag!
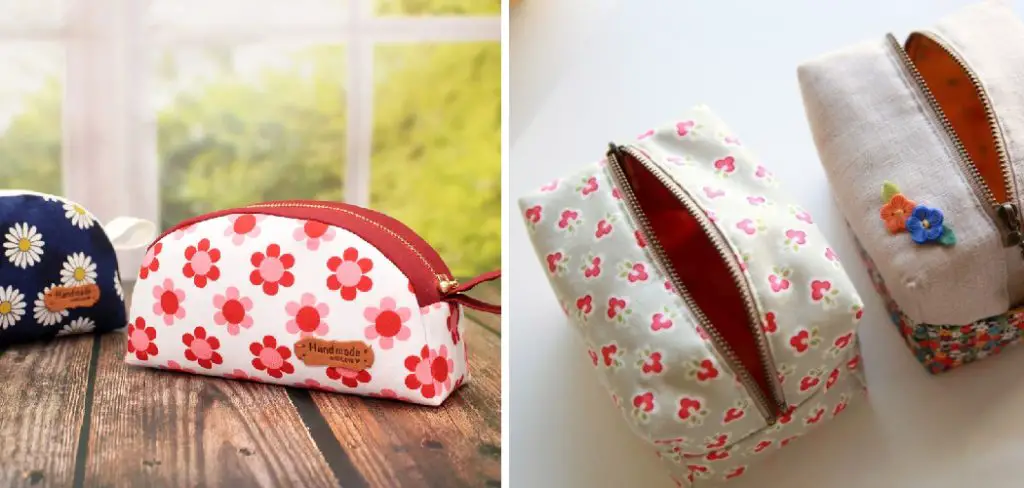
Selling a gusset in your bag can easily take your project from ordinary to extraordinary. Not only is it visually appealing, but you also add a layer of durability and stability.
Plus, don’t forget the satisfaction you feel after completing a special handmade item that shows off your sewer skills. As long as you keep practicing and perfecting each step, soon you’ll be able to confidently stitch up amazing bags with professional-style gussets in no time!
What Will You Need?
- Fabric for bag and gusset
- Sewing machine and thread
- Pins and scissors
- Iron or other pressing tools
- Ruler and marking pens/pencils
- Seam ripper (optional)
Once you’ve gathered all the necessary supplies, it’s time to start.
10 Easy Steps on How to Sew a Gusset in a Bag
Step 1: Determine Gusset Size
The first step in sewing a gusset is to decide how big you want it to be. Generally speaking, a good starting point is one-third of the height of your bag multiplied by the width of your bag plus 1/2 inch (1.3 cm) for seam allowance. You may need a bigger gusset if your bag is larger or has more contents.
Step 2: Cut Out Gusset
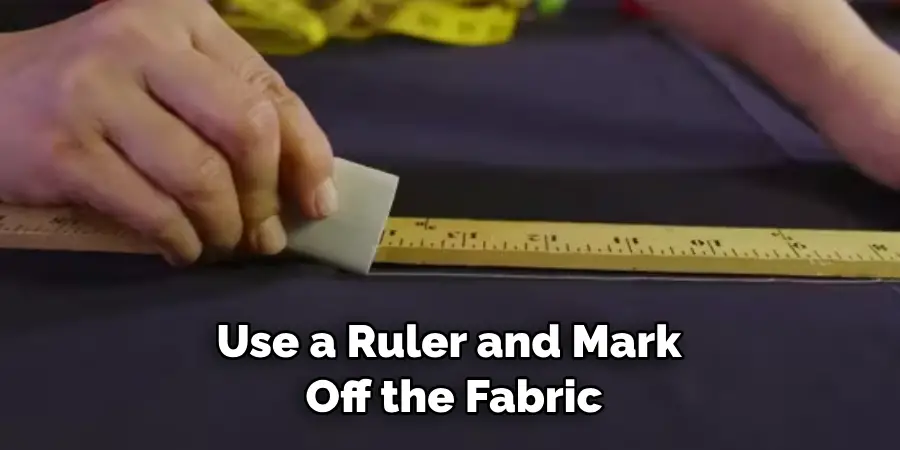
Once you know the size of your gusset, use a ruler and mark off the fabric for cutting. Make sure to add a 1/2 inch (1.3 cm) seam allowance around all sides of the gusset. Remember to mark the top of the gusset as well.
Step 3: Sew the Side Seams of the Gusset
Fold the gusset in half lengthwise and press with an iron to create a crisp crease. Using pins, insert them into the side seams and pin them together. Then use your sewing machine to sew along both sides, making sure to backstitch at the beginning and end of each seam.
Step 4: Sew the Top Seam of the Gusset
Fold the top part of the gusset over about 1/2 inch (1.3 cm) and press with an iron to create a crisp crease. Then insert pins into this fold and pin them together. Sew along the top edge of the gusset with your sewing machine. Make sure to backstitch at the beginning and end of this seam.
Step 5: Press Gusset Seams
After sewn all three gusset seams, press with an iron or pressing tools if needed. This will help the gusset stay in its shape as you sew it onto the bag. Be careful not to stretch or distort the gusset as you press it.
Step 6: Construct Bag and Pin Gusset
Construct your bag according to instructions, leaving a gap at one end for inserting the gusset. Then, place the prepared gusset in the gap, pinning it on one side only. Make sure to align your seams as best you can.
Step 7: Sew Gusset
Sew the gusset to the bag starting from one side and slowly sewn towards the other. Use a backstitch at both ends of this seam, and be sure not to stretch or distort the fabric as you sew. Additionally, if needed, you can reduce bulk by trimming excess fabric off the seam allowance.
Step 8: Press Gusset Seam
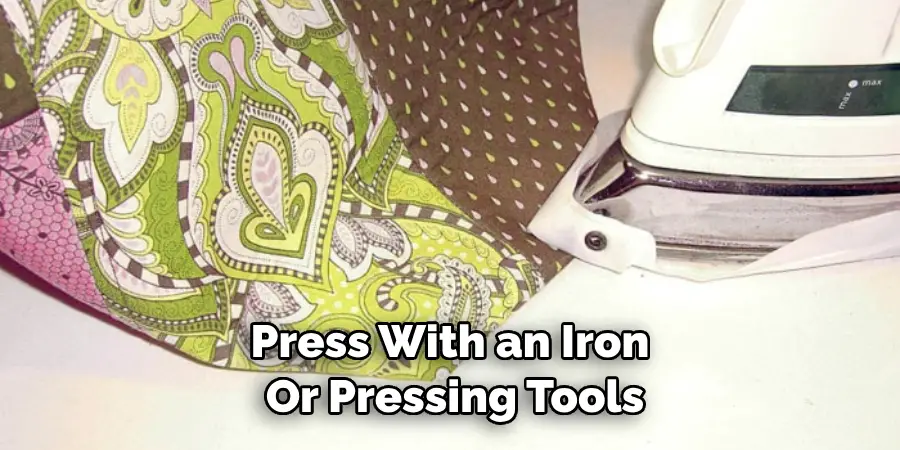
After sewing the gusset to one side of the bag, press with an iron or pressing tools. This will help the gusset stay in place better and be easier to work with when sewing it to the other side of the bag. Keep in mind not to stretch or distort the fabric as you press.
Step 9: Pin the Gusset to the Other Side of the Bag
Pin the gusset to the other side of your bag, aligning all seams as best you can. Once pinned, sew along this seam, starting from one end and slowly sewing towards the other. Be sure not to stretch or distort fabric as you sew.
Step 10: Finish Bag Sewing and Press Seams
Finish the bag sewing according to instructions and press with an iron or pressing tools. This will help your seams lay flat, making your finished project look neat and professional. After that, your gusset is in! It’s time to show off your new bag with its stylish gusset to the world.
Making a gusset in your bag may seem complicated at first, but once you have all of your supplies and go through each step carefully, it’s actually quite simple. With just a bit of time, patience, and practice, you’ll be sewing beautiful gussets into your bags in no time.
5 Additional Tips and Tricks
- Align Your Fabrics Correctly: Before sewing the gusset into your bag, ensure your fabrics are aligned properly. This will prevent any unwanted wrinkles or folds during the sewing process. Use pins to hold the fabrics together if necessary.
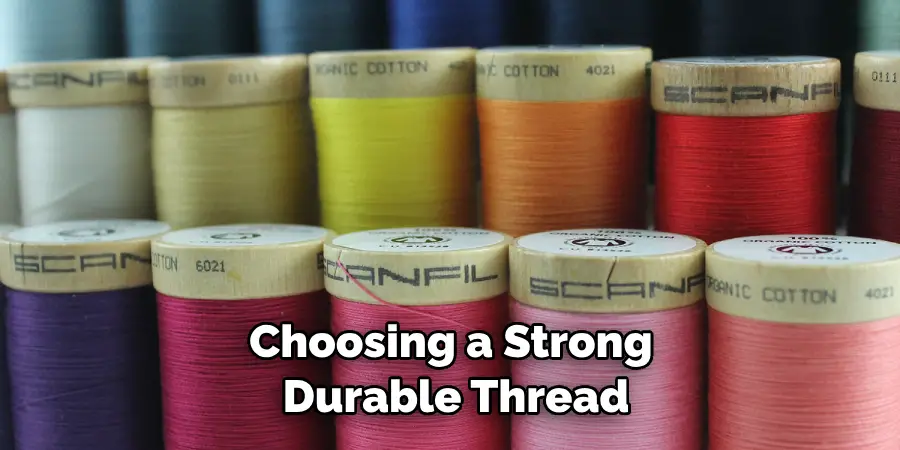
- Use a Durable Thread: Choosing a strong, durable thread is crucial when sewing a gusset in a bag because it must withstand the weight of its contents. Opt for a polyester or nylon thread, as they are recognized for their strength and durability.
- Stitch Slowly: Take your time when sewing the gusset into your bag. Sewing too fast may prevent you from making mistakes or resulting in uneven stitches. Slow and steady stitching will ensure a neat and sturdy attachment of the gusset to the bag.
- Press the Seam: Press the seam using an iron after sewn the gusset into your bag. This will make the seam neat, and your bag looks professionally made.
- Regularly Check Your Progress: While sewing the gusset, you must check your progress periodically. Ensure the gusset is being sewn in evenly and there are no unwanted creases or folds. Make corrections as you go along to prevent undoing large sections of your work.
You can confidently sew a gusset into your bag with these five tips and tricks. You can even experiment with different materials and designs to make your unique bags! Have fun, and don’t forget to enjoy the process of creating something special that’s all yours.
5 Things You Should Avoid
- Avoid Using Wrong-Sized Needles: Make sure you use the right size needle for the fabric you’re working with. If your needle is too large, it can cause damage to the fabric and create uneven stitching.
- Don’t Pull Stitches Too Tight: When sewing in a gusset, make sure not to pull your stitches too tight. This can cause the fabric to pucker and create a distorted shape you don’t want in your bag.
- Don’t Skip Pinning: When working with two pieces of fabric, use pins to hold them together for easier stitching. Skipping this step will make it more difficult to sew the gusset properly, as they may shift while you’re sewing.
- Remember to Trim: After stitching the gusset in, trim any excess threads or fabric. This will give your bag a cleaner and more professional look.
- Don’t Rush It: Taking your time is key when sewing a gusset into a bag, as rushing can lead to mistakes. Take your time and ensure everything is done properly for the best results.
By following these tips and avoiding these common mistakes, you’ll be sure to end up with a wonderfully crafted bag that you can proudly show off! Have fun creating your own unique masterpiece.
What Are the Different Types of Gussets in Bags?
When designing a bag, gussets come in many different styles. Commonly used styles are:

- Box Gusset: A box gusset is a rectangular shape sewn onto the side of a bag for added space and room.
- Zipper Gusset: A zipper gusset is a shaped pocket with a zipper closure that is typically used to store small items.
- Inset Gusset: An inset gusset is usually sewn into the seam of a bag for added stability and durability.
- Pleated Gusset: A pleated gusset adds volume and character to your bag with its accordion style folds.
With all the different types of gussets available, you have plenty of options when creating your unique bag. Have fun experimenting with different fabrics and designs to craft something extraordinary!
No matter what type of gusset you plan on using for your bag, it’s important to ensure that it is sewn in properly for a professional and durable finish. Following the tips discussed above, you’ll surely have a sturdy and stylish bag in no time!
Conclusion
Congratulations! Your gusset should now be fully installed in your bag and ready to use. Sewing a gusset may seem daunting initially, but following these simple steps will help you master this technique to double the capacity of your bags and pouches easily.
Whether a beginning or experienced sewer, sewing a gusset is empowering and allows you to create new projects easily. No matter how often you use this technique, take your time and pay extra attention while sewing. You can also use different materials or colors to make each project stand out. With these tips, it’s time for you to practice sewing a gusset in any shape or size!
Hopefully, the article on how to sew a gusset in a bag has helped teach you the basics of this sewing technique. Now that you understand the steps get creative and enjoy doing your unique projects! Happy Sewing!

