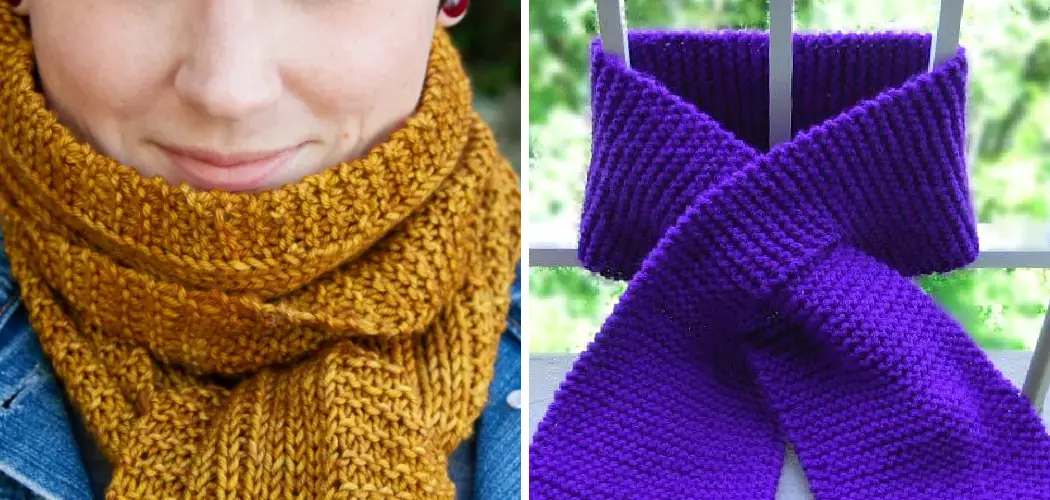
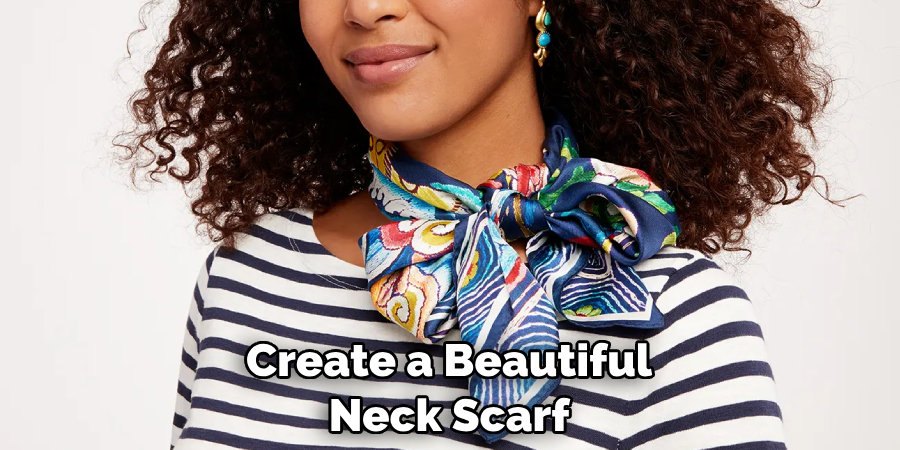
Are you looking for a perfect and unique accessory to complete your look? Scarves are a great way to add style, texture, and flare to any outfit! Whether for a bohemian vibe or something more classic, neck scarves can take your outfit up a notch. With the right fabric choices and accessories, you can effortlessly create a stunning neck scarf that will turn heads!
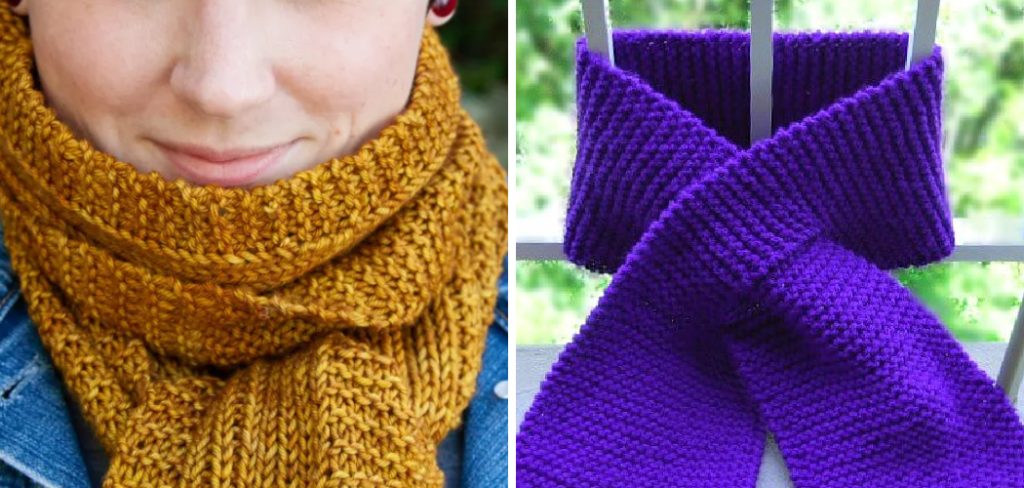
If you’re feeling creative and want to make a neck scarf of your own, here are the steps you need to take to get started. Always use a lightweight fabric with a soft texture for the best results.
In this blog post, we’ll show you how to make a neck scarf from scratch with easy-to-follow instructions.
What Will You Need?
- Fabric of your choice
- Coordinating thread
- Fabric scissors
- Sewing machine or needle and thread
- Iron (optional)
Once you’ve gathered your tools and materials, you’re ready to get started!
10 Easy Steps on How to Make a Neck Scarf
Step 1: Cut Your Fabric
Measure out the size of the fabric for your neck scarf. Generally, a scarf will be around 4-6 inches wide and 30-36 inches long. Cut two identical pieces from the same fabric to make the front and back of your neck scarf.
Step 2: Iron Your Fabric
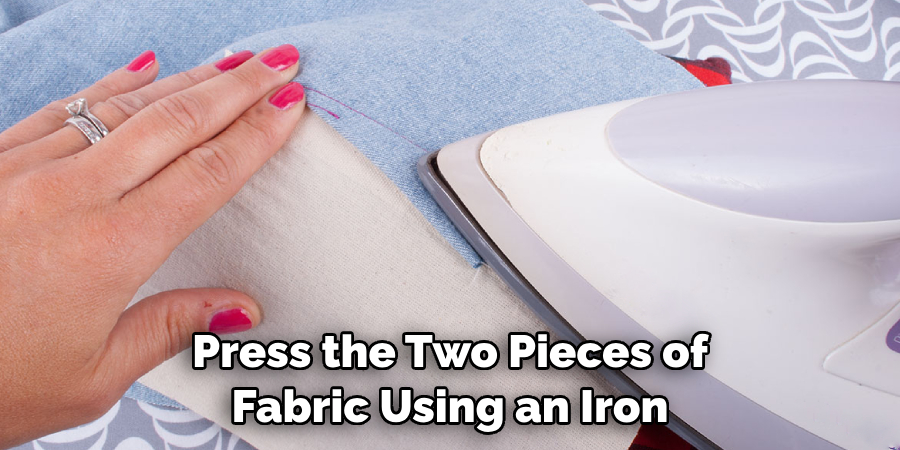
Press the two pieces of fabric using an iron so that they are flat and any creases or wrinkles have been smoothed out. This will give you cleaner lines for sewing. Additionally, it’s a good idea to press the seams when you are finished with sewing.
Step 3: Sew the Seams
Using a sewing machine or needle and thread, sew together the two fabric pieces along one of their long edges. When you reach the end of the seam, leave about 2 inches open so that you can turn your scarf right-side out if you are using a needle and thread, back-stitch at the seam’s beginning and end.
Step 4: Turn Your Scarf Right-Side Out
Carefully push out the corners of your scarf with a chopstick or similar tool so that they are neat and sharp. Once all the corners have been pushed out, use an iron to press the seams. Try to get the seams as flat as possible and ensure that the scarf’s edges are even.
Step 5: Sew or Topstitch Along the Edge
If you want a more polished look, topstitch along the edge of your neck scarf. This will help to keep all of the seams and fabric in place while also creating a nice clean edge. If you want an even more polished look, use a decorative stitch or two along the edges of your scarf.
Step 6: Embellish Your Scarf
Now it’s time to have fun and let your creativity take over! Add embellishments such as ribbons, buttons, beads, sequins, etc. Be careful not to overdo it, as you want your neck scarf to look chic!
Step 7: Sew on Your Embellishments
Using a sewing machine or needle and thread, carefully sew on your embellishments. Make sure to back-stitch at the beginning and end of the seams for added security and durability. Additionally, it’s a good idea to use fabric glue or pins in addition to sewing the embellishments
Step 8: Iron Your Scarf
Once all of your embellishments have been attached, give your neck scarf one last press with an iron. This will help neaten up any edges and seams that may be slightly off. Ensure that all of the embellishments are securely attached before wearing your neck scarf.
Step 9: Add Accessories
Now comes the fun part – accessorizing! Add some coordinating accessories such as brooches, pins, and clips to add a bit of pizzazz to your neck scarf. If you want to make a statement, opt for larger and bolder accessories!
Step 10: Show Off Your Neck Scarf
Now that you’ve created your beautiful neck scarf, it’s time to show off your handiwork! Whether you dress up or down, a neck scarf can be the perfect addition to any outfit. Have fun and experiment with different styles and fabrics to create a unique, perfect look!

Following these simple steps will give you a stunning neck scarf in no time. Whether you want to make a gift for someone special or simply enjoy crafting, there are endless possibilities when it comes to making your neck scarf.
5 Additional Tips and Tricks
- Choose the Right Material: When deciding how to make a neck scarf, the choice of material is crucial. Opt for a soft and warm fabric, such as fleece or wool, for winter scarves. Materials like silk or cotton are excellent choices for a lighter summer scarf.
- Consider the Size: When designing your neck scarf, size is a key factor. A typical winter scarf measures about 10 inches wide and 70 inches long. However, you can adjust the dimensions based on personal preference or style. For a summer scarf, aim for a lighter, thinner design.
- Sewing Techniques: Beginners can start with basic sewing techniques. If hand-sewing, ensure your stitches are tight and uniform for a professional finish. If using a sewing machine, practice on some scrap fabric first to get comfortable. Remember, starting with a simpler design is always better, and gradually advancing to more complex patterns as your skills improve.
- Washing and Care: To ensure your neck scarf lasts, knowing how to care for it properly is essential. Always check the washing instructions for your chosen fabric. Some materials may shrink or lose color in the wash, so that hand washing might be a safer option.
- Add Your Personal Touch: The beauty of making your neck scarf is the ability to customize it. Feel free to experiment with different colors, and patterns, or even add embellishments like beads or tassels to make your scarf uniquely yours.
With these tips and tricks, you’re well on your way to creating a stylish neck scarf that will turn heads. With the right materials and approaches, you can make a beautiful accessory that will last for years.
5 Things You Should Avoid
- Avoid Using Low Quality Materials: High-quality materials ensure your scarf is comfortable and durable. Avoid synthetic or cheap materials that can cause skin irritation or wear out quickly.
- Steer Clear of Complicated Patterns: Stick to simple patterns if you’re a beginner. Trying to create a complicated design can lead to mistakes and frustration. As your skills improve, you can gradually take on more complex projects.
- Refrain from Neglecting the Edges: Unfinished edges can make your scarf look unprofessional. Make sure to hem the edges of your scarf properly to give it a neat, finished appearance.
- Don’t Rush the Process: Rushing can lead to mistakes, and mistakes can take time to correct in sewing. Take your time, especially with the cutting and sewing stages.
- Avoid Inadequate Care: Improper cleaning can damage your scarf. Always follow the care instructions for the fabric you use. If in doubt, opt for hand washing and a gentle drying process.
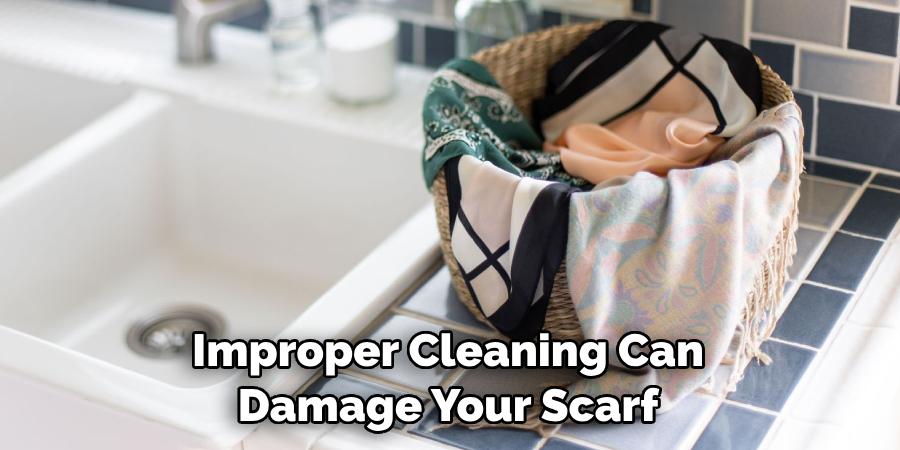
Remembering these points, you can avoid common pitfalls and make your scarf-making journey more enjoyable and successful.
5 Different Design Ideas
- Striped Scarf: Try making a striped scarf for a classic yet stylish look. Create stripes of varying widths and colors for an eye-catching effect.
- Fringed Scarf: Add extra flair to your scarf with fringes along the edges. This is a great way to show off some texture, especially using two different fabrics.
- Ombre Scarf: Create a beautiful ombre effect by using two similar colors and gradually blending them together. This can be done with any fabric type, such as cotton or wool.
- Geometric Scarf: Add a touch of sophistication to your scarf with simple geometric shapes. From triangles to diamonds, there’s no limit to the creative possibilities.
- Patchwork Scarf: Use fabric scraps and leftover pieces to create a unique patchwork scarf. Mix and match different prints and textures for an eye-catching design that’s full of personality.
Whether you’re a beginner or more experienced, these design ideas can help take your neck scarf game to the next level. With a little creativity, you can create something beautiful and unique.
What Fabric Should You Use?
Choosing the right fabric is a key part of making a neck scarf. Fabrics like wool, fleece, or cotton are great for winter scarves, while silk or lightweight cotton are better suited to summer scarves.
Consider the style and weather when selecting your fabric, as it can make all the difference in how well your neck scarf looks and performs. Additionally, pay attention to the washing instructions for your chosen fabric – some materials may shrink or fade in the wash, so be sure to take extra care when caring for your scarf.
With these tips and tricks, you can create a beautiful neck scarf that will be an eye-catching accessory no matter what season. So get creative and start crafting your unique neck scarf today!
Conclusion
How to make a neck scarf is an enjoyable and rewarding experience. Not only will you end up with a beautiful and unique accessory, but you’ll also gain a new appreciation for sewing, knitting, or crocheting.
On top of that, this skill can be used repeatedly in the future to make gifts for friends and family. With practice and creativity, your craftsmanship will improve with each new creation. Plus, not only are scarves practical, but they’re also quite fashionable!
Whether pairing one with your favorite outfit or finding a pattern that adds your personal touches, having a neck scarf radiating your style will make heads turn. So what are you waiting for? Time to get crafting!

