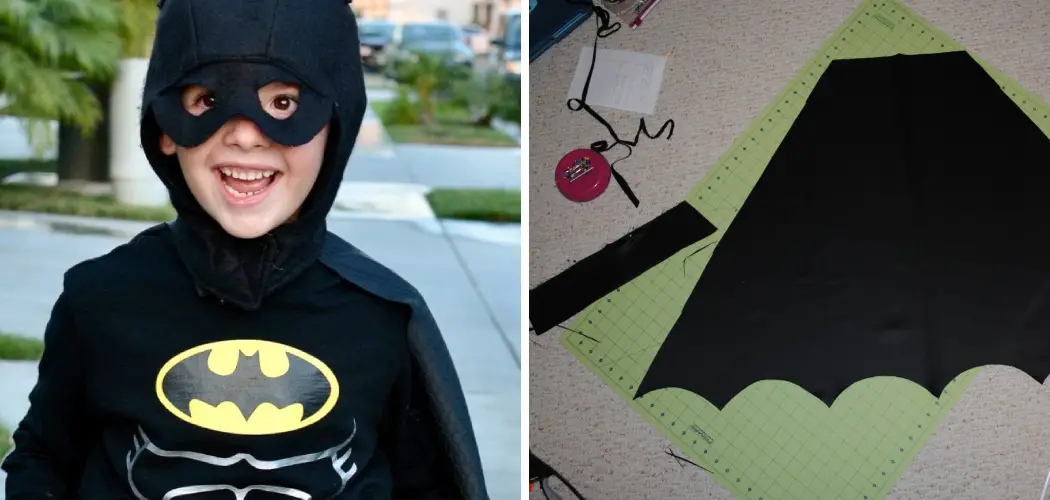
Whether you’re crafting a costume for a themed party, preparing for a comic convention, or fostering a child’s imaginative play, sewing a Batman cape can be a fun and rewarding DIY project. This iconic accessory is not just a piece of fabric; it’s a symbol of the caped crusader’s presence.
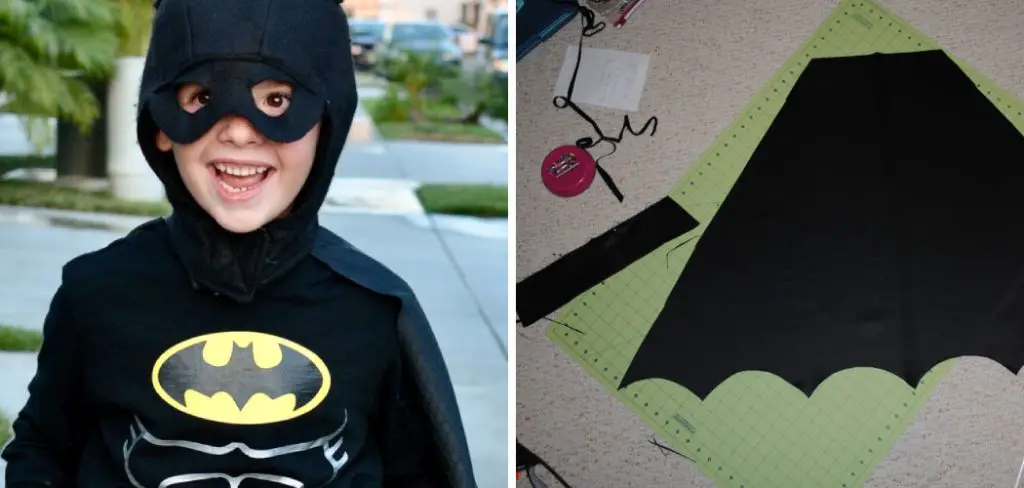
In the following sections, we’ll guide you through the process step-by-step on how to sew a batman cape, from selecting the right materials to adding the finishing touches that give the cape its dramatic flair. Get ready to channel your inner superhero as you create a custom Batman cape that’s sure to impress.
What is a Batman Cape?
A Batman cape is a long, flowing, and dramatic piece of fabric that attaches to the shoulders and trails behind the wearer. It is an essential part of Batman’s iconic costume, symbolizing his powerful presence and intimidating appearance.
Its iconic design has remained relatively unchanged since its creation in 1939, making it one of the most recognizable superhero accessories in pop culture. You can easily make your own Batman cape at home with some basic sewing skills and materials, so let’s get started!
Why Sew a Batman Cape?
Sewing your own Batman cape allows you to have complete control over the design and quality of the finished product. You can choose the perfect fabric, customize the length and size to fit your body, and add any additional details or embellishments that you desire. Plus, making your own cape is much more cost-effective than buying one from a store or online.
It also gives you the satisfaction of creating something with your own hands and showcasing your DIY skills. Additionally, wearing a custom-made Batman cape adds an extra level of uniqueness to your costume and sets you apart from other fans at events or parties.
Materials Needed
Before you can start sewing your Batman cape, you’ll need to gather the necessary materials. This includes:
Black Fabric (Cotton or Polyester Blend)
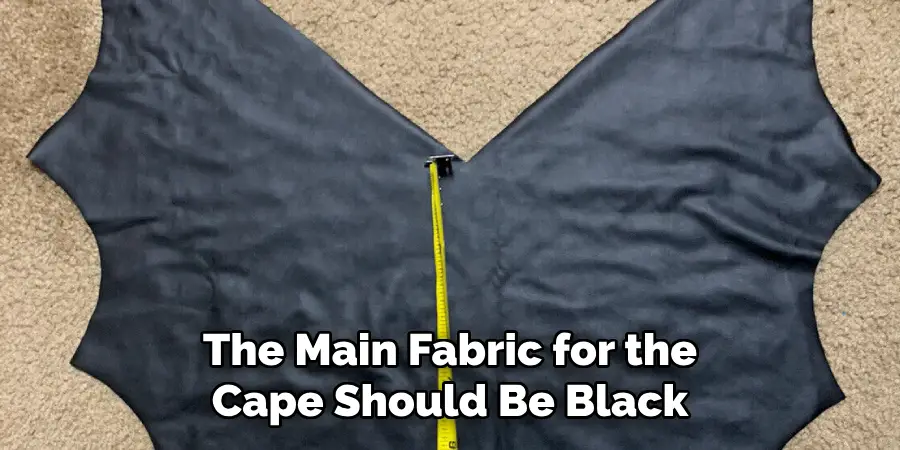
The main fabric for the cape should be black, as that is Batman’s signature color. Cotton or a polyester blend are good options for this project since they are lightweight and easy to work with.
Yellow Fabric
In addition to the black fabric, you’ll also need some yellow fabric for the bat symbol on the back of the cape. This can be felt or any other type of fabric that is easy to cut and sew.
Black Thread
Make sure you have enough black thread on hand for your sewing machine or needle, as this will be used to sew the cape together.
Sewing Machine (Optional)
While a sewing machine is not necessary for this project, it can make the process faster and easier. If you don’t have one, you can still complete the project by hand stitching.
Scissors
You’ll need a good pair of scissors to cut your fabric and trim any excess threads.
Measuring Tape
A measuring tape will come in handy when cutting out the fabric for your cape.
Pins or Clips
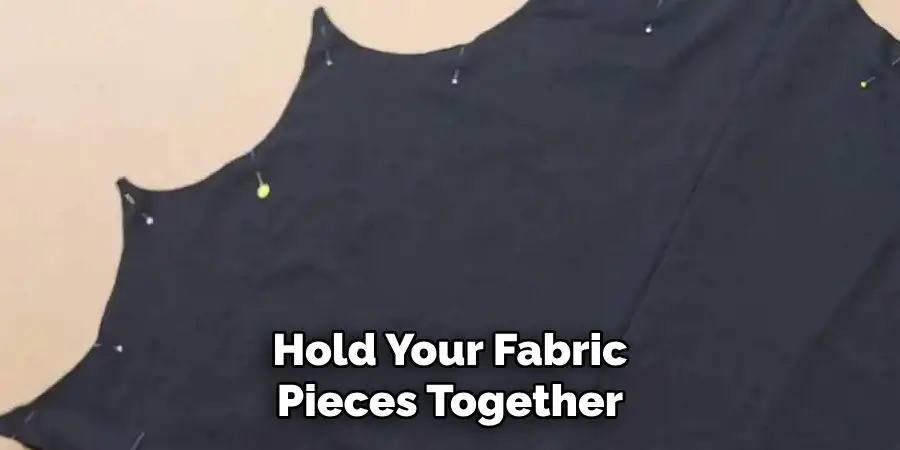
These will be used to hold your fabric pieces together as you sew them.
Bat Template
To ensure that your bat symbol is symmetrical and accurate, it’s helpful to have a template to trace onto your fabric. You can find various templates online or create your own using cardstock paper.
12 Step-by-step Guidelines on How to Sew a Batman Cape
Step 1: Choosing the Right Fabric
As mentioned earlier, the ideal fabric for a Batman cape is black cotton or a polyester blend. This type of fabric is lightweight and easy to work with, making it perfect for creating a flowing cape. It’s also readily available at most fabric stores. But if you want to add a unique touch to your cape, you can choose other fabrics such as black velvet or satin. The key is to make sure the fabric has a slight stretch and drapes nicely when worn.
Step 2: Taking Body Measurements
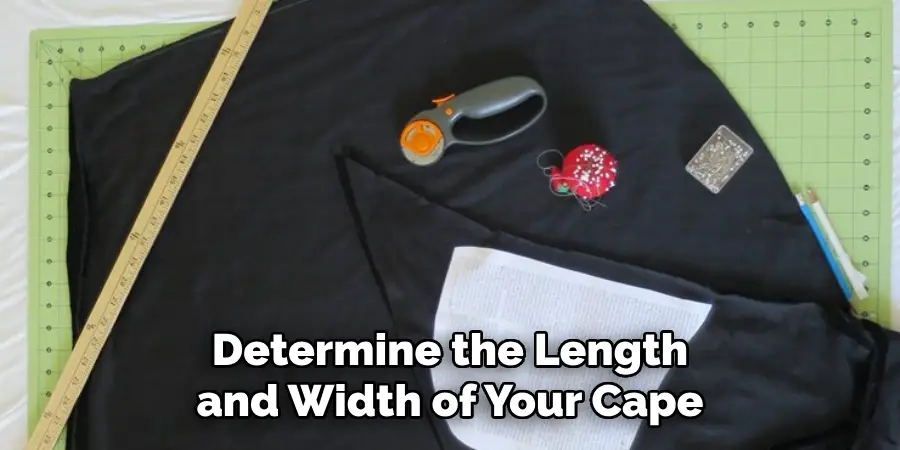
To determine the length and width of your cape, you’ll need to take body measurements. Measure from your shoulders down to where you want the cape to fall (typically at the back of your knees or ankles). Then measure around your neck for the collar size. Add a few inches to each measurement for seam allowance. If you’re making the cape for a child, adjust the measurements accordingly.
The average length for a Batman cape is around 50 inches. It’s better to cut the fabric longer than shorter, as you can always trim it later.
Step 3: Creating a Pattern
Using your measurements, create a pattern for the cape on paper or fabric. You can use an existing cape as a guide or find tutorials online for drawing a basic cape pattern. If you’re not confident in your pattern-making skills, you can also purchase a pre-made cape pattern from a fabric store.
The pattern should consist of a long rectangle for the cape and a semicircle or oval shape for the collar. You can also add a few inches to the collar length for a more dramatic effect. The bat symbol will be added later.
Step 4: Cutting Out Fabric Pieces
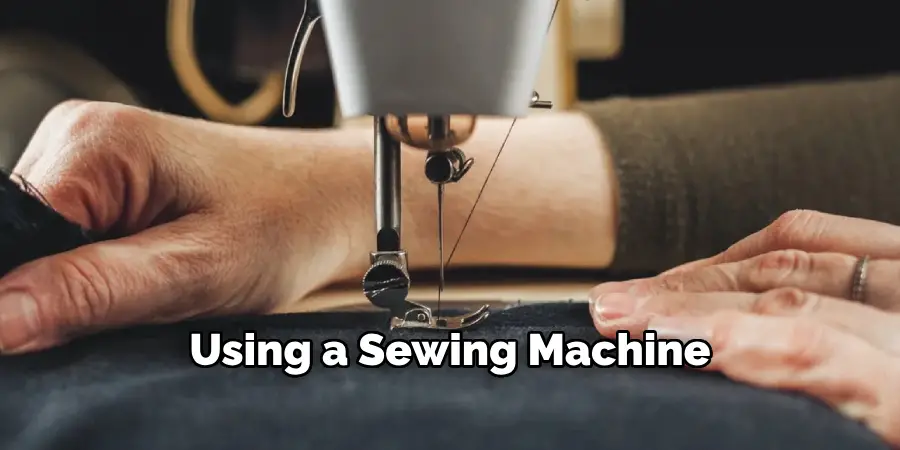
Once you have your pattern, lay it on top of the fabric and cut out two identical cape pieces. Make sure to line up the straight edges of the pattern with the edge of your fabric. You can use pins or clips to keep the pattern in place while cutting. If you’re using a sewing machine, be sure to lay out the fabric with the right sides facing each other. The wrong sides will be on the outside when you turn the cape right-side-out.
Step 5: Cutting the Fabric for the Bat Symbol
Next, you’ll need to cut out the bat symbol from the yellow fabric. Use your template to trace the symbol onto the fabric and then cut it out carefully. It should be around 8-10 inches in width and height, depending on the size of your cape. If you’re using felt or other fabric that doesn’t fray, you can leave the edges raw. Otherwise, use a zigzag stitch on your sewing machine to prevent fraying. But be sure to leave enough space around the bat symbol for seam allowance.
Step 6: Sewing the Collar
Take the two cape pieces and place them right sides together. Pin or clip the edges, leaving a small gap at the top for your neck to fit through. Then sew along the curved edge of the collar using a ½ inch seam allowance. Trim any excess fabric and turn it right-side-out. It should now resemble a long tube. The collar will be attached to the cape in the following steps.
Step 7: Sewing the Batwing Shape
With the cape still inside out, place the bat symbol on top of one of the cape pieces. Center it and adjust as needed. Then sew around the edges using a zigzag stitch or hand sewing. This will secure the symbol in place and create a batwing shape. It’s important to do this step while the cape is still inside out, so the stitching doesn’t show on the outside of the cape.
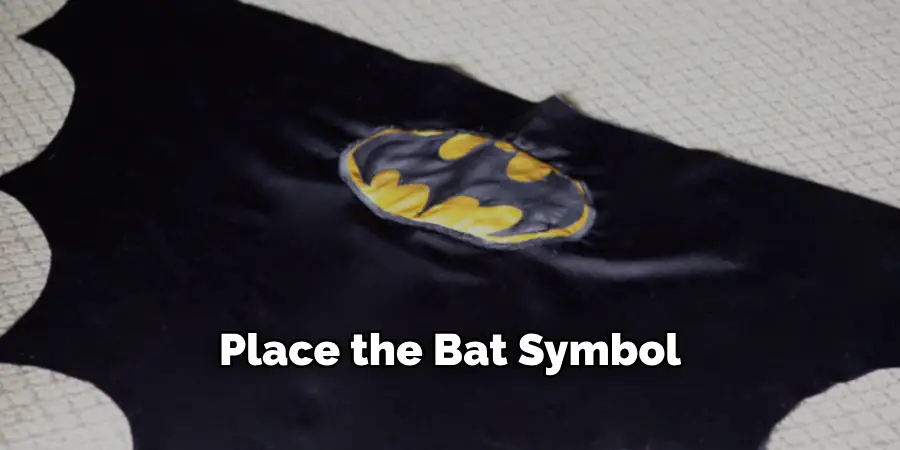
You can also add additional stitching around the wings for a more defined look. Although not necessary, it can add a nice touch to your cape.
Step 8: Adding Fasteners or Closures
Before attaching the collar, you’ll need to add fasteners or closures to keep your cape in place. You can use snaps, buttons, hook and loop tape, or even ties depending on personal preference. If you’re using a sewing machine, now is the time to attach these closures to one side of the collar. It will be easier to do this before attaching the collar to the cape. You can also add closures to both sides of the collar for a more secure fit.
Step 9: Adding Embellishments
Place the cape right-side-out and slide the collar over your head. Adjust it as needed so that it sits comfortably around your neck. If you want to add embellishments such as ribbon, studs, or rhinestones, now is the time to do so. You can also sew these onto the cape using a sewing machine or hand stitching.
The possibilities are endless, so feel free to get creative and make your cape one-of-a-kind. It’s also a great way to add your own personal touch and show off your individual style.
Step 10: Hemming and Finishing Touches
With the cape still inside out, you’ll need to hem the bottom edge. Use a straight stitch or zigzag stitch along the raw edge to prevent fraying. If you’re using a sewing machine, be sure to backstitch at the beginning and end for added durability. Once you’ve finished hemming, turn the cape right-side-out and give it a good press to remove any wrinkles.
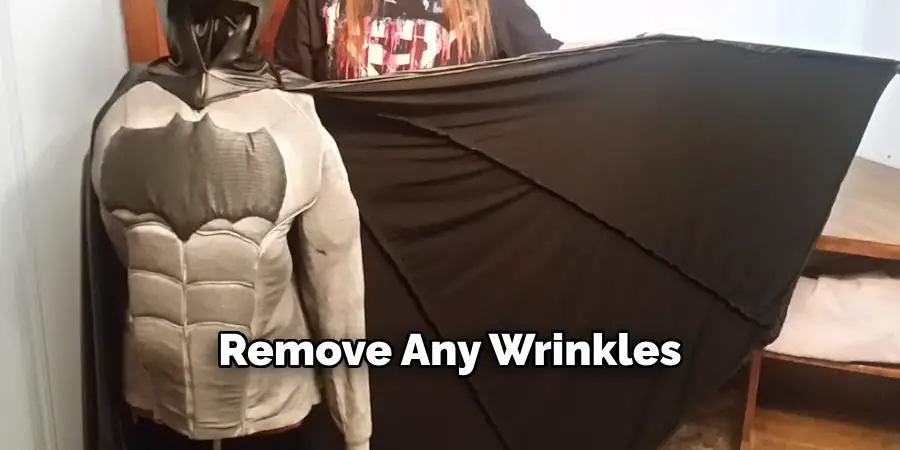
You can also add a topstitch around the entire cape for a polished look. Finally, try on your new Batman cape and make any final adjustments as needed.
Step 11: Testing the Fit
Once your cape is complete, it’s time for the ultimate test – wearing it! Put on your Batman costume or just a black shirt and pants to see how your cape flows. You can also do some superhero poses to make sure it stays in place and doesn’t hinder movement. If you find any issues with the fit, make adjustments as needed until you’re satisfied with the final result.
Congratulations, you now have a custom-made Batman cape that is sure to make you stand out at any costume party or Halloween event! Remember to be careful with your bat symbol and cape when washing.
Step 12:Adding Optional Features
If you want to take your Batman cape to the next level, there are a few additional features you can add. You can sew in a hidden pocket for storing small items like keys or a phone. Another fun option is to add LED lights around the bat symbol for an extra punch of superhero style. You could also use glow-in-the-dark fabric paint or thread to make the bat symbol stand out in the dark.
And for those who want a more realistic cape, you can distress the fabric with sandpaper or paint to give it a worn and weathered look. Just remember to always have fun and be creative with your DIY projects! So go ahead on how to sew a batman cape and channel your inner Batman with your very own custom-made cape.
Care and Maintenance
To keep your cape looking its best, it’s important to take proper care of it. When washing, be sure to follow the instructions on the fabric label and use a gentle setting if using a washing machine. If handwashing, use cold water and mild detergent. Avoid using bleach or harsh chemicals as they can damage the fabric and any decorations. After washing, air dry the cape or use a low heat setting on the dryer.

And remember to store your cape in a cool, dry place when not in use to prevent any damage or wrinkles. With proper care, your Batman cape can last for many superhero adventures to come. So get ready to save the day and show off your DIY skills with your very own homemade Batman cape!
Inspiring Batman Cape Ideas
If you need some inspiration for your Batman cape, here are a few ideas to get you started:
- Use Different Fabric Colors Such as Deep Purple or Navy Blue Instead of Black for a Unique Take on the Classic Batman Look.
- Add a Hood to the Collar for a More Mysterious and Dramatic Look.
- Use Different Materials for the Bat Symbol, Such as Leather or Felt, to Add Texture and Dimension to Your Cape.
- Incorporate Other Batman Symbols or Quotes Into the Design, Like the Iconic “Pow!” or “Bam!” Exclamations From the Classic Tv Show.
- Adorn the Cape With Glitter or Metallic Thread for a Glam Batman Look.
- Make a Matching Mini Cape for a Child or Pet to Join in on the Superhero Fun. Overall, Have Fun and Don’t Be Afraid to Put Your Own Spin on the Classic Batman Cape Design! The Possibilities Are Endless and It’s Sure to Be an Exciting and Rewarding Project.
Showcasing Successfully Sewn Batman Capes
If you’ve successfully completed your Batman cape, don’t be shy to show it off! You can share your creation on social media and tag the official DC Comics account for a chance to be featured. You can also wear your cape to any comic book conventions or cosplay events and join in on the fun with other superhero enthusiasts.
And of course, don’t forget to wear your cape proudly on Halloween or any other costume party. Your DIY Batman cape is sure to be a hit and impress all of your friends with your sewing skills and creativity! So go ahead and rock that bat symbol with pride, you’ve earned it. Keep sewing and creating, superhero!
Frequently Asked Questions
Q: Can I Use a Different Fabric for My Batman Cape?
A: Yes, you can use any fabric you prefer as long as it is lightweight and drapes well. Just keep in mind that thicker fabrics may be more difficult to work with. The most important aspect is to have fun and make your cape unique to your personal style.
Q: Do I Need Sewing Experience to Make a Batman Cape?
A: Basic sewing skills are recommended, but this project can also be completed by beginners. Just take your time and follow the steps carefully for best results.
Q: How Much Fabric Do I Need for a Batman Cape?
A: The amount of fabric needed will vary depending on your measurements and desired cape length. As a general guideline, you will need approximately 2 yards of fabric for an adult-sized cape. It’s always better to have a little extra fabric than not enough, so consider getting a bit more just in case.
Q: Can I Make a Smaller Cape for My Child?
A: Absolutely! You can adjust the measurements and follow the same steps to make a smaller cape for a child or even a pet. Just remember to make any necessary adjustments to ensure a proper fit.
Conclusion
Creating your own Batman cape can be an exciting and rewarding project, whether for a costume party, cosplay event, or just for fun. With the right materials, some patience, and attention to detail, anyone can craft a stunning cape worthy of the Dark Knight himself.
Remember to customize your cape to fit your style and size, and most importantly, have fun with the creative process. Now, with your cape flowing behind you, you’re ready to take on the night – or at least the admiration of fellow Batman enthusiasts!
Keep honing your sewing skills and you may even find yourself crafting a full Batman suit in the future. The possibilities are endless, so go ahead and embrace your inner superhero with this DIY project. So, grab those materials, fire up your sewing machine or needle and thread, and get ready to protect Gotham City in style! Thanks for reading this article on how to sew a batman cape.

