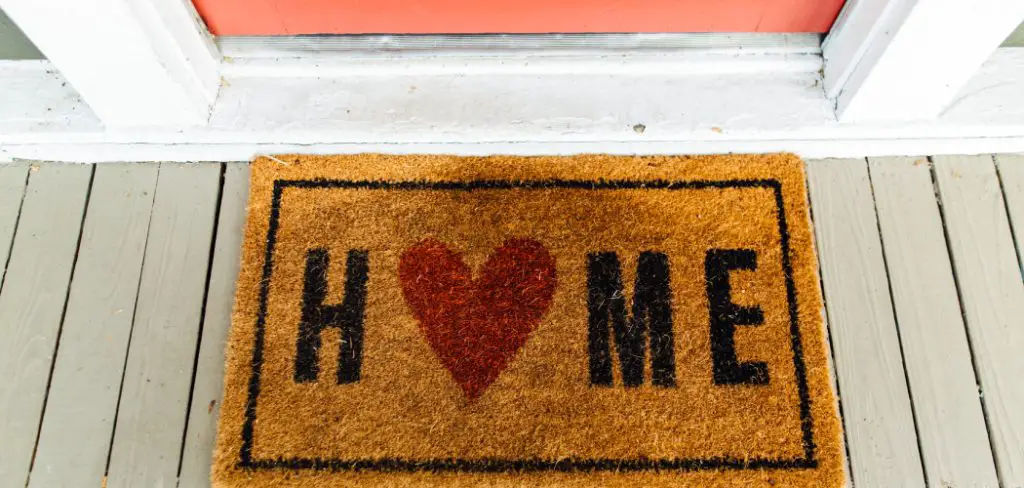
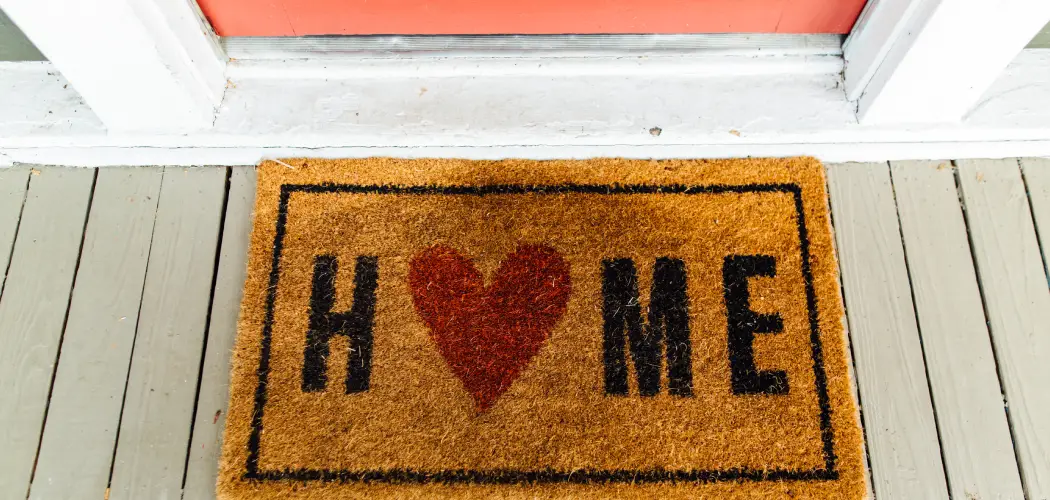
Are you looking for a fun and creative way to spruce up your home while protecting it from the elements? A doormat is an easy and affordable project that can be completed in no time. With simple paint and a few supplies, you can create your custom welcome mat that will last for years!
Sealing a painted doormat is straightforward and rewarding whether you’re a seasoned DIY enthusiast or a complete beginner. This step is essential in ensuring your work of art stands the test of time, resisting the wear of daily foot traffic and harsh outdoor conditions.

In this blog post, we’ll discuss how to seal a painted doormat so it stands up against the elements of nature and looks great even after multiple uses. Read on to find out more!
What Will You Need?
Before sealing your painted doormat, ensure you have all the necessary supplies. Here’s a list of what you’ll need:
- Painted Doormat: This can be a doormat you’ve painted yourself or bought. The important thing is that it’s dry and clean before you begin the sealing process.
- Clear Sealant: This will protect your painted doormat from the elements. You can find this at your local craft store or online. Make sure to choose an outdoor sealant for the best results.
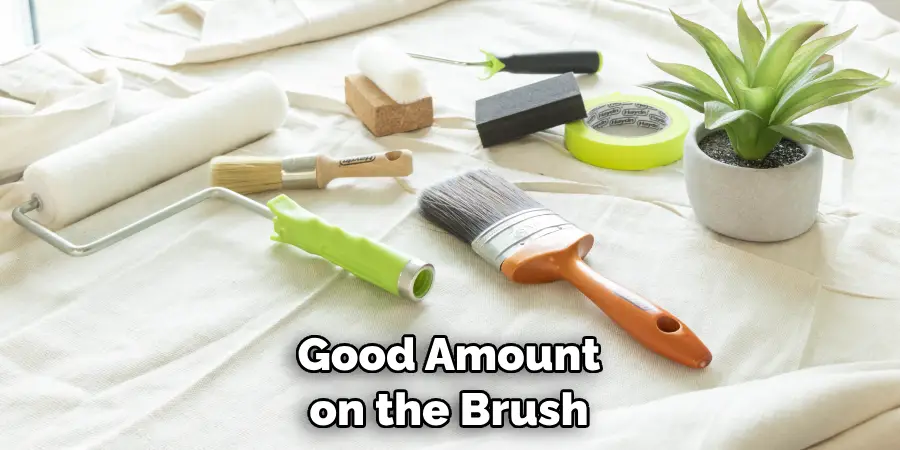
- Paintbrush: A medium-sized paintbrush will do the trick. It should be big enough to cover large areas of the doormat but small enough for precision.
- Newspaper or Drop Cloth: This will protect your work area from accidental spills or sealant drips.
- Gloves: To protect your hands from the sealant.
Once you’ve gathered your supplies, you’re ready to begin the process of sealing your painted doormat.
10 Easy Steps on How to Seal a Painted Doormat
Step 1: Prepare Your Work Area
Preparing your work area is the first step in sealing your painted doormat. This helps to avoid unnecessary mess and makes the process much smoother. Lay down your newspaper or drop cloth in a well-ventilated area, ideally outside or in a room with open windows.

This ensures good air circulation as the sealant may have strong fumes. Place your painted doormat on top of the newspaper or drop cloth. Now, you’re ready to proceed with sealing your painted doormat.
Step 2: Apply the Sealant
Put on your gloves to protect your hands from the sealant. Then, open your can of clear sealant. Dip your paintbrush into the sealant, making sure to get a good amount on the brush but not so much that it drips. Start applying the sealant to your painted doormat.
The goal is to cover the entire painted surface of your doormat with a thin, even layer of sealant. Be sure to move your brush in the direction of the doormat’s fibers to ensure good coverage. Do not worry if the sealant appears white or cloudy at first, it will dry clear.
Step 3: Let it Dry
After you’ve applied the sealant, the next step is to let your doormat dry completely. The drying time will depend on the brand and type of sealant you’ve used, so it’s a good idea to check the product instructions. However, you can expect it to take between 2 to 4 hours on average.
Avoid touching or moving the doormat during this time to prevent smudging the sealant. Leave it to dry overnight to ensure it’s fully set before use.
Step 4: Apply the Second Coat
Once your doormat is completely dry, it’s time for the second coat. This additional layer will provide extra protection and durability to your painted doormat. Put on new gloves, dip your brush in the sealant, and apply another thin, even layer.
Remember to always brush in the direction of the doormat’s fibers for even coverage. Once you’ve covered the entire doormat, let it dry completely. Again, drying times can vary, but it’s generally safe to leave it overnight to ensure it’s scorched.

Step 5: Check the Application
After the second coat of sealant is fully dried, it’s time to inspect your work. Check the entire surface of the doormat to ensure that the sealant has been applied evenly and there are no bare spots or drips. The sealant should be clear, and the colors of your painted design should be bright and unobscured.
If you notice any missed areas or need a touch-up, apply a bit more sealant to those spots and let it dry completely. Remember, the goal is to have a uniform layer of sealant across the entire painted area of the doormat to provide optimal protection against wear and tear.
Step 6: Enjoy Your Sealed Doormat
After you’ve applied the sealant and allowed it to dry fully, your doormat is now ready for use. The sealant adds a protective layer to your painted design, ensuring it withstands the elements and daily use. Now you can place your doormat outside and enjoy the vibrant and personalized touch it brings to your doorstep.
Remember, sealing your painted doormat enhances its durability and accentuates the colors of your design, making it more vibrant and visually appealing. Thus, this simple step goes a long way in preserving your unique piece of art.
Step 7: Maintenance of Your Sealed Doormat
The maintenance of your sealed doormat is as crucial as its creation. Regular cleaning will keep your doormat looking fresh and new and prolong its lifespan. To clean your sealed doormat, shake off any loose dirt, then gently wipe the surface with a damp cloth and mild soap. Avoid harsh chemicals or abrasive scrubbing tools, as they can damage the sealant and the painted design.
Finally, let it air dry completely before placing it back in use. In case of heavy stains, consider repeating the cleaning process. However, if the sealant starts to wear off over time, you should reapply it following the abovementioned steps. This way, you can ensure your painted doormat stays beautiful and welcoming for years.

Step 8: Store Your Doormat Properly
The way you store your doormat when not in use also contributes to its longevity. If you need to stow it away during non-use seasons, clean it thoroughly first. Once dry, place it in a dry area where it won’t be subject to dampness or extreme temperatures, as these can cause the sealant and paint to deteriorate.
Store it flat to prevent any creases or folds that may damage the design. Properly stored, your sealed, painted doormat will be ready to greet you and your guests season after season.
Step 9: Reapply Sealant as Needed
Even with proper care and maintenance, the sealant on your doormat may naturally wear off over time, especially with heavy foot traffic or exposure to harsh weather conditions. Plan to reapply the sealant periodically to keep your painted doormat looking vibrant and protected.
The frequency of reapplication will depend on the conditions your doormat is exposed to. A good indication that it’s time for a touch-up is when the colors of your design begin to look faded, or the surface of the doormat feels less smooth to the touch.
Step 10: Celebrate Your Work.
Finally, take a moment to appreciate your work. Each step you’ve taken, from painting your doormat to sealing it and maintaining it, is a testament to your creativity and diligence. Your unique, homemade doormat not only adds a personal touch to your entrance but also stands as a showcase of your artistic talent.
And remember, the process doesn’t end here. With the knowledge of sealing a painted doormat, you can experiment with new designs and color schemes whenever you wish, giving your doorstep a fresh look season after season.

By following this comprehensive guide on how to seal a painted doormat, you’ll be able to protect your artwork and extend its life, ensuring that it continues to welcome guests into your home with its vivid colors and designs. And remember, creativity has no boundaries, so feel free to innovate and experiment with your designs and color palettes. Happy painting, and more importantly, happy sealing!
5 Additional Tips and Tricks
- Experiment with Different Brushes: Different brushes can create unique textures and effects on your doormat. Consider using sponge brushes for a smoother finish or bristle brushes for a more textured look.
- Use High-Quality Paint: To ensure the longevity and vibrance of your design, opt for high-quality, outdoor-specific paint. It may cost a bit more upfront, but the payoff in durability will be worth it.
- Create Templates: If you’re not confident in your freehand painting skills, create templates of your designs on paper first. This can help guide your paintbrush and ensure a cleaner, more precise end result.
- Try Different Sealants: Not all sealants are created equal. Some may offer a glossier finish, while others leave a more matte effect. Experiment with different types to see which one best enhances your painted doormat.
- Rotate Your Doormats: If you find yourself enjoying the process of painting and sealing doormats, consider making more than one. Rotating your doormats not only allows you to display a variety of designs but it can also extend the life of each one since they’ll see less wear and tear.
With patience and a bit of creativity, you’ve successfully sealed your painted doormat, ensuring its longevity while adding a dash of personality to your doorstep. Remember that the process is as much about the journey as the outcome.
Don’t hesitate to experiment with different designs, colors, and textures. Each doormat you create is a reflection of your unique style, and every step you take towards preserving it is a testament to your dedication.

5 Things You Should Avoid
- Over-Sealing: While it’s crucial to seal your painted doormat, applying too many layers of sealant can create a thick, gloopy finish that won’t look attractive and can even cause your paint to chip or peel off.
- Rushing the Drying Process: It can be tempting to speed up the drying process, but patience pays off. Applying sealant or adding a new paint layer before the previous one is fully dry can lead to smudging and uneven finishes.
- Skipping Regular Maintenance: Regular cleaning is essential to maintain the vibrance and longevity of your painted doormat. Neglecting this can accelerate wear and tear.
- Using Low-Quality Materials: Using low-grade paint or sealant might save you some money upfront, but it will likely compromise the durability and appearance of your doormat over time.
- Ignoring Weather Conditions: If your doormat is exposed to outdoor elements, ignoring weather conditions can be a mistake. Extreme heat, cold, or moisture can impact the life of your doormat, so consider these elements when choosing your sealant and during the curing process.
By avoiding common pitfalls and applying the tips and tricks shared in this guide, you’ll be able to create a durable and vibrant doormat that greets your guests with charm and style. Each doormat you create and maintain is a testament to your creativity and dedication, making your home truly feel like your own.
Conclusion
Sealing a painted doormat is an easy process that anyone can follow. This project is a great way to spruce up the look of your entrance while also helping the paint stay in place for much longer. With sealant, you won’t have to worry about your painted design deteriorating over time; it will last you for many seasons to come.

Plus, your custom-crafted doormat is sure to be a great conversation starter and help create a unique atmosphere when people come to visit your home.
Hopefully, this article has provided valuable insights and guidance on how to seal a painted doormat. By following the steps and tips provided, you should be able to successfully protect your customized doormat, preserving its vibrant design for many seasons.
Overall, this simple but highly effective project is a worthwhile investment of time that will make an impact on how visitors perceive you and your living space. So go ahead and unleash your creativity – try painting a new doormat today! Thank you for reading!
You Can Check It Out to How to Seal Rocks After Painting


