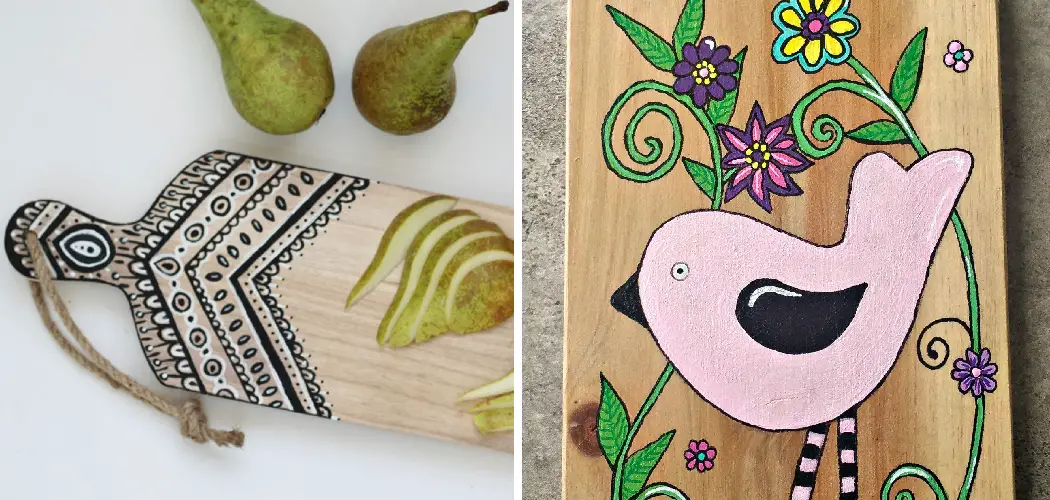
Do you love the look of a painted charcuterie board but wonder how to seal it and make sure that your design won’t wear away after just a few uses? Perhaps you have some woodworking experience but aren’t quite sure if sealing it with oil or polyurethane is best. If so, then you’ve come to the right place!
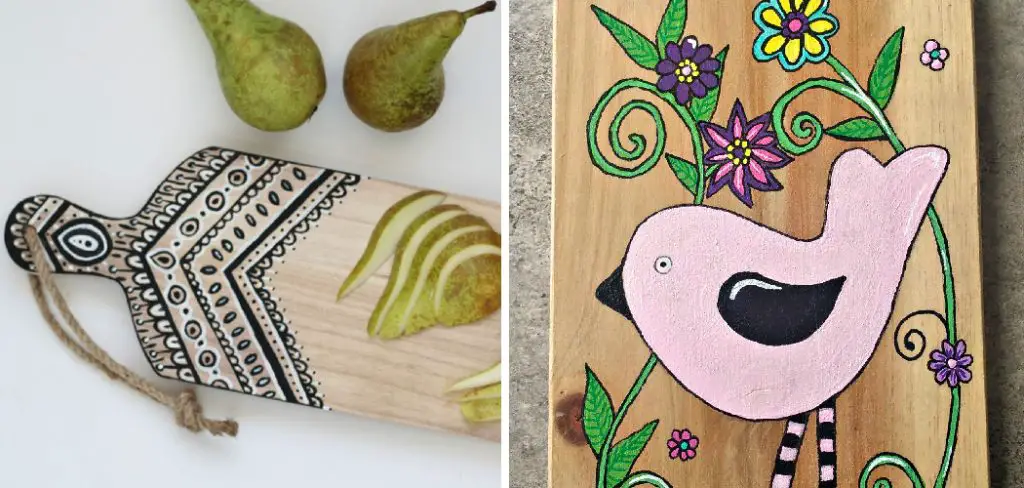
In this blog post, we will provide all the information needed for choosing whether to use oil or polyurethane, as well as instructions on how to seal a painted charcuterie board. Learn what kind of products work best for preventing corrosion and giving your pride and joy a lasting finish that allows for years of carefree entertaining. Read on for an in-depth explanation of how to tackle this crafty project like a pro.
Supplies You Will Need to Seal a Painted Charcuterie Board
- A painted charcuterie board (obviously)
- 120-, 220-, and 320-grit sandpaper
- Tack cloth or damp rag
- Wood stain, if desired
- Linseed oil or polyurethane sealer
- Paintbrushes for applying the sealant
Step-by-step Guidelines on How to Seal a Painted Charcuterie Board
Step 1: Prepare the Board for Sealing
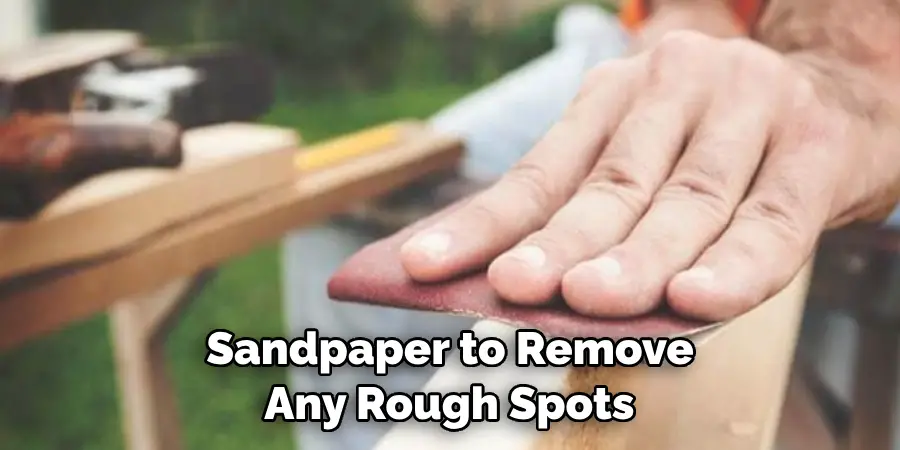
First things first, you’ll want to prepare your board by sanding it down. Use a 120-grit sandpaper to remove any rough spots or imperfections and then use a 220-grit sandpaper to smooth out the surface. Finish off with a 320-grit sandpaper for an extra-smooth finish.
Clean off the board with a tack cloth or damp rag to remove any dust and debris. If you want to add some color, now is the time to apply a wood stain of your choice. Make sure to follow the instructions on the can for best results.
Step 2: Select Your Sealant
Decide whether you want to use linseed oil or polyurethane as your sealant. While both options are great for protecting the painted surface, they have different qualities that may suit different preferences.
Linseed oil is a natural product and can give your board a more matte finish. It also enhances the natural look of wood grain. On the other hand, polyurethane has a stronger defense against moisture and wear, making it ideal for busy kitchens and frequent use.
Step 3: Apply the Sealant
Using a clean paintbrush, carefully apply the sealant to your board. Make sure to cover all areas evenly and don’t leave any drips or bubbles. Avoid using too much linseed oil as it may take longer to dry. For polyurethane, you may need more than one coat for optimum protection. While applying the sealant, make sure to work in a well-ventilated area and wear protective gloves.
Step 4: Let it Dry
Allow the sealant to dry completely before using your board. Depending on the product you use, this could take anywhere from a few hours to several days. Keep in mind that linseed oil may need multiple coats, so be patient and allow enough time for each coat to fully dry before applying the next one.
Step 5: Maintain Your Board
Congratulations, you’ve successfully sealed your painted charcuterie board! To ensure that it stays in top condition, make sure to clean it with a damp cloth and mild soap after each use. Avoid soaking it in water or putting it in the dishwasher as this may damage the sealant. With proper care and maintenance, your board will remain a beautiful and functional piece for years to come.
Following these simple steps will ensure that your painted charcuterie board stays vibrant and protected for all your hosting needs. Experiment with different colors and designs to create a unique serving piece that is sure to impress your guests. Don’t be afraid to get creative and have fun, because sealing a painted charcuterie board is as easy as 1-2-3! So go ahead, gather your supplies, and enjoy the process of creating a beautiful and lasting piece that you can proudly display at your next gathering. Happy crafting!
Additional Tips and Tricks to Seal a Painted Charcuterie Board
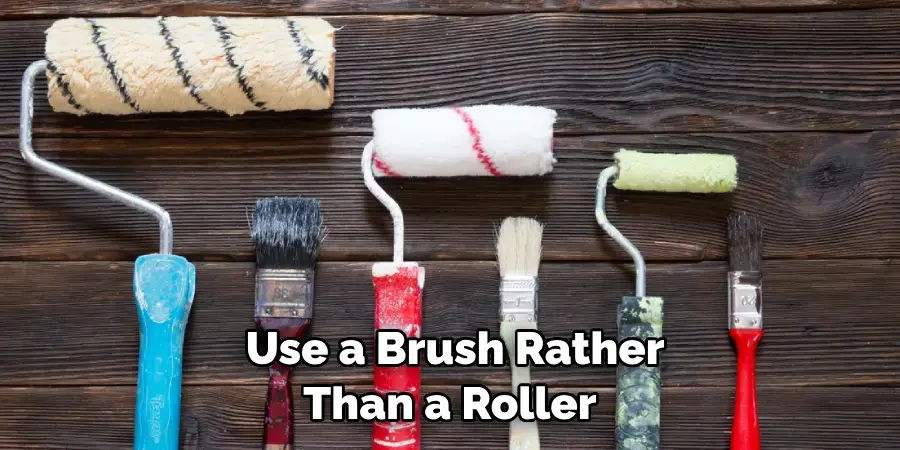
- When sealing a painted charcuterie board, it is important to use a brush rather than a roller or spray. This allows for an even application and ensures that the sealant covers all areas of the board.
- Before sealing, make sure to clean the board thoroughly and let it dry completely. This will ensure that any dirt or debris is removed before applying the sealant.
- If you are using a polyurethane sealant, be sure to lightly sand the painted surface before applying it. This will help the sealant adhere better and create a smoother finish.
- Use a high-quality sealant to ensure the best results and long-lasting protection for your painted charcuterie board. Cheaper options may not provide enough coverage or durability.
- Apply multiple thin coats of sealant rather than one thick coat. This will prevent any drips or pooling, resulting in a smooth and even finish.
- It is important to let each coat of sealant dry completely before applying the next one. This will ensure a strong and durable seal.
- If you are sealing a painted charcuterie board for food use, make sure to choose a food-safe sealant. Look for products that specifically state they are safe for food contact.
- Sealants can have strong fumes, so be sure to work in a well-ventilated area. If possible, do the sealing outside or in a garage with the door open.
- Consider using a food-grade wax as an alternative to sealant. This can provide a more natural and non-toxic option for sealing your painted charcuterie board.
- Regular maintenance is key to keeping your painted charcuterie board sealed and protected. Reapply sealant or wax as needed to maintain a strong and durable finish.
- You can also use mineral oil to condition and protect your painted charcuterie board. This will help prevent the wood from drying out and cracking over time.
By following these additional tips and tricks, you can ensure that your painted charcuterie board is properly sealed and protected, allowing you to enjoy it for years to come. Happy entertaining!
Frequently Asked Questions
What is a Charcuterie Board?
A charcuterie board is a popular dish made of cured meats, cheese, fruits, nuts, and other snacks that are artfully arranged on a serving platter or wooden board. It originated in France as a way to serve various meats and cheeses together for sharing and snacking.
Why Should I Seal My Painted Charcuterie Board?
Sealing your painted charcuterie board helps to protect the paint and wood from damage. The sealant acts as a barrier against moisture, scratches, and stains, allowing for easier maintenance and prolonging the lifespan of your board.
What Type of Sealant Should I Use?
There are various types of sealants available on the market, but it is recommended to use a food-safe, non-toxic sealant for your charcuterie board. This ensures that the sealant does not transfer any harmful chemicals onto your food. Some popular options include mineral oil, beeswax, and food-grade polyurethane.
How Do I Apply the Sealant?
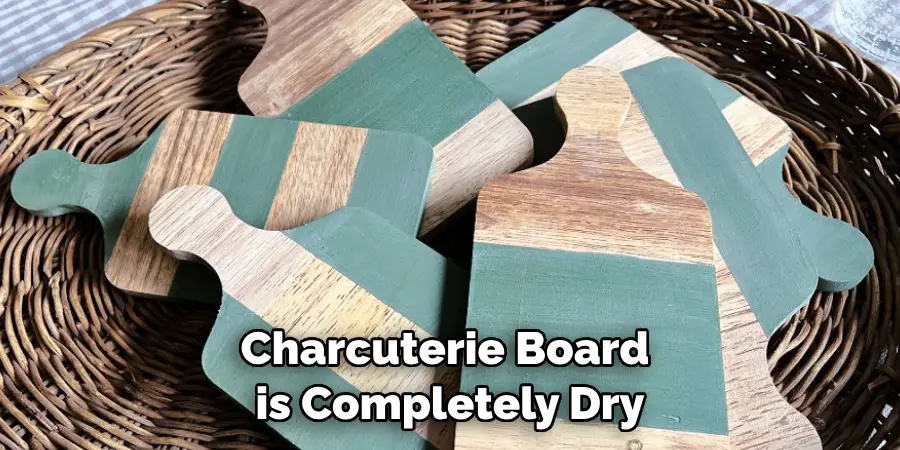
Before applying the sealant, make sure that your painted charcuterie board is completely dry. Use a clean cloth or brush to evenly apply the sealant in long strokes following the grain of the wood. Make sure to cover all areas, including the sides and corners, and let it dry according to the instructions on the sealant’s packaging.
Can I Use a Painted Charcuterie Board Without Sealing It?
While you can use a painted charcuterie board without sealing it, it is not recommended. Without proper sealing, the paint may chip or crack, and bacteria could seep into the wood, potentially contaminating your food. Sealing is a simple and effective way to ensure the longevity and safety of your painted charcuterie board.
How Often Should I Reseal My Painted Charcuterie Board?
The frequency of resealing your painted charcuterie board depends on how often you use it. Generally, it is recommended to reseal every few months to a year, depending on the condition of the sealant. Regularly inspect your board for any signs of wear and reseal as needed.
Conclusion
Sealing a painted charcuterie board is important to make sure the artwork lasts for years to come. With proper care and attention, you can easily maintain a gorgeous painted board that will easily become a centerpiece of your kitchen. Once you get all the materials together and use these steps, you’ll be able to complete this project with ease! And who knows, maybe you’ll even inspire friends and family with your newfound passion for painting and sealing charcuterie boards.
Create something unique to share your love of cooking, creating art, or just simply spicing up your home décor. Until then, keep experimenting and learning – it’ll pay off in the end! If you’re feeling inspired and ready to start sealing your own painted charcuterie board, check out our guide today – How to Seal a Painted Charcuterie Board! There are more tips, tricks, and supplies waiting for you!

