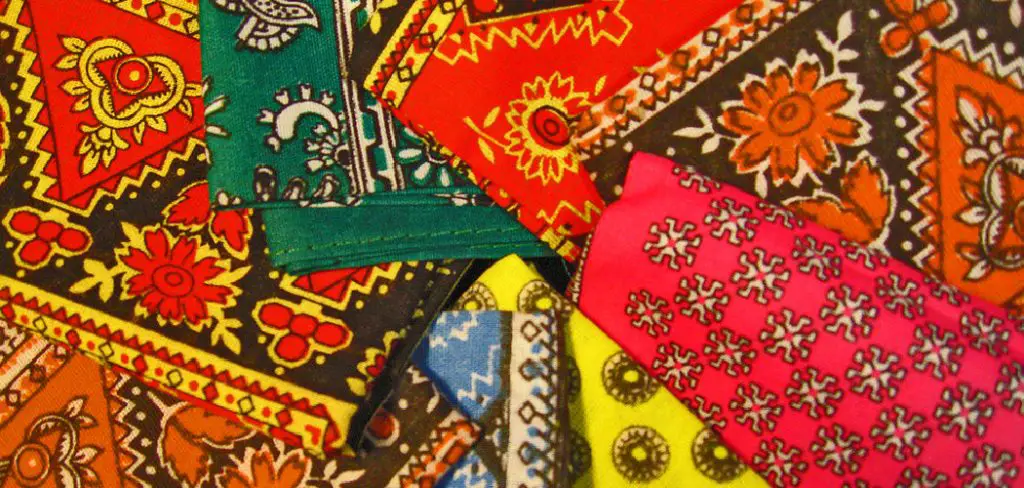
Do you want to get creative and add unique custom designs to a bandana? Are you looking for an interesting craft project that will really make your style stand out? Screen printing is the perfect way to customize any type of fabric, including a bandana! With screen printing, it’s quick and easy to transform an ordinary bandana into something truly one-of-a-kind.
In this blog post, we’ll cover all of the steps on how to screen print bandanas. From gathering materials and setting up screens right through creating registration marks and curing time, by following our guidelines you’ll be able to successfully turn any simple piece of cloth into a dynamic work of art! So if you’re ready, let’s show you how easy it can be to set up and execute your own personal screen print projects — starting with our favorite item: the fabulous bandana!

Why May You Want to Screen Print Bandanas?
1 . To Promote Your Brand
If you’re a business owner, whether small or large scale, branding is an essential aspect of marketing. It helps create awareness and differentiate your products from competitors in the market.
Suppose you’re looking for creative ways to advertise your brand; screen printing bandanas can be an excellent choice. Bandanas are versatile, and people love using them as accessories, which makes them an excellent medium to expose your brand. With screen printing, you can print your logo and other brand-related information on the bandanas, giving people a practical way to carry around your advertising message while using something they love.
2 . To Create Unique Merchandise
If you’re running a merchandise store or planning to start one, screen-printed bandanas should be on your merch list. These printed bandanas can be great for musicians, artists, and athletes looking to create unique merchandise that their fans can purchase. You can print your logo, album art, or other creative designs on the bandanas to attract customers and increase brand awareness.

3 . To Show Team Spirit
Are you part of a sports team, club, or group? Screen printing bandanas can be an excellent way to show your team spirit. You can print your team’s logo, name, and other details on the bandanas and distribute them among members. These bandanas are not only a great way to promote unity within the group but also create a sense of belonging and identity.
4 . To Personalize Gifts
Bandanas are a practical and cost-effective gift that you can give to your friends, family, or loved ones. With screen printing, you can take this gift to the next level by personalizing it with custom designs or messages. For instance, you can print someone’s name, favorite quote, or inside joke on the bandana to make it extra special. It shows that you put thought and effort into the gift, making it more meaningful and memorable.
5 . To Support a Cause
Screen-printed bandanas can also be used to raise awareness and support for a particular cause. Whether it’s an environmental issue, social justice movement, or charity fundraiser, you can print relevant designs and messages on the bandanas to spread your message.
How to Screen Print Bandanas in 6 Easy Steps
Step 1: Gather Your Materials
Before you begin screen printing bandanas, make sure you have all the necessary materials. These include:
- Bandanas (can be cotton or polyester blend)
- Screen printing frame and mesh
- Squeegee
- Screen printing ink
- Scoop coater
- Emulsion and sensitizer
- Photo emulsion remover
- Light source (such as a lightbox or sunlight)
- Gloves
- Protective eyewear
- Old towels or rags
Step 2: Prepare Your Design
The next step is to prepare your design. This can be done either by hand-drawing it on the mesh of the screen printing frame or by creating a digital design and transferring it onto the screen using a transparency sheet. Whichever method you choose, make sure your design is the appropriate size for your bandanas and that it is placed in the center of the screen.

Step 3: Coat Your Screen
To ensure a clean and crisp print, you will need to coat your screen with emulsion. This step requires precision and care, as any imperfections in the coating can result in distorted prints. Use a scoop coater to evenly spread the emulsion on both sides of the mesh, and then let it dry in a dark place.
Step 4: Expose Your Screen
Once your screen is dry, it’s time to expose your design onto the screen using a light source. Make sure you do this in a dark room or under red light, as the emulsion is sensitive to UV light. Place your design on top of the screen and then expose it for the appropriate amount of time (typically 7-10 minutes).
Step 5: Rinse Your Screen
After exposing your screen, use a hose or showerhead to rinse off the excess emulsion. This will reveal your design on the mesh. Make sure to rinse both sides of the screen thoroughly and let it dry before moving on to the next step.
Step 6: Print Your Bandanas
Now comes the fun part – printing your bandanas! Place your bandana on a flat surface and place the screen on top, making sure it is aligned correctly. Apply a generous amount of ink on the top end of the design and use a squeegee to pull the ink down across the design. Repeat this process for each bandana, making sure to clean your screen in between prints.
Some Extra Tips to Screen Print Bandanas
1 . Choose the Right Bandanas
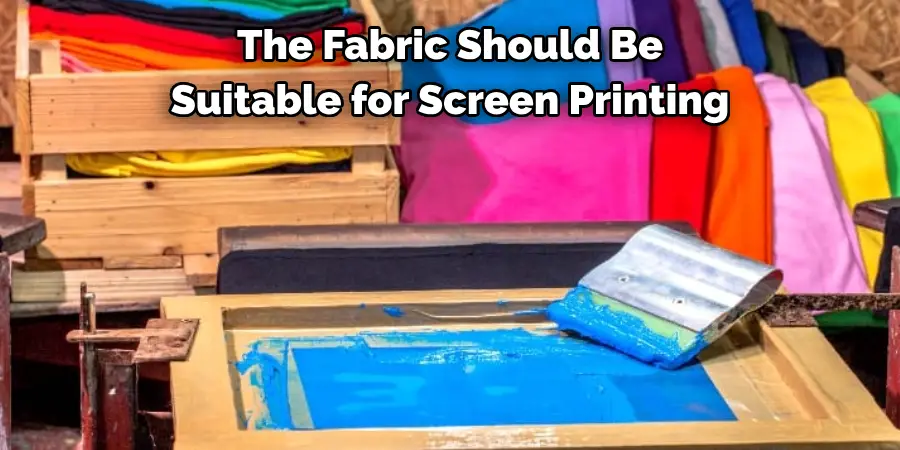
Choosing the right bandanas is crucial when it comes to screen printing. The fabric should be suitable for screen printing, and the size of the bandana should be appropriate for your design. Make sure to test on a few bandanas before starting your production, as this will give you a better idea of how your design will look and if any adjustments need to be made.

2. Preparing the Design
Before starting with screen printing, it is important to properly prepare your design. Make sure it is in the correct file format and that all elements are in vector form. This will ensure a more precise and clean print.
3. Use High-Quality Inks and Screens
Investing in high-quality inks and screens is essential for achieving a professional and long-lasting print. Low-quality inks can result in dull or washed-out colors, while low-quality screens can lead to smudging or bleeding of the design.
4. Test Print on Similar Fabric
Once you have your design ready and your materials prepared, it is always a good idea to do a test print on a similar fabric before starting with production. This will allow you to make any necessary adjustments and avoid potential mistakes or errors.
5. Pay Attention to Screen Alignment
Proper screen alignment is crucial when screen printing bandanas. Make sure that the screens are aligned correctly for each color used in the design. This will ensure a neat and precise print.
6. Take Care of Your Screens
Screens are expensive and need to be taken care of properly for long-term use. After each use, make sure to clean the screens thoroughly with a screen cleaner and store them in a dry and cool place.
Frequently Asked Questions
What Precautions Do I Need to Take When Learning How to Screen Print Bandanas?
Before starting your first screen printing project, there are a few precautions you need to keep in mind. Firstly, it is important to wear protective gear, such as gloves and goggles, to avoid direct contact with the ink and chemicals used in the process. Make sure you have proper ventilation in your workspace to avoid inhaling fumes from the ink and solvents. Additionally, it is recommended to read the instructions on all products carefully and follow safety guidelines.
Can I Use Regular Ink for Screen Printing Bandanas?
No, regular ink is not suitable for screen printing bandanas. You will need to use special fabric ink that is specifically designed for screen printing. This type of ink has better adhesion to fabric and will not crack or fade after washing.
How Do I Prepare the Bandana for Screen Printing?
To prepare the bandana for screen printing, you will need to wash and dry it first. This helps remove any sizing or chemicals from the fabric that could affect the print quality. Ironing the bandana beforehand can also help create a smoother surface for printing.
Do I Need to Use a Special Screen for Bandana Printing?
Yes, you will need to use a screen with a mesh count of at least 110 for bandana printing. This will allow the ink to pass through evenly and create a clean print. It is also important to properly tension the screen before printing to avoid any blurring or bleeding of the design.
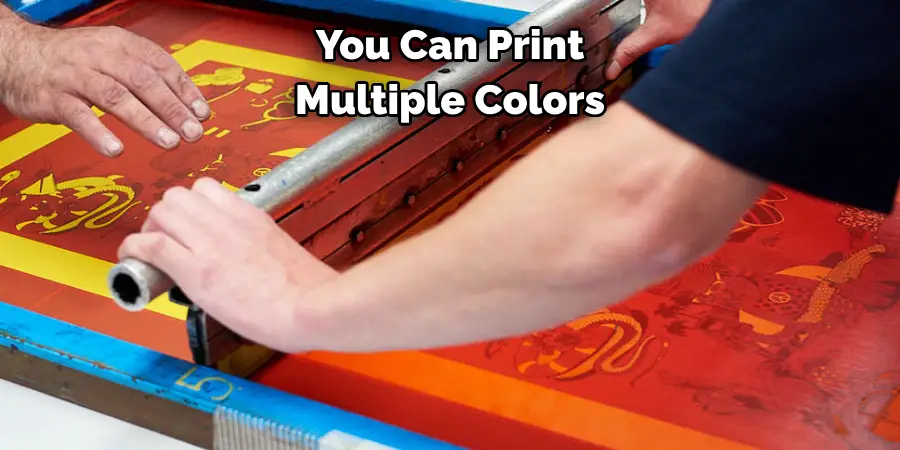
Can I Print Multiple Colors on a Bandana?
Yes, you can print multiple colors on a bandana using the screen printing technique. This is achieved by creating separate screens for each color and layering them one by one onto the fabric. It is important to carefully align the screens to ensure proper registration and avoid any overlap or gaps in the design.

Conclusion
The possibilities for creating your own screen-printed bandanas are endless. Whether you’re a novice crafter or a seasoned artist, with the right tools and some creative experimentation, you can create a wide variety of beautiful and unique works of art.
Now you know how to screen print bandanas! So don’t be afraid to jump in – give screen printing bandanas a try, and help brighten up any wardrobe! Plus, it makes for an awesome gift idea for friends and family too. Go ahead, channel your inner creativity and start making something special: get started with your very own personalized bandana today!

