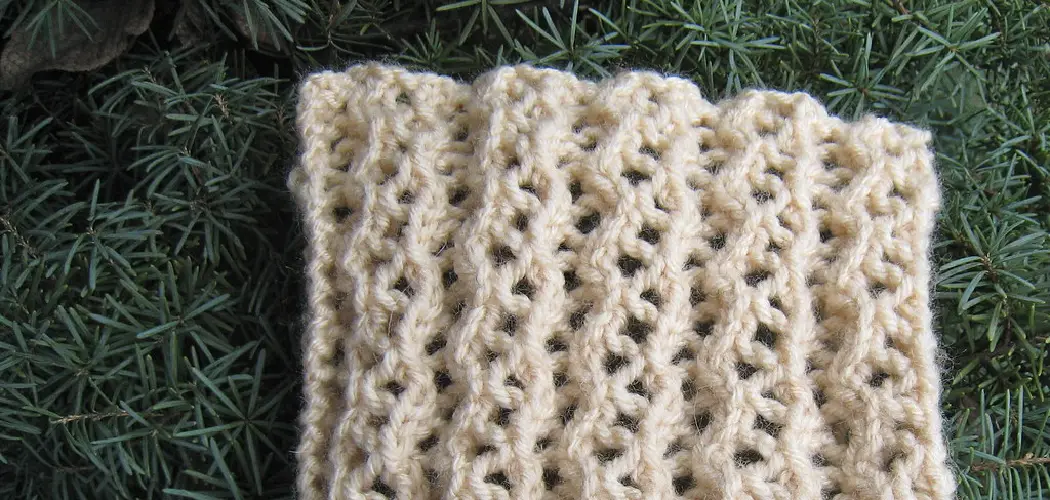
Rib stitching in crochet is a versatile and textured technique that adds depth, elasticity, and visual interest to your projects. Whether you’re creating scarves, cuffs, or garments, mastering the art of rib stitch crochet can elevate the quality and appearance of your work. This article will serve as your comprehensive guide on how to rib stitch crochet, covering the essential steps and techniques involved in this textured stitch pattern.
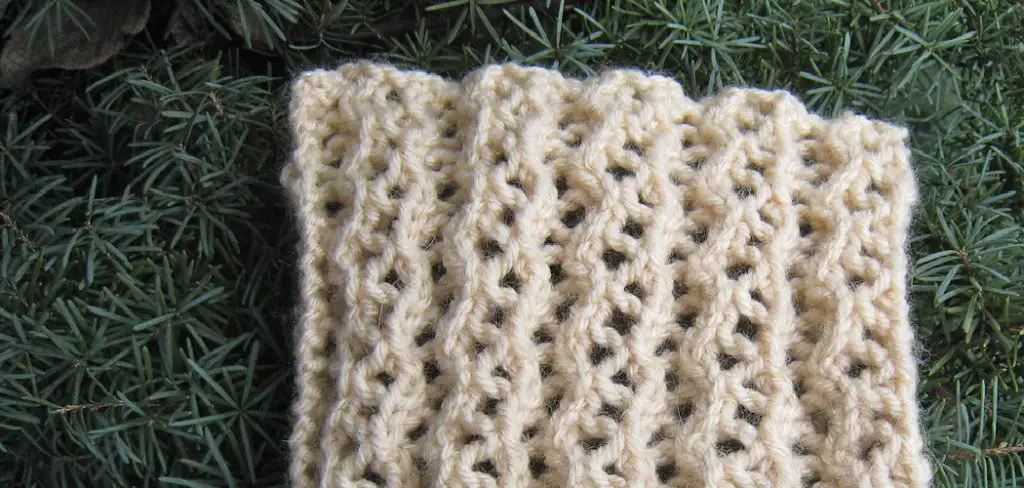
From understanding the basic structure of ribbing to learning how to alternate between front post and back post stitches, you’ll gain the knowledge and skills necessary to create visually striking and stretchy crochet fabric.
Whether you’re an experienced crocheter looking to diversify your skills or a beginner eager to explore new patterns, rib stitch crochet is an excellent addition to your repertoire, offering endless possibilities for crafting stylish and functional projects.
Yarn Weight and Hook Size Considerations
The choice of yarn weight and hook size is important when working on any crochet project, including the rib stitch. The thickness of your chosen yarn and the corresponding hook size will affect the final look and feel of your rib stitch.
Yarn weight is classified using a standard system that ranges from 0 (lace weight) to 7 (jumbo). The higher the number, the thicker and heavier the yarn. For rib stitch crochet, it is best to choose a medium-weight (also known as worsted or aran weight) yarn. This weight allows for a good combination of stitch definition and drape in the rib stitch.
In terms of hook size, it is recommended to use a hook that is slightly smaller than what is typically used for the chosen yarn weight. This will help create tighter, more defined rib stitches.
For example, if you are using a medium-weight yarn, which typically calls for a 5 mm hook, you may want to use a 4.5 mm hook for rib stitch crochet. However, this also depends on your personal tension and preference, so it is important to experiment and find the right hook size for your project.
It is also worth noting that using a larger hook size will result in looser rib stitches, which may produce a more open and flowing fabric. This can be desirable for certain projects, such as scarves or garments where drape is important.
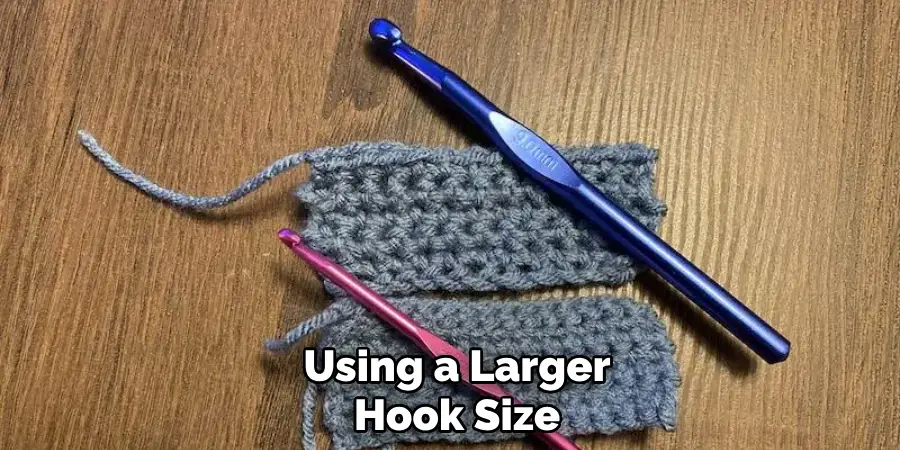
Ultimately, it is recommended to swatch with different yarn weights and hook sizes to find what works best for your rib stitch crochet project. This will ensure that you achieve the desired look and feel in your finished piece. Remember to always refer to the yarn label for recommended hook sizes, but also be willing to experiment and find what works best for you.
10 Methods How to Rib Stitch Crochet
1. Gathering the Necessary Supplies
Before you can begin rib stitching in crochet, you will need to make sure that you have all of the necessary supplies. This includes a crochet hook, yarn or thread, and scissors. You may also want to purchase a stitch marker so that you can easily keep track of your stitches as you work. Once you have gathered all of your supplies, you are ready to begin!
2. Starting the Chain Stitch
The first step in learning how to rib stitch crochet is to start with a chain stitch. To do this, wrap the yarn around your crochet hook and draw it through the loop on your hook until there is only one loop left on the hook. This is known as a chain stitch and will be used as the foundation for your ribbed pattern.
3. Working Single Crochet Stitches
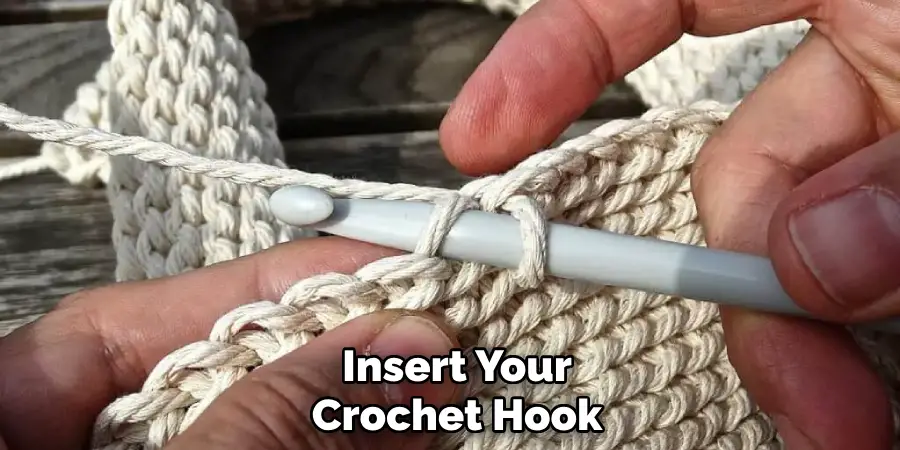
Once you have completed your chain stitch, it is time to start working single crochet stitches into each chain stitch from the previous row. To do this, insert your crochet hook into the next chain stitch and wrap the yarn around your hook once again. Draw this loop through both loops on your hook and then pull tight to complete the single crochet stitch. Repeat this process for each chain stitch across until you reach the end of the row.
4. Working Half Double Crochet Stitches
The next step in learning how to rib stitch crochet is to work half double crochet stitches into each single crochet from the previous row. To do this, wrap the yarn around your hook twice before inserting it into the next single crochet from the previous row and drawing it through both loops on your hook at once. Pull tight to complete this half double crochet stitch and repeat across until you reach the end of the row.
5. Working Double Crochet Stitches
Next, work double crochet stitches into each half-double crochet from the previous row by wrapping the yarn around your hook three times before inserting it into the next half-double crochet from two rows down and drawing it through two loops at once before pulling tight to complete this double crochet stitch. Repeat across until you reach the end of this row, as well as any subsequent rows until the desired length is achieved.
6. Finishing Up With Slip Stitches
Once you have completed all of your rows with either single crochets, half double crochets or double crochets, depending upon which type of ribbing pattern is desired, finish up by slip stitching back along each row, starting at one end and working towards the other end until all rows are slip stitched together creating seamless look throughout project.
7. Fastening Off
To fasten off when finished with the project, simply cut the remaining yarn several inches away from the last loop left on the hook, leaving enough tail for weaving in ends later on if desired. Pull the cut end straight through the loop to secure it in place. This will prevent your work from unraveling and can be easily hidden within the stitches.
8. Weaving In Ends
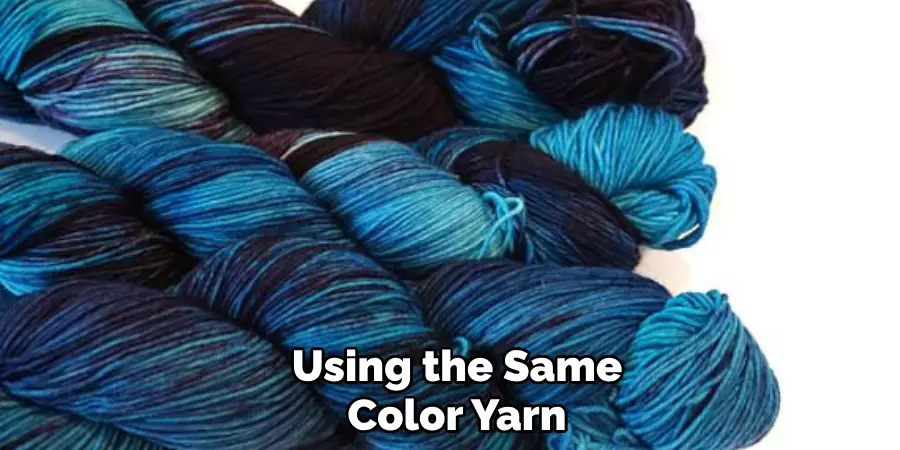
Weaving in ends involves taking the remaining tail after fastening it off securely and weaving it back through the project using a tapestry needle or similar tool. Begin by threading the tapestry needle with the remaining tail, then weave back through the project using the same color yarn or contrasting color if preferred. Weave in ends securely so they don’t come undone easily when being handled later on.
9. Blocking Project
Blocking is the process of stretching and shaping your finished crochet project to achieve a more polished and professional look. It involves pinning your project in place on a flat surface, usually using blocking mats or towels, and then lightly misting it with water before allowing it to dry completely. This process helps to even out any tension discrepancies and smooth out the overall appearance of your stitches.
10. Enjoying Your Finished Project!
Now that everything is done take some time to appreciate your creation. It’s always such a satisfying feeling to see a project come together and know that you made it yourself.
But don’t stop there! Make sure to share your work with others and spread the joy of crochet. You can post pictures on social media, give the finished project as a gift to someone special, or even teach someone else how to rib stitch crochet.
Things to Consider When Learning How to Rib Stitch Crochet
When it comes to crochet, there are countless stitches and techniques that can be used to create beautiful projects. One popular stitch that is often used in crochet patterns is the rib stitch. This versatile stitch has a textured look and is commonly used for borders, cuffs, and collars in garments.
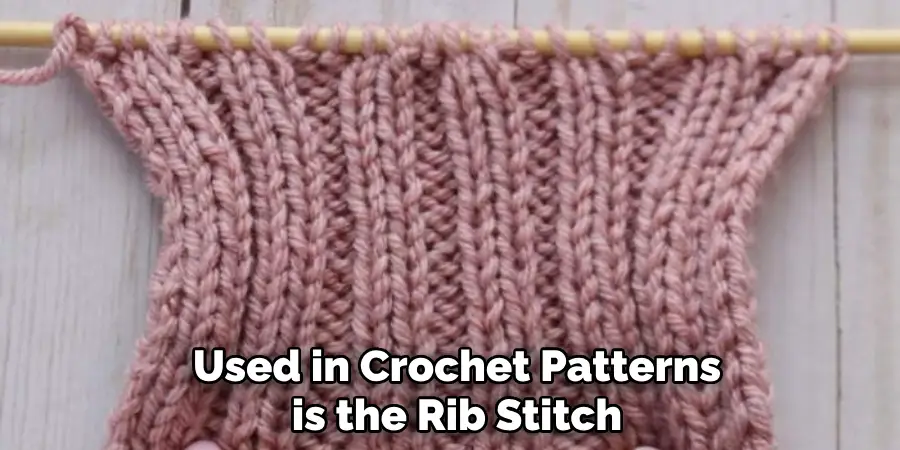
If you’re new to crocheting or looking to expand your skills, learning the rib stitch can be a great place to start. However, before jumping into this stitch, there are a few things you should consider.
Understanding the Basics of Crochet
Before attempting any new crochet stitch or technique, it’s important to have a solid understanding of the basics. This includes knowing how to hold and tension your yarn, how to create a slip knot, and how to work the basic stitches such as single crochet, double crochet, and treble crochet.
If you’re new to crochet or need a refresher on these techniques, it’s recommended to practice them before attempting the rib stitch. This will help ensure that you have a strong foundation and are able to understand the mechanics of the stitch.
Choosing the Right Yarn and Hook Size
When working with any crochet stitch, it’s important to choose the right yarn and hook size for your project. This is especially true when learning how to rib stitch crochet. The rib stitch creates a dense fabric, so using a bulky or super bulky weight yarn may result in a stiff and uncomfortable finished product. Instead, opt for a medium weight yarn such as worsted or DK and use a hook size that is recommended on the label. This will help create a soft and flexible fabric with good stitch definition.
Common Mistakes to Avoid When Rib Stitch Crochet
Crocheting is a popular hobby that has been around for centuries. One of the most commonly used stitches in crochet is the rib stitch, which creates a ridged and textured pattern. This stitch can be used to create a variety of projects, from scarves and hats to sweaters and blankets.
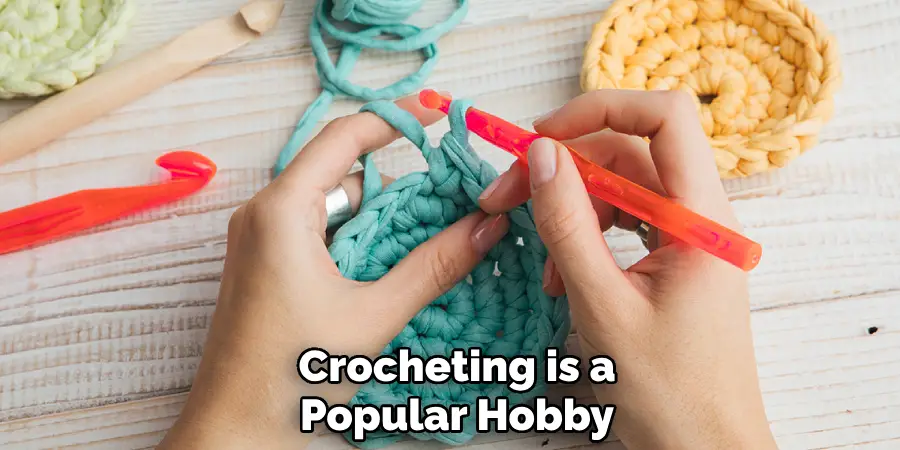
However, as with any skill, there are some common mistakes that beginners (and even experienced crocheters) make when attempting the rib stitch. In this guide, we’ll go over these mistakes and how to avoid them.
1. Using the Wrong Yarn Weight
One of the biggest mistakes when it comes to rib stitch crochet is using the wrong yarn weight. The rib stitch looks best when made with a medium or bulky weight yarn. If you use a thinner yarn, the ridges won’t be as prominent and the finished product may end up looking too loose.
On the other hand, if you use a thicker yarn than recommended, the rib stitch can become too stiff and difficult to work with. It’s important to stick to the recommended yarn weight for best results.
2. Not Using the Correct Hook Size
Similar to using the wrong yarn weight, using the incorrect hook size can also affect the appearance of your rib stitch. It’s important to use a hook that is appropriate for the yarn weight you are using. If you use a larger hook than recommended, your stitches will be too loose and result in an uneven pattern.
On the other hand, if you use a smaller hook, the stitches will be too tight and may even cause difficulty in completing the stitch. Be sure to check your pattern for the recommended hook size and adjust accordingly.
3. Not Maintaining Proper Tension
Tension is crucial when it comes to rib stitch crochet. If your tension is too loose or too tight, it can throw off the entire pattern and make it difficult to create a consistent ribbed texture.
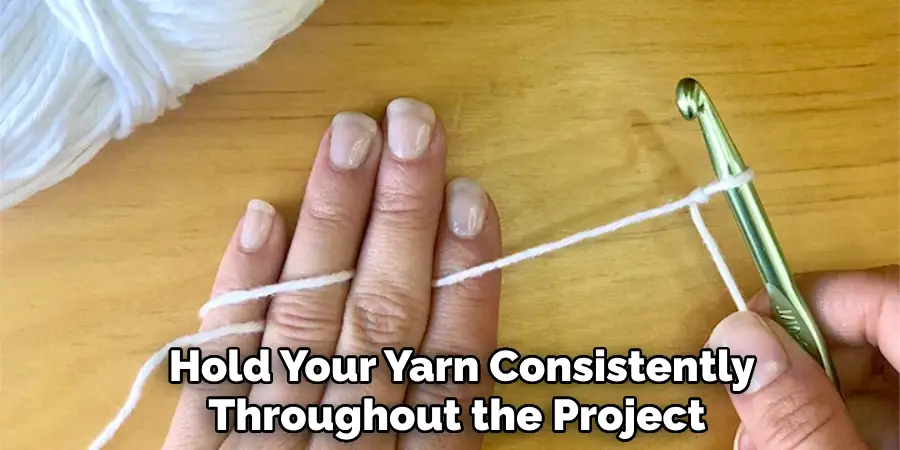
To maintain proper tension, make sure to hold your yarn consistently throughout the project and also pay attention to how tightly you are pulling the yarn through each stitch. Practice makes perfect when it comes to finding the right tension for your stitches.
Conclusion
To conclude, rib stitches are an incredibly versatile and easy way to add a unique texture to any crochet project. Not only will you feel proud of your piece for its depth of complexity, but you can also feel confident knowing that the process to create this intricate pattern is quite simple! Feel free to experiment with different colors, types of stitches and chain stitches for an even more unique look.
And don’t forget to practice your ribbing techniques so you can become a pro in no time! Whether it’s a scarf, hat or bag that needs ribbing- you’ll be ready to take on the challenge. So get out there and discover how to rib stitch crochet today!

