Do you have an old sewing machine but need help keeping it going? Needles can become dull and broken over time, rendering a once beloved Singer or Brother obsolete. Fortunately, replacing the needle is easy, following a few simple steps.
The process is the same whether you have a regular or embroidery sewing machine. Always ensure you select the right needle size for your machine and thread; reading the manufacturer’s manual will help.
In this blog post, we’ll show you how to replace sewing machine needle quickly and easily so that you can continue crafting projects with ease! Read on for browsing tips, assembling instructions, and our troubleshooting advice for any unexpected hiccups that might arise.
What Will You Need?
To replace the needle on your sewing machine, you will need:
- Sewing machine thread that matches the material being sewn
- A replacement needle of the right size for your project and to fit your machine
- Scissors (optional)
- Tweezers or another pointed tool (optional)
- Small Phillips or flat head screwdriver (optional)
With these tools, you are ready to start replacing the sewing machine needle.
10 Easy Steps on How to Replace Sewing Machine Needle
Step 1: Turn off the Sewing Machine
Safety should always be your first concern when working with any electronic device. For security, ensure that your sewing machine is completely powered off before starting maintenance or replacement tasks.
Turning off the machine minimizes the risk of accidental injuries and protects the device from potential damage. Depending on your machine’s design, you can do this by unplugging it from the power source or by turning off the switch.
Step 2: Remove the Existing Needle
After ensuring the machine is powered off, the next step is to remove the old or broken needle. This is typically accomplished by loosening the needle clamp screw—usually found right on the needle bar above the needle—either with your fingers or with the help of a screwdriver if it’s too tight.
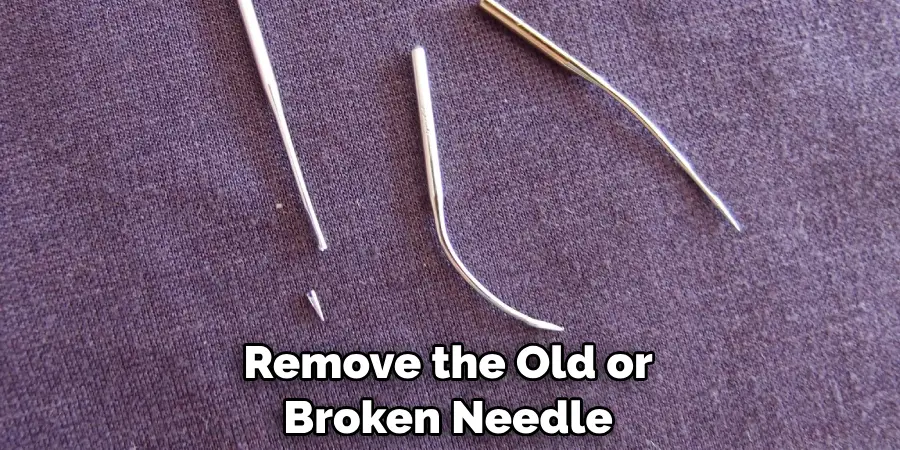
Once the screw is loose, you can simply slide the needle down and out of the machine. Be cautious during this step to prevent the needle from dropping into the machine. Placing a small piece of fabric or paper under the foot may be helpful to catch the needle if it falls.
Step 3: Prepare Your New Needle
Now it’s time to prepare your new needle. Before inserting it into the machine, ensure it is the right size for your project and your sewing machine. The needle package or your machine’s manual can provide this information. Hold the needle with the flat side facing towards the back of the machine.
This is crucial as the flat side corresponds to how the thread will go through the eye of the needle. Remember, the correct orientation of the needle ensures smooth operation and prevents potential damage.
Step 4: Insert the New Needle
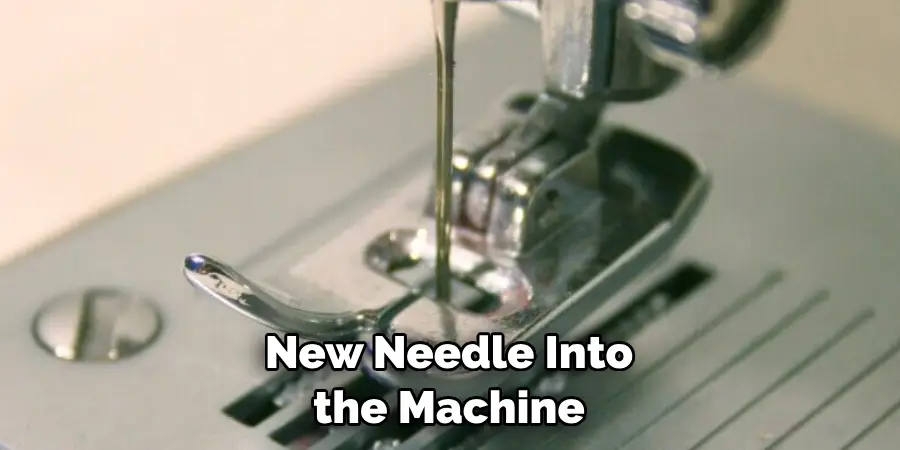
Now, you’re ready to insert the new needle into the machine. Hold the needle with the flat side facing the back of the machine and slide it up into the needle clamp as far as it will go. You’re looking for the needle to fit snugly into place. Once in position, tighten the needle clamp screw.
Be careful not to over-tighten, as this might lead to unnecessary strain or even damage to the equipment. At this point, give the needle a gentle tug to ensure it’s securely in place. If it moves, you’ll need to re-tighten the needle clamp screw.
Step 5: Thread the Needle
After the needle is secured, you can proceed to thread the needle. Cut your thread at an angle to make it easier to thread through the small eye of the needle. You may use a needle threader if you have one. Otherwise, hold the thread out straight, then push it through the eye of the needle. Pull at least six inches of thread through the needle to ensure it doesn’t unthread as you start to sew.
Step 6: Test the Machine
After threading the needle, it’s time to test your machine. Start by hand turning the wheel towards you to make a couple of stitches. This will help ensure the threading is correct and the needle is properly positioned. Then, try sewing on a scrap piece of fabric.
Pay attention to how smoothly the machine operates. If you notice any skipped stitches or unthreading, or the machine is not running smoothly, recheck the needle positioning and the threading. Once everything works fine, you can continue your sewing project.
Step 7: Start Your Sewing Project
Now that your machine runs smoothly with its new needle, it’s time to start your sewing project. Position your fabric underneath the presser foot, lower the foot, and begin sewing slowly. Pay attention to the machine’s operation as you sew.
If you notice any irregularities such as skipped stitches or thread bunching, stop immediately, rethread your machine, and check the needle’s position. Once everything functions properly, you can gradually increase your speed and continue your project.
Step 8: Maintain Your Machine Regularly
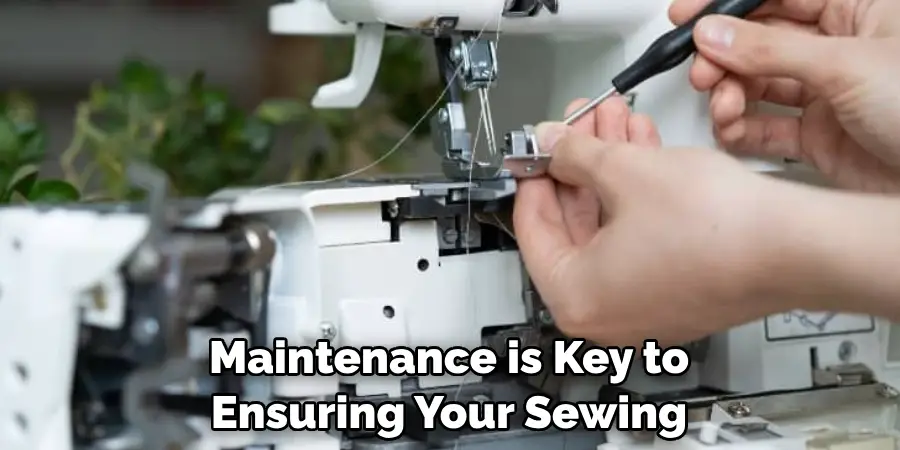
Regular maintenance is key to ensuring your sewing machine’s longevity and optimal performance. Make it a habit to clean your machine after each sewing project. Remove any thread or fabric lint from the bobbin area and underneath the needle plate. Use a soft brush or a can of compressed air to do this but avoid blowing lint into the machine.
Occasionally, oil the machine’s moving parts as per the manufacturer’s instructions. Always remember to replace the needle after every 8-10 hours of sewing or sooner if you notice any dullness or bending. This regular care ensures your machine stays in good working condition and minimizes the risk of damage to your sewing projects.
Step 9: Clean Up Your Working Space
Once you’ve completed your sewing project, tidying up your workspace is important. Put away all sewing tools and accessories in their designated storage spaces to avoid misplacement. Dispose of any broken needles properly to prevent accidents.
Any leftover pieces of thread and fabric should also be cleared away. Keeping your sewing area neat and organized can enhance your productivity for future projects by allowing easy access to necessary tools and creating a pleasing and efficient working environment.
Step 10: Store Your Sewing Machine Properly
After your sewing work is done and your work area is clean, storing your sewing machine properly is important to ensure its longevity. If your machine comes with a protective cover, use it to prevent dust from settling on the machine. Place the machine in a dry, cool place away from direct sunlight, as excessive heat or humidity can cause damage to its parts.
If you’re going to use the machine for a short period of time, consider removing the needle and the thread from the machine. This can prevent potential rusting or degradation of the needle and keeps your machine ready for the next use.
By following these steps, you can be sure that your sewing machine is operating optimally, and you can enjoy the pleasure of successful sewing projects. Remember to refer to your machine’s manual for instructions related to maintenance and storage. With a little care, your sewing machine will continue to provide years of reliable service.
5 Additional Tips and Tricks
- Make sure to use the correct size needle for your sewing machine. Check the owner’s manual and use a needle compatible with your machine model. If you are unsure, check with a professional before making any adjustments.
- Take extra precautions when removing the old needle from your sewing machine. Loosen the screw on the back of the throat plate and carefully remove the needle, keeping the flat side of the needle facing up.
- While using your sewing machine, avoid threading the fabric or material through too quickly. This can cause uneven stitching and create needle tension, possibly leading to breakage.
- To prevent skipped stitches, check the condition of the needle regularly. If the needle is dull or bent, it can cause skipped stitches and should be replaced immediately.
- Before you begin any project, inspect your sewing machine for loose parts or thread buildup. Clean away any lint or debris accumulated in the bobbin area for optimal machine functioning.
With these tips and tricks in mind, you can feel confident when replacing the needle on your sewing machine and get back to creating beautiful projects! Be sure to keep track of needle size and type for future reference.
5 Things You Should Avoid
- Only use a needle that is large enough for your machine. The wrong size can cause damage to the material and sometimes even the machine itself.
- Never force the needle into place — always make sure it fits securely but gently so you don’t damage it.
- Ensure you never use a rusty needle on your sewing machine, which can cause various issues with your fabric and stitches.
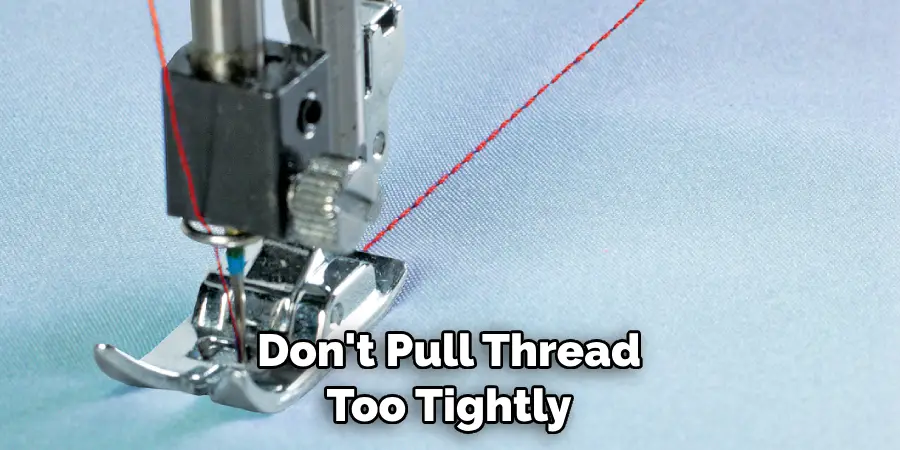
- Don’t pull thread too tightly through the needle when you’re sewing, as this can lead to skipped stitches or a broken needle.
- Avoid using needles bent or with nicks in them — these can cause uneven stitching and damage to your machine.
By following these simple practices, you can ensure that your sewing machine needle replacement projects are successful and that your machine remains in great condition for many years.
Conclusion
All in all, how to replace sewing machine needle is a straightforward procedure that can be accomplished quickly and easily. It may seem intimidating at first, but with practice and knowledge of the right tools, it is something that anyone can do without needing expert advice or assistance.
When you know how to replace the needle on your own, allows for more flexibility when customizing clothing for yourself or creating brand new original designs. It also means fewer trips to the tailor or sewing shop, as you’ll now be able to handle any basic maintenance problems yourself at home.
If you have issues with old needles breaking or causing other minor problems while working with fabric – don’t put up with it any longer! Replace them immediately so you can enjoy quality stitching for years to come!

