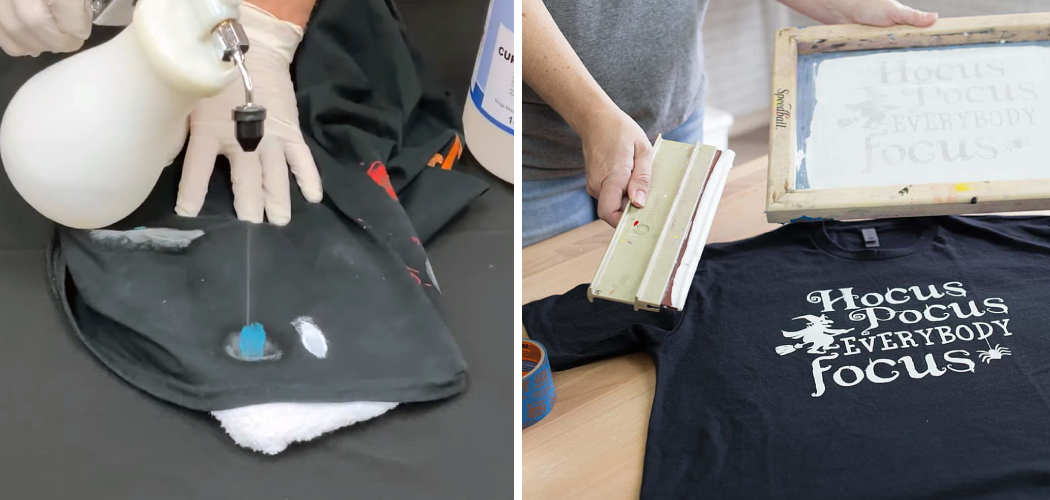
Have you ever experienced the frustration of needing to remove a screen-printed graphic from fabric? Ever found yourself needing to remove a pesky screen printing from fabric? We’ve all been there – whether it’s an old t-shirt that needs to be refreshed or you’re looking for a way to decorate something differently, removing screen printing from fabric can seem like an impossible task.
But don’t worry – with the right know-how and techniques on how to remove screen printing from fabric, it is possible! In this blog post, we’ll share expert tips on how to quickly and safely remove screen printing from any type of fabric so you can easily transition your look in no time.
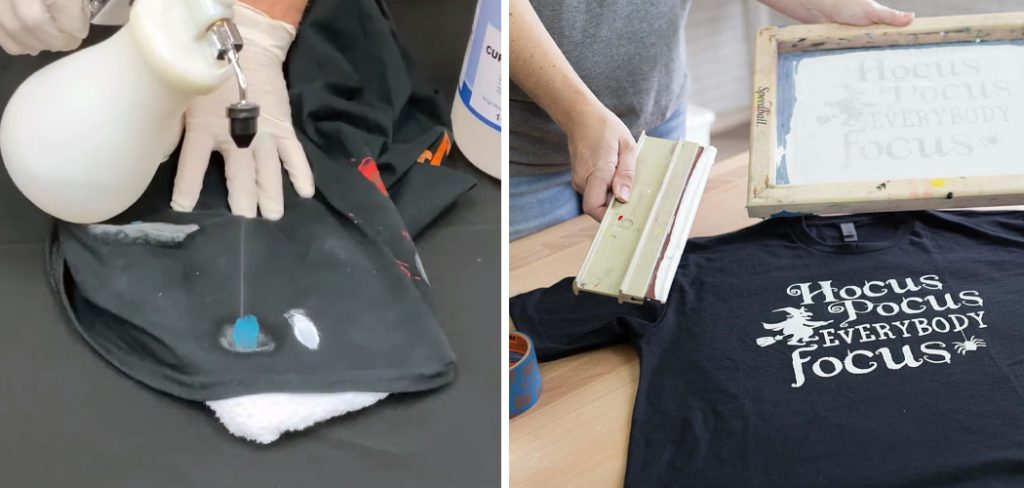
Keep reading if you want some guidance in learning how to restore fabrics back to their original state! So let’s get started and learn together how to make any fabric look its absolute best again!
Is It Possible to Remove Screen Printing From Fabric?
The short answer is yes – with the right techniques, you can successfully remove screen printing from fabric! But before we get into the specifics of how to remove screen printing, there are a few important things to keep in mind.
Also, it’s important to note that different fabrics have different levels of success when attempting to remove screen printing. In general, the more expensive and tightly woven the fabric is, the better results you will get.
Things to Remember When Removing Screen Printing From Fabric
1. Test the Product
Be sure to test any product you plan on using on the fabric before applying it. This is especially important when it comes to chemical-based products and may help to save your project in the long run. Without testing first, there is always the risk of damaging or discoloring the fabric.
2. Check for Colorfastness
Checking to see if a fabric is colorfast prior to attempting to remove screen printing is also a must. If the fabric isn’t colorfast, you could run into problems such as fading or bleeding when trying to clean it. To check for colorfastness, simply test an inconspicuous area of the fabric using cold water.
If there is no discoloration or fading after being in contact with the cold water, then you can proceed with removing the screen printing.

3. Check for Heat Resistant
When it comes to heat leaving any kind of permanent mark on fabrics, it is especially important to check if the fabric is heat resistant before proceeding. If the fabric isn’t heat resistant, it could be damaged when exposed to high temperatures.
What You’ll Need To Remove Screen Printing From Fabric
Now that we’ve gone over a few things to consider before starting this process let’s take a look at what tools and supplies you’ll need in order to properly remove screen printing from fabric.
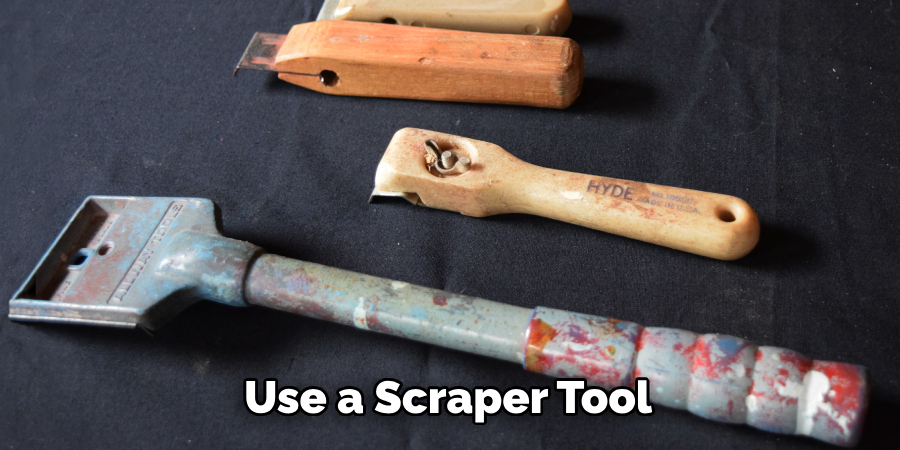
- Scraper Tool: This is the most important tool when it comes to removing screen printing from fabric – it helps break up the ink particles that are stuck to the fabric fibers.
- Heat Gun: If you’re dealing with stubborn screen printing, you may need to use a heat gun in order to loosen the ink particles from the fabric fibers and make it easier to scrape away.
- Eraser: An eraser might be needed to get rid of any remaining ink particles on the fabric.
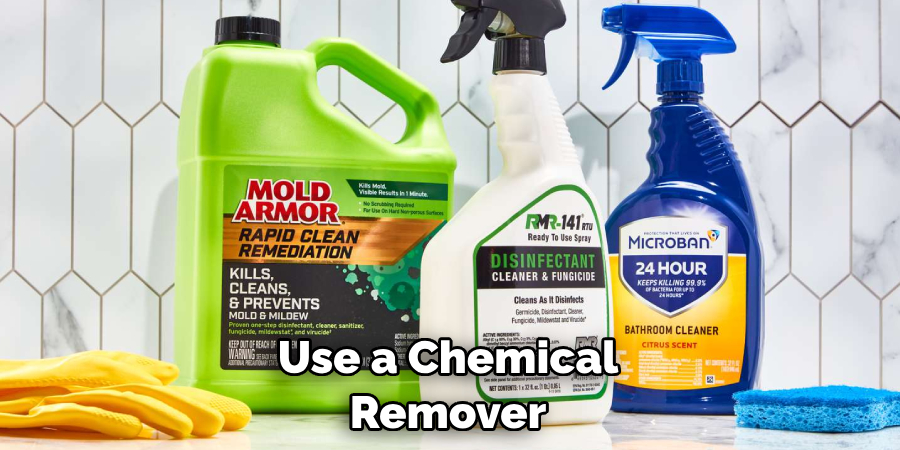
- Chemical Removers: If all else fails, you can use chemical removers that are specifically designed for removing screen printing from fabric. Always test in an inconspicuous area before using these chemicals!
How to Remove Screen Printing From Fabric in 10 Easy Steps
Step 1: Scrap the Screen
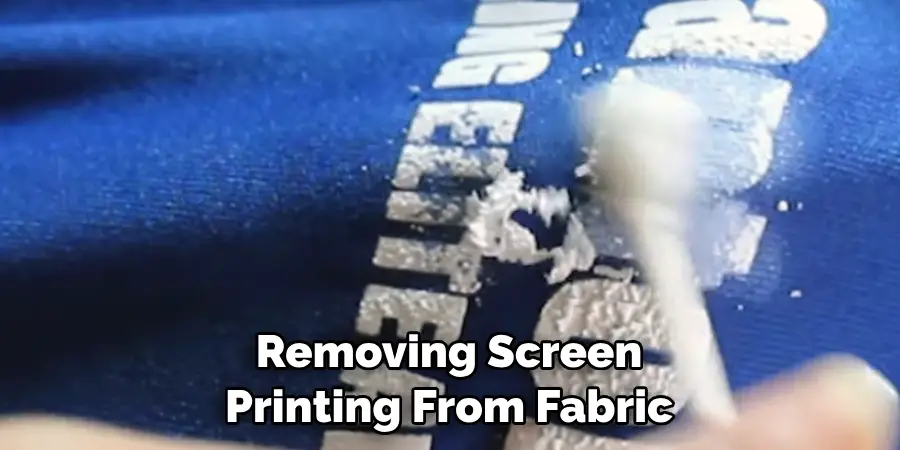
Start by scraping the screen-printed design with a scraper tool. Make sure to use gentle, even pressure in order to protect the fabric from damage. Scraping would also help to loosen the ink particles that are stuck to the fabric fibers.
Step 2: Apply Heat
Once you’ve scrapped the design as much as possible, it’s time to apply heat. Use a hair dryer or heat gun and carefully move it over the screen-printed design, making sure not to stay in one spot for too long, or else you could damage the fabric.
Step 3: Erase Away Remaining Ink Particles
Once you’ve applied enough heat to loosen the ink particles, it’s time to erase away any remaining particles. Use a cloth eraser and gently rub it over the screen-printed design until all of the ink has been removed. Easy enough, right?
Step 4: Re-Scrap the Design
Once you’ve used an eraser to remove any remaining ink particles, it’s time to re-scrap the design. Use a scraper tool and gently scrape away any residue until there is nothing left of the screen-printed design.
Step 5: Rinse and Repeat
If necessary, you can repeat the above steps until you are satisfied with the results. Don’t forget to take breaks between sessions in order to give your fabric a rest! Rinsing the fabric with cold water in between each session may help to remove any excess ink particles.
Step 6: Check for Colorfastness
Before you move on to the next step, be sure to check for colorfastness using cold water, just as we discussed earlier. If there is no discoloration or fading after being in contact with cold water, then you can proceed.
Step 7: Apply Chemical Remover (If Necessary)
If, after all of the above steps, there are still some stubborn ink particles that just won’t come off, it may be necessary to use a chemical remover specifically designed for removing screen printing from fabric. Just make sure to test it in an inconspicuous area before using it!
Step 8: Let the Fabric Air Dry
Once you’ve used a chemical remover on your fabric, make sure to let it air dry. Do not place the fabric in the washing machine or dryer, as this could cause damage and/or discoloration. Fabric softener or bleach should also be avoided.
Step 9: Check for Success
Once the fabric has had a chance to air dry, check it over to make sure that all of the screen-printed design is gone. If there are any stubborn ink particles remaining, repeat steps 1 – 8 until you are satisfied with the results.
Step 10: Enjoy the Finished Product!
Congratulations, you’ve just successfully removed a screen-printed design from fabric! Now you can enjoy your newly refreshed piece of fabric and show it off to friends and family.
Removing screen printing from fabric doesn’t have to be difficult. With the right tools and knowledge on how to remove screen printing from fabric, anyone can do it! Hopefully, this guide has given you an idea of how to properly remove screen printing from fabric and make any piece of fabric look like new.
8 Safety Measures to Follow When Removing Screen Printing From Fabric
When it comes to removing screen printing from fabric, there are a few key safety measures you should keep in mind.
- Always wear protective gloves when handling screen prints, as the chemicals used can be very harsh on your skin and cause irritation. When you are finished with the process, make sure to wash your hands thoroughly. Also, always wear safety glasses when working with chemicals and other hazardous materials.
- Do a pre-test on an inconspicuous piece of fabric or in an area that is not visible before proceeding to remove any screen printing from the main fabric. This will help you determine which method would be best for removing the design without causing damage to the material and its color.
- Prepare the area where you are going to be removing the screen print by covering it with a protective sheet or plastic material, such as a tarpaulin or an old sheet. This will help protect your working surface from any accidental spills of chemicals and other substances used in the process.
- Make sure that all of your work materials, such as knives, scissors, and other sharp objects, are in good condition before you start the process. This will help prevent any potential accidents from occurring during the procedure.
- Always read the instructions on any chemical or bleaching solution that you plan to use to remove the screen print carefully and follow them precisely. It is important to measure out the right amount of each substance in order to avoid any accidental skin irritation or damage to the fabric.
- Make sure you are working in a well-ventilated area, as some of the chemicals used can give off strong fumes that may be harmful if inhaled for long periods of time. Also, keep all flammable materials away from the area when using heat guns.
- If you are removing a large screen print from fabric, it is important to work in sections and give each section enough time to dry before proceeding with the next one. This will help ensure that the entire design does not end up smudging or becoming damaged during the process.
- Always make sure to dispose of all the chemicals and cleaning solutions used in a safe, responsible manner according to the directions provided by the manufacturer. This will help protect your local environment from any potential contamination due to hazardous materials.

By following these safety measures on how to remove screen printing from fabric, you can have peace of mind knowing that you are taking proper precautions while removing screen printing from fabric. With the right techniques and materials, this process can be completed in an efficient and safe manner.
Frequently Asked Questions
How Long Will It Take?
The amount of time that it takes to remove screen printing from fabric will depend on the size of the design, the type of fabric, and how stubbornly the ink has bound to the fibers. Generally speaking, it should take no longer than an hour to complete the job. Also, keep in mind that it may take multiple attempts to completely remove the screen printing.
What Materials Do I Need?
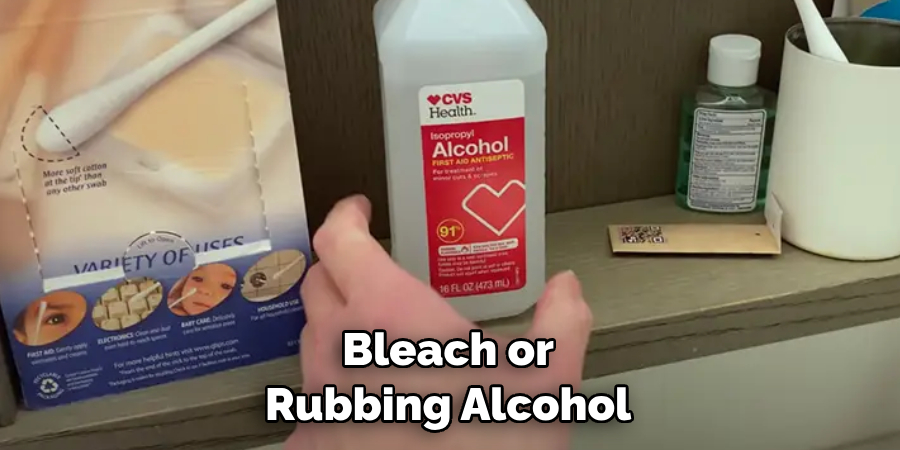
The materials needed for this project will vary depending on the type of fabric you are working with; however, some of the more common items include a scraper or razor blade, laundry detergent, and either bleach or rubbing alcohol. It’s always best to read the fabric label before attempting any sort of stain removal.
Are There Any Tips or Tricks?
Yes! One of the most important tips is to start on small areas and work your way up rather than trying to remove an entire design at once. If you find that your chosen cleaning agent isn’t having much effect on the fabric, you can always try a different one.
Lastly, make sure that you are scrubbing in the same direction and not across the fibers of your fabric. This will reduce the chances of fraying or damaging it.
What If I Can’t Remove All Of The Ink?
If you find yourself unable to remove all of the screen printing ink from your fabric, then you can always resort to covering it up using fabric paint or by adding a patch. Alternatively, you could use this opportunity to create something new and unique with the remaining ink! The possibilities are endless.
Conclusion
With the help of the tips on how to remove screen printing from fabric provided in this article, you should have no problem successfully removing screen printing from fabric. Make sure to use an adequate amount of detergent and hot water when handwashing the item for best results.
If you don’t want to risk any potential damage to your garment, experiment with a small area first before washing it fully. For machine-washable items, adjust the settings according to your garment’s care label instructions.
Additionally, having a household stain remover is also essential as it takes out stubborn stains that your normal washing methods do not address. Finally, for tough cases where all else fails, seek professional help at a dry cleaner which should be able to effectively remove screen printing from your shirt or another clothing item.
Trying out these techniques can save you money and time while also extending the life of your garments.

