
Are you looking for ways to restore your cherished pottery pieces? Do the years of wear and tear have you feeling helpless, struggling to remove the glaze from those delicate surfaces? Well, look no further!

In this blog post on how to remove glaze from pottery we share a helpful guide on how to take off that pesky glaze in an easy, efficient way. With just a few simple steps and household materials, that well-loved piece will be restored back into its original condition. So keep reading if you’re ready to learn more about removing glaze from pottery!
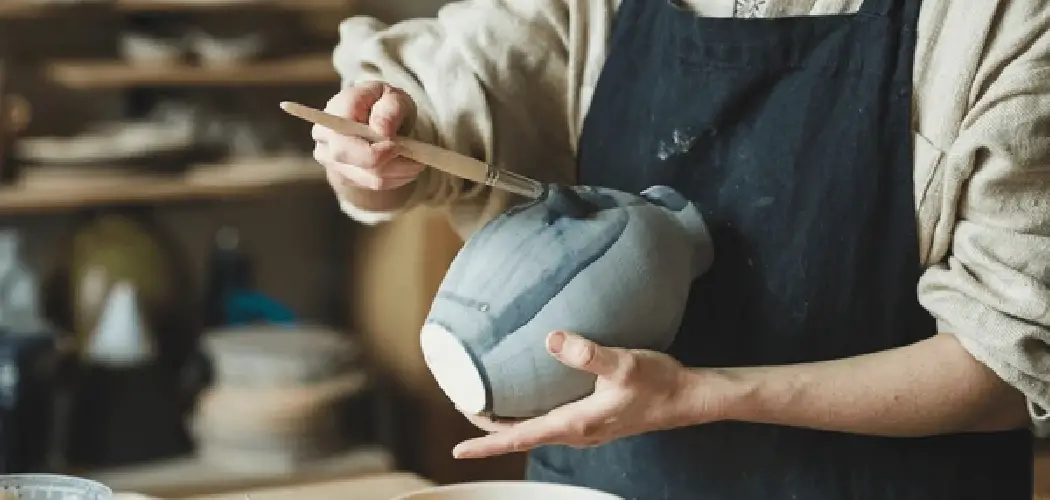
Things to Consider Before Removing Glaze From Pottery
- The Age and Condition of the Pottery Piece
- The Type of Glaze Used on the Piece
- The Level of Intricacy in the Design
- Your Personal Skill Level in Handling Delicate Objects
It’s important to keep in mind that removing glaze from pottery can be a delicate process, and it’s best to proceed with caution. If the piece is particularly old or fragile, it may be wise to seek professional help to avoid any damage.
11 Step-by-step Guidelines on How to Remove Glaze From Pottery
Step 1: Gather the Necessary Materials
Before starting the process, make sure you have all the required materials on hand. This includes:

- Rubber Gloves
- Eye Protection
- A Clean Work Area With Good Ventilation
- A Plastic Container
- A Plastic Scraper or Credit Card
- Water
- White Vinegar
- Liquid Dish Soap
Step 2: Prepare the Pottery Piece
Clean the pottery piece with warm water and dish soap to remove any surface dirt or debris. This will help ensure that the glaze removal process is more effective. If the piece has any cracks or chips, it’s best to avoid using this method and instead seek professional help. But if the piece is in good condition, proceed to the next step. You can also let the piece air dry before moving on to the next step.
Step 3: Protect Yourself
Put on rubber gloves and eye protection before handling any chemicals or potentially sharp objects. This will help protect your skin and eyes from any potential harm during the glaze removal process. It’s better to be safe than sorry! However, if you have any known allergies to the materials used, it’s best to avoid this method altogether. You can always opt for a different solution or seek professional help.
Step 4: Set Up the Work Area
Choose a clean, well-ventilated work area to prevent inhaling any fumes that may be produced during the process. Lay out all your materials and make sure you have enough space to comfortably work with the pottery piece. It’s also a good idea to cover the work surface with newspaper or plastic for easy clean-up. But be sure to choose a material that won’t stick to the piece, as this could cause damage.

Step 5: Create the Vinegar Solution
In your plastic container, mix equal parts white vinegar and water. This solution will help soften the glaze and make it easier to remove. If you’re working with a larger piece, you may need to prepare more solutions. It’s always better to have extra on hand than to run out in the middle of the process. You can also adjust the ratio of vinegar to water based on the strength of the glaze.
Step 6: Submerge the Pottery Piece
Carefully place the pottery piece in the vinegar solution, making sure it is completely submerged. Leave it to soak for at least 24 hours, or longer if needed. This will give the solution enough time to penetrate the glaze and loosen its grip on the surface. It’s important to be patient and avoid rushing this step. You want to ensure that the glaze is fully softened before moving on.
Step 7: Check the Pottery Piece
After 24 hours, remove the pottery piece from the solution and check if any of the glaze has started to peel off. If not, you can let it soak for a few more hours or up to another day. Be sure to check on it every few hours to avoid over-soaking and damaging the piece. If you notice any large areas of glaze that have peeled off, gently remove them using a plastic scraper or credit card.
Step 8: Scrub Away the Glaze
If the glaze has softened enough, use a soft-bristled brush to gently scrub away the remaining glaze. You can also use a toothbrush for smaller and more intricate areas. Be sure to scrub gently and avoid using excessive force, as this can damage the pottery piece or remove any underlying designs. If needed, you can also dip the brush in the vinegar solution to help loosen the glaze.
Step 9: Rinse Thoroughly
Once all the glaze has been removed, rinse the pottery piece thoroughly with clean water. Be sure to remove any traces of vinegar and soap residue, as these can cause damage over time if left on the surface. You can also use a soft cloth to wipe away any excess residue. Allow the piece to air dry completely before moving on to the next step.

Step 10: Repeat If Necessary
If there are still areas of stubborn glaze remaining, you can repeat the process from step 5. This may be necessary if the glaze used on the piece is particularly strong or has multiple layers.
Just be sure to keep an eye on the piece and avoid over-soaking it. You can also use a stronger vinegar solution if needed, but be cautious as this may also damage the piece. It’s always best to test on a small area first.
Step 11: Clean Up and Enjoy
Once all the glaze has been successfully removed, clean up your work area and dispose of any remaining materials. You can then admire your beautifully restored pottery piece!
It’s important to note that this method may not be suitable for all types of pottery or glazes, so it’s best to do some research beforehand or seek professional advice if unsure. With patience and caution, you can successfully remove the glaze from pottery and preserve its beauty for years to come.
Following these step-by-step guidelines on how to remove glaze from pottery will help you achieve the best results. However, it’s always important to proceed with caution and prioritize your safety as well as the condition of the piece.
Remember to properly dispose of any materials used and seek professional help if needed. With a little bit of effort, you can restore glaze-free pottery that is sure to impress.
Do You Need to Get Help From Professionals?
If you have any doubts or concerns about removing glaze from pottery, it’s best to seek professional help. This is especially important if the piece has sentimental value or is a valuable antique. Professional restorers have the knowledge and experience to safely remove the glaze without causing any damage to the piece.
They can also advise on the best method depending on the type of pottery and glaze used. While it may cost more, it’s worth it to ensure the preservation of your precious pottery piece. So, don’t hesitate to consult with experts for the best results!

How Much Could It Cost?
The cost of professional glaze removal can vary depending on the size, type, and condition of the pottery piece. It’s best to get a quote beforehand so you have an idea of how much it may cost. The price could range from a few hundred dollars for smaller pieces to thousands for larger or more valuable ones.
Keep in mind that this is not just a surface treatment, but a delicate restoration process that requires skill and expertise. So, be prepared to invest in the preservation of your pottery piece if you choose to seek professional help.
Frequently Asked Questions
Q1. Is This Method Safe for All Types of Pottery and Glazes?
A1. No, it’s best to do some research beforehand or seek professional advice if unsure. You can also test on a small area first before proceeding with the entire piece.
Q2. Can I Use a Stronger Vinegar Solution for Stubborn Glazes?
A2. Yes, you can adjust the ratio of vinegar to water based on the strength of the glaze. However, be cautious as this may also damage the piece. It’s always best to test on a small area first.
Q3. How Long Should I Let the Pottery Soak in the Vinegar Solution?
A3. It’s recommended to let it soak for at least 24 hours, but longer if needed. Be sure to check on it every few hours and avoid over-soaking to prevent damage.
Q4. Can I Use Other Chemicals Instead of White Vinegar?
A4. Yes, there are other chemical solutions that can be used to remove glaze from pottery, but they may require more caution and professional help. It’s best to research and seek advice before using any alternative methods.
Conclusion
It’s easy to know how to clean old pottery and remove glaze that has become stained or dulled over time. With a few simple supplies like baking soda, lemon juice, dish soap, and vinegar, you can quickly restore your pottery pieces to their original luster and beauty.
Use the tips we’ve provided in this blog post on how to remove glaze from pottery as a starting point for exploring cleaning methods that work best with the glaze on your specific pottery pieces.
Don’t hesitate to experiment with different combinations of ingredients – just be sure to take gradual steps so you don’t damage your cherished items. If all else fails, seek professional help from an experienced ceramics worker who will be able to get your pottery back into tip-top shape! So what are you waiting for?
Take action now to revive the timeless charm of your antique ceramic pieces by removing their glaze in the most efficient way possible.