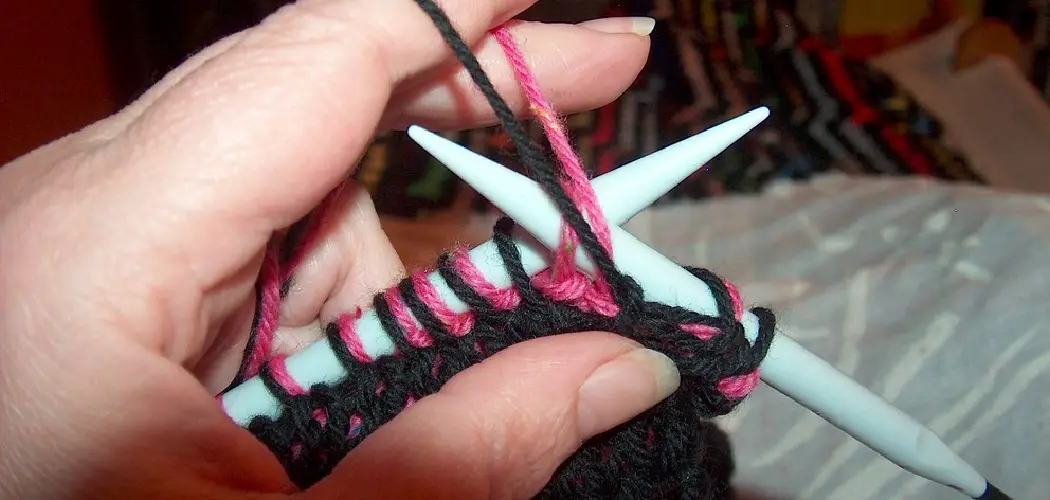
Embarking on the journey of learning how to purl continental style unveils a world where speed and efficiency meet the warm embrace of traditional knitting. This technique, favored for its economy of movement, is a gem within the knitter’s skill set, allowing for faster stitching and less strain on the hands.
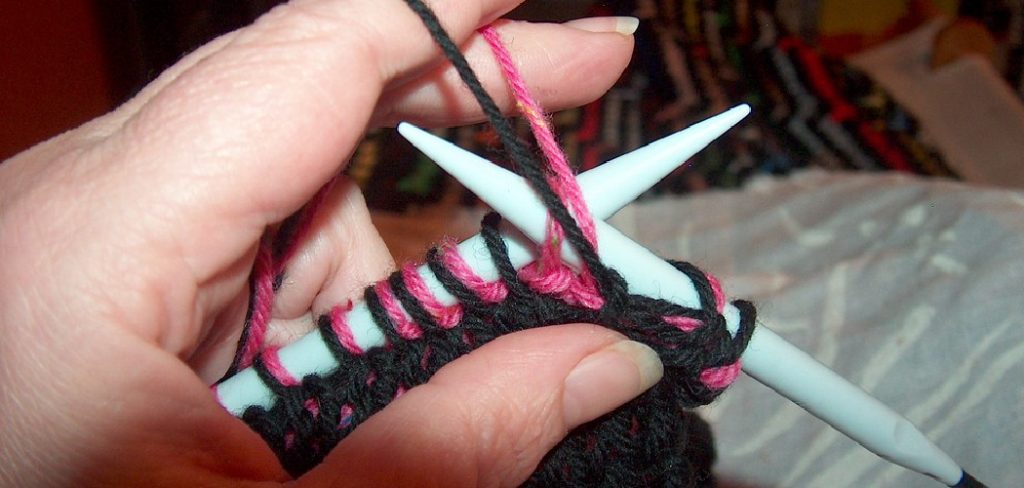
Whether you’re a seasoned knitter looking to optimize your practice or a beginner eager to learn, mastering the continental purl stitch can be a gateway to expanded creative horizons and a deeper appreciation for the craft. Join us as we unravel the secrets of continental purling and get you started on the path to becoming a proficient and joyful knitter.
What is Continental Purl?
Continental Purl is a method of knitting where the yarn is held in the left hand, offering a more ergonomically efficient movement compared to the English purl, which holds the yarn in the right hand. Its benefits include increased knitting speed and reduced hand strain.
Before You Begin: Essential Supplies
Before diving into continental purling, ensure you have the right tools for a comfortable learning experience. Start with smooth, medium-weight yarn and a pair of size 6 to 8 wooden or bamboo needles, which offer good grip and control. While not essential, stitch markers, a row counter, and a good quality knitting thimble for yarn management may also be helpful as you practice your new stitches.
Getting Comfortable with the Yarn and Needles
Becoming familiar with the optimal hand and needle positions is critical as you transition into continental knitting. Hold the needle with the active stitches in your left hand and use your right hand to wield the other needle. The yarn should drape over the index finger of your left hand, which guides the yarn, while the middle and ring fingers help control the tension.
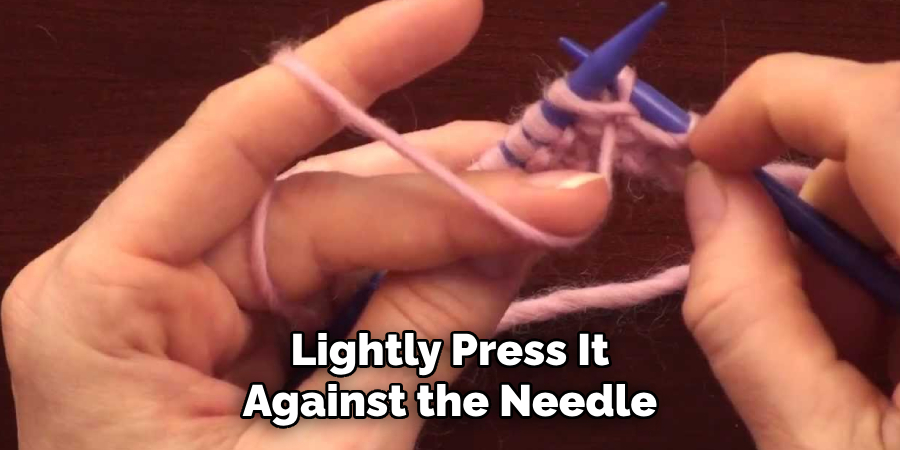
To manage the yarn, lightly press it against the needle using your middle finger, allowing it to flow smoothly as you purl. With your needles in position, gently scoop the right needle tip from right to left under the yarn and through the loop on the left needle. This continental approach minimizes movements, making purling faster and more efficient once mastered.
How to Purl Continental Style: A Beginner’s Guide
Mastering the basic continental purl requires patience and practice. Here’s a step-by-step guide to get you started:
- Inserting the Needle: With the yarn in front of the work, insert the right-hand needle into the next stitch on the left-hand needle from right to left, ensuring the right-hand needle is underneath the left-hand needle.
- Wrapping the Yarn: With your left index finger, bring the yarn over the top of the right-hand needle. The wrap should look counter-clockwise if the needle tip is facing you.
- Pulling the New Stitch Through: Use the right-hand needle to catch the yarn you just wrapped and gently pull it through the existing stitch to create a new loop.
- Completing the Purl and Moving on: Slide the old stitch off the left-hand needle, leaving the new purl stitch on the right-hand needle. Adjust the yarn with your left hand to maintain a consistent tension as you move on to the next stitch.
The continental purl stitch can be a challenge at first, especially if you’re transitioning from a different knitting style. Keep your movements relaxed, and your speed and fluency will naturally increase with repetition. Remember, the goal is to create uniform stitches, so focus on maintaining an even tension as you repeat these steps, creating a beautiful fabric of purl stitches.
Practice Makes Perfect: Tips and Troubleshooting
Maintaining an even tension is crucial in continental purling to ensure your knitted fabric has a uniform appearance. Practice keeping your yarn consistently tight and avoid pulling too hard after each stitch. If your stitches are too tight or loose, it may be a matter of adjusting the pressure applied by your yarn-holding finger. Common mistakes include splitting the yarn with the needle or inadvertently creating an extra stitch.
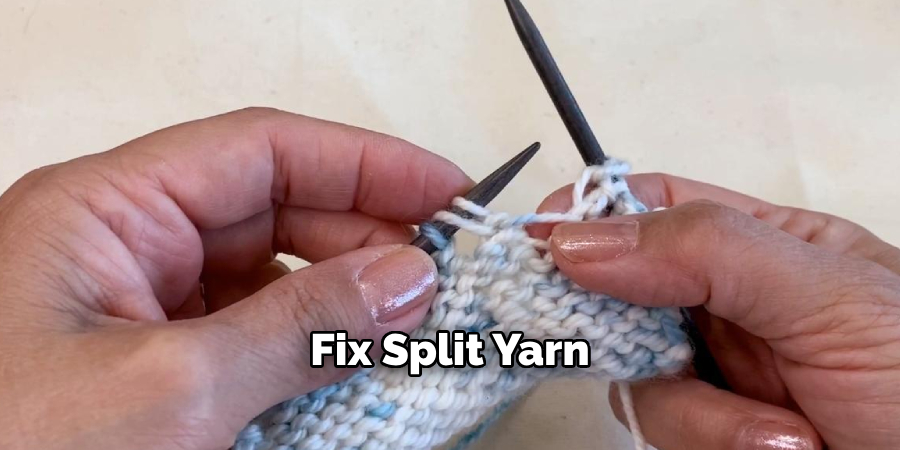
To fix split yarn, work your needle back out and re-purl the stitch. If you’ve added an extra stitch, simply undo it to the point of the mistake and re-knit correctly. Remember, rectifying errors is part and parcel of the learning process, and with each stitch, you are paving the way to becoming a proficient continental purler.
Beyond the Basics: Advanced Techniques
After mastering the continental purl stitch, combining knit and purl stitches within the same row is the next step to creating textured patterns, such as ribbing and seed stitch. These techniques enhance your knitting projects’ visual and tactile quality, providing the groundwork for more intricate designs.
For shaping your work, you’ll encounter situations where you need to make the fabric narrower (decreasing) or wider (increasing). To decrease in purl, simply purl two stitches together. Conversely, you can make a purl front and back by purling into the same stitch twice to increase. Developing these confident tackle skills will dramatically expand the range of patterns you can tackle with confidence.
Speeding Up Your Purl: Techniques for Efficiency
Once comfortable with the rhythm of the continental purl, you may want to increase your speed and efficiency to make larger projects more manageable and enjoyable. Here are methods to refine your yarn manipulation and maintain a smooth flow:
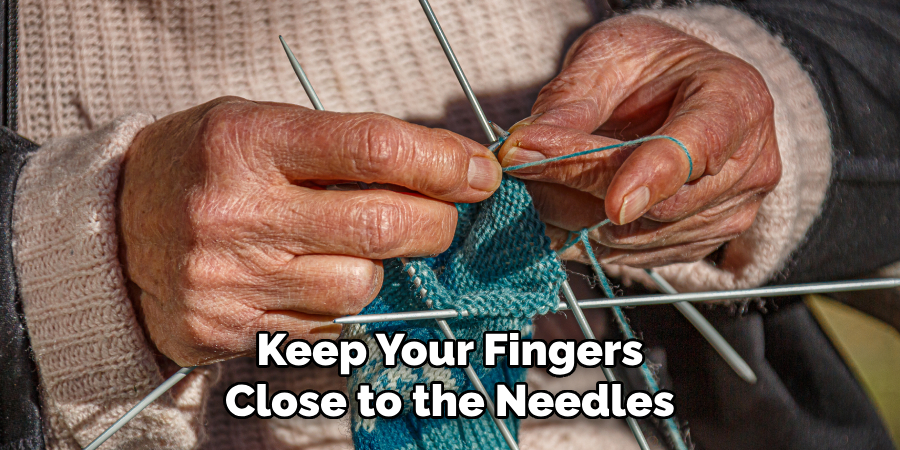
- Minimize Motion: Efficiency in purling comes down to minimizing unnecessary movements. Keep your fingers close to the needles and avoid exaggerated motions when wrapping the yarn. The less distance your hands and fingers travel, the faster you will knit.
- Yarn Tension: Proper yarn tension is key to quick and even stitching. Use your fingers to naturally generate the right amount of tension, rather than relying on wrist flicks or other larger moves. The yarn should feed evenly and easily through your fingers.
- Ergonomic Positioning: Hold your needles in a way that does not strain your wrists, fingers, or arms. If you’re comfortable, you’re more likely to knit more efficiently. Experiment with different needle materials and thicknesses to see what feels best for you.
- Rhythmic Pacing: Develop a steady rhythm as you knit. Aim for a consistent motion that becomes second nature with each purl stitch, allowing you to knit without looking at each stitch. This motor memory will help you speed up significantly.
- Utilize Supportive Tools: Knitting thimbles or yarn guides for your fingers can help maintain tension and reduce the effort of yarn handling. These tools can guide the yarn through your fingers with minimal adjustment.
- Practice with Different Yarns: Different textures and weights of yarn can affect your speed. Practice with a variety to find what works best for you and to become adaptable to any knitting situation.
By focusing on these techniques, your purling will become swifter, and your knitting sessions will be more productive and less fatiguing. Like any skill, speed comes with practice and patience, so dedicate time to these methods, and soon enough, you’ll be purling faster than ever before.
Embellishing Your Purls: Fancy Variations
Once you’ve gained comfort with the basic continental purl stitch, it’s time to add some creative flair to your work. Textured purl stitches, such as the purl bump and slip-stitch purl, can introduce a raised dimensionality to your fabric, offering a tactile and visual interest to your knitted pieces. Two-color purling, similarly, can be leveraged to add depth and contrast to your work.

This technique involves carrying two strands of yarn and alternating colors as you purl, resulting in striking patterns.
Decorative purl borders can serve as a fancy edge to projects, providing a polished finish to garments, blankets, and accessories. These borders are often created by combining purl stitches with yarn overs and strategic decreases, culminating in delicate lacy designs or bold, geometric edging. These variations enable personal expression and allow customizing gifts that cater to the recipient’s taste, ensuring each piece you create is as unique as it is heartfelt.
To get started with textured purl variations, try incorporating a few rows of purl stitches amid your knit stitches to create that sought-after ribbed look, perfect for snug-fitting hats and cozy scarves. Then, experiment with slip-stitch purling to create ‘pebble’ textures that look especially sophisticated on sweaters and cushion covers.
Each technique requires mindful attention to tension and stitch count, ensuring your embellishments enhance rather than overpower the piece you’re lovingly crafting.
Putting It All Together: Projects to Practice Purl Stitches
After honing your continental purl stitch skills and learning a few embellishing techniques, it’s time to put them into practice. Starting with beginner-friendly patterns and gradually moving to more complex projects can solidify your understanding and showcase your growing abilities. Here are some ideas and tips to get you started:
Beginner Projects: Purl-Embellished Coasters
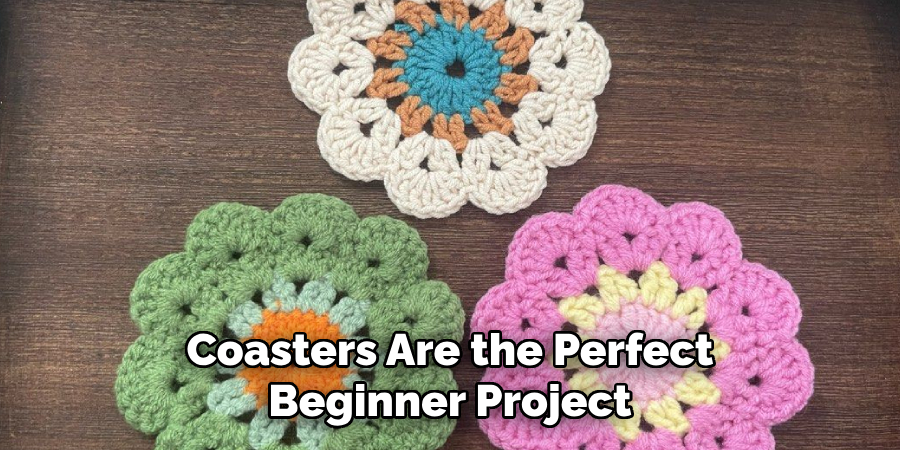
Coasters are the perfect beginner project. They’re small and practical and provide a platform to practice maintaining even tension with your purl stitches. After casting on a modest number of stitches, work in a simple knit one, purl one ribbing, or try a checkerboard texture, alternating between blocks of knits and purls. The key is repetition and consistency.
Intermediate Projects: Classic Purl Ribbed Hat
Once you’re ready to move on, a ribbed hat offers a step up in complexity. The construction introduces you to purl decreases, shaping to form the crown, and potentially even knitting in the round. The ribbed pattern, made of knit and purl stitches, provides elasticity and ensures a snug fit. The project is still small enough that it’s manageable but challenging enough to keep you engaged.
Advanced Projects: Textured Purl Scarves and Sweaters
With more experience, tackle a textured scarf or even a sweater. These larger projects allow for exploring various purl stitch patterns that create rich, tactile fabrics. Try patterns like the seed stitch or a more intricate purl cable design. Be mindful that these projects take more time and require consistent stitch counting.
Tips for Choosing the Right Project for Your Skill Level
- Assess Your Comfort Level: Be honest with your skill set. If you’re still getting used to holding your yarn and needles, stick to more straightforward projects.
- Read Through the Pattern: Before starting, read through the entire pattern to ensure you understand the techniques involved.
- Time Commitment: Ensure you have the time to dedicate to the project; larger projects will need more commitment.
- Yarn Consideration: Choose a yarn that will highlight the purl texture. Avoid overly fuzzy or dark-colored yarns that might hide your stitches.
- Set Realistic Goals: Establish what you want to achieve with the project, whether it’s practicing a new stitch or finishing something quickly for a sense of accomplishment.
Remember, each project, big or small, contributes to your journey in knitting. Choose projects you feel excited about, which will push you further along in your skill level.
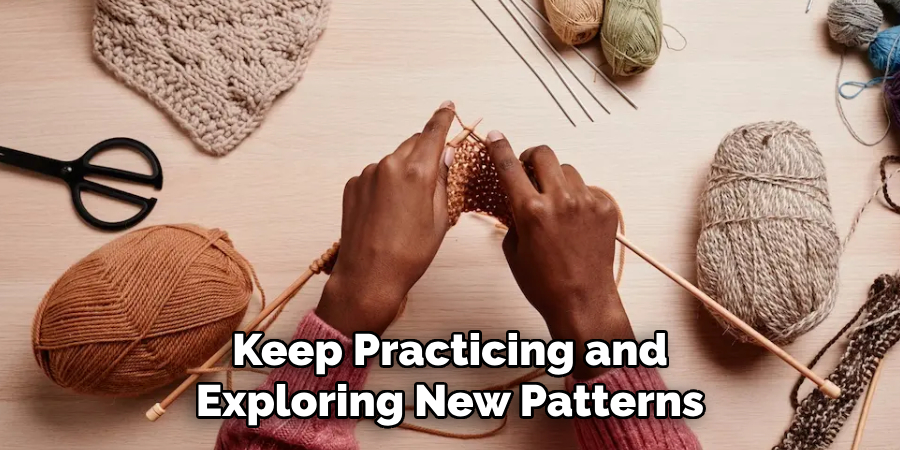
That’s it! You’ve now learned how to purl continental style and are equipped with tips, techniques, and project ideas to perfect your stitch. Keep practicing and exploring new patterns, and soon you’ll be confidently purling away on all your projects, effortlessly embellishing them with fancy variations.
5 Benefits of Purl Continental Style
For dedicated knitters, the choice between the English and Continental knitting methods can be akin to a personal preference for a beloved recipe – each is unique, affecting the final product. In Continental knitting, the yarn is held in the left hand, with the tip of the left knitting needle used to pick and “lift” the yarn to form stitches.
Among the distinct techniques existing under this method, the Purl Continental Style stands out for several reasons. Here are five benefits knitting enthusiasts can reap by mastering it.
1. Faster Knitting
For those knitters looking for a boost in efficiency, Purl Continental Style offers a faster alternative. Unlike the English method, which requires the right hand to stop and throw the yarn over the needle for a purl stitch, the Continental Way maintains a more fluid movement. By already holding the yarn in the left hand, there is less back and forth integrated into the purl process, allowing dedicated Continental purlers to work at a swifter pace.
2. Reduced Hand Fatigue
A slower, more repetitious process through the English method can lead to hand fatigue over time, which is not an issue for many who adopt the Continental approach. By distributing the work between both hands in a balanced manner, Purl Continental helps to minimize the strain on the dominant hand and wrist muscles. This can be particularly beneficial during longer knitting sessions, ensuring comfort is maintained throughout the entire process.
3. Consistent Tension
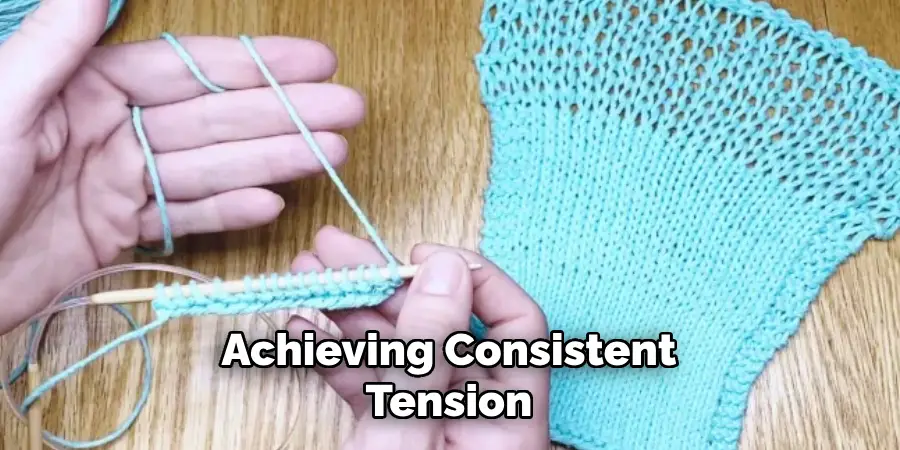
One of the most common challenges in knitting is achieving consistent tension. Through the Continental method’s application, where the yarn remains taut and controlled by the left hand throughout the purl stitch, it becomes simpler to maintain an even tension. This leads to more evenly sized and shaped stitches, bringing a polished and professional look to your knitting projects.
4. Seamless Transitions
Many patterns involve a combination of knit and purl stitches, and transitioning between them can sometimes cause an unwanted change in the final product’s texture. By using the Continental method for purl stitches, you maintain a more seamless knitting style as the movements between knit and purl are similar, making the transition smoother and less noticeable in your finished piece.
5. Versatility in Stitch Patterns
Continental knitters often find they have an easier time with intricate stitch patterns due to the more ergonomic hand movements. This versatility allows adventurous knitters to experiment with a broader range of designs, from more complex cables to delicate lacework. So, if your desired bookshelf is filled with patterns that detail a variety of stitches, Purl Continental Style may be the key to unlocking your potential in executing them with ease and grace.
Resources for Further Learning
Delving deeper into the art of purling and knitting is a continuous, enriching journey. To enhance your skills and join a community of like-minded enthusiasts, leverage the wealth of online tutorials and video demonstrations available across platforms such as YouTube, Craftsy, and Ravelry. These resources cater to various experience levels and often offer step-by-step guidance.
Furthermore, knitting communities and forums present invaluable opportunities to exchange tips, seek advice, and share achievements. For those who prefer printed material, many books cater to beginner and advanced knitters, offering patterns and technical insights to broaden your knitting repertoire.
Conclusion
Embracing the continental purl stitch enriches your knitting practice with versatility and efficiency. It lends a harmonious rhythm to your work, benefits manifesting in your hand-crafted pieces’ refined textures and embellishments. This guide has illuminated how a simple stitch can transform your knitting, facilitating more complex designs and a gratifying sense of achievement.
May you find joy in each purl and let your needles continue to dance through yarns of endless colors and textures. Keep practicing, keep exploring, and above all, enjoy the beautiful knitting journey. Thanks for reading our post about how to purl continental style.

