
Are you looking to learn a new craft but don’t know where to start? Have you wanted to give knitting a try but don’t quite understand how it works? Then learning the purl stitch slip-slip-knit (PSSO) method could be your perfect entry point into the world of knitting.

With PSSO, even novice knitters can quickly and easily create multiple beautiful decorative accessories that can either be worn proudly or used to dress up other items!
In this blog post, we’ll discuss how to PSSO knitting – what materials are needed, different techniques for purling stitches, and how they are used. We’ll also provide some examples of projects you can create with this versatile form of decoration.
So get some yarn and needles ready – let’s dive into PSSO crafting!
What Does PSSO Mean?
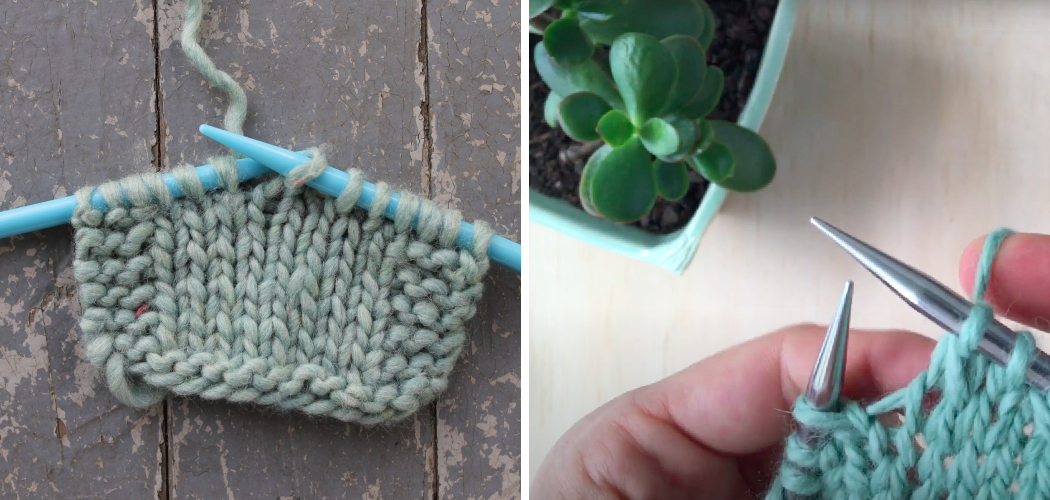
PSSO stands for purl stitch slip-slip-knit. It’s a technique used in knitting to create an openwork pattern or decorative designs. The process involves slipping two stitches off the left needle onto the right needle, then knitting one stitch from the right needle and passing the two slipped stitches over it. This results in a decrease in the number of stitches.
Materials Needed for PSSO Knitting
One thing that makes PSSO knitting popular is how few materials are needed to get started. All you need are as follows:
- Yarn of your choice
- Needles in the appropriate size for your project
- A row counter (optional but recommended)
- A tapestry needle for weaving in ends
- Scissors (optional)
Once you have all your materials ready, you can start your project!
10 Easy Steps on How to PSSO Knitting
Step 1. Cast on the Number of Stitches
Start with the desired number of stitches on your needles. It will depend on how wide you want your finished item to be. If you’re unsure how many stitches to cast on, refer to a knitting pattern for guidance.
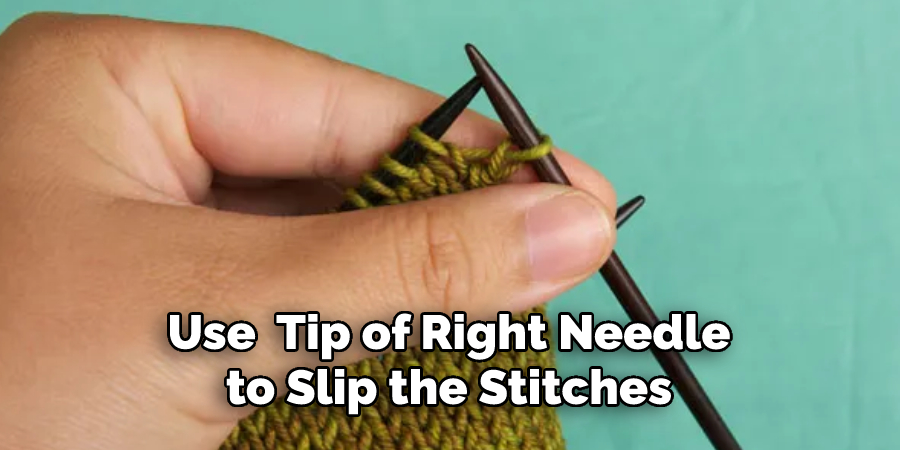
Step 2. Slip the First Two Stitches
Slip the first two stitches purlwise (with yarn in the back) from the left to the right needle. Use the tip of your. This will create an open work pattern. If you’re new to knitting, consult a how-to video for guidance.
Step 3. Insert the Right Needle
Insert your right needle into the back of the next stitch on the left needle. It is important to wrap the yarn around your right needle as you go. Otherwise, the stitch might be too tight or loose.
Step 4. Wrap the Yarn
Wrap the yarn around your right needle like you’re doing a knit stitch. Try to keep the tension even so your stitches look neat. Also, ensure the yarn is not too tight or loose.
Step 5. Pull the Yarn Through
Pull the yarn through the stitch to form a new stitch on your right needle. When you do this, your right needle should hold three stitches. Check how the tension looks and make adjustments if necessary.
Step 6. Drop the First Two Stitches
Drop the first two stitches you slipped off your left needle by slipping them over the newly created stitch on the right needle. Don’t pull them too tight, or the stitch will be distorted. Ensure the stitch looks neat and uniform.
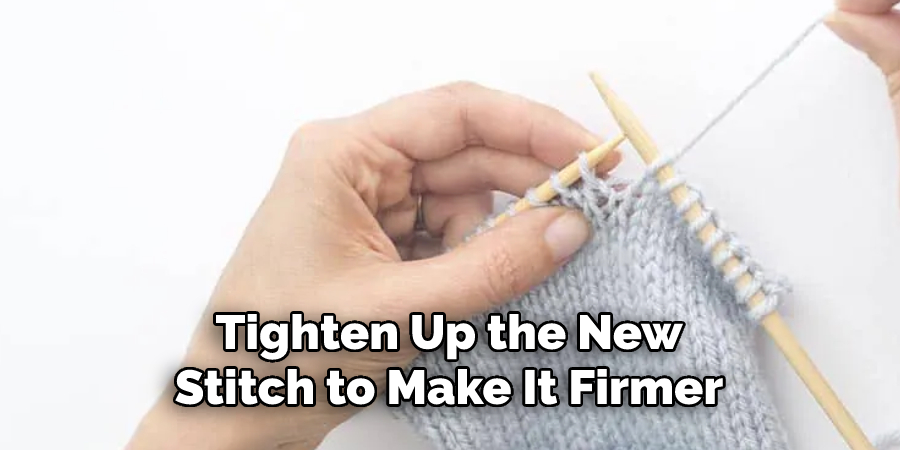
Step 7. Tighten Up the Stitch
Tighten up the new stitch to make it firmer and more secure. You can do this by pulling the yarn slightly tighter with your left hand. Another way to tighten up the stitch is by tugging gently on the yarn at the back of your work.
Step 8. Knit Another Stitch
Knit another stitch and drop the first two stitches from your left needle over it. Repeat steps 3-8 until you’ve reached the end of the row. If your pattern requires that you cast off stitches, do so at the end of the row.
Step 9. Turn Your Work Around
When you reach the end of your row, turn your work around and start knitting the next row in the same manner. Be careful to keep the tension and stitch count even throughout your work. Because the stitches are slightly larger than normal, you may need to use a row counter.
Step 10. Reaching the Desired Length
Continue knitting until you reach the desired length or pattern instructions are completed. Then fasten off according to instructions provided by your project pattern. This will provide you with a neat, complete item.
Now that you have completed your work, you can proudly wear or use it in any way you’d like! Congratulations on your successful PSSO knitting attempt.
5 Additional Tips and Tricks
- Make sure you have the right needle size for your project – a too-small needle will make it difficult to pull the stitch through.
- Use a tapestry needle or crochet hook to pull the stitch through. This can help make it easier and keep the yarn from splitting as you pass the stitch over.
- Pull on the tail of your project after each PSSO to ensure that the stitch is properly passed over and not left behind.
- Always work with a relaxed tension when passing stitches, as too tight of tension can lead to ladders or dropped stitches.
- As you work with larger projects, use markers between sections to avoid missing any PSSO rows or accidentally passing stitches in the wrong directions. This will help keep your pattern consistent throughout!

By following these tips and tricks, you’ll be able to perfect your technique and create projects with a professional finish. With a little practice and patience, you’ll be PSSO knitting like a pro!
5 Project Ideas for PSSO Knitting
- Scarf: A classic and simple project that looks great in any color, especially when you use two colors of yarn.
- Headband: Keep your ears warm this winter with a cozy headband made from your own unique pattern.
- Hat: Add a bit of style to your wardrobe with a knitted hat featuring the PSSO stitch pattern.
- Shawl: Wrap yourself up in warmth and beauty with a shawl using the PSSO pattern for extra texture and detail.
- Blanket: Create an heirloom-quality blanket that is sure to keep you warm during the coldest nights with the special look of PSSO knitting on its edges and corners.
No matter how you choose to use the PSSO stitch pattern, it is sure to give your knit projects a
unique look that will make them stand out from the crowd. Try these five project ideas and take your knitting skills to the next level with PSSO!
5 Things You Should Avoid
When it comes to PSSO knitting, there are a few things you should avoid in order to make sure your project looks its best. Here are five tips:
- Avoid using too thick or fuzzy yarn, as this may make it difficult for the stitches to slip off the needles correctly.
- Don’t use circular needles for PSSO; stick with straight needles since they allow greater tension and spacing control.
- Never forget to count how many stitches you’re working with when creating a PSSO; this helps ensure accuracy and consistency.
- Always ensure that your needle size is appropriate for the yarn and pattern you’re working on.
- Avoid pulling the stitches too tightly, as this can cause the fabric to be overly stiff or even break apart easily. Instead, make sure to keep your tension consistent throughout the project.
Following these tips will help ensure that you get a great result when PSSO knitting!
What is the Difference Between S1 and Psso?
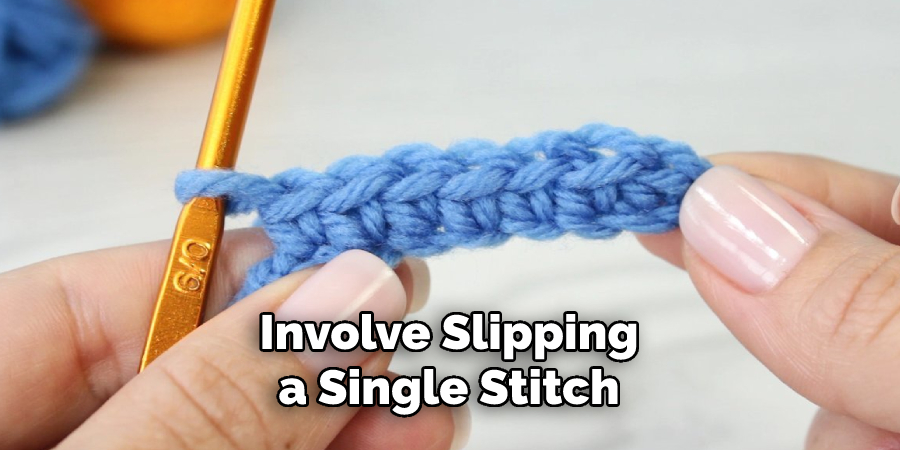
The difference between S1 and Psso lies primarily in how they are used. While both stitches involve slipping a single stitch, their work is different. S1 requires you to slip one stitch purlwise, while Psso involves slipping the stitch knitwise before passing it over another stitch.
Additionally, S1 is usually seen as a part of pattern instructions, while Psso is mostly used to decrease and close up the fabric at the end of rows.
PSSO knitting can be intimidating at first, but with time and practice, you will start mastering this technique! Keep practicing, and soon, you’ll be able to use PSSO for all your knitting projects!
How Do You Read Knitting Symbols?
Reading knitting symbols is an important skill to learn in order to understand psso knitting and how other patterns are written. Knitting symbols are small diagrams or drawings that represent certain stitches, like how a pss0 looks when slipped knit-wise.
Symbols can be found on many pattern instructions and charts, each symbol representing a specific stitch type. By familiarizing yourself with the different symbols, you can better understand how to read knitting patterns and follow directions more easily.
For instance, the symbol for Psso is usually represented by a “K2Tog” – this means to slip a single stitch knitwise over another stitch. Once you understand how to recognize these symbols, psso knitting will become much easier and more intuitive.
By understanding how to read knitting symbols, you’ll be able to tackle any pattern that requires the Psso technique confidently!
Conclusion
In conclusion, knitting projects don’t need to be intimidating. Plenty of resources and tips are available to ensure a successful end product. With some patience and practice, you can create beautiful, intricate pieces that will last for years! Plus, the feeling of accomplishment upon finishing a project is unparalleled.
So go ahead and try out this simple technique and get your knit on today! And don’t forget – the possibilities for beautiful creations are infinite. With the right tools, mindset, and dedication, there’s no limit to what you can achieve with your knits!
Hopefully, the article on how to PSSO knitting gave you the confidence to tackle your next project. Good luck and happy knitting!