
Are you ready to take your crafts to the next level? Have you ever dreamt of printing designs on Cricut vinyl like a professional? Well, good news – it’s easier than ever! With just a few small steps and materials, anyone can print intricate custom artwork in no time.

Cricut vinyl is popular among crafters for its versatility and ease of use. You can print on Cricut vinyl using different methods – cutting out designs with a Cricut machine or printing directly onto the vinyl itself. Let’s dive into the steps for both options. We’ll also cover some tips and tricks to help you achieve the best results.
Let’s get started learning how to print on Cricut vinyl so that you can make unique projects and let your creativity shine!
What Will You Need?
Before we start, let’s ensure you have all the necessary materials. Here’s what you’ll need to print on Cricut vinyl:
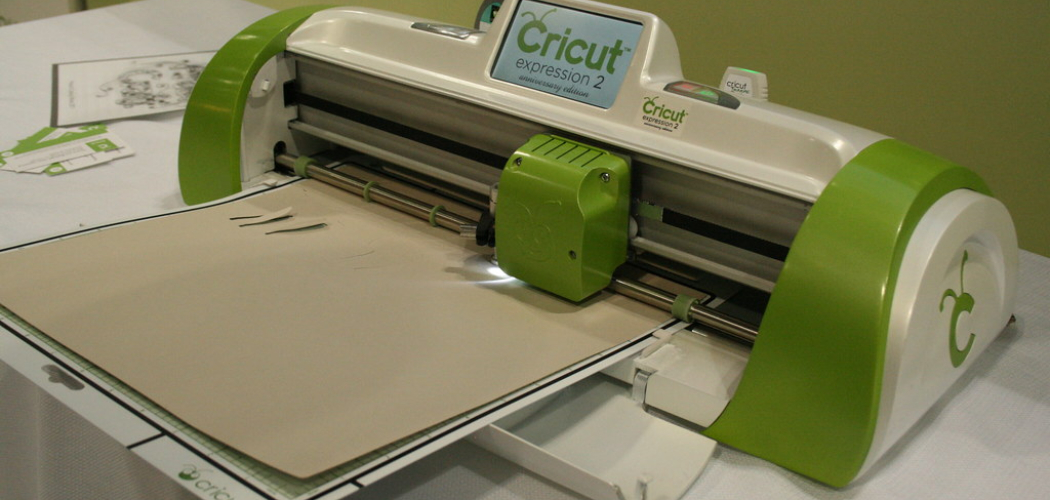
- A Cricut machine (if cutting designs)
- Cricut vinyl
- Printer (if printing directly onto vinyl)
- Printable heat transfer vinyl (if printing with an inkjet printer)
- Scissors or Cricut weeder tool
- Transfer tape (if cutting designs)
Ensure you have all of these items on hand before starting your project. Now, let’s move on to the steps for printing on Cricut vinyl.
10 Easy Steps on How to Print on Cricut Vinyl
Step 1: Design Preparation
The first step in printing on Cricut vinyl is to prepare your design. You can create your design using any graphic design software of your choice. Ensure that the design fits within the dimensions of your Cricut vinyl sheet. Once your design is ready, save it in a format compatible with your printer or Cricut machine, typically a . PNG or. JPG file.

Step 2: Load the Design
The next step is to load your prepared design into the Cricut Design Space software. Start by opening the program and creating a new project. Click the ‘Upload’ button, locate your design file in your computer’s storage, and select it. Once uploaded, the design will appear in your project. You can adjust the size and orientation of the design as needed. Remember, it should fit within the dimensions of your Cricut vinyl sheet.
Step 3: Configure Printer Settings
Before you start printing, you’ll need to configure your printer settings. If you’re using an inkjet printer, select the ‘Photo’ or ‘Best Quality’ option in your printer settings. This will ensure your image is printed in the highest quality possible. Also, ensure that the paper size matches the size of your vinyl sheet. If cutting designs with a Cricut machine, set the material to ‘Vinyl.’ Confirm your settings and get ready to print.
Step 4: Print your Design
Now, it’s time to print your design. Place your printable vinyl sheet into your printer. Ensure it is positioned correctly so the design prints on the vinyl side, not the backing. Once loaded, click on the ‘Print’ button in your graphic design software or Cricut Design Space. Your printer will start printing your design. Remember to let the ink dry completely before moving on to the next step to avoid smudging your design.
Step 5: Cut the Design
Once the ink on your design is completely dry, it’s time to cut it out. If you’re using a Cricut machine, load your printed vinyl sheet into the machine, ensuring it’s aligned correctly. Then, set your machine to the ‘Vinyl’ setting and click ‘Go’ in the Cricut Design Space.
The machine will precisely cut along the lines of your design. If you do it manually, use scissors or a craft knife to carefully cut out your design. Always take your time to avoid any mistakes that might ruin your design.

Step 6: Weed Your Design
After cutting the design, the next step is “weeding” or removing the excess vinyl around your design. Usually, for this, you’ll use a Cricut weeder tool or a pair of tweezers. Begin from the corners, carefully peeling away the surplus vinyl without disrupting your design. Be extra gentle when weeding intricate designs to avoid bending or ripping them. Once complete, you should only have your design on the backing material.
Step 7: Apply the Transfer Tape
Next, you’ll apply the transfer tape to your design. This step is critical when you’re planning to transfer the design to a different surface. Cut a piece of transfer tape roughly the same size as your design.
Carefully lay the sticky side of the transfer tape onto your design, starting from one side and slowly moving to the other to avoid creating bubbles. Use a scraper or a credit card to secure the design onto the tape and to eliminate any air bubbles.
Step 8: Transfer the Design
Now, it’s time to transfer your design onto your desired surface. Start by gently peeling the backing material away from the transfer tape. Your design should stick to the tape. If any part of the design remains on the backing, lay the tape back down and scrape over that area again.
Once you’ve peeled off the backing, position your design where you want it on your project surface. Be careful to place it correctly – it cannot be moved once it sticks. Smooth the tape and design down onto the surface, again using your scraper or credit card to remove any air bubbles and to ensure the design sticks well.
Step 9: Remove the Transfer Tape
After you’ve successfully adhered your design onto the desired surface, the final step is to remove the transfer tape. Start slowly peeling the tape away at a 45-degree angle, ensuring your design is not lifting off with it. If any part of the design starts to come up, lay the tape back down and scrape over that area again before attempting to remove it.

Once you have successfully removed all the transfer tape, your project is complete! Be sure to let your design sit for a little while before handling it to ensure it has fully adhered to.
Step 10: Care and Maintenance
The final step is to take care of your newly printed design to ensure its longevity. If you’ve transferred your design onto a piece of clothing, wait at least 24 hours before washing. Always wash in cold water and air dry the item to prevent any damage or peeling of the vinyl. Simply wipe with a damp cloth to clean for non-washable items, like mugs or home decor. Avoid scrubbing the vinyl area as it may cause peeling. Congratulations!
By following these steps, you can create beautiful and personalized designs for various projects using your Cricut machine.
5 Additional Tips and Tricks
- Test Your Material: Not all materials are created equal. It’s always a good idea to do a test print on a small piece of vinyl to ensure your settings are correct. This helps to avoid wasting larger, potentially expensive pieces of vinyl.
- Keep Your Machine Clean: Regularly clean your Cricut machine for optimal performance. Dust, small pieces of vinyl, and other debris can accumulate over time and affect your cuts’ precision.
- Use High-resolution Images: If printing an image or complex design, use the highest resolution possible. This will ensure your designs are clear and crisp.
- Make Use of the Cricut Community: Numerous online communities and forums are dedicated to Cricut users. These can be great resources for troubleshooting, inspiration, and learning new techniques.
- Care For Your Tools: Keep your blades sharp and tools clean. This not only prolongs their life but also ensures precise cuts and successful transfers.
With these additional tips and tricks, you can take your Cricut vinyl printing skills to the next level. Keep experimenting and have fun creating unique designs for all your projects!
5 Things You Should Avoid
- Don’t Rush the Process: Patience is vital when working with vinyl. Take your time with the printing, cutting, or transfer process – doing so can lead to mistakes and ruined designs.
- Avoid Low-Quality Vinyl: Not all vinyl is created equal. Avoid using cheap, low-quality vinyl as it may not adhere properly and could peel off over time.
- Remember the Maintenance of Your Cricut Machine: Regular cleaning and maintenance of your Cricut machine is essential. Neglecting this could lead to less precise cuts and a shorter lifespan for your machine.
- Avoid Complex Designs as a Beginner: While jumping into complex designs is tempting, it’s best to start with simpler designs as you get the hang of printing on vinyl. As your comfort and proficiency increase, you can tackle more intricate designs.
- Don’t Ignore the Manufacturer’s Instructions: Each vinyl manufacturer might have slightly different instructions for printing, transferring, and caring for their product. Always follow these to ensure you get the best results.

Avoiding these common mistakes can save time and frustration in your vinyl printing journey.
Conclusion
In conclusion, now that you’ve learned how to print on cricut vinyl, it’s time to dive in and begin creating your vinyl art. Cricut makes a great machine to do just that. It is a user-friendly and affordable way to make anything from home décor signs to vehicle decals. If you’re unsure of where to start or have any other questions about the process, please feel free to reach out for help, as there are helpful forums online.
Furthermore, if risk taking is something that you would prefer not to do on your own when beginning projects like these, many local businesses offer workshops at a fraction of the cost it would take for materials alone so you can learn in person without having the pressure of figuring it all out independently.
Now’s your chance to get creative and start making photorealistic prints with your Cricut!