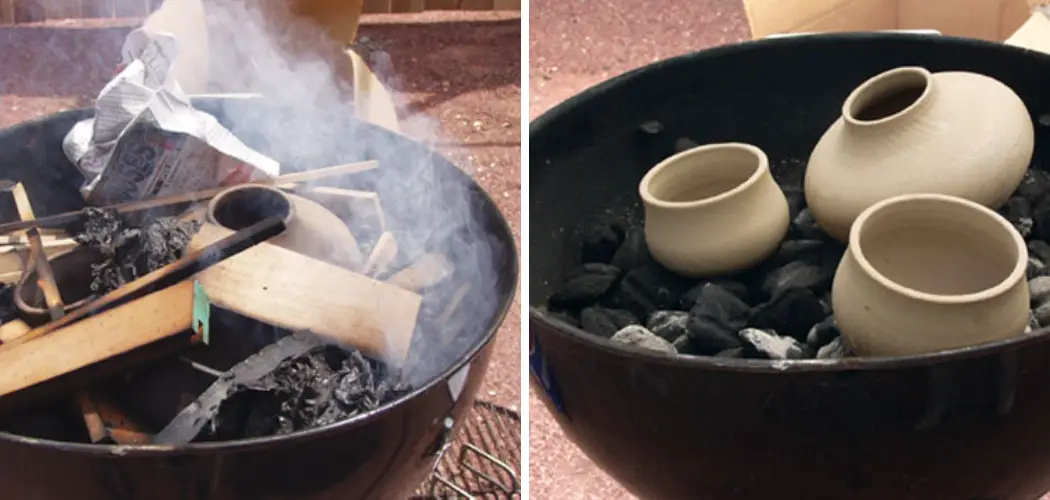
Are you a potter looking to up your game and learn how to pit fire? If so, then look no further! Pit firing is an ancient technique that has been used for centuries by cultures all over the world.
It involves creating a makeshift kiln with combustible materials and then thrusting it into an open flame of sorts – usually set inside of some sort of hole in the ground. The end result is something truly remarkable: exquisitely embellished glazed pieces reminiscent of the artistry passed down through antiquated times.
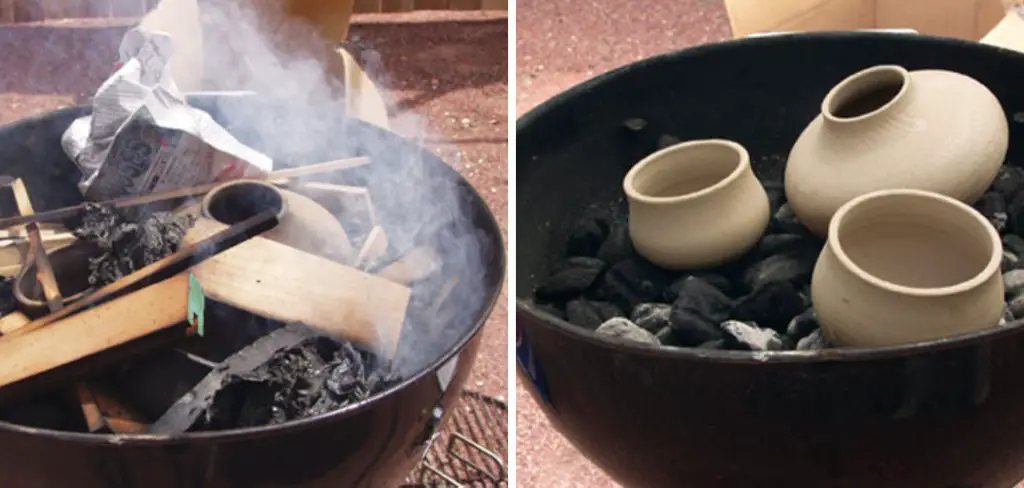
In this blog post on how to pit fire pottery, we’ll discuss everything you need to know about pit firing pottery, from what melts during the process and why results vary based on conditions, right down to how best to prepare your pottery beforehand. So sit tight as we take you through a fascinating journey into unlocking one of mankind’s oldest crafting secrets!
What is Pit Firing?
Pit firing is a form of primitive pottery firing that requires little to no equipment. It’s an alternative method for creating unique pottery pieces that can produce stunning results.
Essentially, the pit serves as the kiln and whatever is placed inside gets fired with the help of firewood and other organic materials. It’s a process that involves a bit of experimenting, but the end result is always something beautiful and unique.
Materials Needed
Before diving headfirst into pit firing, it’s important to gather all the materials needed. Here is a list of some essential tools and supplies:
- Firewood
- Organic Materials Such as Sawdust, Leaves, or Wood Chips
- Clay Pottery Pieces That Have Been Bisque Fired (Until They Are Fully Hardened)
- Tongs or Other Heat-resistant Tools for Handling Hot Pottery
- A Shovel for Digging the Pit
- A Lighter or Matches for Starting the Fire
- Protective Gear Such as Gloves and Goggles
12 Step-by-step Guidelines on How to Pit Fire Pottery
Step 1: Prepare Your Pottery
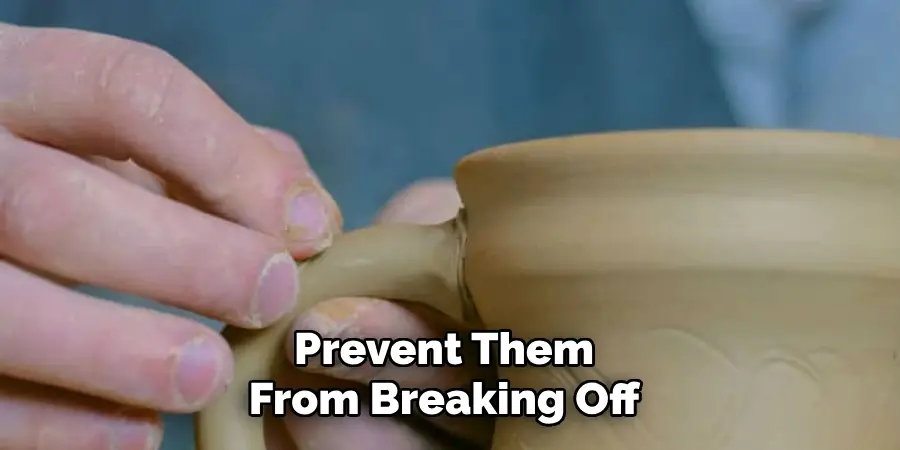
Before beginning the firing process, make sure your pottery is bisque fired and fully hardened. This is important because if the pottery isn’t hard enough, it can easily break during the firing process. It’s also a good idea to sand down any rough edges or areas on the pottery to prevent them from breaking off.
It’s also recommended to glaze your pottery beforehand, although it is not necessary. It ultimately depends on the desired effect you want to achieve.
Step 2: Select Your Pit Location
Choose a safe and open area for your pit fire. It’s best to do this outdoors as the process can create a lot of smoke and ash. Make sure the area is clear of any flammable objects or materials. But keep in mind that the pit should be at least a foot deep to ensure proper insulation and heat retention. If you’re doing this in your backyard, make sure to inform your neighbors beforehand.
Step 3: Dig the Pit
Using a shovel or any other digging tool, dig out a pit that is big enough to fit all of your pottery pieces with some space in between them. Also, make sure the walls and bottom of the pit are smooth and even to prevent any uneven heating. You can also line the pit with bricks or stones for added insulation. It’s also essential to have a separate pit for the firewood.
Step 4: Prepare Your Organic Materials
Gather your organic materials, such as sawdust, leaves, or wood chips. These will serve as the fuel for your pit fire. It’s best to have a mixture of different types of organic material to ensure an even distribution of heat and smoke. It’s also important to have plenty of materials on hand as they tend to burn quickly. But avoid using materials that produce toxic smoke, such as treated wood or plastics.
Step 5: Fill the Pit with Organic Materials
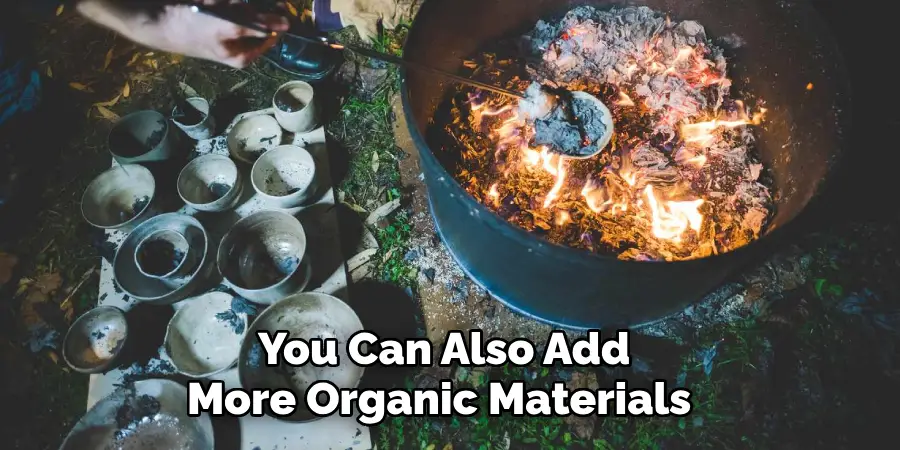
Fill the bottom of the pit with a generous layer of your organic materials. Spread it evenly and make sure there are no gaps in between. You can also add some sawdust on top to help start the fire. It’s also a good idea to have some firewood ready nearby for when the fire starts to die down. You can also add more organic materials as needed during the firing process.
Step 6: Add Your Pottery Pieces
Place your pottery pieces on top of the layer of organic materials. Make sure they are evenly spaced out and not touching each other or the walls of the pit. If you want to achieve different effects, you can also experiment with burying some of the pieces in the organic materials. Just make sure to mark where they are buried so you can easily find them later.
Step 7: Add More Organic Materials
Cover your pottery pieces with another layer of organic materials, making sure to cover all the surfaces evenly. Be careful not to disturb or move the pottery pieces while doing this. You can also add some additional firewood on top to help keep the fire going. You can also add more layers of pottery and organic materials for a larger pit fire. It’s all about experimenting and seeing what works best for you.
Step 8: Start the Fire
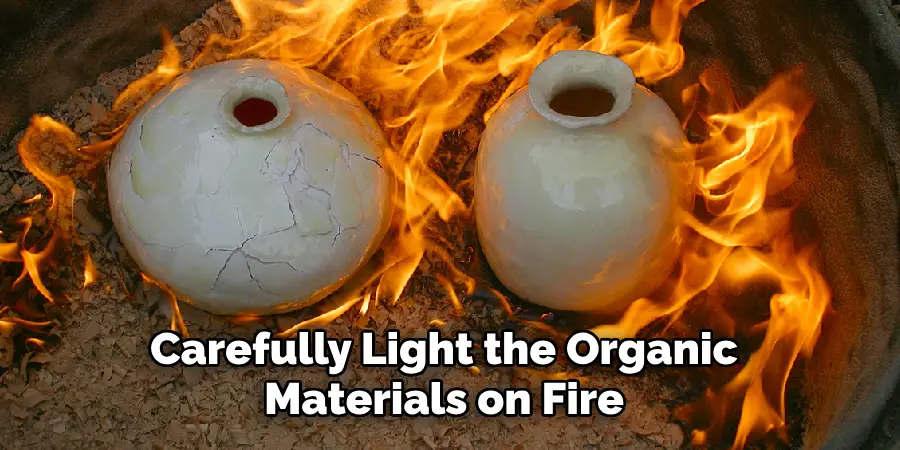
Using a lighter or matches, carefully light the organic materials on fire. Make sure to stand upwind of the pit as there will be a lot of smoke. You can also use a fan to help get the fire going. As the fire grows, add more firewood and organic materials as needed to keep it burning. Keep in mind that the larger the pit and the more materials used, the longer it will take for the pottery to heat up.
Step 9: Monitor the Fire
As the fire burns, it’s important to closely monitor the temperature of the pit. You can use a thermometer or simply judge by how hot the pottery feels with your tongs. The ideal temperature for pit firing is between 1650-2000°F (900-1100°C). It’s also recommended to wear protective gear such as gloves and goggles while handling hot pottery. If the fire starts to die down, add more organic materials and firewood as needed.
Step 10: Remove the Pottery
Once your pottery has reached its desired temperature, carefully remove it from the pit using tongs or other heat-resistant tools. It’s important to let the pottery cool down completely before handling it with bare hands.
You can also place them in a container with sawdust or other organic materials to cool down slowly, which can help create interesting effects on the surface of the pottery. Although tempting, do not pour water on the pottery as it can cause it to crack or break.
Step 11: Clean and Finish Your Pottery
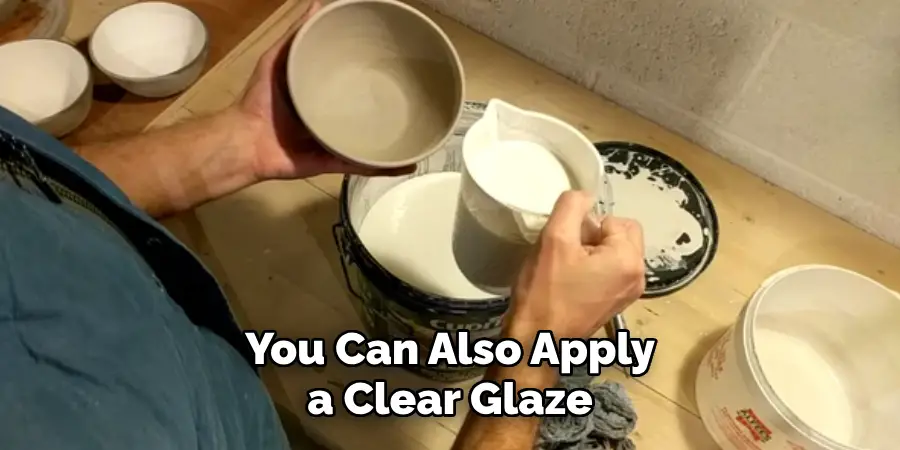
Once your pottery has cooled down, you can clean off any ash or soot using a damp sponge or cloth. If desired, you can also apply a clear glaze over the surface of the pottery to seal and protect it.
This will also enhance any colors or patterns created during the pit firing process. Once your pottery is fully finished, you can display it proudly or use it for functional purposes. Your pit-fired pottery will be completely unique and one-of-a-kind.
Step 12: Practice and Experiment
Pit firing is a technique that takes practice and experimentation to perfect. Don’t be discouraged if your first few attempts don’t turn out exactly as you hoped. Use each firing as a learning experience and keep experimenting with different materials, temperatures, and techniques.
Soon enough, you’ll develop your own unique style and create stunning pieces of pit-fired pottery. Share your knowledge and experience with others who are interested in this ancient technique and continue to explore the endless possibilities of pit firing.
Overall, remember to have fun and enjoy the process of creating something truly unique and beautiful through the age-old art of pit-firing pottery. So gather your materials, find a safe location, and let your creativity and passion guide you as you embark on this ancient technique.
And who knows, maybe one day your pieces will be cherished by future generations as a testament to the enduring beauty and skill of pit-fired pottery. Happy firing! See you around the pit!
Frequently Asked Questions
Q: How Long Does It Take to Pit Fire Pottery?
A: The time it takes to pit fire pottery depends on various factors such as the size of the pit, type of organic materials used, and desired temperature. On average, it can take anywhere from 6-12 hours for a small to medium-sized pit firing. But keep in mind that larger and more complex pieces may take longer. It’s best to plan for a full day or overnight firing to ensure your pottery reaches the desired temperature and is properly cooled down before handling.
Q: Can I Use Regular Pottery Clay for Pit Firing?
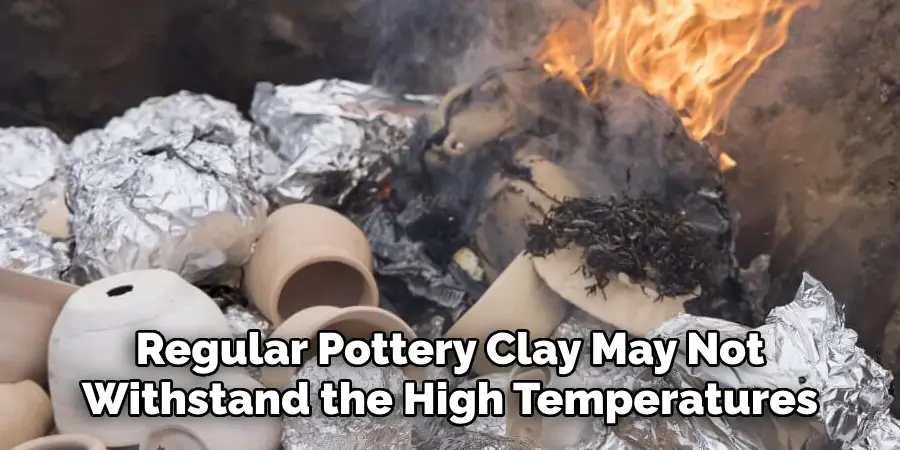
A: Yes, you can use regular pottery clay for pit firing. However, it’s recommended to use clay that is specifically formulated for pit firing as it will have better heat resistance and may produce more interesting effects. Regular pottery clay may not withstand the high temperatures of pit firing and could potentially crack or break.
Q: Can I Pit Fire Pottery in My Backyard?
A: It’s important to check with local fire regulations before attempting to pit fire pottery in your backyard. Some cities or neighborhoods may have restrictions on open fires. If it is allowed, make sure to choose a safe location away from any flammable materials and always have a fire extinguisher nearby.
Q: Can I Pit Fire Pottery Without Using Organic Materials?
A: While traditional pit firing uses organic materials for fuel, you can also use other types of materials such as sawdust, wood chips, or even newspaper. Just be sure to use materials that will burn cleanly and not produce harmful fumes.
Conclusion
In conclusion, as you can see, pit-firing pottery is an exciting and dynamic art form that allows potters to find creative and unique ways to express themselves through their work. It’s important to keep in mind all the safety measures for pit fires and take all of them into account before beginning. Once your pit is good to go, it can be a truly invigorating experience.
Just make sure your setup is safe and secure before beginning! All in all, you should now have the knowledge needed to go ahead with pit-firing some of your own work. We hope this guide on how to pit fire pottery provided you with enough information to feel confident on your journey through the world of pit firing! Start experimenting today; who knows where those creative flames may take you?

