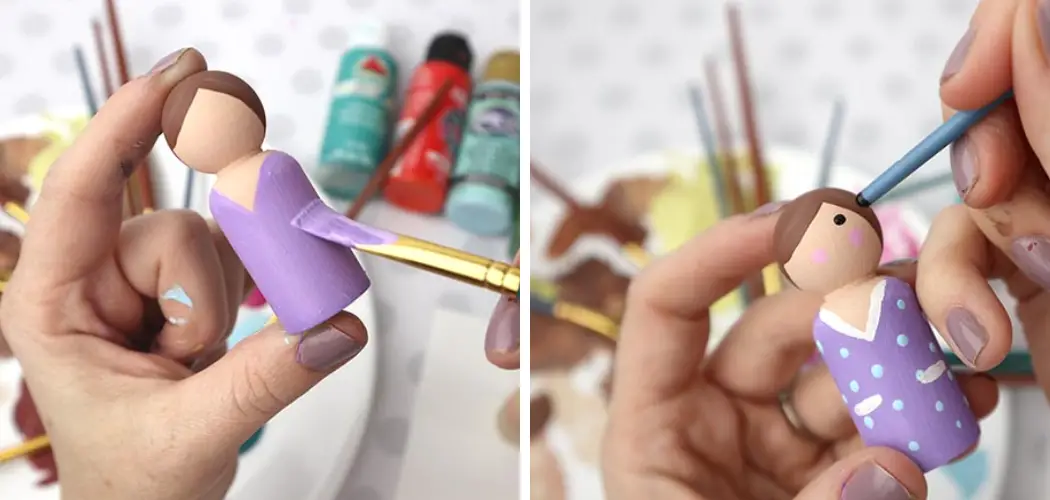
Are you tired of buying expensive toys for your children? Or maybe you’re looking for a fun and creative activity to do with them. Painting peg dolls is the perfect solution! Not only is it a budget-friendly option, but it also allows for endless possibilities of designs and characters.
Painting peg dolls can be a delightful and creative craft, suitable for all ages and skill levels. These charming wooden figures offer a canvas for the imagination, where a blend of colors and techniques brings personality and life to each character. Whether you’re creating a custom toy for a child, a decorative piece for your home, or a personalized gift for a friend, painting peg dolls is both meditative and fulfilling.
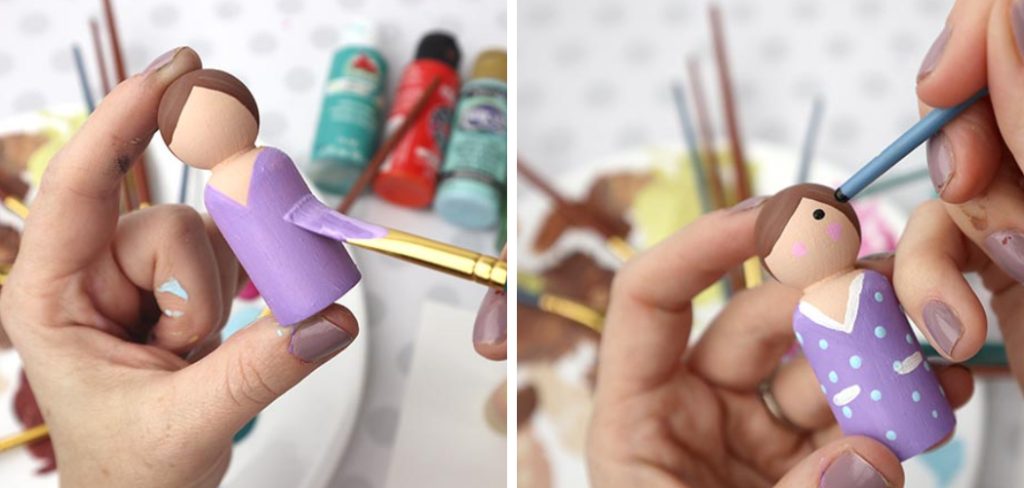
In this guide, we’ll walk through how to paint peg dolls. Prepare to embark on a joyful journey into the world of miniature artistry.
What Will You Need?
Before we dive into painting peg dolls, let’s gather all the necessary materials. Here’s a list of what you’ll need:
- Unpainted wooden peg dolls
- Acrylic paints (or any other type of paint)
- Paintbrushes in various sizes
- A palette or paper plate for mixing colors
- Water cup for rinsing brushes
- Paper towels for cleaning brushes
- Pencil or fine-tip marker for sketching designs
- Optional: sealant or varnish to protect the finished product
10 Easy Steps on How to Paint Peg Dolls
Step 1: Prepare Your Workspace
A clean and organized workspace is the key to a successful painting session. Choose a well-lit area with plenty of room to spread out your materials. Lay down a newspaper or a craft mat to protect the surface from spills or stains. Ensure that your space is well-ventilated, especially if you’re working with paints that have strong fumes. Arrange your paints, brushes, water cup, palette, and other tools within easy reach, and make sure you have a comfortable seat. A prepared workspace sets the stage for a smooth and enjoyable crafting experience.

Step 2: Choose Your Peg Dolls
Select the wooden peg dolls you wish to transform. They come in various shapes and sizes, from tiny figures that nestle in your hand to larger dolls that command attention. Consider the end use—whether for play or display—as it may influence the size and style you select. Personal preference plays a significant role here; some may prefer simplicity with fewer details, while others might opt for more intricate designs that require larger dolls with more surface area to paint. Once you’ve chosen your peg dolls, gently sand any rough edges to create a smooth surface for painting.
Step 3: Sketch Your Design
With your peg dolls prepped and ready, lightly sketch your design directly onto the wood with a pencil or fine-tip marker. This step serves as your blueprint, guiding you on where to apply paint and helping to distinguish between different colors and elements of your design. If you’re unsure, practice on paper before transferring your concept to the doll. Remember, this sketch doesn’t have to be perfect. It’s a reference point that can be adjusted as your vision comes to life with each brushstroke.
Step 4: Start with a Base Coat
Begin painting your peg dolls by applying a base coat of paint. This initial layer acts as a primer and helps subsequent colors to pop. Choose a neutral or light color that complements your overall design, and use a larger brush for even coverage. Be patient and allow the base coat to dry completely before adding details. This step is crucial as it ensures your additional layers go on smoothly and colors remain vibrant. If you plan to use multiple coats for a solid finish, let each layer dry thoroughly before applying the next.
Step 5: Add Colors and Details
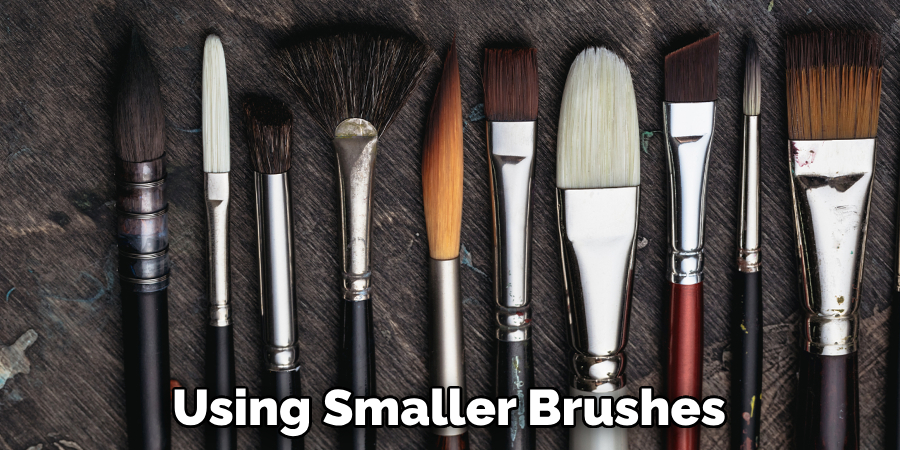
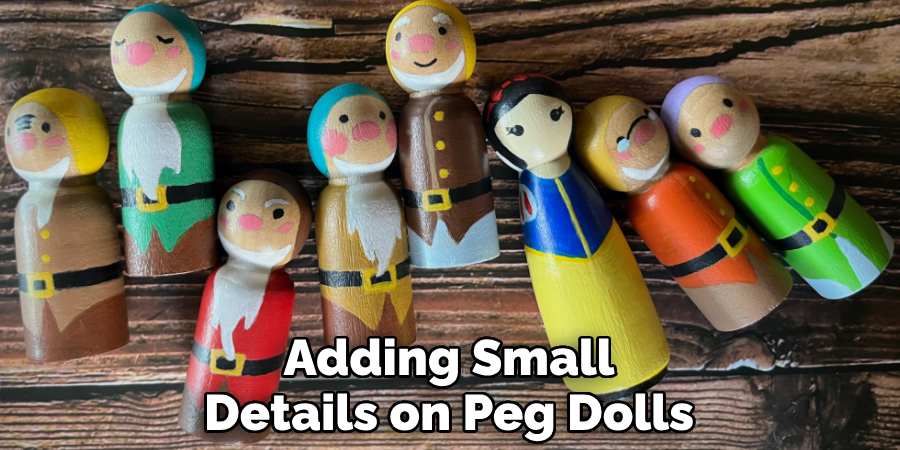
With the base coat dry, it’s time to bring your design to life. Select the colors for your peg doll’s features, clothing, and accessories. Using smaller brushes, carefully paint on the details that will define your doll’s character. This can include facial features, patterns on clothing, or decorative motifs. Take your time with this step, as precise brushwork will add depth and personality to your creation. If you make a mistake, don’t worry—simply wait for the paint to dry and cover it with another layer. Remember to clean your brushes between colors and keep your hands steady.
Step 6: Let the Paint Dry
After adding colors and details to your peg doll, allow adequate time for the paint to dry. This is a crucial step to prevent smudging and to ensure clean, crisp lines in your design. Depending on the type of paint used and the thickness of the application, drying time can vary. Some paints may feel dry to the touch within minutes, but waiting longer is recommended to ensure the paint has cured completely. While waiting, you can start planning your next peg doll or simply take a break and enjoy the progress you’ve made.
Step 7: Apply Finishing Touches
Once the paint has thoroughly dried, it’s time to focus on the finishing touches. Examine your peg dolls for areas needing improvement or a little extra detail that can make your character stand out. Use a fine brush to make minor corrections or add intricate designs requiring a steadier hand. If your plan includes layered patterns or overlapping elements, now is the time to refine these features. Finishing touches can transform a simple painted figure into a vibrant, stand-out piece, showcasing your attention to detail and personal artistic flair.
Step 8: Seal Your Peg Dolls
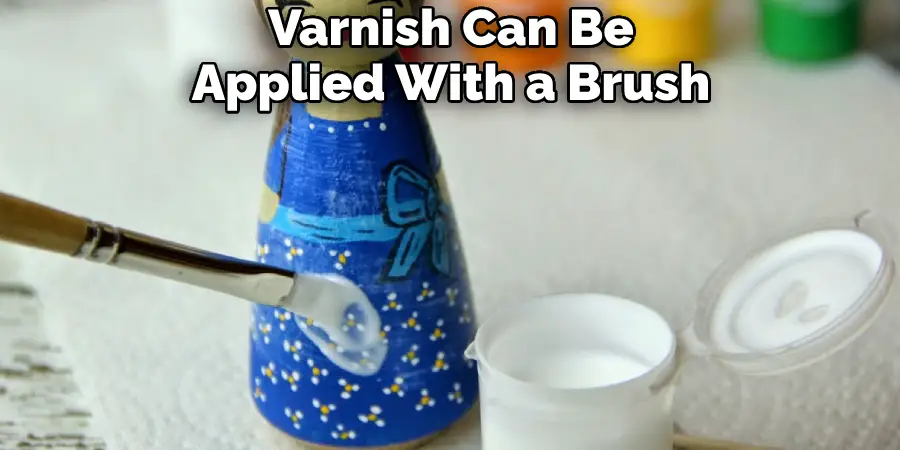
Protect your hand-painted peg dolls with a coat of sealant or varnish. This adds durability, ensuring the colors and designs withstand handling and play and gives your dolls a professional sheen, enhancing their appearance. Depending on your preference, you can choose between a matte or glossy finish. Apply the sealant evenly with a brush, or use a spray sealant for a less hands-on approach, which can offer a more uniform coat. Allow the glue to dry completely, following the manufacturer’s recommendations on drying time before handling your dolls again. This protective layer is the final step in safeguarding your miniature works of art.
Step 9: Photograph Your Peg Dolls
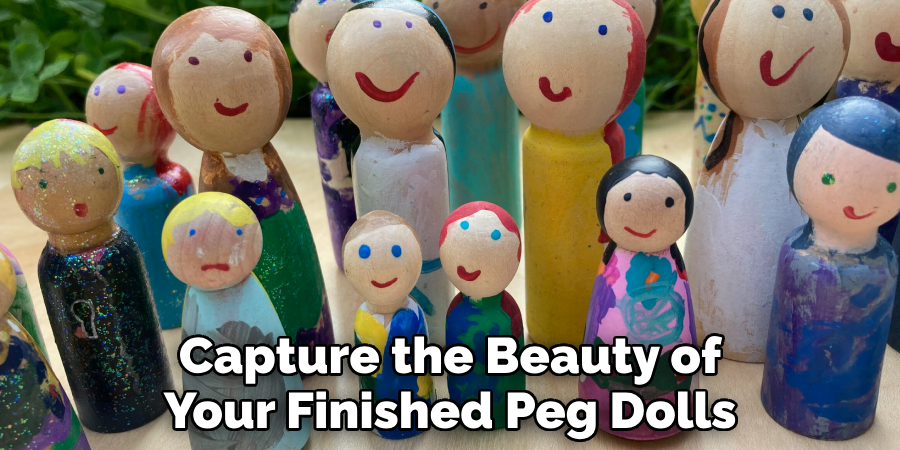
Capture the beauty of your finished peg dolls by taking high-quality photographs. Good lighting is essential — try to use natural light if possible, as it will bring out the true colors of your paintwork. Position your dolls against a neutral background that doesn’t distract from their vibrant appearance. You can experiment with different angles and arrangements to find the most visually appealing composition. These photos can serve as a record of your work, can be shared with friends and family, or can be used if you decide to sell your creations online. Remember to be patient and take multiple shots; this way, you can choose the best images that fully showcase your artistry.
Step 10: Share Your Creation
Once you have captured the essence of your peg dolls through photography, consider sharing your creations with others. Social media platforms, craft forums, and online marketplaces are excellent places to showcase your artistry. Include a brief story or inspiration behind each doll, as this personal touch often resonates with viewers and potential buyers. Engage with your audience by inviting feedback and discussions about your techniques and the creative process. Sharing celebrates your accomplishment and contributes to a community of crafters who can learn from and inspire one another.
Following these ten simple steps, you can transform a plain wooden peg doll into a unique piece of art.
5 Additional Tips and Tricks
- Start with Light Colors: First, begin painting with lighter colors, especially when planning to layer multiple hues. This allows for a more straightforward application of darker colors later without applying several coats to cover darker shades underneath.
- Use Fine-Tipped Brushes: Opt for fine-tipped brushes to achieve precision, especially for facial features or small details. They allow for greater control and reduce the likelihood of smudging.
- Seal the Finished Product: After painting, apply a non-toxic sealer to protect the paint from chipping and wear. A clear, matte varnish can preserve the colors without altering the aesthetic of your peg dolls.
- Work in a Well-lit Area: Light is crucial when painting intricate items like peg dolls. It helps in accurately seeing the colors and ensuring fine details are well-applied.
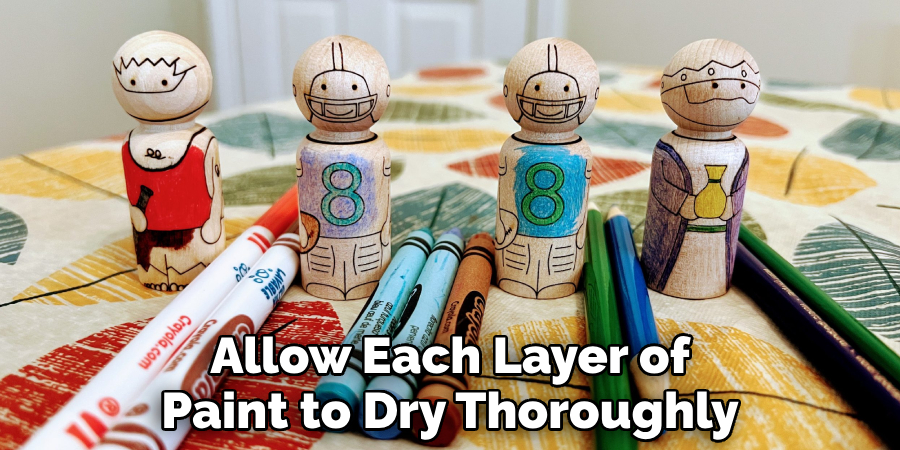
- Patient Layering: Allow each layer of paint to dry thoroughly before applying the next. This patience pays off by preventing colors from bleeding into each other and creating a cleaner, more professional finish.
With these additional tips and tricks, you can take your peg doll painting skills to the next level.
6 Things You Should Avoid
- Avoid Using Water-Based Paint Without Primer: Applying water-based paints directly on wood can cause uneven absorption and blotchiness. Always use a primer to ensure a smooth base for your painting.
- Don’t Rush the Drying Process: Trying to speed up drying with heat or fans can cause the paint to crack or peel. Patience is critical for the color to set correctly.
- Steer Clear of Thick Coats: Applying the paint too thickly may result in longer drying times and potential clumping. Aim for thin, even coats to achieve the best finish.
- Resist Over-Mixing Paint: Over-mixing can lead to muddy colors, so mix only as much as you need while maintaining the vibrancy of the paints.
- Avoid Painting in Humid Conditions: High humidity can prolong drying times and affect the paint’s consistency, potentially resulting in a less desirable finish.
- Don’t Be Afraid to Experiment: While there are specific techniques and guidelines to follow, feel free to experiment with different colors, styles, and methods. This can help you discover your unique approach to painting peg dolls.
You can continue honing your skills and creating beautiful peg doll masterpieces by avoiding these common mistakes and being open to trying new things. Keep practicing and have fun with your creations!
5 Different Design Ideas for Peg Dolls
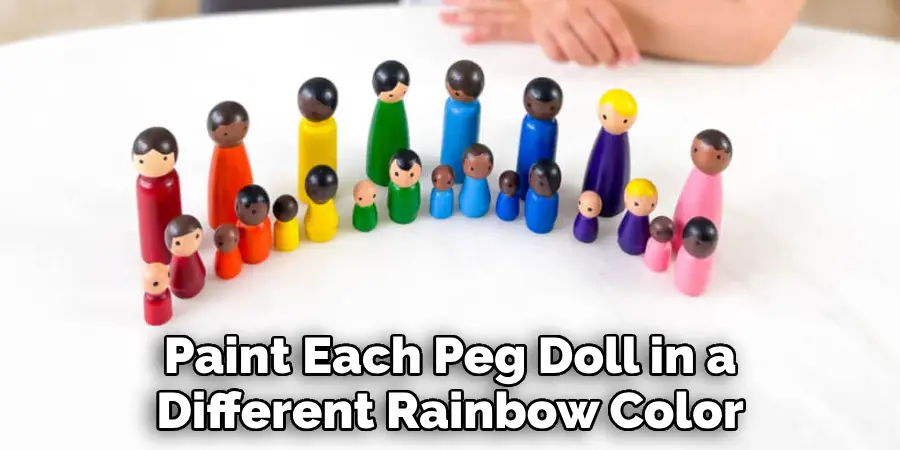
- Rainbow Families: Paint each peg doll in a different rainbow color to represent diversity and inclusivity.
- Animal Characters: Transform your peg dolls into adorable animals like cats, dogs, or even unicorns!
- Famous Figures: Show off your artistic skills by painting famous figures such as Frida Kahlo or Albert Einstein on your peg dolls.
- Seasonal Themes: Get creative with seasonal themes like Christmas, Halloween, or Valentine’s Day.
- Personalized Family Set: Create a customized family set by painting each peg doll to represent a family member, including features and hobbies that are unique to them.
These design ideas are just a few examples of endless possibilities. Let your imagination run wild, and have fun with your peg doll designs!
How Can You Use Paint Pens on Peg Dolls?
Paint pens are an excellent alternative to traditional paintbrushes and can be used in various ways on peg dolls. Here are a few ideas to get you started:
- Drawing Details: Use fine-tipped paint pens to add intricate details like facial features, patterns, or designs.
- Creating Textures: Paint pens can create unique textures like wood grain or fur on your peg dolls.
- Writing Text: Use paint pens to add names, quotes, or messages onto your peg dolls, making them personalized and unique.
- Mixing with Traditional Paint: Combine paint pens with traditional paint to create layered effects or add small details on a painted surface.
- Adding Metallic Finishes: Paint pens come in various colors, including metallic shades, allowing you to add a shiny finish to your peg dolls.
Experiment with different techniques and color combinations to see what works best for your design.
What Do You Seal Peg Dolls With?
Depending on personal preference and the desired finish, Peg dolls can be sealed with various products. Some popular options include:
- Mod Podge: This all-in-one sealer, glue, and finish is popular for sealing peg dolls. It comes in different finishes, such as matte, gloss, or satin. As it is water-based, it is non-toxic and easy to clean up.
- Clear Varnish: A clear varnish can be applied with a brush or spray to protect your peg dolls from wear and tear. They come in different finishes, such as matte, gloss, or satin. Choose a non-toxic, water-based varnish for safe use.
- Polyurethane: This durable sealer can protect your peg dolls from scratches and moisture. It comes in different finishes and can be applied with a brush or sprayed on.
- Beeswax Polish: Beeswax polish is a natural option to give your peg dolls a smooth and shiny finish while offering protection.
- Non-Toxic Epoxy Resin: This option provides a robust, complex finish that protects your peg dolls from scratches and water damage. However, it requires proper ventilation when applying and takes longer to dry than other sealers.
Ultimately, the sealer you choose will depend on personal preference and the specific needs of your project. Read product labels and follow instructions for safe and effective use.
What Types of Colorants Can You Use on Peg Dolls?
Peg dolls can be colored using various types of colorants, each with its own unique qualities and effects. Some standard options include:
- Acrylic Paint: This water-based, quick-drying paint is a popular choice for peg doll painting due to its intense color pigments and versatility.
- Watercolor: Watercolor paints can achieve soft, translucent effects on peg dolls. They come in a variety of forms, such as tubes or pans, and can be used alone or in combination with other mediums.
- Oil Paint: Oil paints have rich, creamy textures that can create vibrant colors and blend beautifully on peg dolls. However, they take longer to dry compared to other paint options.
- Paint Markers: Similar to paint pens, paint markers are a convenient option for adding small details or drawing on peg dolls.
- Natural Dyes: You can use ingredients like food coloring or vegetable dyes to color your peg dolls for a more eco-friendly and natural approach. These may not be as vibrant as traditional paints, but they can still create beautiful results.
- Inks: Inks come in various forms, such as alcohol-based or water-based, and can create bold, vibrant colors on peg dolls. They are great for creating backgrounds or adding intricate details.
Consider experimenting with different colorants to see which ones work best for your desired effects and techniques. Overall, the key is to have fun and enjoy the process of creating unique and beautiful peg doll designs. So, grab your paint pens, sealers, and colorants, and let your creativity flow!
Conclusion
Painting peg dolls is more than just a craft; it’s an avenue for expressing yourself through miniature art forms. By following the guidelines and design ideas above, anyone can embark on a creative journey and bring a collection of charming peg dolls to life.
Always remember to select the materials and techniques that best suit your artistic vision and seal your creations for longevity. Whether you are making a gift, a teaching tool, or simply looking to indulge in a delightful hobby, painting peg dolls is rewarding and endearing.
Hopefully, this guide on how to paint peg dolls has inspired you to pick up your paintbrushes and start painting your own personalized family set. Have fun with your designs, be bold, and think outside the box! Happy painting!

