
Painting plaid is a great way to add a unique and stylish touch to your home decor or personal belongings. This timeless pattern has been around for centuries and has become increasingly popular in recent years. With its classic criss-cross design, plaid can add a cozy and rustic feel to any space.
Plaid is a classic pattern that has been used in fashion and home décor for many years. It consists of intersecting vertical and horizontal stripes of varying widths and colors, creating a distinctive checkered design. Plaid can be found in various color combinations and styles, making it a versatile pattern that never goes out of style. In this blog post, You will learn in detail how to paint plaid.
Materials You Will Need
- Paintbrushes
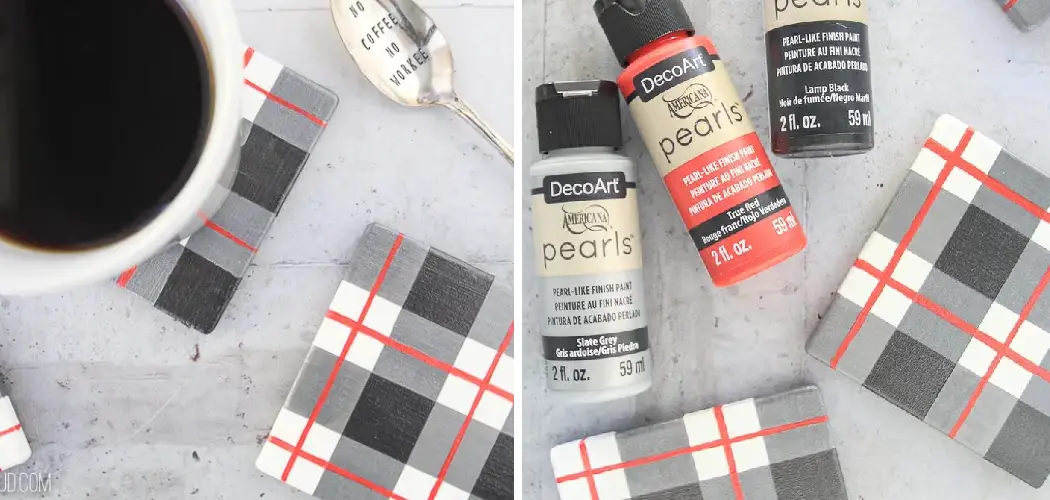
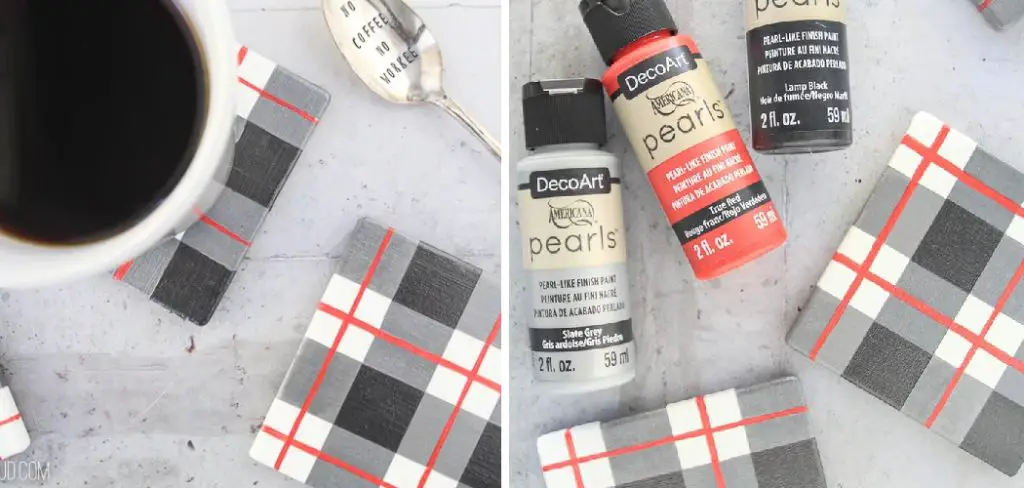
- Acrylic paint (in the colors of your choice)
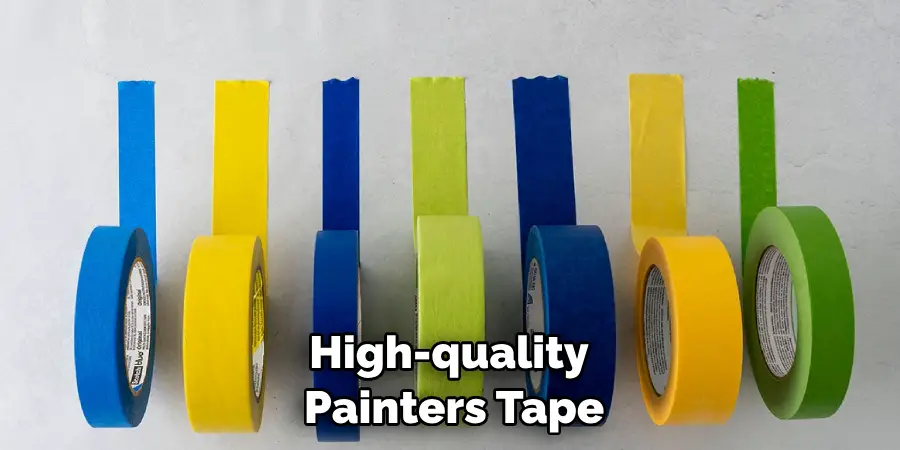
- Painter’s tape
- Ruler or measuring tape
- Pencil
- Cutting mat or ruler with a cutting edge
- X-ACTO knife or scissors
- Canvas, wood panel, or other surface to paint on
- Palette for mixing colors
- Water cup for rinsing brushes
Step-by-step Instructions for How to Paint Plaid
Step 1: Inspect the Canvas
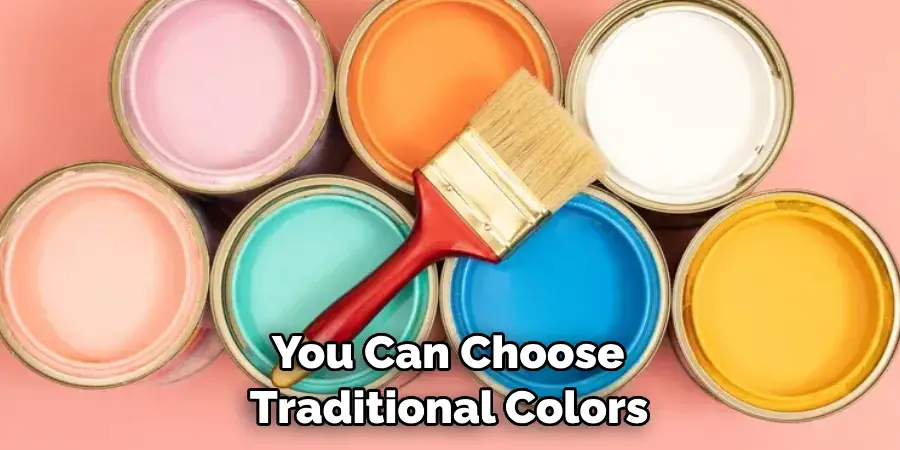
Before you start painting, make sure your canvas is clean and free of any dust or debris. This will help ensure a smooth application of paint. Decide on the color scheme for your plaid pattern. You can choose traditional colors like red, blue, and green, or get creative with unconventional colors.
Step 2: Measure and Mark
Use a ruler or measuring tape to mark out the desired size and placement of your plaid pattern on the canvas. You can use a pencil to lightly sketch these markings. Cut strips of painter’s tape slightly longer than the width of your marked lines. This will ensure that the tape covers the entire line when placed.
Step 3: Tape Your Lines
Carefully lay the tape strips along your marked lines, making sure they are straight and evenly spaced. Using an X-ACTO knife or scissors, carefully cut out the spaces between the taped lines, creating stripes on the canvas.
Step 4: Remove Excess Tape
Gently remove any excess tape that may be covering your desired lines or stripes. Double check that all the taped lines are secure and straight. Squeeze out a small amount of each color of acrylic paint onto your palette. You can mix colors to create different shades or tones.
Step 5: Start Painting
Using a clean brush, carefully paint in between the tape lines with your desired colors. Make sure to evenly coat the canvas and avoid any smudges or drips. Once you have finished painting, let the canvas dry completely before moving on to the next step.
Step 6: Remove Tape Strips

Carefully peel off the tape strips, revealing your plaid pattern underneath. Touch up any areas that may need it with a small brush. Once the paint is completely dry, you can display your plaid painting for all to see. You can hang it on a wall or use it as a centerpiece on a table.
Safety Precautions for How to Paint Plaid
- Choose a well-ventilated area to paint in, preferably outdoors or with plenty of open windows. This will prevent you from inhaling any harmful chemicals while painting.
- Wear protective gear such as gloves, masks, and eye protection to avoid getting paint on your skin or in your eyes. Some paints can cause irritation or allergic reactions, so it’s best to take precautions.
- Always read the safety instructions on the paint cans and follow them accordingly. This will ensure you are using the paint correctly and safely.
- Keep any sharp tools, such as scissors or knives, out of reach while painting to avoid accidents.
- If using a ladder or other elevated surface, make sure it is stable and secure before beginning to paint. This will prevent falls and injuries.
- Use non-toxic paints when possible, especially if you are painting with children or pets present. This will minimize any potential harm to their health.
- Clean up spills and dispose of used materials properly. Don’t leave paint cans open or brushes soaking in paint for extended periods of time as this can be a safety hazard.
By following these safety precautions, you can ensure a safe and enjoyable experience while learning to paint plaid.
What Are Some Techniques for Painting Clean and Crisp Lines in a Plaid Pattern?
One of the most popular and timeless patterns in painting is plaid. It can be used on various surfaces, from walls to furniture, and creates a cozy and inviting atmosphere. However, achieving clean and crisp lines in a plaid pattern can be quite challenging for beginners or even experienced painters. Here are some techniques that will help you create perfect plaid lines in your paintings:
1. Use the Right Tools
The key to painting clean and crisp lines in a plaid pattern is using the right tools. You will need a ruler, a pencil, painter’s tape, and a small brush for this technique. Using a ruler and pencil, mark out the desired size of your plaid lines on your canvas or surface. Then, use painter’s tape to mask off the lines and create a straight edge for your paint.
2. Paint with Precision
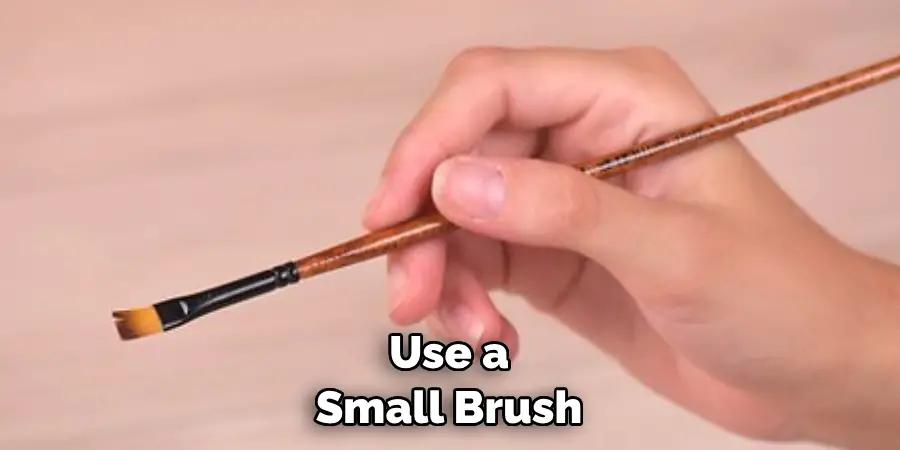
When painting plaid, it is essential to have precise brush strokes. Use a small brush, preferably one with a fine tip, and carefully follow the edges of the painter’s tape. Make sure that your strokes are smooth and even, as any imperfections will be noticeable in the final result.
3. Use a Dry Brush Technique
Another technique for achieving clean and crisp lines in plaid is using a dry brush. This method involves dipping your brush into paint, then wiping off most of it onto a paper towel before applying it to your canvas. This way, you will create a more textured and faded look for your plaid pattern, giving it a more natural and rustic feel.
4. Layer Your Paint
To create depth and dimension in your plaid pattern, you can layer your paint. Start with the lightest color as your base coat, then use painter’s tape to mask off thin lines for the darker colors. Once the first layer is dry, remove the tape and repeat the process with different colored paints. This technique will give your plaid pattern a more intricate and realistic appearance.
5. Practice Makes Perfect
As with any painting technique, practice makes perfect. Experiment with different brush sizes and techniques until you find the one that works best for you. Don’t be afraid to make mistakes; they are all part of the learning process. With time and persistence, you will be able to paint clean and crisp lines in a plaid pattern effortlessly.
In conclusion, painting plaid requires patience, precision, and the right tools. By following these techniques and continuously practicing, you will be able to create perfect plaid patterns in your paintings.
How Do You Prevent Bleeding or Smudging While Painting Plaid?
One of the most frustrating things that can happen while painting a plaid pattern is bleeding or smudging. This occurs when the paint seeps under the painter’s tape or when you accidentally drag your brush across the tape, ruining the clean lines. Here are some tips to prevent this from happening:
1. Use High-Quality Painter’s Tape
Investing in high-quality painter’s tape is crucial when painting plaid. Cheaper tapes tend to be less sticky, making it easier for paint to seep underneath them. Look for painter’s tape specifically designed for delicate surfaces as they will have a gentler adhesive.
2. Press Down the Edges of the Painter’s Tape
Before painting, make sure to press down the edges of the painter’s tape firmly onto the surface. This will help create a tight seal, preventing paint from bleeding through.
3. Seal the Edges with the Base Coat
Once you have marked out your plaid pattern and applied the painter’s tape, use a small brush to lightly apply your base coat along the edges of the tape. This will act as a barrier for any potential bleeding or smudging.
4. Remove the Tape While the Paint is Still Wet
It is crucial to remove the painter’s tape while the paint is still wet to avoid any smudging. If you wait until the paint has dried, there’s a higher chance of peeling off some of the dried paint along with the tape.
5. Use a Heat Gun
If you notice any bleeding or smudging after removing the tape, you can use a heat gun to gently dry and set the paint. This will also help seal the edges of the lines.
With these preventative measures, you can ensure that your plaid pattern stays clean and crisp throughout the painting process. Remember to take your time and be patient when working with painter’s tape to achieve the best results.
Are There Any Common Mistakes to Avoid When Painting Plaid?
While painting plaid may seem straightforward, there are a few common mistakes that many beginners make. Being aware of these mistakes can help you avoid them and create a flawless plaid pattern in your paintings:
1. Not Prepping the Surface Properly
Before starting to paint, it is crucial to properly prep the surface you will be working on. Make sure it is clean, smooth, and dry. If you are painting on a textured surface, it’s best to sand it down first for a smoother finish.
2. Using Too Much Paint
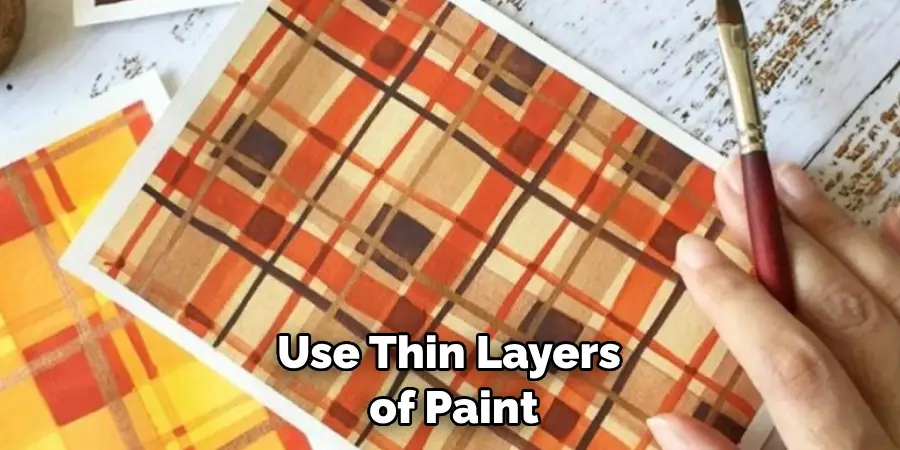
When painting plaid, less is more. Using too much paint can result in bleeding or smudging and make your lines appear thick and uneven. Remember to use thin layers of paint and build up the color gradually.
3. Not Using Enough Painter’s Tape
Using too little painter’s tape can also lead to bleeding or smudging. It’s better to have more tape than you think you need, as it’s easier to remove excess tape than fix a mistake caused by not using enough.
4. Rushing the Process
Creating clean and crisp lines in plaid takes time and patience. Rushing the process can result in mistakes and a less polished final product. Take your time, use the proper techniques, and don’t be afraid to make corrections along the way.
By avoiding these common mistakes and following the tips mentioned earlier, you will be able to paint flawless plaid patterns in no time. Remember to have fun and experiment with different colors and techniques to create unique and beautiful plaid designs in your paintings.
Conclusion
In conclusion, painting plaid can be a fun and rewarding DIY project. It allows you to customize your own patterns and add a personal touch to any surface. With the right materials and techniques, anyone can achieve a beautiful plaid design.
When starting a plaid painting project, it’s important to choose the right paint colors. Opt for colors that complement each other well and consider using a reference image for guidance.
Next, make sure to properly prepare your surface by sanding and priming it if necessary. I hope this article has been beneficial for learning how to paint plaid. Make Sure the precautionary measures are followed chronologically.