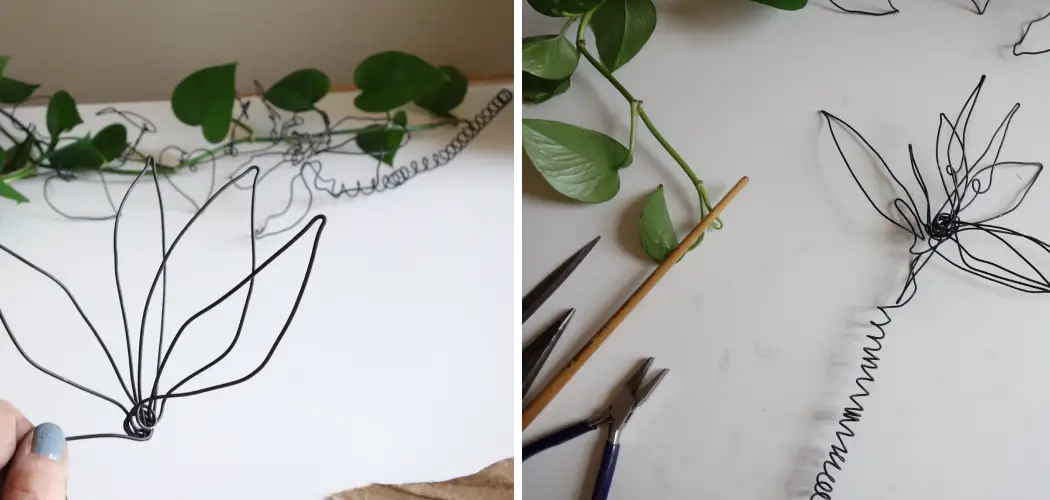
Do you have a creative project that could benefit from some colorful blooms? If you’re looking for a fun and creative way to spruce up your garden, look no further! Learn how to make wire flowers with ease in this step-by-step tutorial. Even if you’re a beginner at crafts, it’s easy to create these delicate works of art with a few simple steps and materials. Create beautiful decorations by making your own wire flowers – perfect for wreaths, centerpieces, garlands, or any other special occasion that deserves some added beauty!
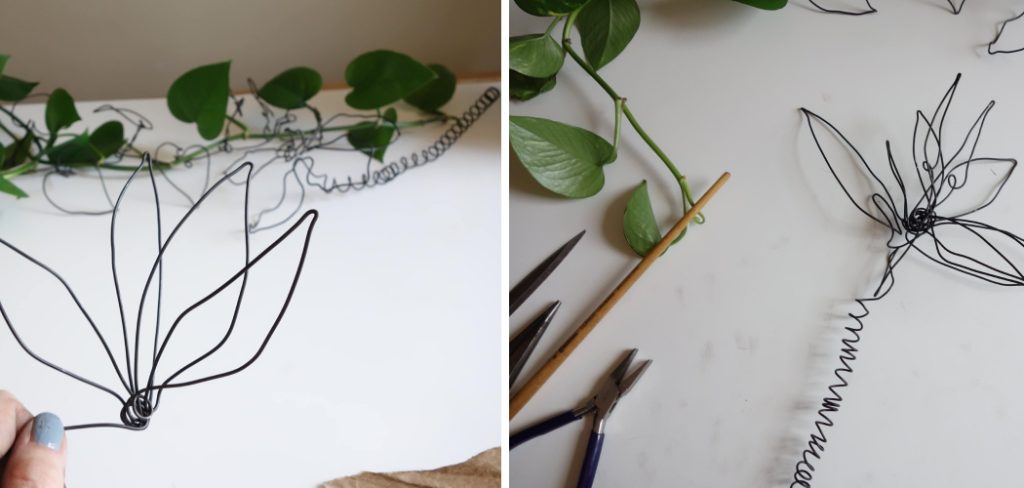
Today’s tutorial will teach you the basics of making beautiful wire flowers for any season or occasion. From rustic daisies to Mexican-inspired marigolds, wire art is an easy-to-learn technique that can really bring your outdoor space to life with unique handmade details. So grab some galvanized steel wire, and let’s get started!
Benefits of Making Wire Flowers
Wire art is an incredibly versatile craft that provides limitless opportunities for both indoor and outdoor decor. Whether you’re making a statement piece or simply adding to your garden’s natural beauty, wire flowers offer many benefits:
1. Durable and Long Lasting
Wire art is an ideal project for people with busy lifestyles, as the pieces are made of galvanized steel wire which is rust-resistant and more durable than aluminum. It is easy to maintain and can withstand all kinds of weather changes.
2. Versatile
Wire art is a great way to add interest and texture to any project or decor piece, as the pieces come in various sizes, shapes, and colors. From daisies to roses, you can create an entire garden right at home!
3. Cost Effective
Making your own wire flowers is much more affordable than buying ready-made pieces from a store. You can easily make several pieces with the same material and tools, so you can have an entire garden of handmade wire art without breaking the bank.
Now that you know all about the benefits of creating your own wire flowers, let’s get started! Here are some simple tips to help you create beautiful pieces with ease.
Required Items
Galvanized Steel Wire (24–26 Gauge):
You can find this at any hardware store or online. The gauge of the wire determines its thickness, so choose one that is easy to work with and not too thin.
Pliers:
Choose a good quality pair of pliers to make it easier to shape the wire.
Wire Cutters:
This will help you cut and trim the wire into different sizes, making it easier to create various shapes.
Permanent Markers:
Choose a variety of colors to add more interest and detail to your wire flowers.
Metal Ruler:
This will help you measure and cut the wire accurately, providing consistency in your designs.
10 Ways How to Make Wire Flowers
Making wire flowers can be a fun and creative way to decorate any space, whether it’s inside or outside. Here are the steps you need to take in order to make your own beautiful wire flower:
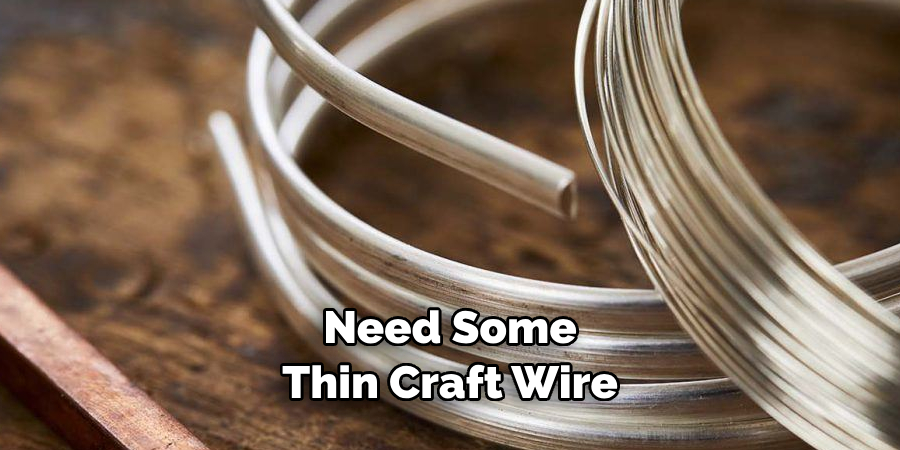
Step 1: Cut Wire:
Using your wire cutters, cut the wire into desired lengths depending on the size of the flower you want to create. You can use different lengths to create various sizes of petals. The longer the wire, the more petals you can create. It’s always better to have extra wire as it can be trimmed later on. You can always experiment with different lengths to see what works best for you. But it’s always better to start with longer wire and then trim as needed.
Step 2: Create a Basic Shape:
Take one of the wires and form a basic loop at one end. This will serve as the center of your flower. The size of this loop will determine the size of your flower, so make it as small or large as you want. However, it should be big enough to add petals later on. It’s best to using of pliers for this step as it can be hard to shape the wire with your fingers. You can also use the pliers to create different shapes for more variety.
Step 3: Add Second Wire:
Take another wire and wrap it around the first loop a few times, leaving some space in between each wrap. This will create the first layer of petals. You can use your fingers to shape the wire as you go along or use the pliers for more precision. There’s no right or wrong way to do this – just be creative and experiment with different shapes and sizes.
Step 4: Create Additional Layers:
Repeat the process of adding more wires and wrapping them around the previous layer, creating additional layers of petals until you reach your desired size. You can also vary the length of each wire to create a more natural look. Remember, there’s no right or wrong way to do this – just have fun and experiment until you get the desired look.
Step 5: Shape Petals:
Once you have added all your layers, use your fingers or pliers to shape the petals. You can make them pointed, curved, or even twisted for more interest and detail. This is where you can really let your creativity shine! It’s best to shape the petals while the wire is flat before adding them to the center loop. But don’t worry if you make a mistake – the wire is easy to reshape.
Step 6: Add Color:
Using permanent markers, add color to your wire flowers. You can color the entire flower or just the tips of the petals for a more natural look. This is a great way to personalize your wire flowers and make them truly unique. You can also use different colors for each layer to add more dimension. If you make a mistake, just use rubbing alcohol to remove the color and start again.
Step 7: Shape Stems:
Using the pliers, bend the bottom of your wire flower to create a stem. You can make it straight or add a slight curve for a more natural look. You can also wrap some green floral tape around the stem for a more realistic appearance. The stem will also help you secure the flower when adding it to a project or display. It’s best to shape the stem while the wire is flat before adding it to the flower.
Step 8: Display and Decorate:
Now that your wire flowers are complete, it’s time to find a way to display them. You can add them to a vase for an indoor arrangement or use them to decorate a garden fence or trellis for an outdoor display. You can also incorporate them into other DIY projects such as wreaths, wall art, or even jewelry. But don’t limit yourself – the possibilities are endless!
Step 9: Experiment with Different Flowers:
Now that you know how to make a basic wire flower don’t be afraid to experiment with different shapes and sizes. You can create a variety of flowers, such as daisies, roses, lilies, and more. You can also mix and match different colors to create unique combinations. But don’t limit yourself to just flowers – you can also create other wire art such as butterflies, dragonflies, or even abstract designs. It’s all about being creative and having fun with the process.
Step 10: Have Fun and Be Creative:
The most important thing when making wire flowers is to have fun and be creative. There’s no right or wrong way to do it, so let your imagination run wild! Don’t be afraid to make mistakes – they can often lead to new and interesting designs. And most importantly, enjoy the process of creating something beautiful with your own hands. So go ahead, grab some wire and start making your very own wire flowers today! Experiment, play with different shapes and colors, and let your creativity blossom. The possibilities are endless!
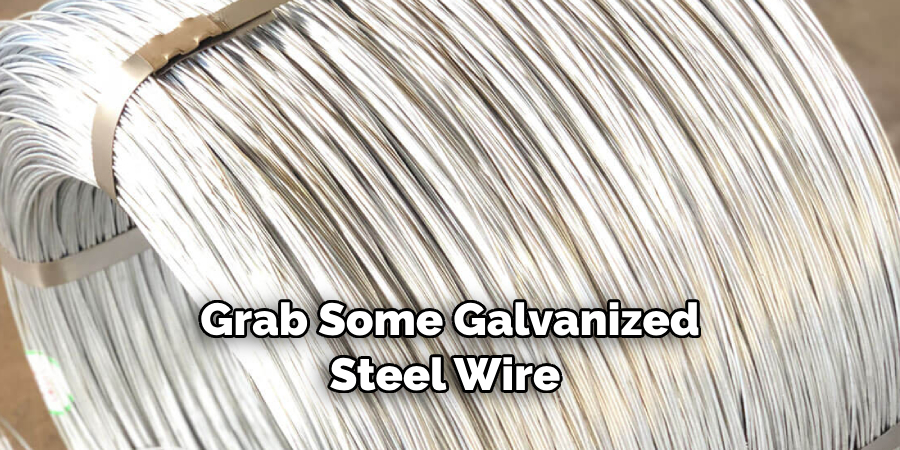
With these simple steps on how to make wire flowers, you can easily make beautiful wire flowers for any occasion or season. So grab some galvanized steel wire and start creating!
8 Safety Precautions to Follow When Making Wire Flowers
When it comes to crafting with wire, safety should always be your top priority. To keep you safe while creating beautiful wire flower designs, here are 8 safety precautions for making wire flowers:
1. Wear safety glasses and protective gloves when working with wire. This will protect your eyes from any flying pieces of metal or hot tools. Also, wearing gloves will reduce the risk of cuts and blisters from handling wire.
2. Secure your workspace with a non-slip surface, such as a large cutting board or block of wood. This will help to keep all of your tools and materials in place while you’re working. It will give you the freedom to focus on your project without worrying about any pieces being dropped or moved.
3. Practice good posture and body mechanics when working with wire. This is especially important if you’re going to be using pliers or other metal tools. Make sure your arms and wrists are supported so you don’t strain them while manipulating the metal.
4. Be aware of any sharp edges before handling the wire. If you notice any rough edges or burrs on the wire, use pliers to trim them away before beginning your project. This will prevent possible cuts and scrapes while you’re working with the material.
5. Use caution when using metal tools. Wire pliers, cutters, and other metal tools can be sharp or hot to the touch. Make sure you’re aware of their temperature before handling them.
6. Don’t work with wire in a damp environment. Moisture can make it difficult to manipulate wire, and it can also cause corrosion on the metal over time. If possible, move your work area to a dry spot or set up a fan to help blow away any moisture in the air.
7. Keep all of your tools and materials organized. This will make it easier for you to find what you need when creating wire flowers. It will also reduce the risk of accidentally using the wrong tool or dropping something on your project.
8. Dispose of any scraps properly. When you’re finished with your project, make sure to recycle any unused metal or dispose of it in a designated trash receptacle for proper disposal. This will protect the environment and keep you safe from any potentially hazardous materials.
By following these 8 safety precautions for how to make wire flowers when making wire flowers, you can create beautiful pieces without putting yourself at risk. Have fun, and stay safe!
6 Maintenance Tips for Your Wire Flowers
Wire flowers can be a beautiful and unique addition to any garden or home. But like any other type of flower, they require proper care and maintenance in order to stay healthy and look their best. Here are some tips for caring for your wire flowers:
1. Trim Regularly
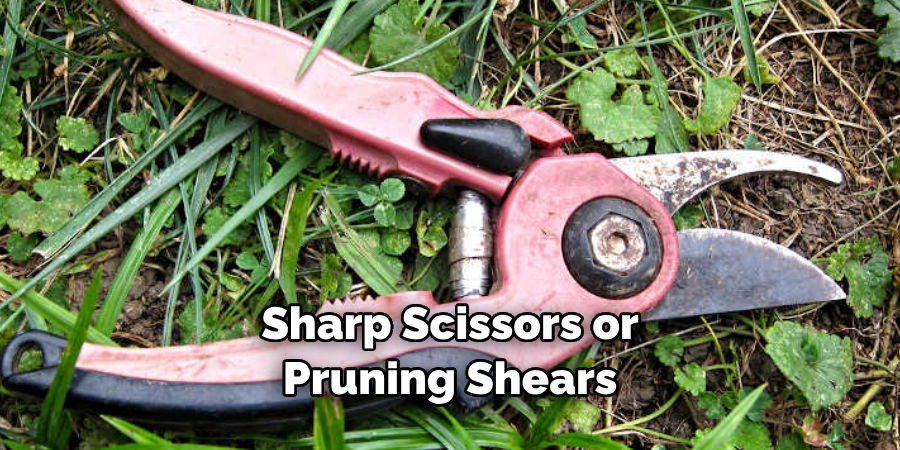
Regular trimming will help keep your wire flowers from becoming overgrown and unruly. When trimming, use sharp scissors or pruning shears to make sure that you don’t damage the wires. Trimming also helps ensure that the flowers are getting enough light.
2. Water Properly
Wire flowers need to be watered regularly in order for them to stay healthy and vibrant. Make sure that you’re providing your wire flowers with the right amount of water—too much or too little can cause problems.
3. Fertilize
Wire flowers require nutrient-rich soil in order to stay healthy. Applying a balanced fertilizer at least once per month will help ensure that your flowers are getting the nutrients they need. Fertilizer also helps promote healthy growth and flowering.
4. Reposition
If your wire flowers are not receiving enough sunlight, they can become weak and start to die off. Consider repositioning the plants so that they get adequate light throughout the day. Try to find a spot where there is between 8-12 hours of direct sunlight per day.
5. Insect Control
Wire flowers can be vulnerable to pests and insects, especially if they are planted in an area that is prone to these critters. Keeping the soil around your wire flowers free of debris and weeds can help cut down on insect populations. If you notice bugs in your plants, treat them with a safe insecticide.
6. Prune
Pruning will help keep your wire flowers looking tidy and neat. It also helps promote healthy growth and flowering. When pruning, make sure to use sharp scissors or pruning shears so that you don’t damage the wires. Try to avoid cutting too much as this could stunt the plant’s growth.
By following these tips on how to make wire flowers and taking good care of your wire flowers, you can ensure that they remain beautiful and vibrant. With just a little bit of effort and attention, you’ll have a stunning display of wire flowers in no time!
Frequently Asked Questions
How Long Will It Take to Finish the Project?
Generally, it will take approximately 3-4 hours to complete the project. However, this may vary depending on your skill level and the complexity of the design. It won’t take long to get the hang of it, and you’ll be able to create your own unique wire flower in no time!
What Special Materials Do I Need?
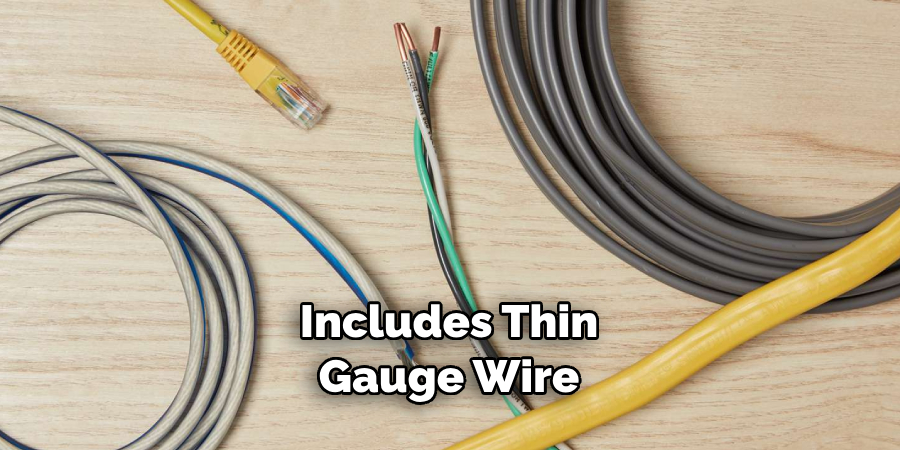
To make wire flowers, you will need a few basic materials. This includes thin gauge wire, floral tape, scissors or pliers, and beads or other decorative pieces (optional). You may also want to purchase special tools and supplies such as wire cutters, nippers, and jigs to help make the process easier.
What Is The Best Way To Make Wire Flowers?
The best way to make wire flowers is to start with a basic pattern or design in mind. First, use thin gauge wire to form the stems of your flower. Use floral tape to secure the stems in place and add elements such as leaves or petals. Finally, embellish your flower with beads or other decorative pieces if desired. Practice makes perfect–take your time and have fun experimenting with creating beautiful wire flowers!
Conclusion
Making wire flowers is a great and creative way to add a special touch, and in this article, we have provided you with all the steps and tips you need to make your wire flower look beautiful and life-like. You do not have to be experienced at crafts to make a wire flower that you can be proud of; all it takes is practice, patience, and creativity.
Now that you have been educated on how to make wire flowers try experimenting with colors and sizes until you come up with a design that’s perfect for you! The possibilities are endless, so don’t hesitate to let your imagination run wild. When it comes to home decor, nothing beats the personal touch of handmade art like these stunningly simple wire flowers. Show off your artistic craftsmanship today.

