
Have you ever stood in awe of a monarch butterfly gently fluttering across a field of wildflowers? Or been curious about where they go and why they migrate? If your fascination with butterflies reaches beyond admiring them, then it’s time to try your hand at making something special – tissue paper butterflies!

Tissue paper butterflies are fun and easy to make and offer a whimsical touch to any room or outdoor space. Not only will you be able to decorate your home with these colorful creations, but it’s also a great way to teach kids about the life cycle of butterflies and get them interested in nature.
Whether you’re an experienced craftsman or just getting started, creating stunning paper butterflies is more straightforward than one may think. In this blog post, we’ll show you how to make tissue paper butterflies from start to finish!
What Will You Need?
- Tissue paper in a variety of colors
- Scissors
- Pipe cleaners or floral wire
- Cardstock or construction paper
- Glue stick
Once you have gathered all your supplies, it’s time to start making these beautiful creatures.
10 Easy Steps on How to Make Tissue Paper Butterflies
Step 1: Cut the Tissue Paper
First, you’ll want to gather your tissue paper in different colors. You can use plain white, but vibrant colors will make your butterflies stand out more. Cut the tissue paper into squares, approximately 6×6 inches.

Step 2: Stack and Fold the Tissue Paper
Next, stack about 8-10 squares of tissue paper on each other. Make sure the edges line up correctly. Start from one edge and fold the stack of tissue paper back and forth, accordion-style, until you have a thin strip.
Step 3: Bind the Center
Now, take a pipe cleaner or a piece of floral wire and wrap it around the center of your accordion-folded tissue paper, twisting it tightly to secure it. The ends of your pipe cleaner or wire will become the antennae of your butterfly, so leave them long enough to shape. If you don’t have pipe cleaners or floral wire, you can use a piece of string or ribbon to tie the center.
Step 4: Shape the Wings
At this point, you’ll start to see your butterfly taking shape. Carefully fan out the folds of the tissue paper on each side of the pipe cleaner or wire. This forms the wings of your butterfly. You can gently pull and fluff each layer of tissue paper to make the wings fuller and give the butterfly a lifelike appearance. Remember to be patient and handle the tissue paper gently to avoid ripping.
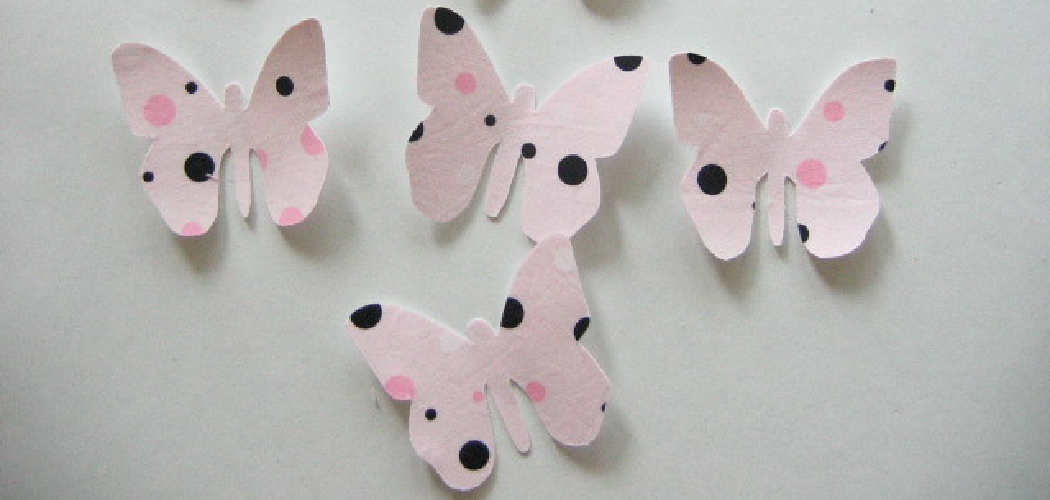
Step 5: Decorate the Wings
Now comes the fun part – decorating! Take your cardstock or construction paper and cut out small circles, ovals, or other shapes. These will serve as the patterns on your butterfly’s wings. Using your glue stick, adhere these shapes onto the tissue paper wings in any design you like. Be creative and make each butterfly unique! After decorating, allow the glue to dry completely before moving on to the next step.

Step 6: Shape the Antennae
Next, it’s time to give your butterfly its signature antennae. Take the ends of the pipe cleaner or floral wire that you left long earlier and twist them into a curl or a loop, creating the characteristic shape of butterfly antennae.
If you use string or ribbon, you can develop antennae by gluing small pieces of pipe cleaner or floral wire to the top of your butterfly. This step brings your butterfly to life, giving it the final touch that makes it distinctly a butterfly.
Step 7: Add a Body
To make your butterfly more realistic, you can add a body. Cut a small length of pipe cleaner or floral wire – about 2 inches should suffice. Bend it slightly to give it a curved shape, similar to a real butterfly’s body. Apply glue to one side of this piece and press it onto the center of your butterfly, over the spot where you’ve bound the wings together. Let it dry completely. This step is optional, but it does add a lovely 3D effect to your tissue paper butterfly.
Step 8: Set Your Butterfly Free
Now that your tissue paper butterfly is complete, it’s time to find the perfect spot. Whether you decide to hang them from the ceiling or attach them to a wall, these butterflies are sure to add a splash of color and whimsy to any environment.
To hang, simply attach a string or fishing line to the butterfly’s body and secure the other end where you’d like your butterfly to hover. If you prefer to attach them to a wall, a small piece of sticky tack should be sufficient. Enjoy your beautiful, handcrafted butterfly, and let your creativity take flight!

Step 9: Create a Butterfly Garden
Now that you have your lovely tissue paper butterflies, why not create a butterfly garden for them? Find a dedicated space in your home, a corner of a room, or a wall section. Paint or decorate it with images of flowers, grass, and a sunny sky. You can even add other insects and birds.
Once you’re satisfied with your garden, start arranging your butterflies. You can stick them on the wall or hang them from the ceiling to make it seem like they are in mid-flight. Adjust their positions until you’re happy with the layout. This is your chance to let your imagination run free and create a magical space filled with color and joy.
Step 10: Enjoy and Share Your Creation
Now that you’ve completed your butterfly garden take a moment to enjoy your handiwork. Each colorful butterfly you’ve crafted is a testament to your creativity and patience.
Remember to share your creation with others, too. Whether you share photos on social media or invite friends and family to see your butterfly garden in person, spreading the joy of your DIY project can inspire others to explore their creativity. Remember, making tissue paper butterflies is not just about the final product but also the fun and learning that happens along the way.
By following these ten easy steps, you can create stunning tissue paper butterflies that will bring a touch of magic to any room.
5 Additional Tips and Tricks
- Choose the Right Paper: Opt for tissue paper that’s not too thin or thick. A medium-weight paper holds the fold well and creates a beautiful, fluttery effect.
- Experiment with Colors: Don’t limit yourself to a single color. Try multicolored or patterned tissue paper for a vibrant look.
- Practice the Folds: The key to a perfect butterfly is in the folding. Practice makes perfect. Start with simple folds, gradually moving on to more complex ones.
- Use a Template: If you’re struggling with getting the shape right, consider using a butterfly template. This can be especially helpful for beginners.
- Finishing Touches: A black marker can add details to your butterfly, like the body or antennae. For a 3D effect, consider adding a bead in the center or a small button for the eye.

With these additional tips and tricks, you can take your tissue paper butterfly-making skills to the next level. Don’t hesitate to experiment and have fun with different techniques and materials.
5 Things You Should Avoid
- Avoid Rushing: Patience is key when making tissue paper butterflies. Rushing through the process could lead to a poorly constructed butterfly.
- Avoid Overcrowding Details: While it’s tempting to add many details to your butterfly, too many can take away from its elegance. Opt for simplicity.
- Avoid Using Low-Quality Materials: Low-quality tissue paper or glue can affect the outcome of your project. Ensure to use the best materials within your budget.
- Avoid Neglecting Practice: Don’t get discouraged if your first few attempts turn out wrong. Avoid the mindset that you’ll get it right on the first try.
- Avoid Ignoring Safety: If you’re using scissors or any sharp tools, always prioritize safety. Avoid leaving these items unattended if there are young children around.
- Avoid Limiting Your Creativity: Don’t be afraid to think outside the box and add your own unique touch to your butterfly. Let your creativity soar!
By avoiding these common mistakes, you can ensure a smooth and successful tissue paper butterfly making experience.
Conclusion
How to make tissue paper butterflies is a joyous way to welcome them in spring. Plus, they’ll add the perfect touch of whimsy and beauty to any room. I guarantee they will enchant you, your friends, and your family. Why not give it a try? Get creative, make beautiful tissue paper butterflies, and brighten your space this spring!
Ultimately, there is no limit to the different design ideas you can develop – so don’t shy away from trying something unique that speaks to you. Let the butterfly wings take you away and usher in a season of fresh beginnings!
Have fun crafting these delicate works of art, and follow your imagination wherever it takes you…All that’s left now is for you – so grab some colorful paper and a pair of scissors and get those creative juices flowing.