
Do you love creating art projects but aren’t sure how to make your own stickers? Do you love being creative and making DIY projects? Have you ever wanted to make your own unique stickers but thought it was too difficult or expensive? Making your own stickers with a Silhouette Machine is easier than you think, and it opens up a whole new world of possibilities for crafting!
In this post, we’ll walk you through step-by-step instructions on how to make stickers on silhouette for making beautiful vinyl decals and die-cut stickers on your very own Silhouette machine. From helpful tips to troubleshooting common issues while using the cutting tool—you’ll be an expert in no time!

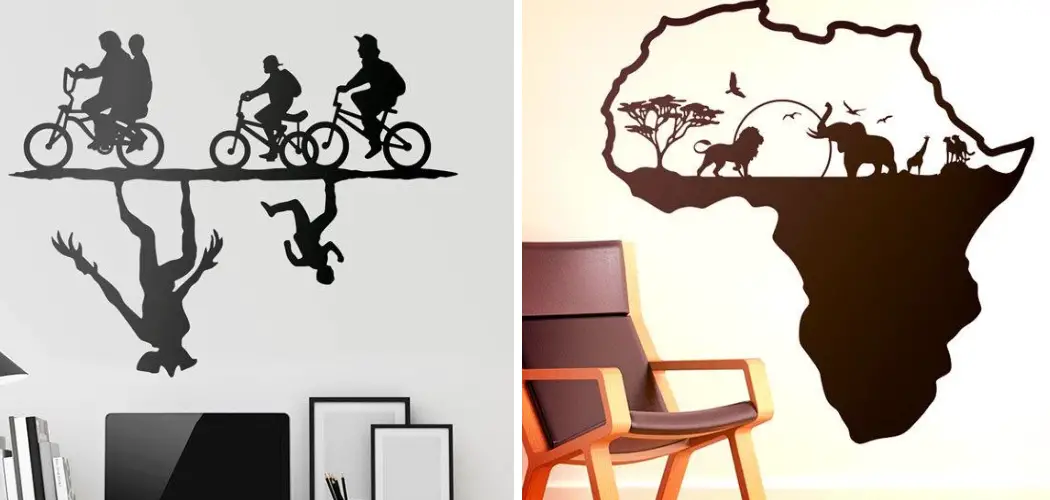
You can start customizing everything from notebooks and laptops to planners and phones with stylish designs made by YOU!
Why Making Stickers on Silhouette is a Good Idea
Making stickers on Silhouette is a great way to personalize your projects and create something unique. With Silhouette, you can make your own custom sticker designs in just minutes! It’s an easy and creative way to add some fun to any project. Here’s why making stickers on Silhouette is a great idea:
- It’s easy to use- Silhouette allows you to make stickers quickly and easily. All you need is some vinyl, an adhesive cutting mat, and the software.
- You can make any design you want- With Silhouette, you have the freedom to customize your sticker designs however you like. You can create original artwork or use pre-made designs to make fun decals.
- It’s cost-effective- Making stickers on Silhouette is more affordable than buying them from a store. You can save money by creating your own personal designs for less.
- You can get creative- Stickers are a great way to express yourself and show off your creativity. Whether you’re making a decal for your laptop or adding some flair to a project, Silhouette is perfect for customizing your own unique designs.
Making stickers on Silhouette is an easy and fun way to add personality to any project. Whether you’re a beginner or a pro, you can create amazing sticker designs with just a few clicks. So grab your supplies and get creative with Silhouette!
Required Items for Making Stickers on Silhouette
Ready to get started? Before you start creating your own stickers, here are some items you’ll need:

- Vinyl – You can buy vinyl in various colors and finishes. This is what you’ll be cutting your sticker designs out of.
- Cutting mat – This will help keep your vinyl in place while you’re cutting.
- Silhouette software – This is an easy-to-use program that will help you create and cut out your sticker designs.
Once you have these items, you’re ready to start making stickers on Silhouette!
How to Make Stickers on Silhouette in 10 Easy Steps
Step 1: Create a Design
Open the Silhouette software and create your sticker design. You can use pre-made designs or make your own with shapes, text, and other elements. Creating a design is the first step in making stickers on Silhouette.
Step 2: Prepare Vinyl
Once you’ve finished creating your design, it’s time to prepare the vinyl. Place the vinyl onto your cutting mat and make sure it’s firmly adhered. This will help ensure that your cuts are precise when you start cutting.
Step 3: Select Cut Settings
Go to the cut settings in the software and select the type of vinyl you’re using. This will determine how your Silhouette cuts out your design. Make sure you select the correct vinyl type for best results!
Step 4: Place Mat into Machine
Now that your vinyl is ready to go place the cutting mat into the Silhouette machine. Make sure it’s firmly in place and that all of your settings are correct. Placing the mat is an important step to make sure you get precise cuts.

Step 5: Load Design into Silhouette
Open your saved design in the software and load it into the machine. Make sure everything looks correct on the preview screen before continuing. This is the last step before cutting!
Step 6: Start Cutting
When you’re ready, hit the “Cut” button in the software. Your Silhouette will start cutting your design, and make sure to monitor it closely while it works. Cutting your sticker design is the most important step in making stickers on Silhouette.
Step 7: Remove Cut Outs from Mat
Once your Silhouette is done cutting, it’s time to remove the cutouts from the mat. Carefully peel them off, and you should have perfect cuts of your sticker design!
Step 8: Remove Transfer Paper
If you’re using transfer paper, you can now remove it from the vinyl. This will leave you with a clean finish for your sticker design. Removing transfer paper is an easy way to get a polished look for your stickers.
Step 9: Place Stickers
Now that you’ve finished making your sticker design, it’s time to place them wherever you want! Whether it’s your laptop, phone case, or project surfaces- the possibilities are endless with Silhouette stickers.

Step 10: Admire your Work!
Once you’ve placed your stickers, take some time to admire your work. Making stickers on Silhouette is an easy and creative way to make personalized projects and add some fun. Celebrate the success of creating something unique and share it with others!
Following these steps will help you make amazing stickers on Silhouette. With a little practice, you can create your own unique sticker designs in no time! So grab your supplies and get creative with Silhouette today.
8 Additional Tips for Making Stickers on Silhouette
Making stickers on Silhouette is easy and fun, but here are some tips to make the process even smoother:
- Pre-cut Your Vinyl Before Loading It Into the Machine – this will help save time and improve accuracy. That’s why it’s important to pre-cut your sticker design before placing it into the Silhouette.
- Choose the Correct Cutting Settings – this will ensure that you get precise cuts each time. Be sure to select the correct vinyl type in the software for the best results!
- Use Transfer Paper for a Clean Finish – this is perfect for getting professional-looking stickers. Simply place the paper onto the vinyl before cutting, and you’ll have a polished look on your sticker design.
- Use a Weeding Tool to Remove Extra Vinyl – this will help you get rid of any unwanted parts on your sticker design. A weeding tool is essential for making intricate designs with Silhouette.
- Store Your Stickers in a Cool, Dry Place – this will help keep them from fading or warping over time. Storing stickers in a cool, dark place will help make them last longer.
- Experiment With Different Textures and Finishes – you can get creative with your stickers by using different materials and finishes. From glossy to matte, there are endless possibilities when it comes to customizing your sticker design.
- Use Masking Tape to Keep the Sticker in Place – this is great for keeping your sticker in place while you’re placing it. Simply apply a strip of masking tape to the back of your sticker, and you won’t have to worry about it slipping away.
- Try Making Multiple Designs – this will give you plenty of options when creating unique stickers. Making multiple designs is the perfect way to create a variety of personalized projects with Silhouette!

Following these tips will make it easy to create amazing stickers on Silhouette. With a little practice and some creativity, you’ll be able to add personalized touches to all your projects in no time! So grab your supplies and start making unique Silhouette stickers today.
Frequently Asked Questions
How Long Will It Take to Finish the Project?
Making stickers on a silhouette is a fairly quick and easy process. Depending on the complexity of your design, it should take anywhere from 10 minutes to an hour. It’s important to make sure that you have all the materials necessary before beginning, which will help avoid any unnecessary delays.
What Type of Vinyl Should I Use?
The type of vinyl you use depends on the project. Different materials will yield different results, so it’s important to choose the right vinyl for your project. Some common types of vinyl used in sticker-making are permanent adhesive vinyl, removable adhesive vinyl, and glitter vinyl. Each one has its own unique properties and advantages, so make sure to research them before making a decision.
What Other Tools Do I Need?
In addition to your Silhouette cutting machine and vinyl, you’ll also need a few other tools. These include scissors or an X-Acto knife for pre-cutting your design, a weeding tool for removing any unwanted parts from your sticker design, and transfer paper for a clean finish. Having the right tools will make it easier to create high-quality stickers on Silhouette.
How Should I Prepare My Design?
Start by designing your sticker on the software that came with your silhouette machine. Once you are happy with the design, print it onto the sticker paper and cut out any excess material. Finally, place the sticker paper onto a cutting mat and use the silhouette machine to precisely cut out your design.

Conclusion
Making stickers on Silhouette is an easy and fun way to add some personality to your workspace, bag, water bottle, or any other item of your choosing. With just a few steps on how to make stickers on silhouette and materials like mat board or contact paper and a Silhouette machine, you can get creative and make beautiful stickers.
When you have made as many decals as you’d like, store them with a piece of wax paper between each sticker to keep them from sticking together or causing smears when placed directly onto surfaces that could scratch the design.
This will help ensure these lovely creations stay looking their best for years to come. Most importantly, don’t forget to have fun with it! Experiment with different shapes and colors until you find the perfect combination that suits your style. At the end of the day, stickers are all about personalizing your world- make sure yours reflect your unique spirit!