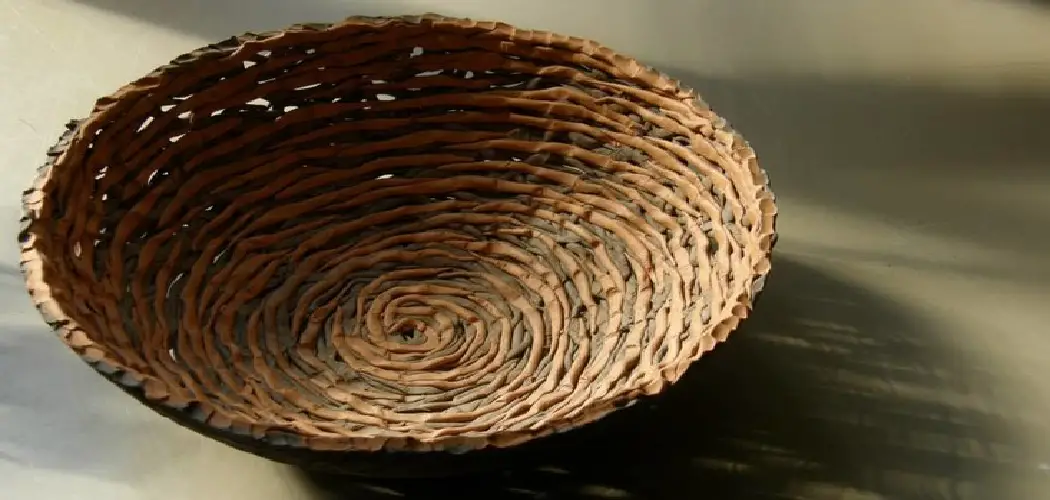
Are you looking for a fun and unique activity that can help bring your family together? Whether it’s game night or movie night, making rope bowls with your friends and family is the perfect way to create memories that will last forever.
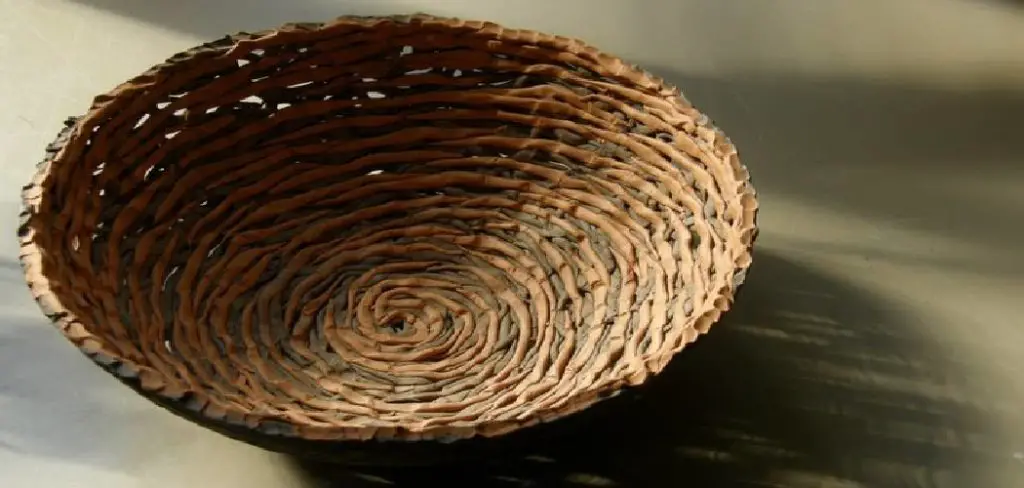
With this easy DIY project, you can turn old pieces of rope into decorative works of art that can be displayed in any room. Not only is making these lovely creations an enjoyable experience, but it helps foster creativity and teach valuable crafting skills such as knot tying. Let’s take a look at some tips on how to make rope bowls from scratch!
Supplies You Will Need to Make Rope Bowl
- Rope (preferably thicker and sturdier rope)
- Scissors
- Hot glue gun
- Bowl or container of your desired size (for shaping the bowl)
- Paint or dye (optional)
- Embellishments such as beads, feathers, or buttons (optional)
Step-by-step Guidelines on How to Make Rope Bowl
Step 1: Prepare Your Workspace
Before starting, make sure you have a clean and spacious area to work on. Lay down a protective sheet or newspaper to avoid making a mess. It’s also a good idea to have all your supplies within reach. Preparing in advance will save you time and make the process smoother. This is also a great opportunity to involve children, as they can help with this step.
Step 2: Choose Your Rope
Choose the type of rope you want to use for your bowl. Thicker ropes work best as they are more sturdy and hold their shape better. You can also experiment with different types of rope such as cotton, twine, or nylon to see which one you prefer. Try using different colors or patterns for a unique look. You can even mix and match different types of rope for a more intricate design.

Step 3: Cut the Rope
Measure and cut the length of rope you will need depending on the size of the bowl you want to make. Remember to add a few extra inches as some of the rope will be used up in knotting. You can always trim off the excess later if needed. While cutting, make sure the ends are cut at a 45-degree angle to prevent fraying.
Step 4: Create the Base of Your Bowl
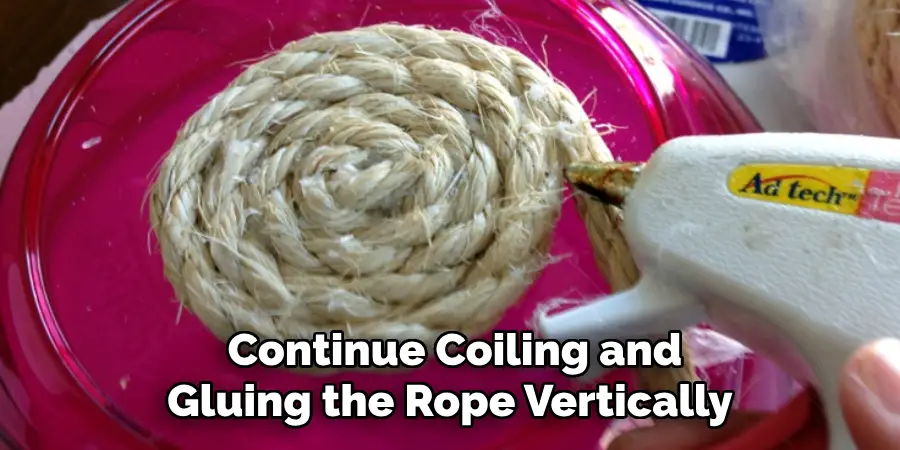
Using your bowl or container as a guide, start coiling the rope in a circular motion on the base. The size of your bowl will depend on how wide you want to make this circle. Keep adding glue using your hot glue gun to secure the rope in place. Make sure to press down firmly to create a strong base. This is where the thickness of your rope will come in handy as it will help the bowl hold its shape.
Step 5: Continue Coiling and Gluing
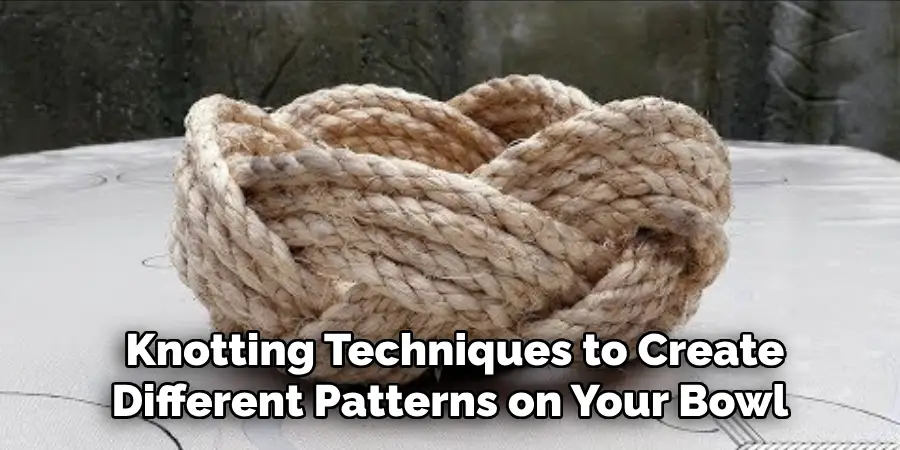
Once you have reached the desired width for your base, continue coiling and gluing the rope vertically to create the sides of your bowl. You can make these sides as tall or short as you like, depending on the shape you want to achieve. You can also experiment with different types of knots, such as the sailor’s knot or simple overhand knot, to add texture and interest to your bowl.
Step 6: Finishing Touches
When you have reached the desired height, trim off any excess rope and tuck in the ends under the last few rows of rope. Use hot glue to secure the ends in place. If you’d like, you can leave your bowl as is or add some color by painting or dyeing it. You can also get creative and add embellishments such as beads, feathers, or buttons for a personalized touch.
Step 7: Let It Dry
Once all the knots are tied and secured, let your bowl dry for at least an hour before handling. This will ensure that the glue is completely dried and the shape of your bowl is set. You should now have a beautiful and sturdy rope bowl that can be used to store small items or as a decorative piece in your home.
And there you have it, a beautiful rope bowl made by hand! You can use it to store small items such as jewelry or keys, display fruits or flowers, or even as a decorative piece on its own.
The possibilities are endless, and this easy DIY project is a great way to add a personal touch to your home decor while spending quality time with loved ones. So gather your supplies, follow these step-by-step guidelines, and start creating your very own rope bowls today!
Additional Tips and Tricks to Make Rope Bowl
1. Use different colored ropes to make your bowl more vibrant and interesting. You can even mix and match colors for a unique look.
2. Experiment with different knotting techniques to create different patterns on your bowl. Some popular options include the square knot, half-hitch knot, and lark’s head knot.
3. Try using thicker or thinner ropes to change the overall look and feel of your bowl. Thicker ropes will create a sturdier and more structured bowl, while thinner ropes will result in a delicate and dainty bowl.
4. Add decorative elements to your bowl by incorporating beads, shells, or other small objects into the design. You can thread these onto the rope as you are wrapping it around to add some extra flair.
5. Use ropes of different materials for a unique touch. Natural fibers like cotton or jute can create a rustic and earthy look, while synthetic ropes like nylon or polyester can give a more modern and sleek appearance.
6. Don’t limit yourself to just round bowls – you can use the same techniques to create rectangular, square, or even heart-shaped bowls.
7. If your bowl starts to unravel or loosen, simply use a hot glue gun or some fabric glue to secure the ropes in place.
8. Add a pop of color by painting your rope with acrylic paint before starting your project. This will give your bowl a fun and colorful base for the rest of the design.
9. Use different-sized bowls as molds to create bowls of varying sizes. Simply wrap the rope around the outside of the bowl and secure it with glue or tape. Once your rope is dry, you can remove it from the mold and have a perfectly shaped bowl.
Following these tips and tricks will help you take your rope bowl to the next level and create a truly unique and personalized piece. Get creative with colors, patterns, and materials to make a statement with your handmade bowl. Happy crafting!
Precautions Need to Follow for Making Rope Bowl
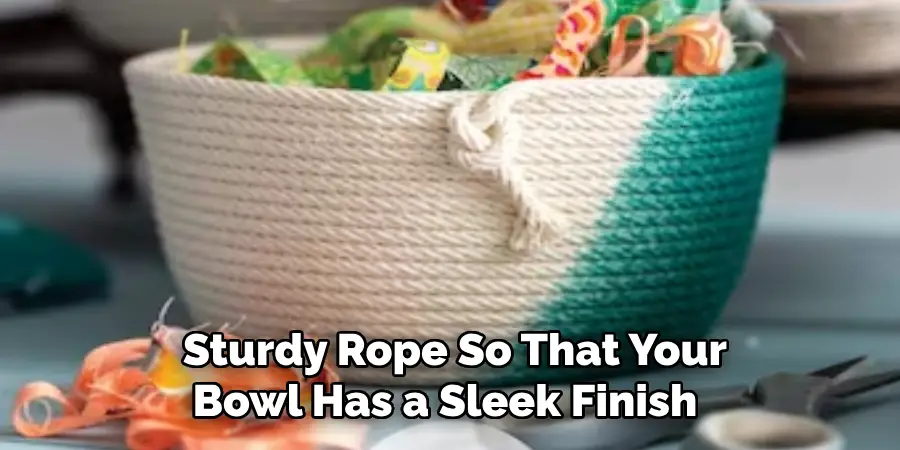
1. Use good quality rope. The type of rope you use for making your bowl will determine the final outcome. It is recommended to use good quality, sturdy rope so that your bowl has a sleek finish and will not fray easily. Avoid using thin, cheap ropes as they may break or become frayed while you are working with them.
2. Use safety gear if necessary. If you are using materials such as jute rope or twine, it is important to wear gloves as these materials can be rough on the hands. Also, if you are using hot glue or a hot glue gun to secure your rope, make sure to wear protective gloves to avoid burns.
3. Work in a well-ventilated area. If you are using any type of adhesive or paint for decorating your bowl, make sure to work in a well-ventilated area. Some adhesives and paints can emit harmful fumes, so it is important to take precautions and work in a well-ventilated space.
4. Use the right tools for the job. Depending on the method you are using to create your rope bowl, you may need different types of tools such as scissors, a hot glue gun, or a sewing needle. Make sure to have all the necessary tools ready before starting your project to avoid any interruptions.
5. Take your time and be patient. Making a rope bowl can take some time, especially if you are new to the process. It is important to take your time and not rush through the steps. This will ensure that your bowl turns out well and you are happy with the end result.
6. Experiment with different techniques and materials. There are many different techniques you can use to create a rope bowl, such as coiling, stitching, or weaving. You can also experiment with different types of rope and materials to create unique designs. Don’t be afraid to try new things and see what works best for you.
7. Keep your workspace clean and organized. It is important to have a clean and organized workspace when making your rope bowl. This will not only make the process more enjoyable, but it will also help to prevent any accidents or mistakes.
Following these precautions will help you create a beautiful and sturdy rope bowl that you can be proud of. Remember to have fun and let your creativity shine through as you make your own unique rope bowl! Happy crafting! Therefore, it is important to take the necessary precautions to ensure a safe and enjoyable experience while making your rope bowl.
Frequently Asked Questions
Can I Use Any Type of Rope to Make a Rope Bowl?
You can use different types of rope such as cotton, jute, or nylon, but it is recommended to use good quality and sturdy ropes for the best results. Avoid using thin or cheap ropes that may break or fray easily.

What Type of Adhesive Should I Use to Secure the Rope?
You can use different types of adhesive such as fabric glue, hot glue, or white glue. It is important to choose an adhesive that is strong and dries clear. Avoid using adhesives that may leave a visible residue on your bowl.
Is it Necessary to Paint or Decorate the Rope Bowl?
It is not necessary to paint or decorate your rope bowl, but it can add a personal touch and make your bowl stand out. If you do decide to decorate your bowl, make sure to use paints or markers that are suitable for the type of rope you are using.
Can I Use a Different Method Besides Coiling to Make a Rope Bowl?
Yes, there are many different methods you can use to create a rope bowl, such as stitching or weaving. Each method will create a different look and it is up to your personal preference which one you choose. You can also experiment with combining different methods for a unique design.
Conclusion
Now you know how to make rope bowl, including the precautions you should follow for a safe and successful crafting experience. Remember to use good quality materials, work in a well-ventilated area, and take your time to create a beautiful and sturdy rope bowl. Happy crafting! So go ahead and unleash your creativity by making your own unique rope bowl today! Happy crafting!

