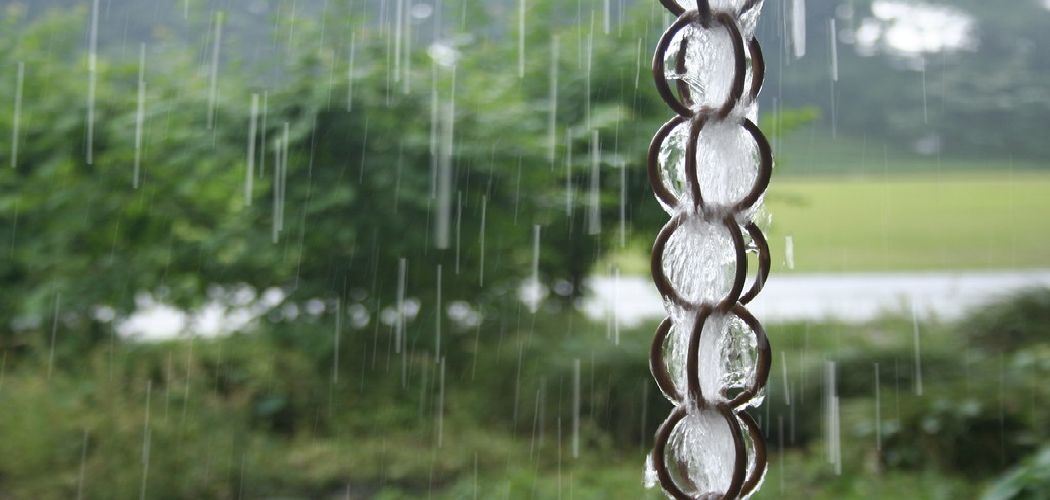
Do you want to try something new and creative? If so, making rain chains is an excellent option that will have a big impact on your outdoor spaces. Rain chains are becoming more popular as they add charm, style, and uniqueness to the exterior of any house.
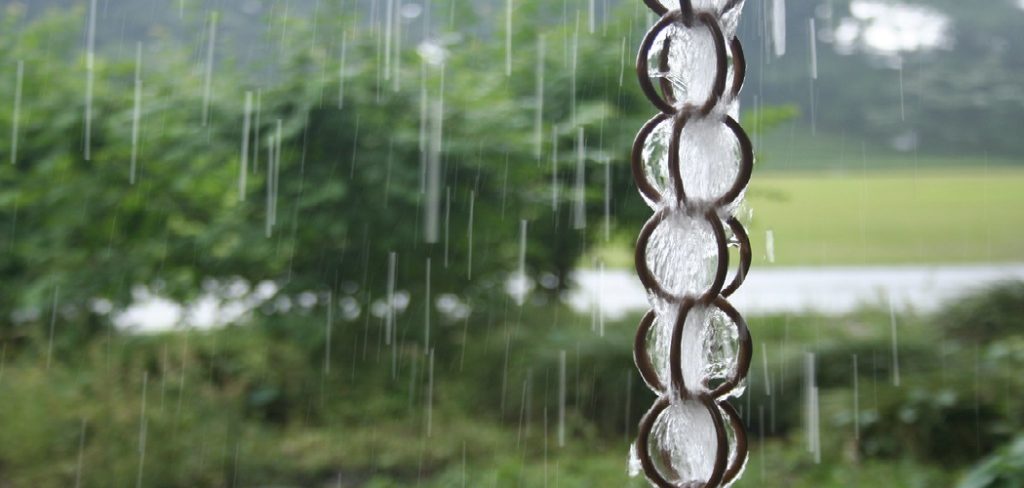
In this blog post, we’ll explore how to make rain chains at home! You’ll learn all the necessary materials needed to create impressive-looking pieces as well as different options in design. With just a few items and some creativity, anyone can craft stunning homemade rain chains with ease. So let’s get started – read on for the full guide!
Supplies You Will Need to Make Rain Chains
- Metal chain links
- Pliers or wire cutters
- A large metal ring
- A drill with a small drill bit
- Decorative items (optional)
Step-by-step Guidelines on How to Make Rain Chains
Step 1: Choose Your Chain Links
The first step in making your rain chain is selecting the type of chain links you want to use. You can purchase metal chain links at most hardware stores or even find them at a thrift store. The key is to choose a durable and sturdy material that will withstand different weather conditions. Choosing a material like copper, brass, or aluminum is recommended as they are resistant to rust and corrosion.
Step 2: Measure and Cut the Chain Links
Using pliers or wire cutters, measure and cut your chain links into equal lengths. The length you choose will depend on how long you want your rain chain to be. However, it’s recommended that each link should be around 4-6 inches for optimal water flow. While cutting, ensure that all the links are of equal size to create a uniform look.

Step 3: Drill Holes in the Chain Links
Using a drill with a small drill bit, carefully drill a hole at one end of each chain link. Make sure the hole is large enough for the ring to fit through comfortably. This will be used to attach the chain links together and create the chain effect. While drilling, be careful not to bend or damage the chain links.
Step 4: Attach Chain Links to the Ring
Once you have drilled holes in all your chain links, it’s time to assemble them together. Take your large metal ring and start attaching the chain links one by one through the holes. You can add as many chain links as you desire, depending on how long you want your rain chain to be. Once all the links are attached, use pliers to secure the ring and ensure that the chain stays in place.
Step 5: Add Decorative Items (Optional)
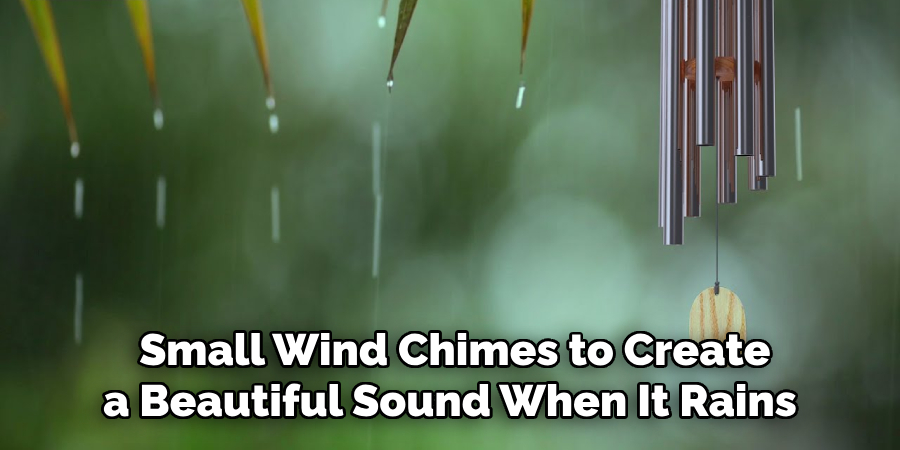
If you’re feeling creative, you can add decorative items to your rain chain for a unique touch. You can string on small glass beads, sea shells, or even small wind chimes to create a beautiful sound when it rains. This step is optional, but it adds an extra element of charm and personality to your rain chain.
Following these simple steps, you can easily make your own rain chain at home. Remember to have fun and be creative with your design, as the possibilities are endless.
Once completed, hang your rain chain in an area where it will catch rainfall and enjoy the soothing sounds and beautiful look it adds to your outdoor space. So go ahead and give it a try – we hope you’ll love your homemade rain chain! Happy crafting!
Additional Tips and Tricks to Make Rain Chains
1. While traditional rain chains are made of metal, you can experiment with different materials to create a unique and personalized rain chain. Some popular options include glass beads, seashells, wooden beads, and ceramic pieces. You can even mix and match different materials to add more texture and color to your rain chain.
2. Adding a splash basin at the bottom of your rain chain is not only functional but also adds an elegant touch to your rain chain. The basin will help distribute the flow of water evenly, preventing any soil erosion or puddles from forming in your garden.
3. For those living in areas with heavy rainfall, it is essential to add a gutter head to your rain chain. This small attachment will help prevent water from splashing all over and direct it into the rain chain instead.
4. To make your rain chain more environmentally friendly, try using recycled materials such as old wine bottles or tin cans. Not only will this give a unique look to your rain chain, but it also helps reduce waste and promote sustainability.

5. If you want to incorporate a more natural element into your rain chain, consider using rocks or stones as a base for your chain to hang from. This will give a beautiful waterfall effect as the water cascades over the stones.
6. To add a personal touch to your rain chain, try adding small trinkets or charms that represent your interests or hobbies. For example, if you love gardening, you can add small flower-shaped pieces to your rain chain.
7. Another fun idea is to incorporate planters into your rain chain. You can hang small pots or containers filled with plants along the chain, adding a touch of greenery to your outdoor space.
8. If you live in an area with strong winds, consider attaching your rain chain to a sturdy structure such as a pergola or fence. This will prevent it from swaying and getting damaged during storms.
9. For added durability, coat your rain chain with a weather-resistant sealant to protect it from rusting or fading over time.
Following these tips and tricks will not only help you create a functional rain chain but also a visually appealing one. Get creative and experiment with different materials and designs to make your rain chain stand out in your garden. Happy crafting!
Precautions Need to Follow for Making Rain Chains
When creating rain chains, it is important to take certain precautions in order to ensure that they are both safe and effective. Here are a few key things to keep in mind when making rain chains:
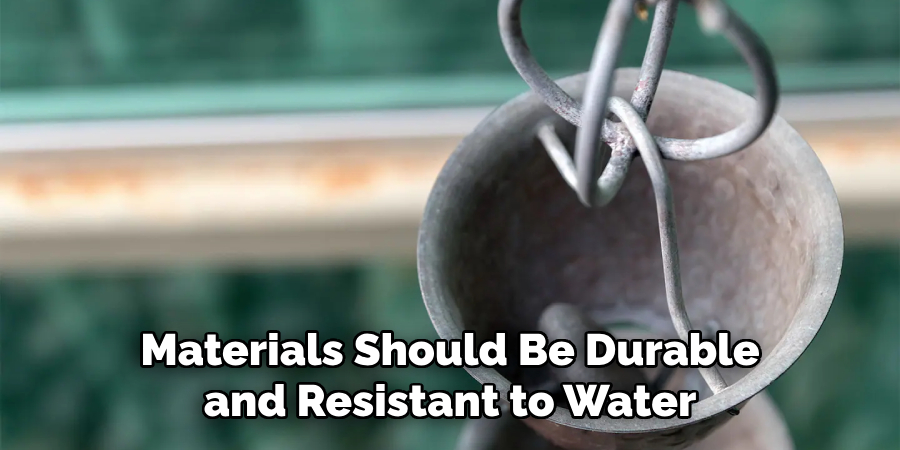
1. Use appropriate materials so that the rain chains can withstand weather conditions. The materials should be durable and resistant to water, wind, and sunlight.
2. Make sure the rain chains are securely attached to your roof or gutter system. This will prevent them from becoming loose or falling down during heavy rainfall.
3. Regularly check and maintain your rain chains to ensure they are functioning properly. This includes removing any debris or blockages that may hinder the flow of water.
4. Consider the weight and size of your rain chains in relation to your roof and gutter system. If they are too heavy, they could cause damage or strain on your roof.
5. Be cautious when installing rain chains near electrical outlets or wires. Make sure they are not in close proximity to avoid any potential hazards.
6. Take into account the climate and environment in your area when choosing materials for your rain chains. If you live in a colder region, make sure the materials can withstand freezing temperatures.
7. Consider adding a protective coating to your rain chains to prevent rust or corrosion over time.
8. Consult with professionals or do extensive research before making any modifications to your roof or gutter system for rain chains.
By following these precautions, you can ensure the safety and effectiveness of your rain chains. Remember to always prioritize safety when making any home improvements. So, it is important to follow all necessary precautions before making rain chains.
It will not only ensure their durability but also keep you and your home safe from potential hazards. With proper maintenance and care, your rain chains can add a beautiful and functional element to your home’s exterior. So, go ahead and create your own unique rain chain design while keeping these precautions in mind. Happy crafting!
Frequently Asked Questions
What is a Rain Chain?
A rain chain is a decorative alternative to traditional downspouts that are used in homes to guide water from the roof to the ground. It consists of a series of cups or links that are connected together and hung from the corners of a roof.
Why Use a Rain Chain Instead of a Regular Downspout?
Rain chains are not only functional but also add visual interest to the exterior of a home. They create a serene and soothing sound as the water trickles down from one cup to another, making it perfect for relaxation.
How Do You Install a Rain Chain?
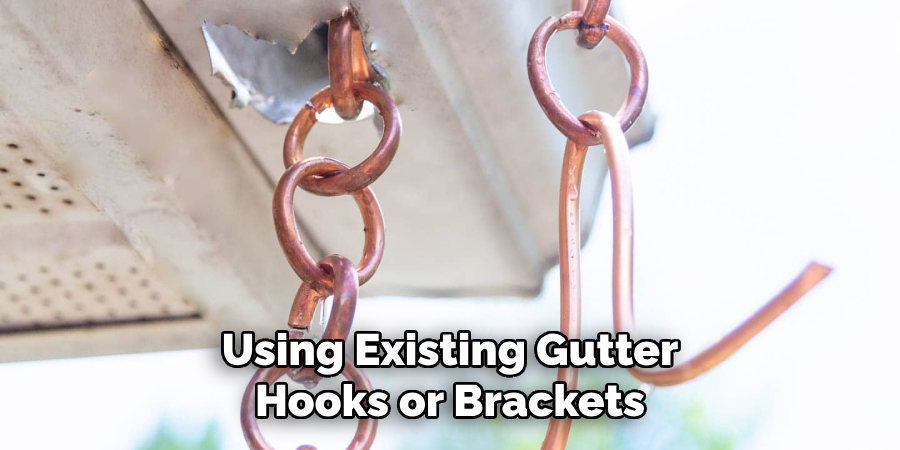
Installing a rain chain is easy and can be done using existing gutter hooks or brackets. Simply remove your regular downspout and attach the rain chain in its place. Make sure that the chain hangs straight down from the roof without any kinks or bends.
What Materials Are Rain Chains Made From?
Rain chains come in a variety of materials including copper, brass, aluminum, and stainless steel. Each material has its own unique look and benefits. For example, copper develops a beautiful patina over time while stainless steel is highly durable and does not rust.
Do Rain Chains Require Maintenance?
Rain chains do not require much maintenance, but it is recommended to clean them periodically to prevent debris buildup. Simply rinse the chain with water or use a mild soap solution if needed. Additionally, copper rain chains can be treated with a sealer to maintain their shiny appearance.
Can Rain Chains Handle Heavy Rainfall?
Yes, rain chains are designed to handle heavy rainfall just like regular downspouts. However, it is important to make sure that the chain has a proper length and capacity for your roof size and average rainfall in your area.
Conclusion
Rain chains offer an easy and creative solution for handling rainwater that is both visually appealing and functional. Not only do they add an aesthetically pleasing focal point to your home, but also provide an attractive alternative for redirecting water from the gutters to the ground. The process of building a rain chain is relatively straightforward, but understanding the basics of DIY construction is helpful when it comes to creating a design you can be proud of.
With a few basic materials and a little creativity, anyone can create their own unique rain chain design that will add charm and character to any outdoor space. Why not take some time today to explore some ideas and get started making your own?
You’ll be glad you did! Rain chains are not just aesthetically pleasing; they’re also great for repurposing water in ways that conserve resources, so when you craft your own you’ll be taking part in something bigger than yourself.
By getting creative with how you handle rainwater, you can make meaningful contributions towards improving our environment. It’s time to think outside the box: go out there now and show us How To Make Rain Chains!

