Are you looking for a fun and creative way to spruce up your dining table? Look no further – making your placemats is the perfect project!
Place mats are a quick, easy, and cost-effective way to add style and color to any table setting. Not only will it make meal times more enjoyable, but crafting your own placemats can be a simple and cost-effective way to get that desired homely feeling.
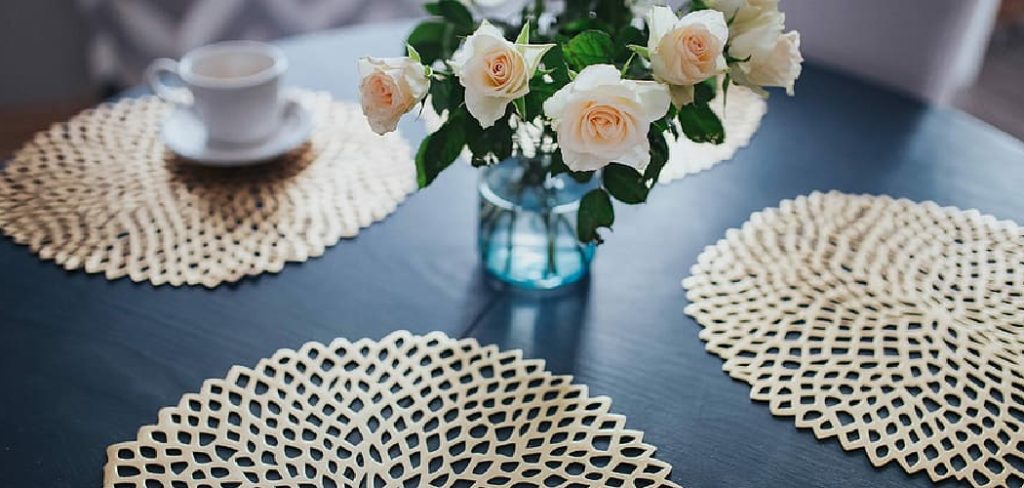
In this guide, we’ll provide step by step instructions on how to make place mats perfect for any setting from start to finish. Whether you prefer natural materials or something with some added sparkle, read on as we explore what options are available and take you through each procedure so that soon enough, you’ll have beautiful handmade decorations adorning your dining area.
What Will You Need?
Before you begin making your placemats, make sure you have the following supplies collected:
- The fabric of choice; cotton, linen, and burlap are all popular options.
- Matching threads for sewing the fabric.
- Pins.
- Scissors or a rotary cutter.
- A ruler or template to trace around (optional).
- Iron and ironing board (optional).
Once you have everything ready, it’s time to begin!
10 Easy Steps on How to Make Place Mat
Step 1: Choose Your Fabric
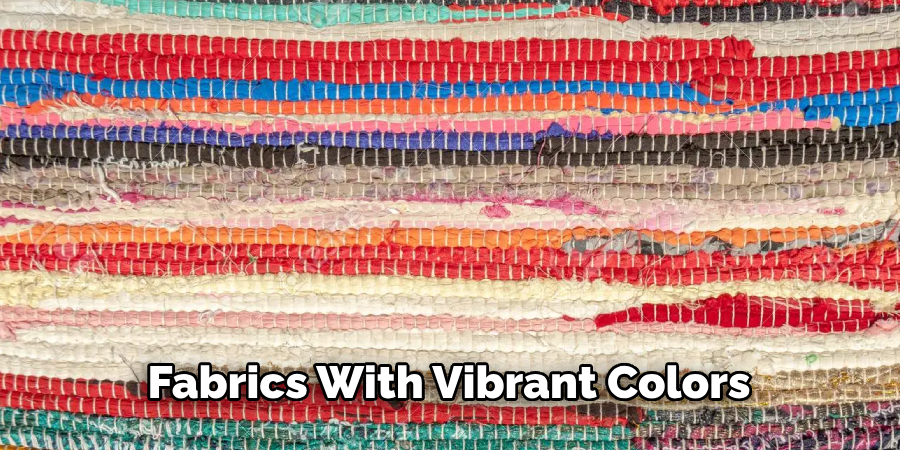
The first step is selecting the fabric you want to use. You can choose from a wide variety of fabrics such as cotton, linen, burlap, or even faux leather. Selecting fabrics with vibrant colors and unique patterns will give your place mats an extra touch of personality.
Step 2: Cut Your Fabric
Once you’ve chosen your fabric, it’s time to cut it into the desired shape and size for your place mats. If you have a ruler or template to trace around, that will make this step much easier. Otherwise, use scissors or a rotary cutter to create the desired shape. You should aim for each piece to be at least 14 inches by 18 inches in size.
Step 3: Iron Out Any Wrinkles
Now that your pieces are cut out iron out any wrinkles using an iron and ironing board. This will ensure that the place mats look neat and presentable once finished! As a reminder, make sure you have the appropriate setting for the fabric type you’re using.
Step 4: Pin the Pieces Together
After ironing, lay the two pieces of fabric on top of each other and pin them together. This will keep the pieces in place as you sew them together. Use pins with rounded edges so they won’t tear or damage your fabric.
Step 5: Sew the Pieces Together
Using a sewing machine, stitch the two pieces of fabric along the edge. Use a coordinating thread color that matches your fabric for a professional finish! As you sew, backstitch a few times at the beginning and end of your seam for extra durability.
Step 6: Trim Away Any Excess Threads
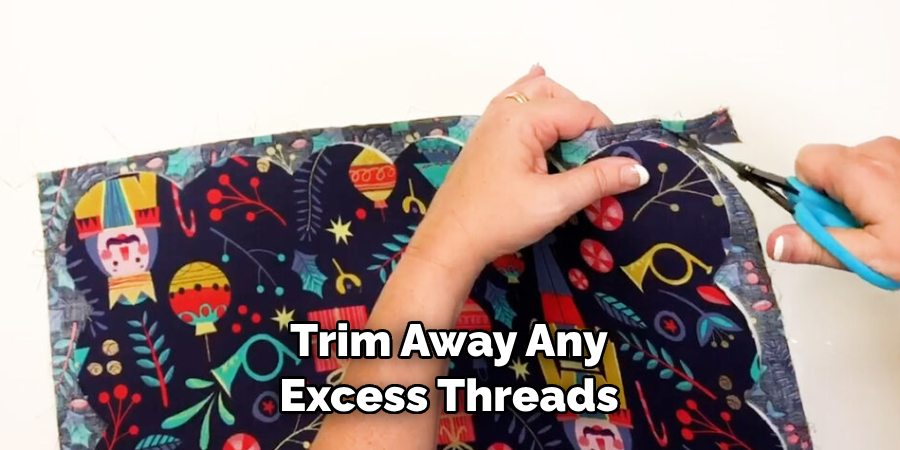
Once you’ve finished stitching, trim away any excess threads using scissors or a rotary cutter. You want to make sure that there are no stray threads sticking out from the sides of your place mats. If you like, you can also add small decorative details along the edges to give your place mats an extra touch.
Step 7: Turn and Iron
Now that you’ve finished stitching, turn your place mat right side out and iron again so that all wrinkles are gone. This will also help to create a neat edge around the place mat. Another option is to topstitch along the edges for a more polished look.
Step 8: Topstitch Around the Edge (Optional)
If desired, you can add an extra decorative touch by topstitching along the edges of the place mat. This is optional, but gives the piece a more polished look when completed! It will also help to keep the fabric in place and prevent it from shifting or bunching up over time.
Step 9: Add Any Finishing Touches (Optional)
To make your place mats even more unique, you can add any finishing touches, such as ribbon or lace trim. Have fun with it, and get creative! Keep in mind that these added details can add a nice decorative touch and make your place mats stand out.
Step 10: Enjoy Your Place Mats!
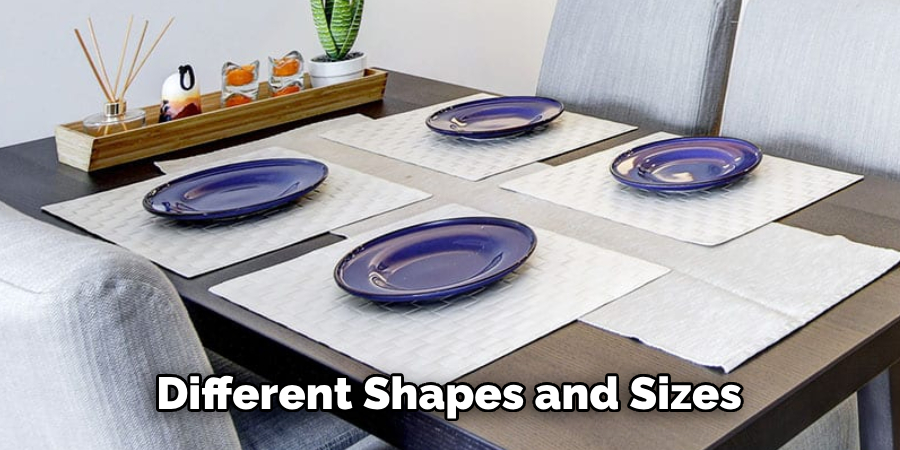
And you’re done! All that’s left to do is enjoy your beautiful place mats. Whether you add any extra embellishments or keep it simple, these handmade decorations will surely make meal times even more enjoyable. Remember, you can always make more in different shapes and sizes too.
Making your place mats is an easy and affordable way to spruce up your dining area, so go ahead and give it a try! With this guide, we’re confident you’ll have beautiful homemade place mats in no time.
5 Additional Tips and Tricks
- Don’t forget to measure your table before starting. You don’t want to make a place mat that is too small or too big for its intended table!
- If you want to create a set of matching place mats, use the same pattern or fabric for each one. This will give your tablespace an eye-catching and cohesive look.
- Use a non-stick press cloth when pressing your materials to avoid ruining them with iron marks.
- Making a quilted placemat? Add texture using decorative stitching patterns and the standard straight stitch lines typically used in quilting.
- Make sure all of your seams are secure before you move on to the next step, as this will help ensure that your finished product is durable and long lasting!
Following these tips and tricks, you can create beautiful, custom placemats that will liven up your tablespace. With a little patience and some creativity, you’ll be sure to make the perfect set of place mats for your home.
5 Things You Should Avoid
- Don’t rush the process. Taking your time will ensure that you make a quality product.
- Avoid using iron-on adhesive, as it can cause your placemats to curl up after a few washes.
- Don’t use a sewing machine with too many stitch settings, as this could result in the fabric unraveling over time.
- Avoid using fabrics that are too thick and difficult to sew through, or you might struggle with creating the place mat.
- Lastly, avoid using cheap materials if you want your place mats to last – quality is key!
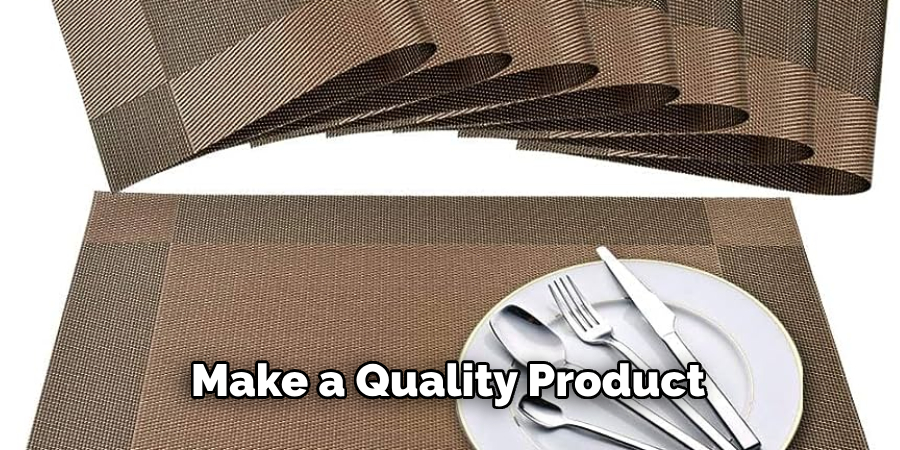
By following these rules of thumb for making place mats, you can ensure that your finished product looks great and stands the test of time.
7 Different Design Ideas
1. Add a Pop of Color: Use brightly colored fabrics to create an eye-catching place mat.
2. Create a Quilted Look: Layer pieces of fabric on each other and use decorative stitches to give it a professional quilted effect.
3. Get Creative with Shapes: Try creating unique shapes for your placemats, like circles, hearts, and stars.
4. Embellish with Details: Embellish your place mats with ribbons, buttons, or beads for extra interest and texture.
5. Add Personal Touches: Make your place mats special by adding monograms or initials to the finished product – perfect for gifting!
6. Create a Theme: Use fabrics that have coordinating patterns or colors to create a set of place mats with a unified theme.
7. Make Place Mats with Kids: Let your little ones help create their own personalized placemats – this is a great way to spend quality time together!
By following these design ideas, you’ll be sure to make unique and stylish place mats that are sure to impress. Making your placemats is a fun and inexpensive way to spruce up your table’s cape, so don’t be afraid to get creative! With just a few simple supplies, you can make beautiful place mats that will last for years to come.
What Kind of Fabric Do You Use for Placemats?
The type of fabric you use for your placemats will depend on the look and feel you are going for. Cotton fabrics are a popular choice as they come in various colors, patterns, and textures and provide a crisp look to your table setting.
Fleece is also an excellent option if you’re looking for something that’s more soft and cozy. If you want to add a pop of color or pattern to your place mats, consider using vinyl or faux leather.
There are also a variety of pre-made placemats available at craft stores that you can use if you’re in a hurry or don’t want to make your own.
No matter which option you choose, always be sure to check the care instructions so that you know how to properly clean and maintain your placemats for years of enjoyment.
Conclusion
Congratulations! You’ve now got the tools to make your own personalized place mats. Adding a personal touch to your dinner table is worth the effort and will make hosting dinners all the more special for you and your guests.
Plus, getting creative with fabric and other materials is a great creative outlet that can really brighten up any home. It’s a great way to relax and connect with nature and those closest to you.
Place mats are a wonderful addition to any kitchen, but they can also serve many other home decorating purposes. Whether hung casually on the wall or used as hot pads for dishes, these items are sure to make dining rooms and kitchens stand out above the rest.
The article on how to make place mats has inspired you to get creative in the kitchen and have fun with your next project. Best of luck!

