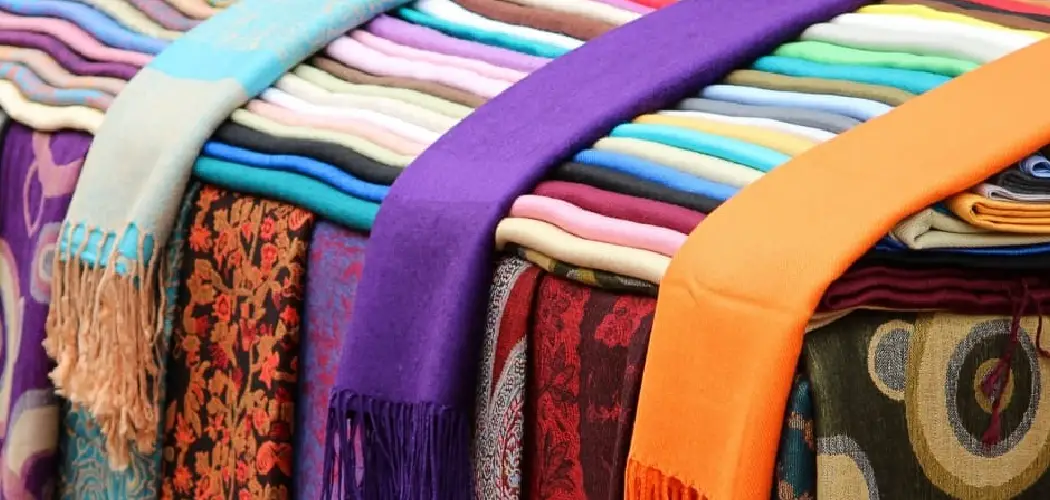
As the winter season quickly approaches, it’s never too early to start preparing for colder temperatures. One of the best ways to stay warm is to make a few unique fleece scarves that you can cozy up in all winter long.
Whether you’re new to crafting or an experienced crafter looking for a challenge, this tutorial will show you how simple and easy it is to create your own DIY fleece scarf. All you’ll need are some scraps of colorful fleece fabric and a few basic tools – plus a touch of creativity!
So grab your fabric and let’s get started on crafting the perfect winter accessory! Read on this article how to make fleece scarves.
What is Fleece Scarves?
Fleece scarves are a kind of scarf made from lightweight, insulating fabric that is perfect for keeping you warm. The fabric’s soft texture makes it comfortable to wear and creates a cozy feel, while its breathable nature ensures you won’t get too hot or uncomfortable. Plus, with the wide variety of colorful fleece fabrics available today, there are endless ways to create a unique and stylish scarf.
What You’ll Need
- Fleece Fabric (at Least 1/4 Yard)
- Measuring Tape or Ruler
- Fabric Scissors
- Sewing Machine (Optional)
- Thread and Needle (if Not Using a Sewing Machine)
11 Step-by-step Instructions on How to Make Fleece Scarves
Step 1: Select Your Fleece Material
Make sure to choose a fabric with a soft, comfortable feel and one that will hold up over time. Consider the color and pattern of the material as well to ensure you get the look and feel you want for your scarf. It is best to use 100% polyester fleece for best results.
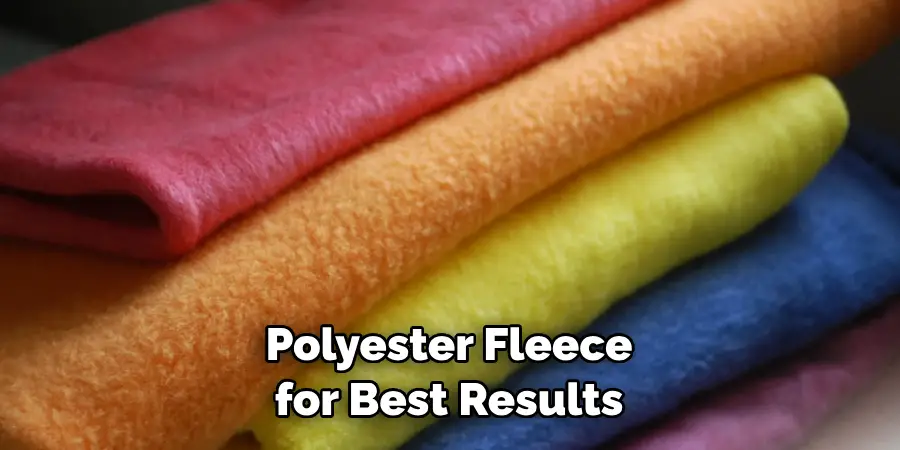
This type of material is easy to work with and holds up very well against the elements. If you are feeling adventurous, you can also select two different colors of fleece and make a reversible scarf. But keep in mind that this will require extra work.
Step 2: Measure and Cut
Measure out the desired length of your scarf, keeping in mind that it should be at least 60 inches long for a standard-sized scarf. Then cut the fabric along the measurement with scissors or a rotary cutter. If you are making a reversible scarf, cut two pieces of fabric for each side.
Otherwise, one piece is enough. When measuring, aim for a scarf that is wide enough to wrap around your neck with extra fabric. This will make the finished product look more full and luxurious.
Step 3: Fringe the Edges
Using a rotary cutter and ruler, cut short fringe along the two long edges of your fleece. It is best to make the cuts 1/4 inch apart. Fringing helps the edges of the scarf look more finished and prevents them from fraying. You can also use pinking shear or zigzag scissors to get a unique, decorative look.
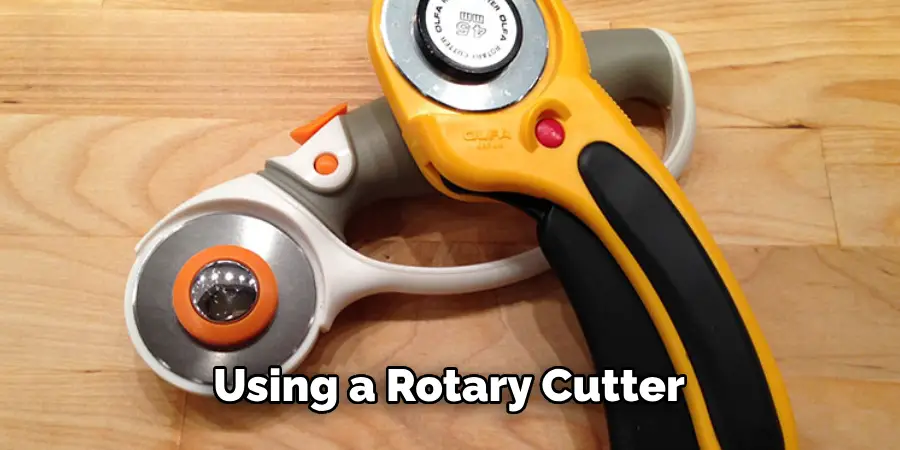
When you are doing this step, make sure to keep the cuts even and uniform for a professional-looking finish. It is also a good idea to practice on scrap fabric before attempting this step.
Step 4: Sew the Fringe Together
Start at one end and use a sewing machine or needle and thread to sew together the pieces of fringed fabric. Alternate between sewing in opposite directions for extra durability. It may also help to backstitch at each end of each stitch.
But be sure to keep your stitches small and tight to ensure that the seams are secure. It is also a good idea to use pins to hold the fabric in place so that it does not move while you are sewing.
Step 5: Tie Knots in Fleece Strips
Cut several strips of fleece material into 10-12 inch lengths. Then tie knots on one end of each strip, leaving enough room so that you can slide it onto the scarf. This will help keep the fringe from unraveling over time. It is best to use knotting thread or string in this step for extra security.
But you can also use a sewing needle and thread if you don’t have any on hand. You can also use a variety of colors and textures to make your scarf look more interesting.
Step 6: Slide Fleece Strips onto Scarf
One at a time, slide each fringe strip onto your fleece scarf. Make sure to line up the knots so that they’re evenly spaced along the length of the scarf. It will help to use a ruler or tape measure for this step. You can also experiment with different patterns and placements until you find what looks best to you.
If you’re feeling adventurous, try adding a few beads onto the fringe for an extra decorative touch. Make sure to tie a few knots along the length of each fringe strip to keep them secure.
Step 7: Sew Fleece Strip Knots in Place
Using a sewing machine or needle and thread, sew around each knot on both sides to secure it in place. It is best to use a zigzag stitch for extra durability and flexibility. It is also a good idea to use pins to hold the fringe in place while you’re sewing.
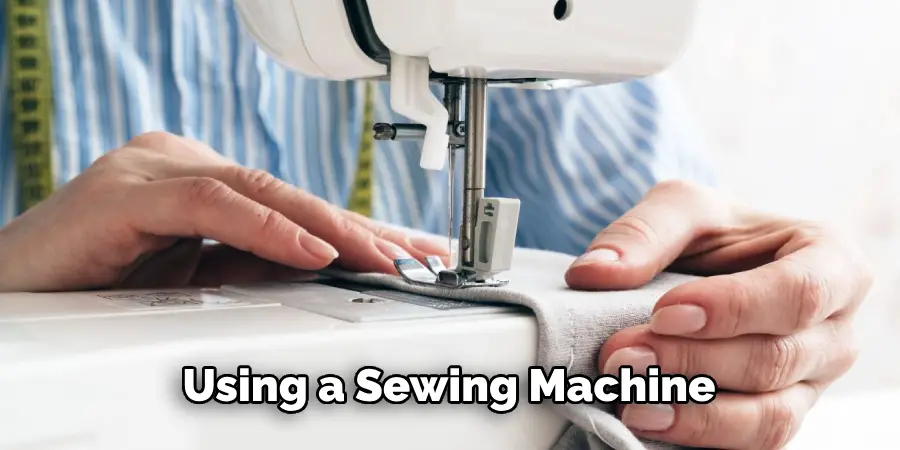
When you are finished, secure the end of the thread with a knot and snip off any excess. This will help keep the scarf looking neat and tidy. It may also help to backstitch at the beginning and end of each stitch.
Step 8: Secure the Ends of the Scarf
Fold over one end of the scarf about 4 inches and sew together using a needle and thread. This will help keep fraying and unraveling to a minimum. But make sure to use a secure stitch like a zigzag or blanket stitch for extra durability. You can also use fabric glue instead of stitching if you prefer.
Repeat this step on the other end of the scarf and then trim any excess fabric. If you are making a reversible scarf, make sure to sew both sides together. It may also help to use pins to hold the fabric in place while you’re sewing.
Step 9: Trim the Ends
Using scissors, trim any extra material from the ends of the scarf. Make sure to leave enough room so that you can finish hemming the edges later on. But be sure to keep the fabric neat and even so that it looks professional. You can also use pinking shears or decorative scissors for a unique look.
This step can also be done with a rotary cutter if you have one. It may also help to use a ruler or tape measure to ensure that both ends of the scarf look even.
Step 10: Hem Both Ends of the Scarf
Fold over each end of the scarf about 1/2 inch and use a sewing machine or needle and thread to hem it in place. This will give your scarf a finished look and keep it looking neat over time.
It may also help to use pins to keep the fabric in place while you’re sewing. If you don’t have a sewing machine, you can also use fabric glue to hold the hems in place. Although it won’t last as long, it will still be effective.
Step 11: Add Accessories (Optional)
If desired, you can add additional embellishments such as beads or other decorative accents to give your fleece scarf some added flair. It’s up to you! If you are adding any heavy decorations,j make sure to sew them on securely. This will help ensure that they stay in place and don’t fall off. Always use a secure stitch and knot the thread securely at the end. Otherwise, you can also use fabric glue if you prefer.
Do You Need to Use Professionals?
Creating your own fleece scarf is a fun and easy project that anyone can do with just a few supplies. No professional help is needed, though you may want to consult an experienced sewist if you have any questions or need help troubleshooting along the way.
Now that you know how to make fleece scarves, it’s time to start gathering the supplies and get crafting! With some colorful fabric scraps and basic sewing tools, you’ll be well on your way to having an amazing winter accessory in no time. Good luck, and happy creating!
Frequently Asked Questions
Q: How Long Does It Take to Make a Fleece Scarf?
A: Depending on the type of fabric you choose and how much detail you want to add, creating a fleece scarf can take anywhere from 30 minutes to several hours.
Q: Can I Wash My Fleece Scarf?
A: Yes! Most types of fleece fabric are machine-washable, but it’s best to follow the instructions on the fabric label for specific washing instructions. And be sure to avoid using fabric softeners or bleach when laundering your scarf.
Q: What Types of Fabric Are Best for Making Fleece Scarves?
A: The best fabrics for making scarves are lightweight and breathable — such as polar fleece, anti-pill fleece, or microfiber fabrics. These materials will keep you warm without being too bulky and uncomfortable.
Q: Can I Make a Fleece Scarf Without Sewing?
A: Yes! If you don’t have access to a sewing machine, you can also make a no-sew fleece scarf by simply tying the ends together in knots. This type of scarf is especially great for kids who want to craft their own scarves without having to use needles or threads.
Conclusion
Making a fleece scarf is a fun and easy craft project that anyone can do. Once you have mastered the basic techniques, you can move on to more complex designs or embellishments like tassels or sequins. You can also use different types of fabrics for each layer if desired.
With the help of these simple steps, you now have all the tools you need to make your very own custom-made fleece scarf at home. Now it’s time to show off your finished creation!
Or if you’re looking for something else to tackle around the home, why not check out our next blog post about how to decorate a kitchen with oak cabinets? We’ll be sure to include all kinds of tips and tricks on how to step up your interior design game with some oak cabinetry upgrades. Until next time! Thanks for reading this article on how to make fleece scarves.

