

Cross-stitching is a wonderful way to relax, express yourself creatively, and create beautiful artwork. You must know how to finish a cross stitch hoop. From traditional samplers to modern designs with geometric shapes and bright colors, the options for exploring this age-old craft are limitless!
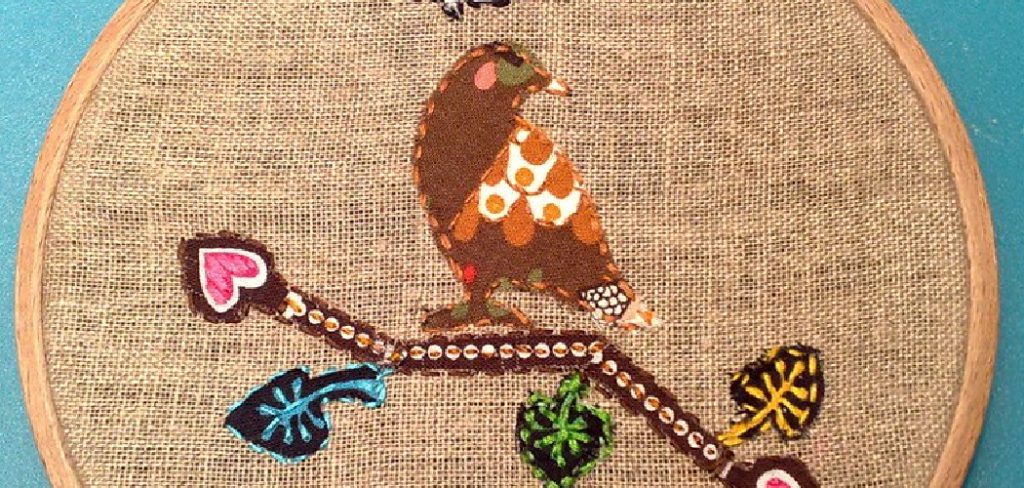
And when you’ve finished your design in its entirety – whether it’s of a cartoon character or the outline of your favorite flower – the challenge then arises: how do you assemble it into a hoop? Well, we have the answers!
This article will take you through every step so that you can turn your cross-stitch masterpiece into something to proudly hang on display. So grab those hoops and needles — let’s get started!
Tools You Will Need
- Cross stitch pattern and fabric
- Needle
- Embroidery hoop
- Scissors or thread trimmer
- Tapestry needle
- Thread for binding
6 Steps Guide on How to Finish a Cross Stitch Hoop
Step 1: Gather Your Tools
Cross-stitching is an enjoyable and creative way to pass time away. To create a beautiful piece of art, it is important to have the correct tools for the job. A cross stitch hoop should be one of those essential pieces that you assemble before beginning your work. A hoop is usually made from two rings- an inner and an outer ring.
The inner ring should fit snugly inside its larger counterpart – take care not to tighten it too much as it can damage your fabric. With both rings in place, you will also need something to keep them together while you are cross-stitching, such as elastic bands or threader chains.
Make sure your fabric fits tightly in the hoop, so you avoid any accidental displacement or wrinkling of the fabric. Those few steps of preparation are all that stand between you and starting your next creative craft project!
Step 2: Start Stitching
Everyone can experience the excitement and accomplishment of creating a home decor showpiece when they start stitching to finish a cross-stitch hoop. Cross stitch is an enjoyable way to spend time with your family or on your own while producing something to be proud of. The activity requires simple supplies such as the available pattern, embroidery floss, needle, and naturally the hoop itself.
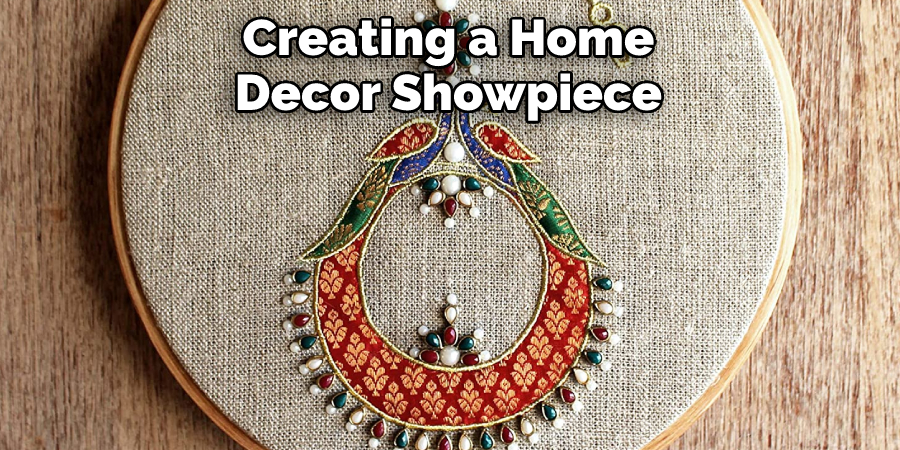
Once you have all your items assembled, it’s time to begin stitching up your colorful masterpiece – with a tiny ‘X’ at a time. When you have completed petals, paving stones, or other designs that are expertly woven into a glorious display of radiance you will have added an attractive touch to just about any space in need of some sprucing up!
Put aside some quality time for yourself and start stitching for a unique project that can take anywhere from one day to several days depending on complexity; get creative and happy stitching!
Step 3: Trim the Fabric
Finishing a cross-stitch hoop is one of the most rewarding parts of the process. Once you’ve completed the project, it can be hard to resist the temptation to proudly hang it on your wall! Before you do that, though, you need to make sure all the fabric around your finished cross stitch has been trimmed so that it fits perfectly in the hoop.
Simply cut away any excess fabric from behind and along the sides with a pair of yarn snips or sharp scissors. If the fabric puckers slightly, give it a gentle press underneath something heavy for a few minutes to flatten it out. Having done that, your masterpiece should be ready for its moment in the sun!
Step 4: Attach the Backing
Finishing a cross-stitch hoop is an easy way to show off an embroidery project. To attach the backing, start by threading a large needle with a piece of thread long enough for the entire hoop. Then, turn over the cross-stitch and find the center point in the back by tracing your finger along the stitches.
Make two small, parallel stitches from this point and tie them together to secure both sides of the device. From here, drape your material over the hoop and stitch it on with a few tiny knots at regular intervals all around the circumference. Finally, trim off any excess fabric. Congratulations — your cross-stitch hoop is now ready for display!
Step 5: Secure the Backing
Securely finishing a cross stitch hoop is easily achievable, and doesn’t take long at all! All you need is a bit of felt or thin foam, some embroidery thread, and a needle. To start, take your felt or foam and cut it into two pieces – one larger than the other. Place the smaller piece in the center of your hoop so that it covers the front side with the rest of the stitching.
Carefully place the bigger piece on top, sandwiching together the edges of both pieces. Finally, use an embroidery thread to stitch around the edge of your hoop to wrap up your neat little package. With these simple steps, you’ll have secured your hoop in no time!
Step 6: Hang It Up
Finishing up a cross stitch can be an incredibly satisfying experience but when it comes to the last step – hanging it up – many people feel unsure of what is the best method. If you want to hang your finished cross-stitch hoop, start by adding three strands of embroidery floss at each end and knotting each strand securely.
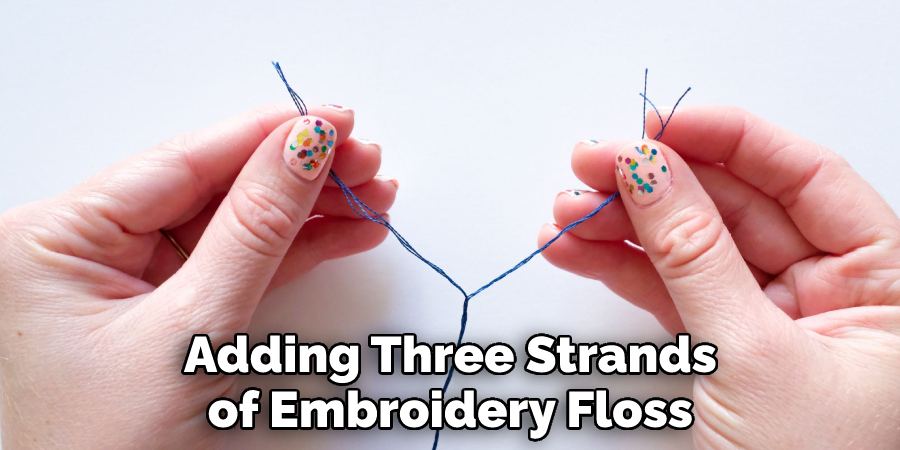
Next, thread a needle with dental floss, loop it around two pieces of dowel rod or a wooden hoop, and tie it off with multiple knots. Lastly, hang your masterpiece using picture hooks or nails depending on the weight of your piece, and have those around you admire your new work of art!
With these tips, you’re now prepared to mount your finished designs with ease and confidence.
Tips to Finish a Cross-Stitch Hoop
- The first step to finishing a cross-stitch hoop is to choose the right fabric. The most popular choice for cross stitch is Aida cloth, which is a cotton fabric with small holes evenly spaced throughout. Aida cloth is available in a variety of colors and counts, which refer to the number of holes per inch. A higher count will result in a finer finished product, but it will be more difficult to work with.
- Once you have chosen the fabric you will use, you will need to cut it to size. The size of the fabric will depend on the size of the hoop you are using. It is important to make sure that you leave enough fabric on all sides so that you can easily stretch it tight without distorting the design.
- After cutting the fabric to size, you will need to stretch it tight within the hoop. To do this, start by placing the fabric over the inner ring of the hoop and then stretching it down and over the outer ring. Once you have stretched the fabric tight, secure it in place by tightening the screw on the side of the hoop.
- Now that your fabric is stretched tight within the hoop, you are ready to start cross-stitching! To do this, thread a needle with embroidery floss and knot one end. Then, insert the needle into one of the holes in the fabric and come up through another hole two stitches away. Continue working in this manner until you have completed your design.
- As you finish each color of thread, you will need to knot it off on the back side of the fabric to prevent it from coming undone. To do this, simply thread your needle through a few stitches on the back side and then tie a knot in the thread. Repeat this process for each color of thread until all threads are secured on the back side of the fabric.
- Once you have finished your design, you will need to remove the hoop from your fabric. To do this, simply loosen the screw on one side of the hoop and then slide it off of the fabric. Be careful not to pull too hard or you may distort your design.

Embroidery Thread Techniques for Finishing Your Cross-Stitch Hoop
Cross-stitching is a popular craft, and many novice and veteran crafters alike can benefit from knowing different embroidery thread techniques for finishing your cross-stitch hoop. One popular technique is to weave the remaining end into the back of your work, keeping it secure and hidden from view.
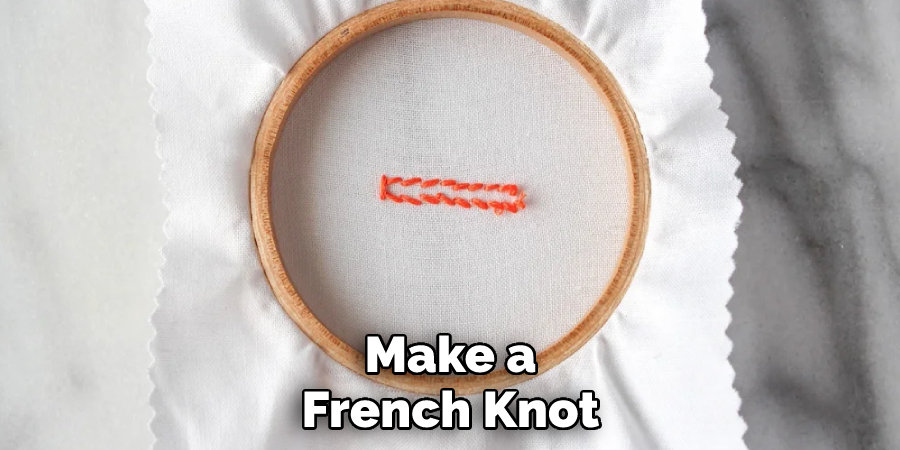
Another option when finishing your hoop is to make a French knot in the corner or somewhere convenient to get rid of any loose threads. Not only does this make your design look neat and professional, but it also helps protect against wear and tear or frays in the materials used.
For finishing touches that add unique flair, use multiple strands of thread to create thicker stitches or stitch over pre-threaded beads through each hole. Whatever variation you choose, you can be proud of a creative and beautifully finished piece of art when using these embroidery thread techniques!
How to Get the Perfect Fit When Finishing a Cross-Stitch Hoop?
Getting a perfect fit when finishing a cross stitch hoop may seem intimidating but it doesn’t have to be. The trick is to make sure to give yourself enough wiggle room when selecting a hoop size to be able to trim down any fabric or extra threads that are visible after the project is completed.
When working with fabrics, use a dissolvable marking pen or water-soluble tailor’s chalk to draw lines or mark points directly onto the fabric that can later be re-stitched and adjusted if needed. Use cross-stitching thread in the same color as your fabric, so any adjustments aren’t too noticeable against the completed design.
A flexible measuring tape will also help you ensure your stitches and patterns are accurate in size before cutting away excess material for the final finish. With these steps in mind and some patience, you’ll soon master the art of getting that perfectly tightened finished look for your work of art!
Conclusion
And there you have it — six steps on how to finish a cross stitch hoop. Finishing your cross stitch is a rewarding process that takes some time and effort, but it’s worth it to see your beautiful work displayed.
With these tips, you’ll be able to easily finish any cross-stitch hoop in no time! And don’t forget to enjoy the process – after all, that’s what hobby stitching is all about.
You Can Check It Out to Hold Yarn when Knitting