
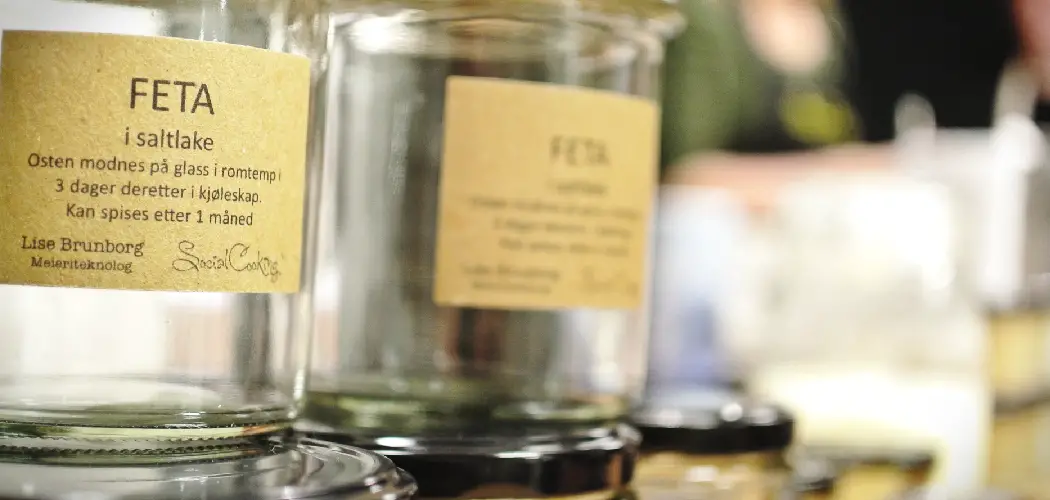
Are you looking for a fun and creative way to spruce up your glass jars? Labeling them with unique designs is a great way to add personal touches that reflect your own style. Whether you’re using the jars for storage, crafts, or just as décor pieces in your home, adding labels will give them an extra special touch! This blog post will show you how to make labels for jars from materials lying around the house. So let’s start learning how to label those jars with fun DIY decorations!

Can I Use a Regular Printer to Print Labels?
No, you cannot use a regular printer to print labels. Labels require specialized materials and usually require special equipment to produce. Standard home or office inkjet or laser printers are not capable of printing on label media. In most cases, the paper used in standard printers is too thin, and the output quality is poor. Additionally, label printing requires a higher level of accuracy than normal printing jobs.
There are special label printers available that are designed specifically for the purpose of creating labels and other materials with barcodes, QR codes, and images on them. These specialized machines are designed to handle the specific needs of label printing. They are capable of producing high-quality results quickly and accurately. These printers are often more expensive than regular office or home printers, but they are worth the investment if you need to produce high-quality labels regularly.
You Can Check It Out To Make Cushion Covers
10 Methods How to Make Labels for Jars
1. Decide the Purpose of the Label.
Before you start designing or looking for a template, it is important to decide what the label will be used for. Do you want to simply identify the contents of the jar, or do you want to promote your brand? Once you have decided on the purpose of the label, you can start to think about the design. If the purpose of the label is to promote your brand, you may want to opt for a more creative design.

However, if you are simply identifying the contents of the jar, a more basic design may be sufficient. Make sure that whatever design you choose, it clearly serves the purpose of the label.
2. Choose a Label Size.
The next step is to choose the size of the label. This will be determined by the size of the jar as well as how much information you need to include on the label. If you include a lot of text, you may need to choose a larger label. It’s important to make sure the label size is consistent with the rest of your packaging.
Although it might be tempting to go with a larger label to accommodate more text, it’s important to keep in mind that the overall look and feel of your packaging should be cohesive. Make sure to measure out the label size before printing.
3. Choose a Label Material.
There are a variety of materials that labels can be made from, including paper, vinyl, and fabric. The material you choose will depend on how durable you need the label to be and what type of look you are going for. Paper labels are ideal for temporary use, while vinyl and fabric labels are more durable and can withstand exposure to moisture and sun.
Consider what your label needs to be able to survive, and make sure to pick a material that meets these needs. However, always make sure to use durable adhesives when attaching labels to objects, regardless of the material used.

4. Design Your Label.
Once you have chosen the size and material for your label, it is time to start designing it! If you are not confident in your design skills, there are many templates available online that you can use as a starting point. Simply search for “label templates,” and you will find plenty of options to choose from. If you are creating a product label, it’s important to include your logo and other branding elements.
Additionally, make sure the label clearly displays important information customers will need, such as any relevant warnings or ingredients. Lastly, be sure to choose colors and fonts that are consistent with your branding. Once you have finalized the design, it’s time to move on to the printing process.
5. Print Your Labels.

Once your design is complete, it is time to print your labels. If you are only making a few labels, you can print them at home using a printer and some Avery labels. However, if you are making a large batch of labels, it may be worth investing in a professional printing service. Professional printing services are usually more cost-effective for larger batches and often have a greater variety of label materials that you can choose from.
Be sure to read up on the different types of labels available before you make your choice. Once printed, your labels are ready to use – happy labeling!
6. Cut Out Your Labels.
If you printed your labels at home, you will need to cut them out yourself using scissors or a craft knife. If you had them professionally printed, they should come already cut to size. If you have printed on adhesive paper, make sure to cut along the edges of your design, not through the middle. However, if your labels have a border, make sure to cut through the border as well.
If you have printed on regular paper, you can use an X-Acto knife and cutting mat for precision.
7. Apply Adhesive to Your Labels.
The next step is to apply adhesive to your labels so that they will stick to the jars. You can use double-sided tape, glue, or any other type of adhesive that you have on hand. Just make sure that it is strong enough to hold up against moisture if needed. You can either apply the adhesive directly to the back of each label, or you can use a glue stick or brush and spread it over the entire back of the label.
Once the adhesive has been applied, press it firmly onto the jar to ensure that it is securely attached. You can also use a clothespin or other object to press it firmly until the adhesive has had time to dry fully.
8. Affix Your Labels to the Jars.
Once the adhesive is in place, simply affix your labels to the jars and allow them to dry. If using glue or another wet adhesive, make sure that the jars are completely dry before storing anything in them. If using clear packing tape, make sure that the labels are firmly affixed to the jars and not easily removable. This will help ensure that your stored items remain organized and labeled correctly.
After the labels are attached, you can now fill your jars with whatever items you choose! Enjoy the ease of organization and the satisfaction of a job well done.
9. Add Any Additional Embellishments.
If desired, you can add additional embellishments to your labels, such as ribbons, twine, or stamps. This is completely optional but can help give your jars a more finished look. For best results, use materials that are food-safe and won’t affect the taste or quality of your product. If you’re using ribbons, make sure to tie them loosely so as not to interfere with the lid. Decorative stamps are also a great way to add a personal touch to your labels. Have fun with it, and get creative!
10. Store Your Jars.
Once your labels are firmly affixed, and any additional embellishments have been added, you can store your jars away until needed. Just make sure that the lids are on tight and the adhesive is strong enough to stay in place. You can place the jars in a pantry, cupboard, or other storage area and keep them safely tucked away until you’re ready to use them. With a little bit of thought and effort, you can have beautifully labeled jars that are perfect for any project or purpose.

Label printing can be a great way to give your products a professional look and feel. With these steps, you can easily create high-quality labels for any of your jars or bottles! Now get out there and start labeling!
You Can Check it Out to Slip Stitch Purlwise
What Is the Cheapest Way to Make Labels?
When it comes to making labels, the cheapest way is to make them yourself using a label printer or laser printer. This can be done using standard Avery sheets or pre-printed labels, depending on the size and shape you want. You can also use a label maker to create professional-looking labels quickly and easily. If you don’t want to make the labels yourself, you can purchase them from online suppliers such as Vistaprint or UPrinting. These sites offer a wide variety of labels at affordable prices. Additionally, you can purchase label-making software to create your own labels from scratch.
Conclusion
Following these instructions on how to make labels for jars makes making labels easier. With a little creativity, you can make unique and stylish labels that will add character to any jar. The best part about making your own labels is that you can tailor them to fit your specific needs.
Whether you want to organize your pantry or add a personal touch to homemade gifts, custom labels are a great way to achieve both goals. Give it a try – you might be surprised at how easy and fun it is!
You Can Check It Out Make Paper Pine Cones