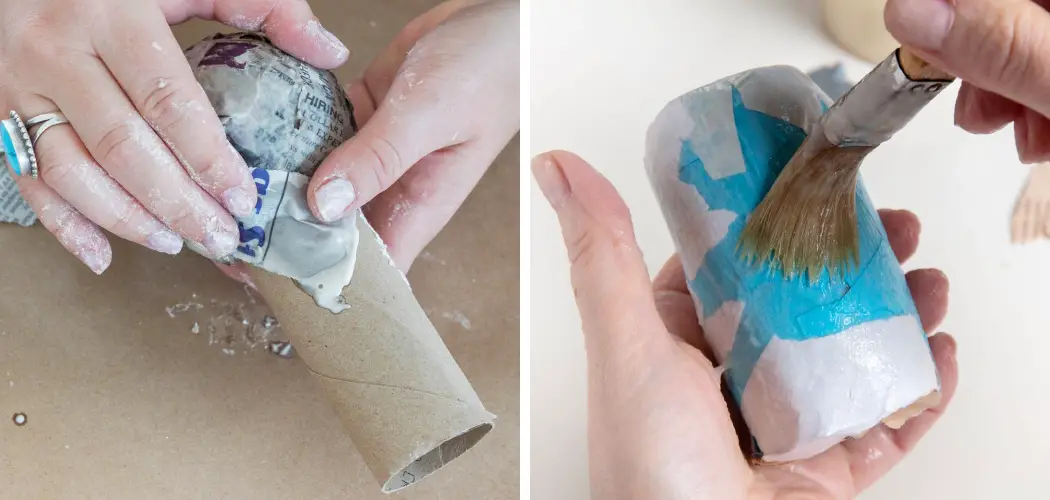
Paper mache, a versatile craft medium, has traditionally leaned on the use of newspapers as its primary material foundation. Its humble composition of water, flour, and newspaper strips has fuelled countless school projects and decorative items. However, in a world increasingly conscious of recycling and the environmental impact of paper use, it has become essential to explore how to make paper mache without newspaper.
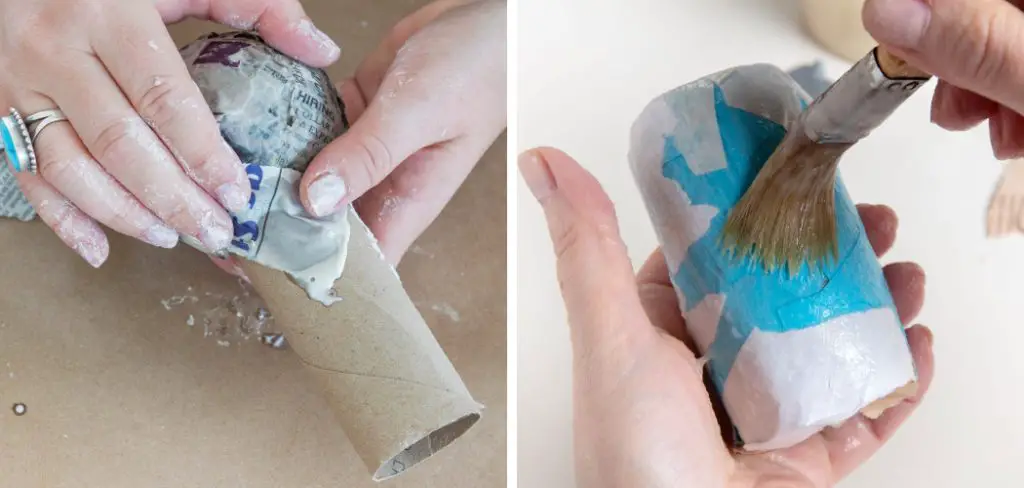
Some may seek alternatives due to allergies, a desire for a cleaner aesthetic, or the mere unavailability of old newspapers. This article delves into various other materials that can be used in place of newspapers, analyzing their pros and cons and guiding you through the process of selecting, preparing, and utilizing them in your paper mache creations. We will cover everything from alternative paper and fabric options to mixing pastes and application techniques, culminating in detailed finishes and troubleshooting advice.
Alternative Paper Base Materials
While newspapers have been the go-to material for paper mache, embracing alternative paper sources opens the door to a new spectrum of textures and strengths, reinventing what you can create. This versatility is important for those wondering how to make paper mache without newspaper. Let’s take a look at some of the other paper options available.
1. Paper Options:
- Tissue Paper: Tissue paper comes in vibrant colors and is incredibly lightweight. This makes it excellent for crafts that require a bit of flair. However, its susceptibility to tearing means extra care must be taken during application.
- Toilet Paper: It’s absorbent and is a staple in most households, making it readily available for impromptu crafting sessions. The downside is its thinner quality, leading to a mush-like consistency if over-saturated with paste.
- Brown Paper Bags: As sturdy as they are environmentally friendly, brown paper bags provide a generous foundation for projects needing more structure. The trade-off with using these is their color limitation, but they can be painted over easily.
- Paper Towels: Known for their absorbency and availability, they can be a quick go-to for paper mache projects. Their thin nature, however, means they can sometimes leave residues, like lint, in your final piece.
- Shredded Junk Mail: Utilizing shredded junk mail is a creative way to recycle while adding color to your craft. Uneven thickness and potential ink run-off are factors to consider with this material.
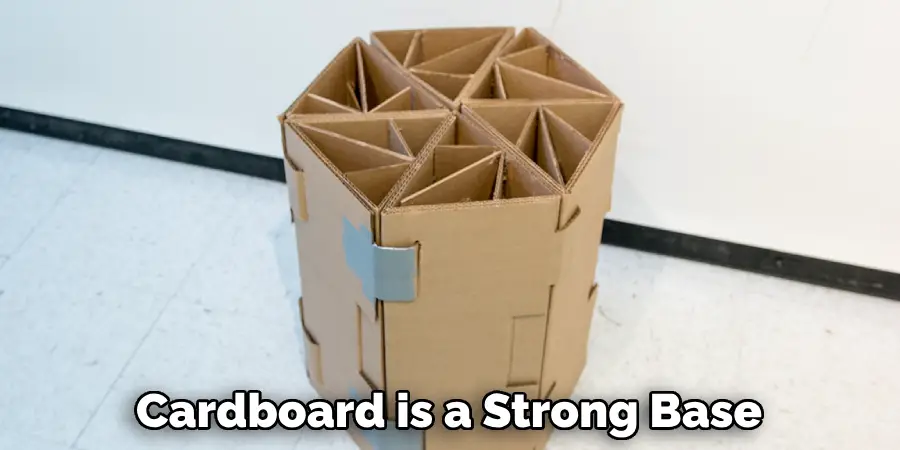
- Cardboard: Thick and robust, cardboard is a strong base for projects requiring durability. It does tend to be bulkier and will usually necessitate additional glue to hold the shape and adhere to other materials.
2. Fabric Options:
The use of fabrics in paper mache presents an exciting twist to the traditional newspaper approach, contributing different textures and finishes to the final piece:
- Cheesecloth: Known for its flexible nature and good drape quality, cheesecloth can conform to intricate shapes, making it ideal for detailed projects. However, it typically requires multiple layers for strength and necessitates sufficient drying time between applications.
- Muslin: Muslin is appreciated for its lightweight and smooth finish, which can create cleaner, more refined projects. Similar to cheesecloth, it often needs several layers to provide adequate structural integrity and has considerable drying time.
- Burlap: With its unmatched sturdiness and rustic texture, burlap adds a unique visual and tactile quality to creations. Its disadvantages lie in its rough texture, which may be difficult to work with, and the need for a thick paste to penetrate the coarse weave effectively.
3. Other Unusual Options:
Exploring beyond traditional and fabric materials, there are more unconventional options to consider when looking into how to make paper mache without newspaper:
- Leaves: Using leaves is a naturally eco-friendly option that imbues your creations with a unique texture and an organic feel. They are renewable and can be collected without harming the environment. The disadvantage is their delicate nature; leaves require careful drying and pressing before use, and they may not be as durable as other materials.
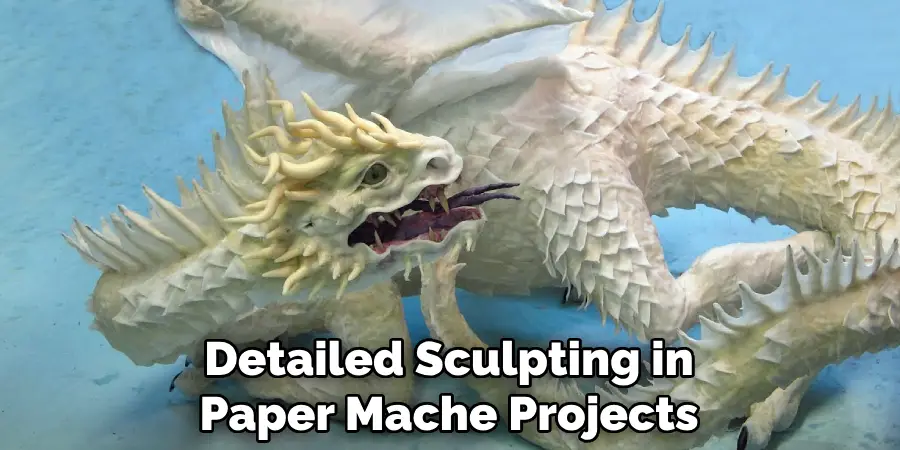
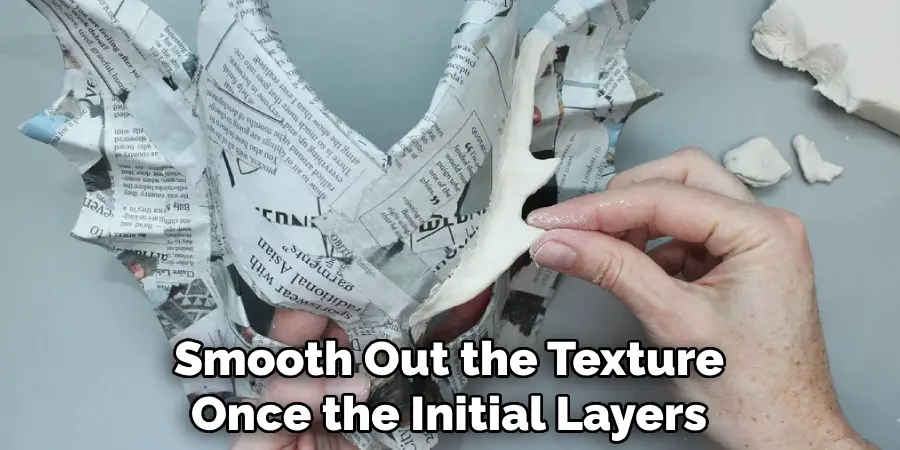
- Paper Mache Clay: This is a fantastic alternative for achieving a smooth finish and allowing for more detailed sculpting in paper mache projects. It’s versatile and can be used to add fine details or create entire pieces from scratch. On the downside, paper mache clay requires pre-preparation of the mixture, and just like traditional paper mache, it also necessitates considerable drying time.
How to Make Paper Mache without Newspaper – A Detailed Guide
1. Choosing the Right Material
When determining how to make paper mache without newspaper, selecting the right base material can make a significant difference in the outcome of your project. Consider the size and scale of your piece; larger projects may benefit from sturdier materials like cardboard or burlap, while smaller, delicate items work well with tissue paper or muslin. The desired finish also plays a role—smooth surfaces are easily achieved with paper mache clay or muslin. In contrast, textured effects come naturally with materials like burlap and shredded junk mail.
Strength is a key consideration, particularly for functional objects. If your creation needs to support weight or maintain its shape, leaning toward brown paper bags or fabric options like burlap may offer the necessary rigidity. On the contrary, choosing lighter options, such as tissue paper, could suffice for projects that prioritize aesthetics over strength.
Drying time can be decisive, especially when working under time constraints. Thinner materials like toilet paper and tissue paper generally require less drying time than multiple layers of fabric like cheesecloth or muslin. Bear in mind that some materials might also need a period of pressing or preparing, like leaves, to ensure they don’t deteriorate during the drying process.
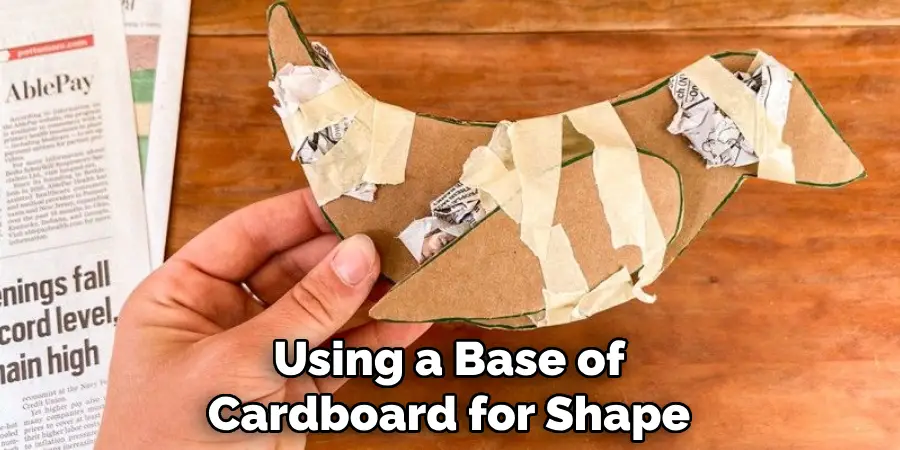
Personal preference is, of course, paramount. Choose materials that you enjoy working with, that align with your creative vision, and that contribute to the overall aesthetic you’re seeking. Experimenting with mixing different materials can yield specific effects; for example, using a base of cardboard for shape and adding a top layer of tissue paper can give strength and a burst of color. Adapting these tips to align with the properties of the selected materials will help ensure the success of your paper mache project.
2. Preparing Your Alternative Materials
Properly preparing your chosen materials before diving into your project is crucial to ensure a seamless paper mache process and an aesthetically pleasing end result. Here are some recommendations for preparing various types of alternative materials:
- Paper-Based Materials: Start by tearing or cutting your selected paper—be it tissue paper, toilet paper, brown paper bags, paper towels, or shredded junk mail—into strips or pieces. The size can vary depending on the project, but strips 1 to 2 inches wide generally work well. For intricate applications or layers, smaller pieces may be necessary. Ensure your hands are dry to avoid unintentionally dampening the paper.
- Fabric: If you’re working with fabrics like cheesecloth, muslin, or burlap, it’s advisable to wash and iron these fabrics before use. This step removes any starches, creases, or impurities that could affect adhesion or the final texture. Presoaking the fabric in your adhesive mixture can also be beneficial for a more sculptural and rigid effect.
- Other Unusual Materials: Leaves should be gently dried and pressed to preserve their shape and minimize brittleness, which could cause them to crumble during crafting. On the other hand, paper mache clay needs to be prepared according to your specific recipe—typically including a mixture of paper pulp, adhesive, and sometimes a joint compound or flour — and allowed to reach a workable consistency. Keep any pre-made clay sealed and moist until ready to use to prevent it from drying out.
Properly prepared materials will not only enhance the durability of your creation but will also make the crafting experience more enjoyable. Remember to consider each material’s specific characteristics, as their absorbency, texture, and flexibility can all impact your project’s final appearance and structural integrity.
3. Creating the Paste
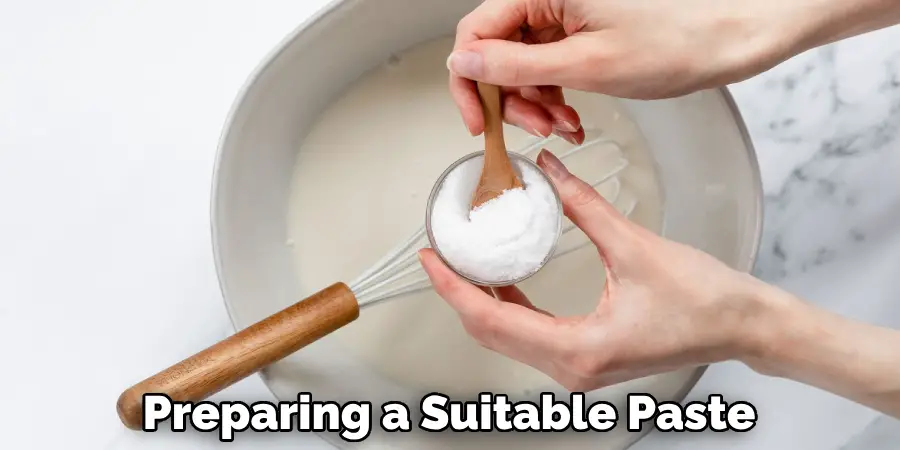
A critical step in the paper mache process is preparing a suitable paste that acts as an adhesive for your base materials. Different pastes can be used, each with its own set of advantages and challenges.
Traditional Flour and Water Paste:
Mix one part flour with one part water for a traditional paper mache paste until you get a smooth, glue-like consistency. To make a stronger paste, you can cook the mixture over low heat until it thickens. Some variations include adding a pinch of salt to prevent mold or a bit of white glue for extra strength.
Advantages of using flour and water paste include its natural composition and low cost. However, its disadvantages include the necessity for cooking and a longer drying time compared to some alternatives.
PVA Glue Alternative:
For a no-cook option, PVA glue (commonly known as white school glue) can be diluted with water to achieve a suitable consistency. The ratio is generally two parts glue to one part water, but you can adjust it depending on the glue’s thickness or the paste’s desired thickness.
The advantages of PVA glue are that it dries relatively fast, is readily available, and creates a strong bond. Disadvantages might include a stronger odor compared to flour paste and increased cost.
Other Paste Options:
- Starch Paste: Mix cornstarch or potato starch with cold water and then add boiling water until the mixture thickens. This paste is natural and very strong but requires pre-preparation, including boiling.
- Wallpaper Paste: Convenient and pre-mixed, it can be purchased at most hardware stores. Wallpaper paste adheres well and dries clear; however, it may contain chemicals and typically costs more than DIY alternatives.
Tips and Tricks for Perfect Paste:
Achieving the right consistency is critical: the paste should be smooth and similar to thick glue without lumps. If it’s too thick, it can be diluted with water; if it is too runny, add more flour or PVA, depending on the paste used. To avoid lumps, it’s best to gradually mix dry flour or starch with cold water before adding hot water or additional ingredients.
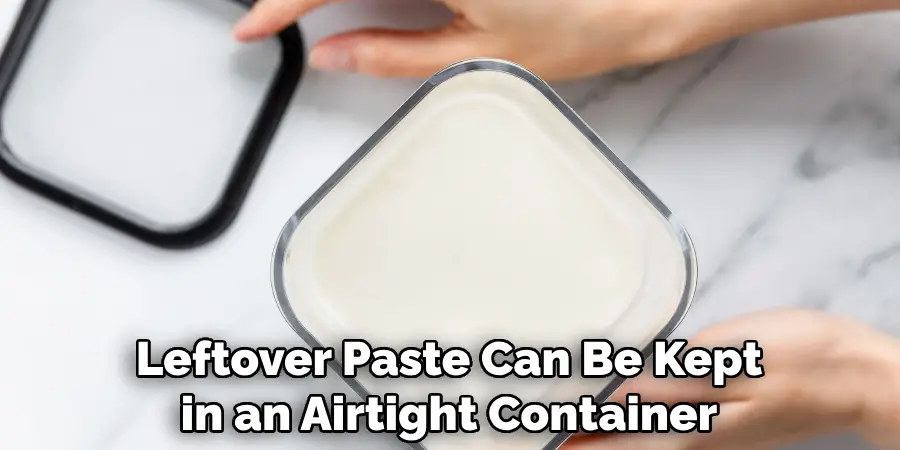
As for storage, leftover paste can be kept in an airtight container in the refrigerator for a few days. Check for mold growth before reusing, and stir well if separation occurs. Always discard any paste that looks or smells off.
4. Applying the Paste and Building Your Project
The application of the paste and construction phase form the heart of the paper mache process. When applying the paste to your strips or pieces of paper and fabric, use a dip-and-scrape technique. Dip each piece into the paste, ensuring it’s fully saturated, and then gently run it through your fingers to scrape off excess adhesive. This method helps maintain a consistent coating and reduces unnecessary bulk.
For building structure, start by placing dipped strips over your base—this could be as simple as a cardboard form or an inflated balloon for rounder shapes. Smooth the strips down with your fingers or a brush, removing any air pockets that could compromise the adhesion or leave unsightly bumps. Overlap the strips in different directions to create a strong lattice-like shell. The number of layers will depend on the desired strength; three to five layers are generally sufficient for most projects. Cardboard cutouts offer rigidity under the paper mache layers for precise angles and edges.
When utilizing alternative materials like fabric, ensure they’re properly prepared, possibly pre-soaked in adhesive if you’re looking for rigidity, and smoothly applied to your structure. The goal is to ensure that the fabric conforms to the contours of the base.
Creating a smooth finish requires patience and attention to detail. Use your fingers or a soft brush to carefully pat down each layer and remove air bubbles as they form. To further smooth out the texture once the initial layers have dried, sand the surface with fine-grit sandpaper and apply additional layers as needed. Remember, each layer should be dry to the touch before adding the next to prevent mold growth and ensure proper curing.
Drying times will vary significantly based on the paste used, the thickness of the layers, and the humidity levels. Flour and water paste can take 24 to 48 hours to dry completely, while synthetic adhesives like PVA may only require 6 to 12 hours per layer. Placing your project in a well-ventilated area or near a fan can expedite drying, but avoid direct heat sources, which can cause warping. If using fabric, drying times can extend due to their denser nature, so plan your project timeline accordingly.
Applying these techniques with care will build a foundation for a robust and detailed paper mache creation that can be embellished and painted once fully dried. Having the patience to let each layer dry fully will pay dividends in your finished piece’s overall aesthetic and structural integrity.
5. Adding Details and Finishing Touches
Once you’ve constructed the base of your paper mache project and it is completely dry, it’s time to bring your creation to life with details and finishing touches. Starting with sanding and smoothing rough surfaces, use fine-grit sandpaper to gently buff away any uneven areas or ridges. This step is crucial for achieving a polished look, especially if your piece will be displayed or used as decor.
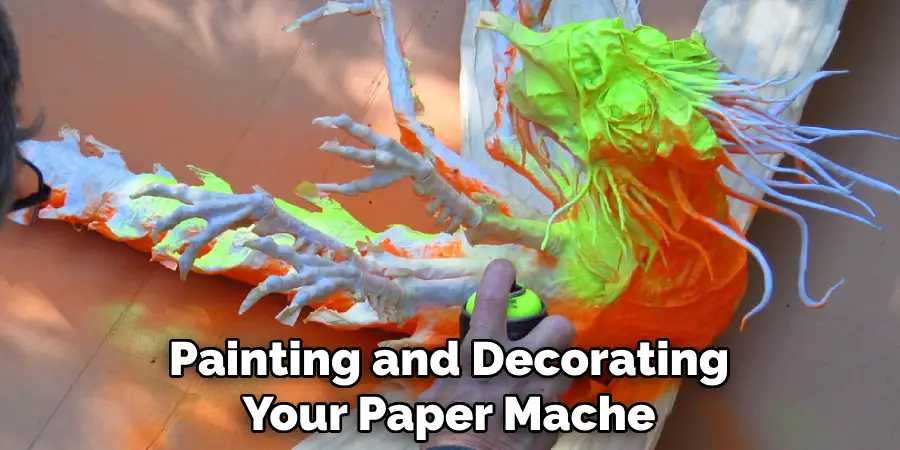
When it comes to painting and decorating your paper mache, acrylic paints are a great choice for their versatility and vivid colors. Begin with a base coat to ensure uniform color application, and consider using brushes of different sizes to add both broad strokes and fine details. If you’re feeling adventurous, try mixed media by adding textures with materials like tissue paper, beads, or fabric.
For sealant options, an artist’s varnish or water-based polyurethane protects against moisture and handling. Waterproofing is especially important for items exposed to elements like outdoor ornaments. Apply the sealant according to the manufacturer’s instructions, and allow ample drying time.
Lastly, incorporating creative ideas for embellishments can set your project apart. Think outside the box with recycled materials such as egg cartons for flower petals, newspaper clippings for collage effects, or plastic bottle caps for 3D features. These eco-friendly touches add not only to the uniqueness of your creation but also present an opportunity to educate on the importance of reusing and recycling materials.
Experiment with various techniques and embrace the process, as a paper mache project often reveals its character and charm in the final touches. With careful attention to detail and a touch of creativity, you can transform a simple paper mache structure into an artwork that expresses a personal artistic vision.
Troubleshooting and Common Mistakes
In the world of paper mache, encountering issues such as tearing, warping, or a weak structure can be discouraging. Tearing often occurs when too much force is applied while smoothing down the layers or if the base form is too flexible. To prevent this, ensure your base has enough rigidity, and be gentle when handling the wet layers. If tearing happens, allow the area to dry and then apply a new piece of paper mache.
Warping can result from uneven drying or exposure to heat sources. Position your project in a stable environment where humidity and temperature remain consistent. Should warping take place, you can sometimes correct it by dampening the warped area and reshaping it before allowing it more time to dry properly.
A weak structure might result from insufficient layering, inadequate overlapping strips, or not allowing each layer to dry thoroughly. Counteract this by applying enough layers, especially on points of your project that will experience more stress or handling. A solid structure is crucial for longevity and durability.
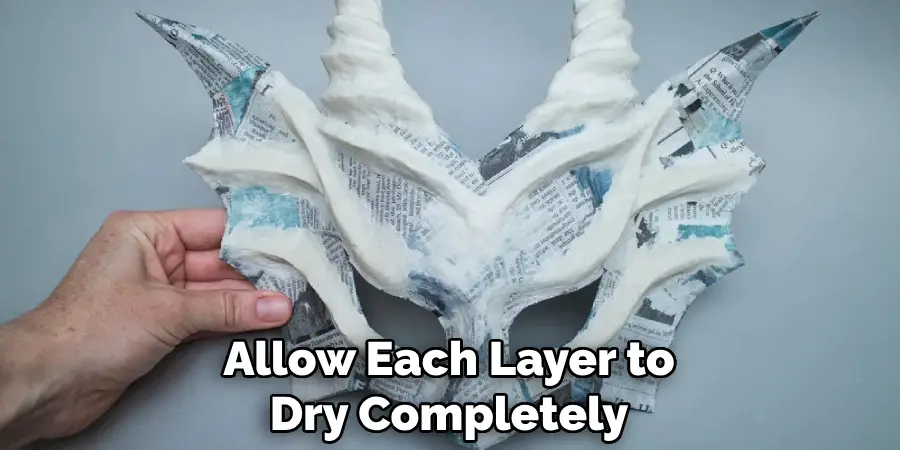
Patience truly is a virtue in paper mache. Rushing the drying process is a common pitfall, leading to mold development or collapsed structures. Allow each layer to dry completely before proceeding with the next. If you’re on a tight schedule, factor in extra drying time and consider the type of adhesive for its drying properties.
Above all, remember that every mistake is an opportunity to learn and improve. Each challenge you overcome enhances your skill and mastery of the paper mache craft.
Conclusion
In mastering how to make paper mache without newspaper, we’ve discovered that patience and creativity are the pillars of this art form. By exploring alternative materials and utilizing meticulous techniques, you can craft sturdy and striking structures. Embrace the process of experimenting with various textiles and adhesives to find your unique expression. Let your imagination guide the way, and celebrate the joy of transforming simple ingredients into intricate artwork. The journey of paper mache is as rewarding as the finished piece – a sentiment every crafter can cherish.

