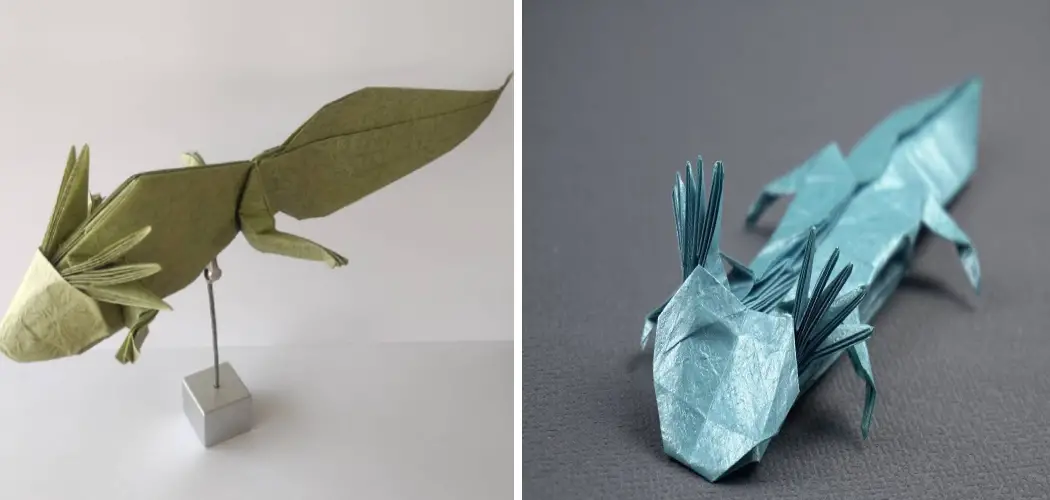
Have you ever wanted to create something special and unique? Do you love origami? Folded paper crafts have been around for centuries, but the Axolotl is a more modern addition to the Craft. Origami is a fun, creative, and affordable way to turn ordinary paper into something extraordinary!
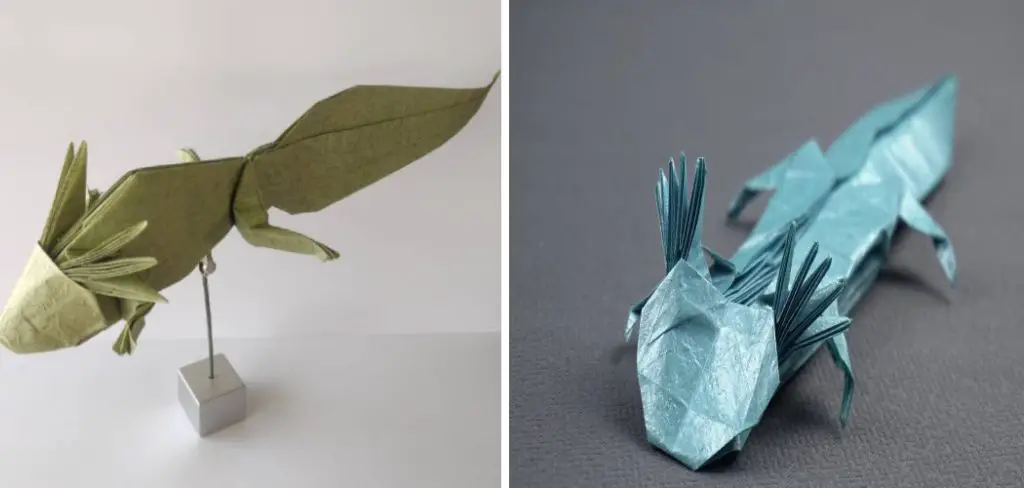
If you’ve ever tried making origami figures before, then give this classic craft project a try with a twist!
We’ll show you how to easily make origami axolotl— perfect for kids or adults alike. No matter your experience level with folding paper crafts, we’ll provide clear instructions so that everyone can achieve success.
Get ready to bring some culture and color into your home with this step-by-step guide on how to make origami axolotl. So grab some colored paper and get ready—by the end of this tutorial, you’ll know about it just like a pro!
Things to Keep in Mind When Making Origami Axolotl
Before you start, there are a few things to keep in mind when crafting your origami axolotl.
1. Size of the Paper
First and foremost, the size of your paper is essential. You’ll want to start out with a square piece of paper that’s at least 7 inches in size. A larger sheet gives you more room to work with, but make sure it’s no bigger than 10 inches.
2. Color of the Paper
Next, consider the color of your paper. You can choose any color paper you like, as it doesn’t matter for this project. However, if you want your axolotl to look realistic, consider using light and dark shades of blue and green.
3. Paper Type
Finally, the type of paper matters, too. We recommend using standard origami paper because it’s the best type to work with when folding your axolotl. But you can also use glossy paper, cardstock, or even magazine pages if desired.
Required Items
- 10 pieces of square, colored paper
- Scissors
- Pen or pencil
- Glue (optional)
10 Steps on How to Make Origami Axolotl
Step 1: Fold
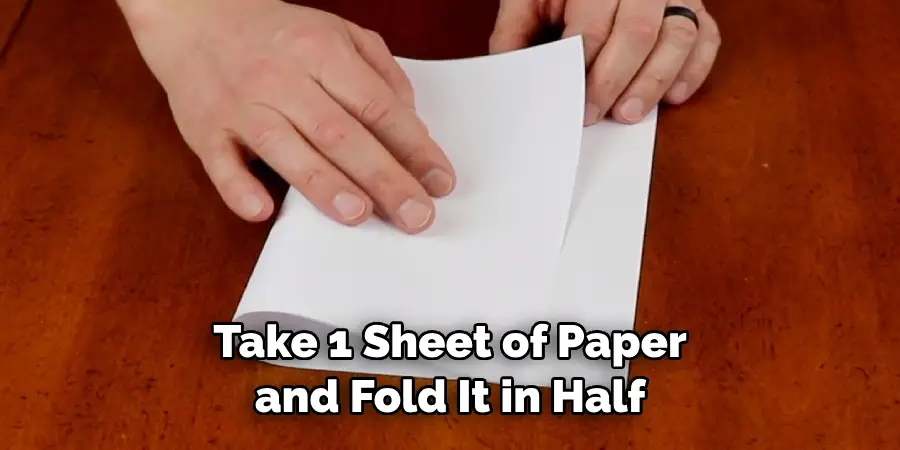
Take 1 sheet of paper and fold it in half. Unfold, and you have a mountain fold. Also, fold the paper in half the other way and then unfold so that you have two perpendicular creases. When you open the paper back up, you should have a plus sign in the center.
Step 2: Valley Fold
Now take each corner and fold it into the opposite side edge (valley fold). You’ll be left with 4 small triangles. Press down on each triangle to flatten them out as much as possible. This will create a shape similar to a diamond.
Step 3: Square Fold
Fold each side of the diamond inwards so that it creates a square. Your goal is to make sure that all the corners match up with one another as best as possible. This may require you to adjust the folds here and there, but don’t worry—it’s perfectly normal.
Step 4: Sink Fold
Fold each corner inwards towards the center of the paper, creating a sink fold. This will create 8 small triangles around the perimeter of your square. Be sure to press down on all the folds so that they are nice and flat.
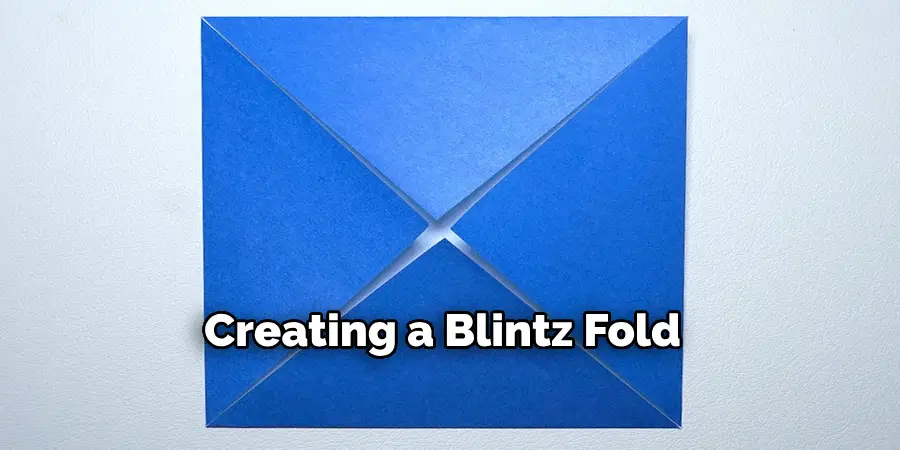
Step 5: Blintz Fold
Fold each corner towards the center of your paper again, creating a blintz fold. This will create 8 small squares around the perimeter of your square. Again, be sure to press down on all the folds so that they are nice and flat.
Step 6: Petal Fold
Take one corner of one of the squares and fold it towards the center. This will create a petal-like shape. Do this to all 8 squares so that you have 8 petals, each with an individual curve.
Step 7: Repeat
Repeat steps 1-6 with the remaining pieces of paper until you have 8 diamond shapes with 8 petals each. Repeating this step will give you the classic “origami axolotl” shape.
Step 8: Glue (optional)
If desired, you can glue each of your petal shapes together to make one large origami axolotl. Be sure to use a strong adhesive like rubber cement or craft glue for best results.
Step 9: Finishing Touches
Once your origami axolotl is complete, feel free to add some finishing touches of your own! You can draw on eyes, paint on scales, or even use glitter if you want a sparkly effect. The possibilities are endless!
Step 10: Enjoy & Show Off!
Your origami axolotl is now complete. Feel free to proudly display your creation around the house or give it as a gift to someone special. No matter how you choose to use your handmade masterpiece, enjoy every step of the process and have fun with crafting!
Following these instructions, you will be able to make an origami axolotl with ease. We hope that the steps provided gave you a better understanding of how to make origami axolotl. Just remember—practice makes perfect!
8 Common Mistakes to Avoid When Making Origami Axolotls
Making origami axolotls can be a fun and rewarding activity, but it’s important to take note of some common mistakes that beginners often make. Here are 8 tips to help you avoid frustration and create beautiful works of art:
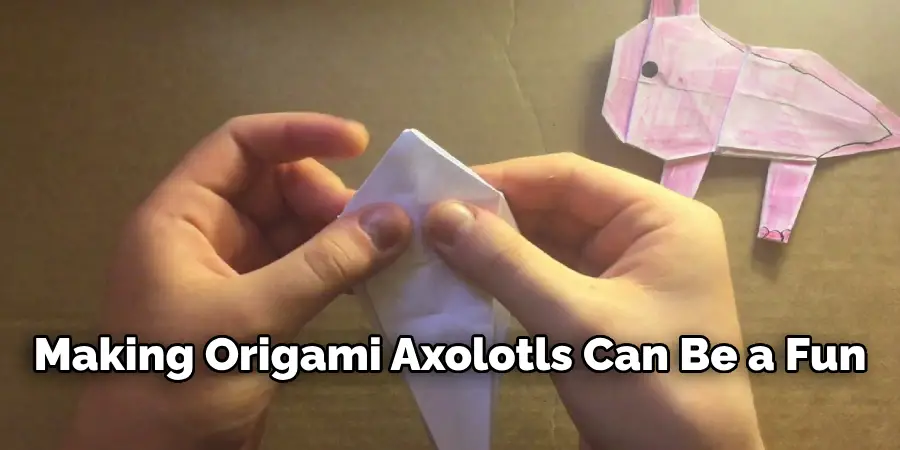
- Not using the right type of paper. origami paper is required for this type of origami. It’s lightweight, thin, and has a smooth texture. Most other types of paper are too thick or slippery, making them difficult to fold and causing your work to collapse.
- Folding the paper incorrectly. Make sure you follow the correct folding technique for each step in order to achieve a neat, crisp result. Also, be aware that some folds require you to make two folds in opposite directions.
- Trying too hard to replicate the images you see online. Each origami piece is unique, and it’s important to recognize that your work won’t look exactly like someone else’s. Embrace the imperfections and enjoy the journey of making something beautiful with your hands!
- Not paying attention to the details. When making origami, even the smallest of details can make a big difference in the outcome of your work. Make sure you follow the instructions accurately and pay close attention to each step.
- Skipping steps or being careless with folds. Don’t rush through the process because it could cause an incomplete or incorrect result. Take your time and be mindful of each step.
- Not taking measurements. Measurements are essential in order to get the proportions right for each step. Make sure you measure out the paper before you start folding, as well as any angles or folds that are required.
- Not using enough glue. Glue is key when making origami, especially when securing the finished piece. Use enough glue to ensure that your work won’t fall apart easily and lasts for a long time.
- Not having patience or being too hard on yourself. Origami can be tricky, so don’t be afraid to take it slowly and give yourself plenty of time to complete the project. Don’t get frustrated if things don’t go perfectly the first time, just keep practicing and you’ll soon get the hang of it.
Making origami axolotls can be a fun and creative way to express yourself. With these tips in mind, you’ll be on your way to creating amazing origami works of art in no time!
Frequently Asked Questions
How Much Will It Cost?
Creating an origami axolotl is inexpensive and can be done with nothing more than a few sheets of paper. You will need to purchase special folding paper or regular printer paper, scissors, and glue if desired. Creating an origami axolotl is a great way to get creative and make something unique!
What Kind of Paper Should I Use?
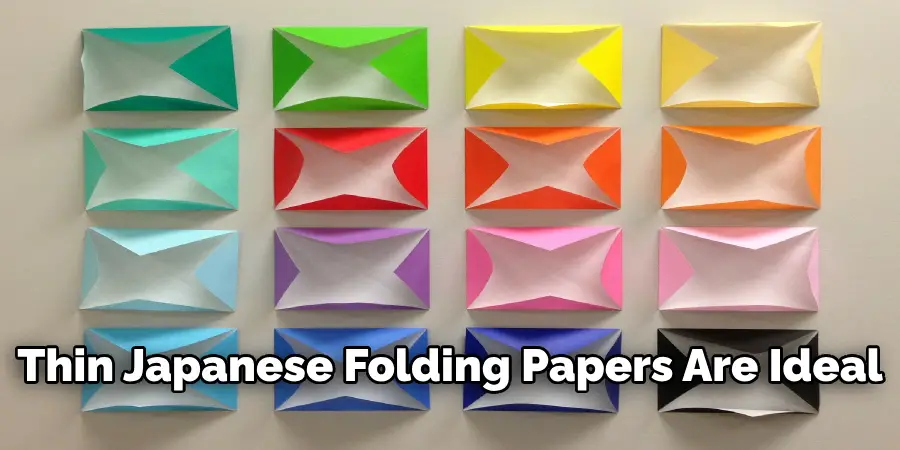
You can use any type of paper when making origami axolotls. However, thin Japanese folding papers are ideal for the intricate folds needed to create the original shape. If you don’t have access to these papers, regular printer paper will work well, too.
How Long Will It Take?
The amount of time it takes to make an origami axolotl varies depending on the skill level of the folder. For a beginner, it can take anywhere from 10-30 minutes. Experienced folders may be able to create one in as little as 5 minutes.
Conclusion
Now that you’ve seen how fun and easy it is to make your own origami axolotl, why not try making one for yourself? Whether you’re crafting one for a fun decoration or to give as a gift, there’s no limit to the creativity that you can bring to your work. With some practice, you can surely become an origami master like the artists of the Far East. So grab some paper, get out your tools, and have some fun!
The possibilities are endless when it comes to creating with origami – so don’t be afraid to jump in and start exploring. Despite its humble beginnings as a children’s diversion centuries ago, there’s no denying that origami now occupies an important place in our cultural landscape, and your own axolotl creation will be a unique witness to that tradition.
So go forth with confidence and enthusiasm – paper art awaits! Follow the steps on how to make origami axolotl provided and you’ll be an origami expert in no time.

