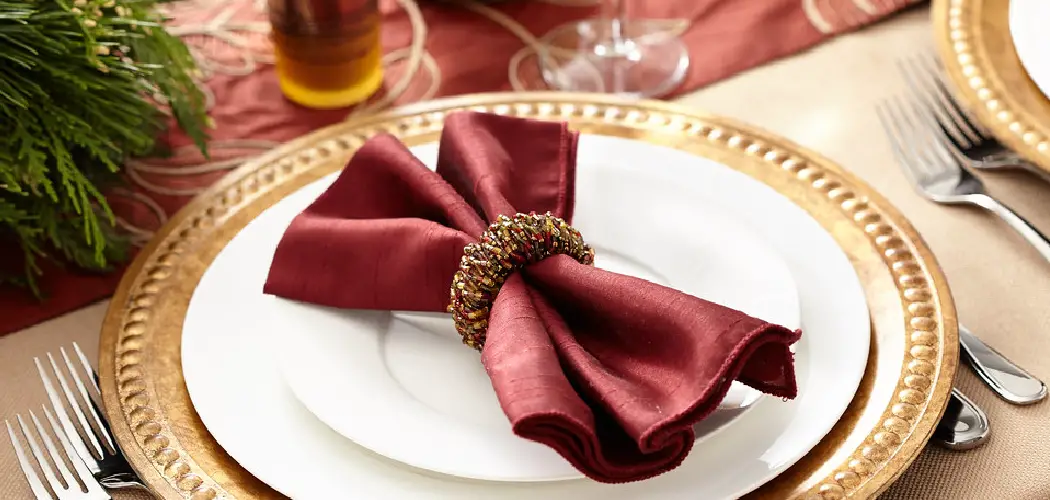
Do you want to know how to make the perfect bow for any gift-wrapping or decoration project? If so, then look no further! We’ll show you step-by-step how to make napkin bows in just a few simple steps.
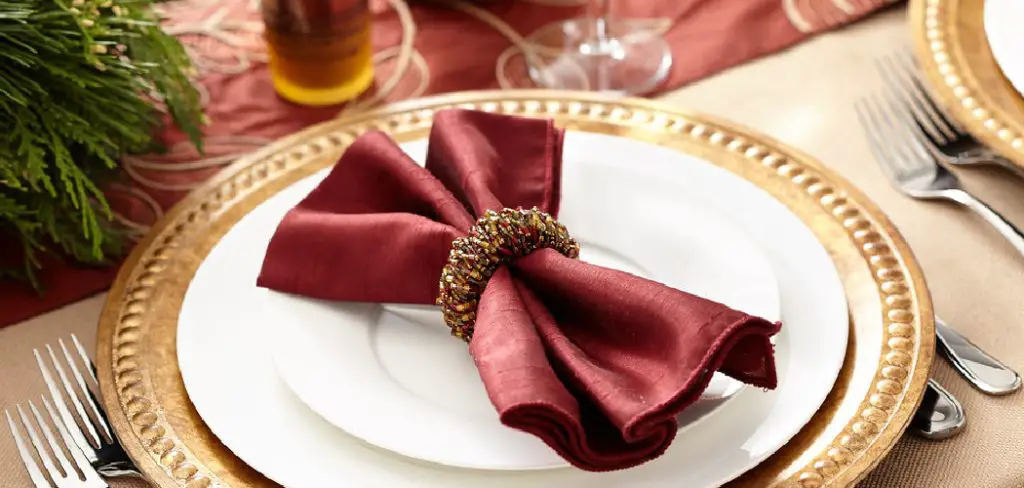
With this easy-to-follow guide, you’ll be able to make your own gorgeous and unique napkin bows that are perfect for almost any occasion. So don’t worry if you think it sounds difficult; soon enough with enough practice, mastering the art of making napkin bows will become second nature!
Tools and Materials You Will Need to Make Napkin Bows
- Napkins (preferably square-shaped)
- Ribbon or string
- Scissors
- Ruler
- Glue or double-sided tape (optional)
Step-by-step Guidelines on How to Make Napkin Bows:
Step 1: Choose Your Napkin
Firstly, you need to decide on the napkin you want to use. You can choose a plain color or one with a pattern design. Just make sure that it is clean and ironed beforehand for a neater finish. Choosing the right napkin is essential, as it will determine the overall look and feel of your bow. This is where your creativity can really shine, so feel free to experiment with different napkin colors and designs.
Step 2: Fold the Napkin
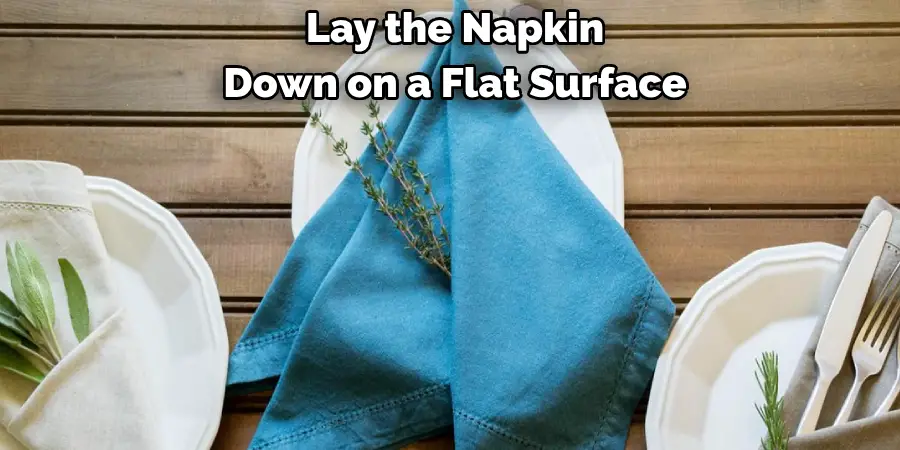
Lay the napkin down on a flat surface, making sure it is perfectly square-shaped. If not, you can always fold it diagonally to create a perfect square. Then, fold the left and right corners towards the center of the napkin, leaving a small gap in between. You should have two overlapping triangles at this point. While keeping the folds in place, flip the napkin over to its backside.
Step 3: Create the Bow Shape
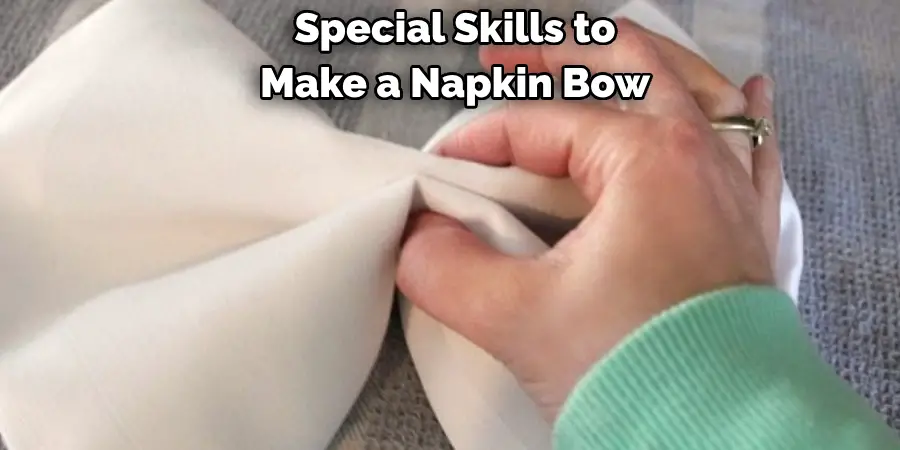
Carefully fold each of the two corners towards the center again, this time making sure they overlap slightly in the middle. This will create a bow shape with four loops. Hold everything together securely so that these folds don’t come loose. Creating the bow shape might take a few tries, so don’t worry if it doesn’t look perfect the first time around. Remember, practice makes perfect!
Step 4: Secure the Bow in Place
After creating the bow shape, you can either use glue or double-sided tape to secure everything in place. If you are using ribbon instead of string, you can simply tie a small knot at the back to hold it in place. Make sure everything is tight and tidy, so your bow holds its shape. This is where you can get creative and use different types of ribbon or string to create unique bow designs.
Step 5: Trim the Ends
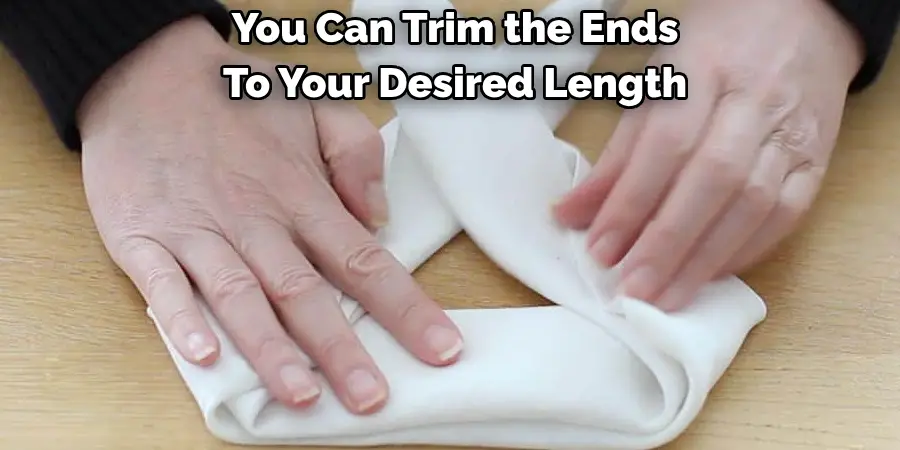
If you are using ribbon, you can trim the ends to your desired length or leave them as they are for a more elegant look. If you’re using string instead, then you can simply wrap the excess string around the back of the bow and secure it in place with a knot. Trimming the ends will give your bow a more polished and professional appearance. Make sure to trim them evenly so that your bow looks symmetrical.
Following these simple steps, you can now make your own beautiful napkin bows to add a touch of elegance and style to any occasion. You can use them for table settings, gift wrapping, party decorations, or even as hair accessories. The possibilities are endless when it comes to napkin bows! So the next time you want to impress your guests or loved ones with a unique touch, remember these simple steps on how to make napkin bows. Happy crafting!
Additional Tips and Tricks to Make Napkin Bows
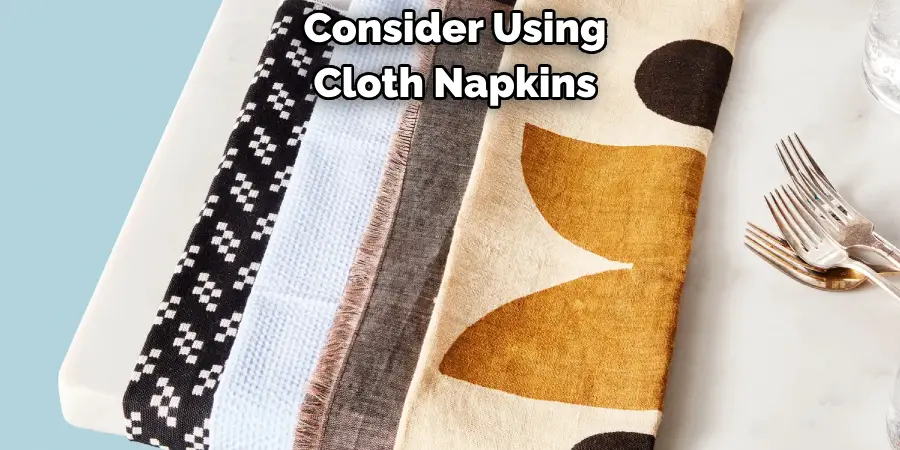
1. When it comes to making napkin bows, the material of your napkin plays a crucial role. It is recommended to use fabric or cloth napkins instead of paper ones as they are easier to fold and hold their shape better.
2. To add an extra touch of elegance, you can use decorative items such as ribbons, flowers, or even small personalized tags to embellish your napkin bows.
3. Experiment with different folding techniques to create unique and intricate designs. You can find plenty of tutorials and inspiration online, from simple folds like the classic fan fold to more advanced designs like the rosefold.
4. Don’t be afraid to mix and match colors and patterns for a more visually appealing table setting. Just make sure that the colors complement each other and don’t clash.
5. If you’re using napkin rings, consider layering different textures such as a lace or burlap ribbon around the napkin before placing it in the ring for added dimension.
6. When setting a formal table, always place the napkin to the left of the plate or on top of it. This not only creates a more polished look but also makes it easier for guests to unfold their napkins.
7. For a more eco-friendly option, consider using cloth napkins that can be washed and reused instead of disposable ones. This not only reduces waste but can also add a touch of luxury to your dining experience.
8. Practice makes perfect! Don’t get discouraged if your first few attempts at making napkin bows don’t turn out as you imagined. Keep trying and eventually, you’ll become a pro at creating beautiful and intricate designs.
Following these tips and tricks, you’ll be able to elevate any dining experience with your beautifully folded napkin bows. So have fun with it and let your creativity shine! Keep in mind that the most important thing is to enjoy the process and have a good time with your loved ones. Bon appétit!
Precautions Need to Be Followed for Making Napkin Bows
1. First and foremost, it is important to choose the right type of napkin for making bows. The recommended size is 16 inches by 16 inches, and the material should be preferably cotton or linen for easier folding.
2. Make sure your hands are clean and dry before handling the napkin to avoid leaving any marks or stains on it.
3. Iron the napkin beforehand if it is wrinkled. This will make the folding process much easier and give a neater finish to the bow.
4. When making bows, always work on a clean, flat surface to avoid any creases or wrinkles in the napkin.
5. It is important to follow the steps carefully and not rush through them in order to achieve a perfect-looking bow.
6. If you are new to making napkin bows, it is recommended to practice on a few spare napkins first before attempting it on the final one. This will help you get a better understanding of the folding technique and improve your skills.
7. When using fabric napkins, it is best to wash and dry them before making bows. This will ensure that they are clean and free from any chemicals or residues that could affect the folding process.
8. Avoid using heavily patterned or textured napkins, as this can make it difficult to achieve a clean and crisp look for the bow.
Following these precautions will ensure that your napkin bows turn out perfectly every time. Now, let’s move on to the step-by-step process of making beautiful napkin bows.
Frequently Asked Questions
What Materials Do I Need to Make a Napkin Bow?
To make a simple napkin bow, you will need a square cloth napkin and your hands! However, if you want to add some flair and decoration to your napkin bows, you can also use additional materials such as ribbons, flowers, or other decorative elements.
Can I Use Any Type of Napkin to Make a Bow?
Yes, you can use any type of cloth napkin to make a bow. However, it is recommended to use a square-shaped napkin for the best results. Napkins with a thicker fabric or sturdier material will also hold their shape better when tied into a bow.
Do I Need Any Special Skills to Make a Napkin Bow?
No, you do not need any special skills to make a napkin bow. This is a simple and easy-to-learn technique that anyone can master with a little practice. It is also a great activity for kids to get involved in while setting the table for a special occasion.
How Can I Add Personalization to My Napkin Bows?
There are many ways to add a personal touch to your napkin bows. You can use different colors or patterns of napkins, tie ribbons in the color scheme of your event, or even add personalized name tags or charms to each bow. Get creative and make your napkin bows stand out!
Can I Use Napkin Bows for Any Occasion?
Yes, napkin bows are a versatile decoration that can be used for any occasion. They are perfect for formal events like weddings and dinner parties, as well as casual gatherings with friends and family. You can also tailor the style of your napkin bow to match the theme or tone of your event.
Conclusion
Knowing how to make napkin bows is a simple yet effective way to elevate the presentation of your table setting. With just a few materials and some easy steps, you can create beautiful and personalized napkin bows for any occasion.
Get creative, have fun, and impress your guests with your newfound napkin bow-making skills! So why wait? Start practicing today and add a touch of elegance to your next event. Happy bow-making!

