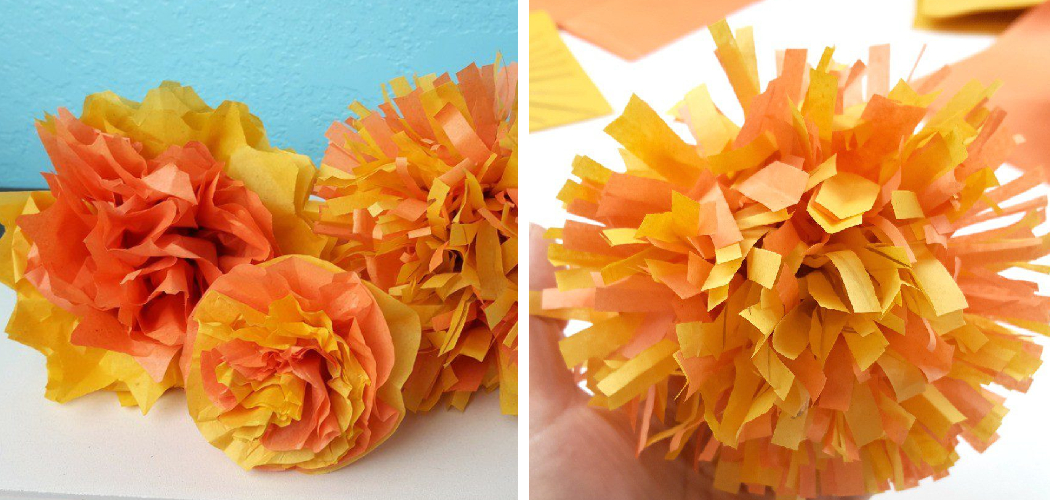
Marigolds are a colorful and fun way to celebrate the Day of the Dead. They are also inexpensive, making them the perfect craft for anyone looking to decorate their home or party with marigolds on a budget. Making marigolds out of paper is easy; you only need simple materials like construction paper, scissors, tape, and glue.
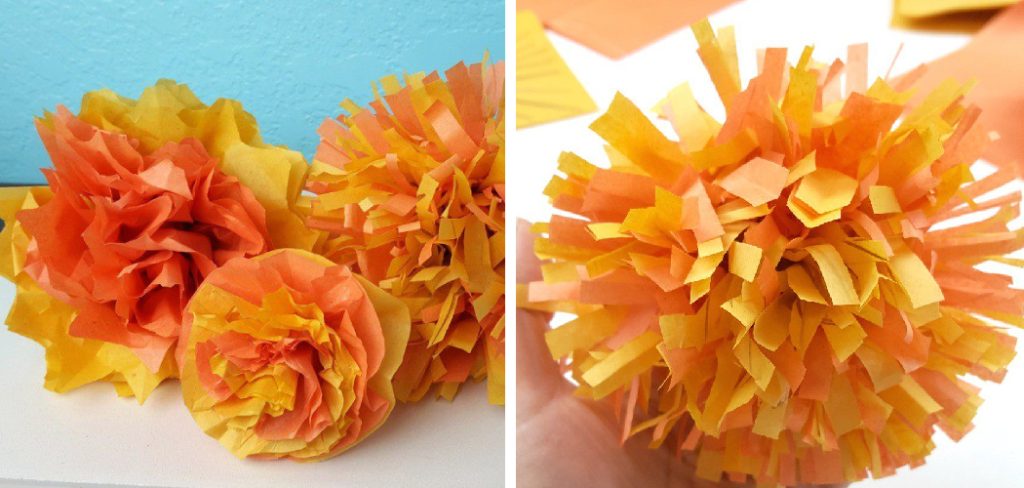
One of the biggest advantages of making marigolds out of paper is that it is easy and affordable. All you need are some basic materials like colored construction paper, scissors, glue, and optionally a pencil or marker for drawing petal outlines if desired. Additionally, these flowers can be made relatively quickly and in bulk, making great decorations for special occasions and events. In this blog article, you can find step-by-step instructions on how to make marigolds out of paper.
Materials You Will Need
- Paper or cardstock in yellow, orange, and red
- Scissors
- Glue
- Pencil or pen
- Ruler
- Optional: green paper for the stem of the marigold.
Step-by-step Instructions for How to Make Marigolds Out of Paper
Step 1: Execute Your Plan
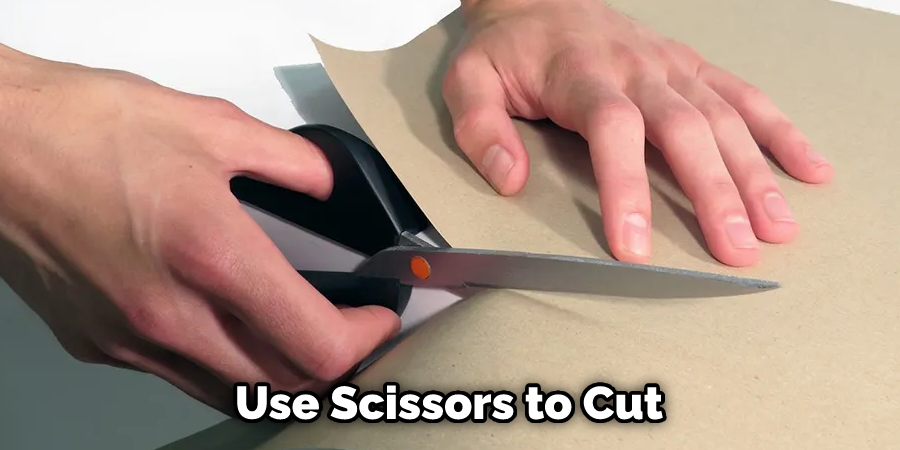
Gather the materials you will need to make your marigolds. You will need scissors, colored paper, tape or glue, and a ruler. Take the colored paper of your choice and cut out five petal-shaped pieces. The petals should not be too big – they should fit in the palm of your hand.
Step 2: Assemble Your Marigolds
Using the ruler, trace a circle in the middle of each petal. This will be used to shape your marigold. Once you are finished tracing, use scissors to cut out the circles from each petal. Take two petals and overlap them so that they look like one. Secure them together with either tape or glue. Repeat the same procedure with the other three petals.
Step 3: Join the Petals
Join the five petals together to form a flower. Secure each one in place using tape or glue. You may also use brads, or paper fasteners, to join all five of them together. This will create your marigold’s center. Using green paper, cut out four leaf-shaped pieces. These leaves will be used to make the stem of your marigold. Secure the leaves with either tape or glue, then attach them to the center of your flower.
Step 4: Enhance Your Marigold
If desired, use crayons or markers to draw little details on the petals. You may also add a dab of glue and sprinkle glitter over it for an added effect. To give your marigolds a more realistic look, attach brown stems to the bottom of each flower. You can also use green paper to make some leaves and attach them to your stems.
Step 5: Hang Your Marigolds
You may hang your marigolds on a wall, window, or door by punching a hole in the top of each one and attaching some string or yarn through it. Gather all the marigolds you have made and arrange them together in a bouquet. Secure them together with either tape or glue. You can also use string or yarn to tie them together.
Step 6: Place Your Bouquet
Now that your bouquet is done, it’s time to place it in a special area. Whether you choose to put it on your wall or desk, it will look beautiful and add some color to your space. Once you are finished making your marigolds, sit back and admire your work. You have now created a beautiful and unique piece of art with your own hands. Creating marigolds out of paper is an easy and fun way to add some color and creativity to any space.
You Can Check It Out To Crochet a Pickle
Safety Tips for How to Make Marigolds Out of Paper
- Make sure to wear protective eyewear while using scissors or other sharp tools when making marigolds out of paper.
- Wear gloves and long-sleeved clothing to protect your skin from coming into contact with paper fibers.
- Use a cutting board and not a table for safety purposes when cutting out shapes from construction paper.
- Ensure the scissors used to cut out the marigolds are sharp but not too sharp so as not to cause injury while cutting out the shapes.
- Ensure that you have proper ventilation in your workspace when working with aerosol-based glue and other materials/chemicals used to make marigolds out of paper.
- Do not leave the marigold-making materials and tools unattended as they may be hazardous to small children or pets.
- Keep all components away from open flames, such as candles, incense sticks, and fireplaces, when making marigolds out of paper.
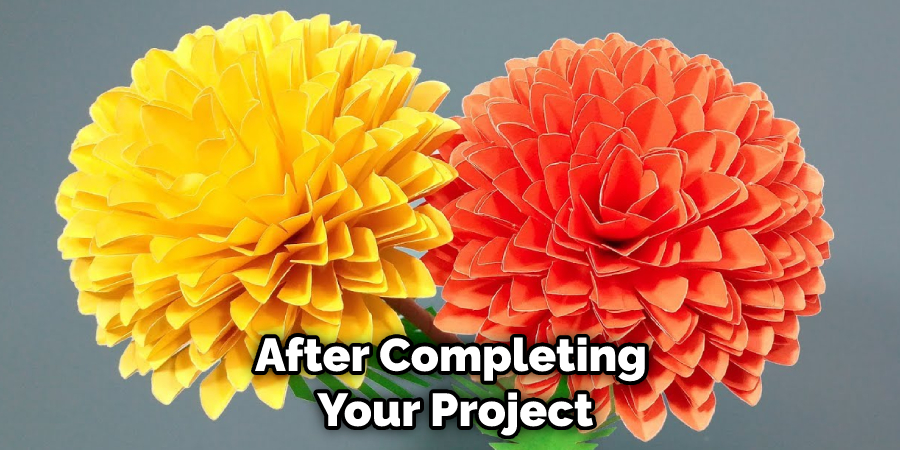
- Dispose of any leftover materials, such as paper scraps and glue, safely after completing your project.
Following these safety tips will help ensure that your marigold-making experience is a safe and enjoyable one. So go ahead and enjoy the process of crafting beautiful marigolds out of paper.
How Should You Store Your Paper Marigolds When Not in Use?
- Ensure you have the right storage supplies before storing your paper marigolds. You will need an airtight container or a box with a lid to keep the marigolds dry and away from dust and dirt.
- Place each of your paper marigolds into its own plastic zip-lock bag or a large airtight container. This will prevent dust and dirt from settling onto the marigolds while they are in storage.
- Place your paper marigolds into the plastic zip-lock bags or the airtight container, leaving space between each marigold. It is important that you do not overcrowd the container as this can cause damage to the fragile paper marigolds.
- Label your storage containers clearly so that you know exactly where each of your paper marigold creations is located.
- Store away from direct sunlight and in a cool, dry place such as a closet or drawer. This will ensure that your paper marigolds will not fade or become brittle over time.
- Check on your paper marigold creations every few months and gently brush away any dust that has settled onto them. This will help them to stay looking their best for longer.
Following these steps will ensure that all of your beautiful paper marigolds are stored safely and remain intact for years to come.
How Do You Maintain the Color of Your Paper Marigolds Over Time?
- Store your paper marigolds in a cool, dark place when they’re not in use. This helps prevent fading and ensures the vibrant color of your flowers remains intact for longer periods.
- Keep the marigolds away from direct contact with water or any other liquids as much as possible. This also helps to preserve their color.
- Use a protective spray to shield your paper marigolds from dust and potential staining agents. Make sure to use the spray in an adequately ventilated area.
- Handle your paper marigolds carefully when you’re arranging them or picking them up, as rough handling can cause the paper to tear or fray.
- Take extra care when cleaning your marigolds, as common cleaning materials such as detergents, soap, and polishes can damage their color. Use a damp cloth with warm water instead if necessary.
Following these tips will help you maintain the beautiful vibrant colors of your paper marigolds over time.
Are There Different Types of Paper That Work Better Than Others for Making These Paper Marigolds?

Yes, certain types of paperwork are better than others when it comes to making paper marigolds. Construction paper or cardstock is usually the best choice for this craft. They have more weight and stiffness to hold their shape better. Additionally, these types of papers can be found in various colors, which is great for creating bright, vivid marigolds. Printer paper may work, but it tends to be too thin and flimsy, so it doesn’t hold its shape as well.
For an even more vibrant effect, colored tissue paper can also be used. Just make sure to use the heavier varieties of tissue papers that are less likely to tear. Additionally, metallic or glitter paper can be used to give the marigolds a more festive look. No matter what type of paper you choose, make sure it is thick enough that it won’t rip easily and thin enough so that it’s easy to cut and shape. You can make beautiful paper marigolds in various colors and styles with the right type of paper.
Conclusion
The main disadvantage of making marigolds out of paper is that the flowers will not last as long as those made with real petals and leaves. Paper marigolds are much more delicate and prone to tearing, so they may require more frequent replacements. Additionally, if not prepared correctly or stored carefully, the paper marigolds can become discolored over time due to moisture or heat. Making marigolds out of paper is also more labor-intensive than using real petals and leaves, as each flower must be meticulously crafted from individual sheets of paper.
Making marigolds out of paper is a great way to add a special touch to any occasion or décor. Not only are the flowers simple and inexpensive, but they also require few materials and minimal time to make. With just a few supplies like colorful construction paper, scissors, glue, and ribbon, you can create lovely paper marigolds that will brighten up any room. Best of all, the marigolds can be used as decorations for special occasions or just for everyday home décor. I hope reading this post has helped you learn how to make marigolds out of paper. Make sure the safety precautions are carried out in the order listed.
You Can Check It Out to Make Rose Petal Confetti

