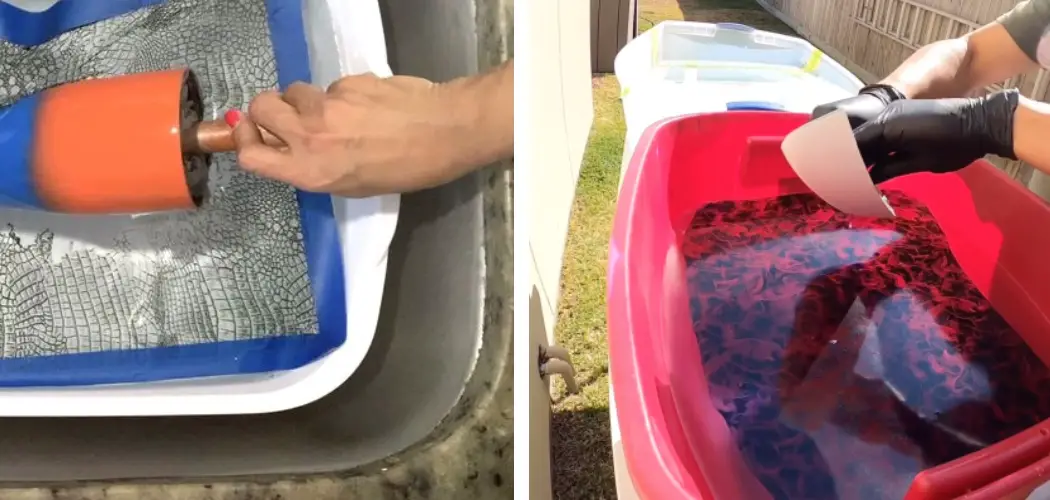
Hydro dipping, also known as water transfer printing, has emerged as a popular technique for applying intricate designs and graphics to three-dimensional objects. This innovative process involves using a hydro-dipping film that can conform to the surface of any item submerged in water, transferring a pattern onto it with stunning clarity and color fidelity.
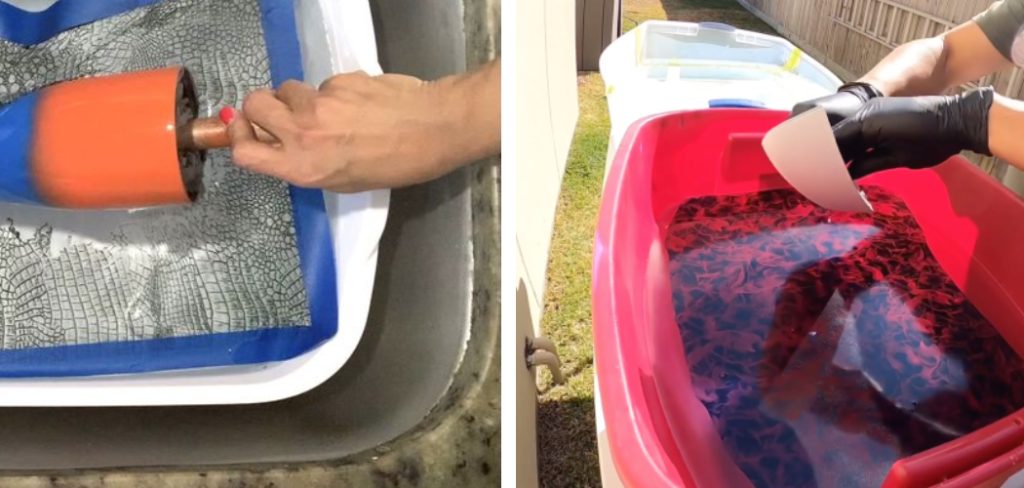
In this section, we will delve into the fundamentals of hydro-dipping film creation, discussing the materials needed, the design process, and tips for achieving the best results.
Whether you’re a hobbyist looking to personalize your gear or an entrepreneur aiming to offer custom products, learning how to make hydro dipping film can be an exciting and rewarding endeavor.
What is Hydro Dipping Film?
Hydro dipping film, also referred to as hydrographic or immersion film, is a thin layer of printed pattern or graphic that is used in the hydro dipping process. It can be made from various materials such as PVA (polyvinyl alcohol), vinyl, or PET (polyethylene terephthalate) and is typically transparent or semi-transparent.
The film is applied to the surface of water in a dip tank, where it dissolves and spreads out, creating a floating layer that can easily transfer onto objects submerged in the water.
Materials Needed for Making Hydro-Dipping Film
Before you begin making your own hydro-dipping film, you will need to gather some essential materials. These include:
Printing Paper:
You can use any standard printing paper for creating hydro-dipping film, but it is recommended to use PVA or PET films for better adhesion and results.
Graphics Software:
To design your patterns and graphics, you will need graphics software such as Adobe Photoshop or CorelDRAW. These programs allow you to create high-quality images with precise control over colors and details.
Inkjet Printer:
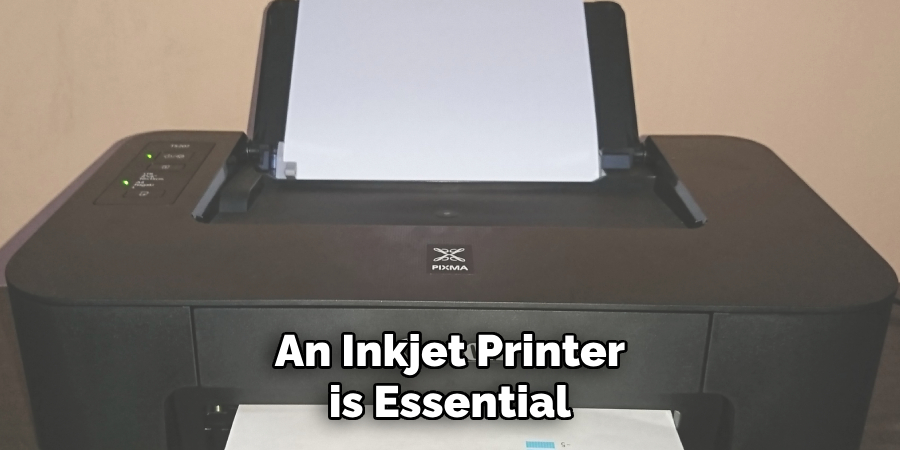
An inkjet printer is essential for printing your designs onto the film. It is important to note that hydro-dipping films can only be printed using inkjet printers, as laser printers use heat that can damage the film.
Hydro Dipping Film Activator:
This is a chemical solution that activates and dissolves the film, allowing it to bond to the object’s surface during the dipping process.
Clear Coat Sealant:
After applying the film to your object, a clear coat sealant is used to protect and seal the design in place. This also adds a glossy finish to the final product.
10 Step-by-step Guidelines on How to Make Hydro Dipping Film
Step 1: Prepare the PVA Solution
First, you will need to prepare the PVA solution that will serve as the base for your hydro-dipping film. To make this solution, mix 80% water with 20% PVA powder in a container and stir until it forms a thin and smooth consistency.
The solution should be thick enough to coat the film without being too runny. It is recommended to use distilled water for better results. But regular tap water can also be used. You can also add a few drops of dish soap to reduce surface tension and allow for a smoother application.
Step 2: Add Coloring Agent
To add color to your PVA solution, you can use water-based dyes or acrylic paints. Mix the coloring agent into the PVA solution until you achieve your desired color intensity. It is important to note that the color of the solution will be darker when wet compared to when it dries.
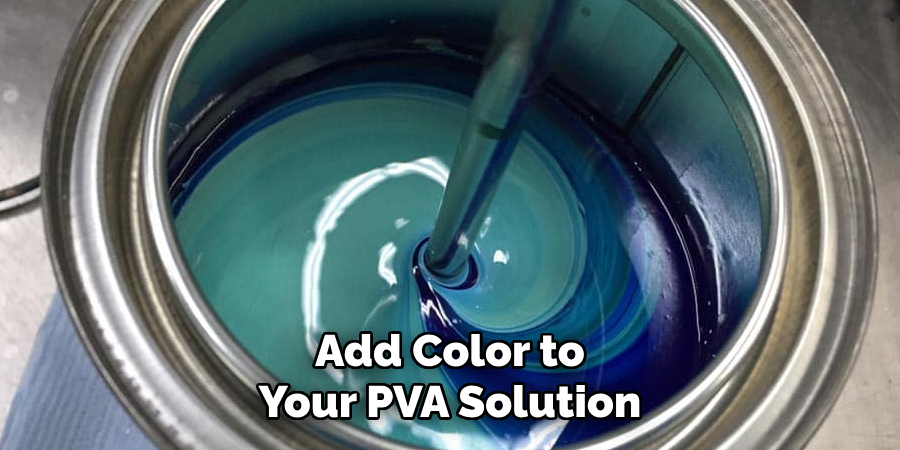
The final color will also be affected by the base color of your printing paper. You can experiment with different colors and combinations to find the perfect shade for your designs.
It is recommended to use a darker color for the base solution, as it will make your final print more vibrant. The amount of color added will also affect the thickness and consistency of the solution, so make sure to mix it thoroughly. It is recommended to test the solution on a piece of paper before applying it to the film. The solution should be thin and smooth without any visible lumps.
Step 3: Heat the Mixture
After adding the coloring agent, heat the solution in a microwave for 2-3 minutes until it is hot to touch. Heating the mixture will help dissolve any remaining lumps and make it easier to spread onto the film. The solution should be heated to around 89-93°C (192-199°F) for best results.
You can use a cooking thermometer to check the temperature. If the solution is too hot, let it cool down for a few minutes before proceeding. The solution can also be heated on a stove, but make sure to use a non-stick pot to prevent the mixture from sticking.
Step 4: Cool and Rest the Mixture
After heating, let the mixture cool down for 15-20 minutes until it reaches room temperature. This will allow any air bubbles to dissipate, resulting in a smoother application onto the film. If you notice any remaining lumps or air bubbles, use a strainer to remove them before proceeding.
It is recommended to mix the solution every 5 minutes while it cools down to prevent lumps from forming. The solution should have a thin and smooth consistency without any lumps or air bubbles. But if you do notice any lumps after the solution has cooled down, it can be reheated and cooled again.
Step 5: Prepare the Molding Surface
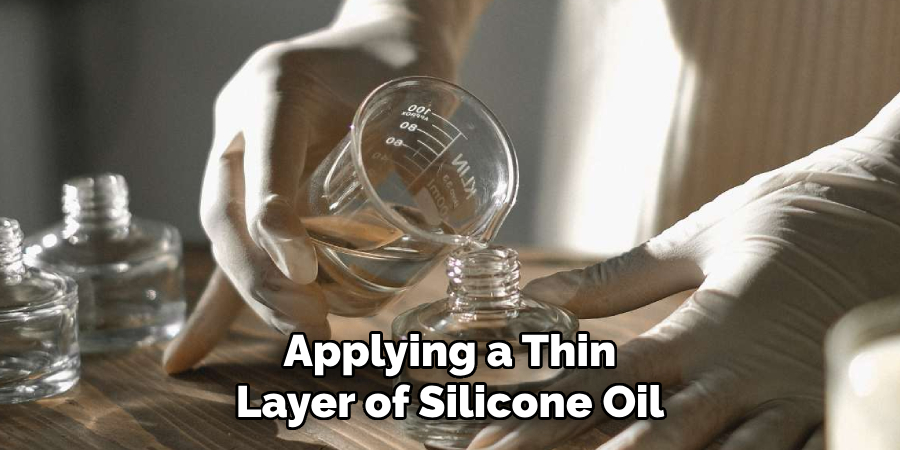
While the solution is cooling down, prepare your molding surface by applying a thin layer of cooking spray or silicone oil. This will prevent the film from sticking to the mold and allow for easy removal once it dries. You can use any smooth and flat surface as a mold, such as a baking sheet or glass sheet.
However, it is recommended to use a surface slightly larger than your printing paper to prevent any overflow. The surface should also be clean and dry before applying the solution. It is recommended to use a spray bottle for better control when applying the cooking spray or silicone oil.
Step 6: Pour the Mixture
Once the solution has cooled down, pour it onto your printing paper and spread it evenly using a foam brush or squeegee. Make sure to cover the entire surface of the paper without leaving any gaps or bumps. You can also use a roller to ensure an even application. The layer should be thin enough to see through but thick enough to hold together when lifted.
If the layer is too thick, it will take longer to dry and may result in a wrinkled film. It is recommended to have a few practice runs before attempting the final print to get a feel for the thickness and consistency of the solution. You can also experiment with different printing papers to see which one gives the best results.
Step 7: Allow Drying
After applying the solution to the paper, let it dry for 2-3 hours until it is completely dry to the touch. The drying time may vary depending on the thickness of the layer and humidity levels. You can use a fan or hairdryer on low heat to speed up the drying process, but make sure not to overheat or burn the film. The paper should feel dry and rigid when it is ready.
The drying process will also cause the paper to curl slightly, but this is normal and will not affect the final print. It is recommended to let the paper dry overnight for best results. We also suggest using a dehumidifier if you live in a high-humidity area.
Step 8: Peel Off the Film
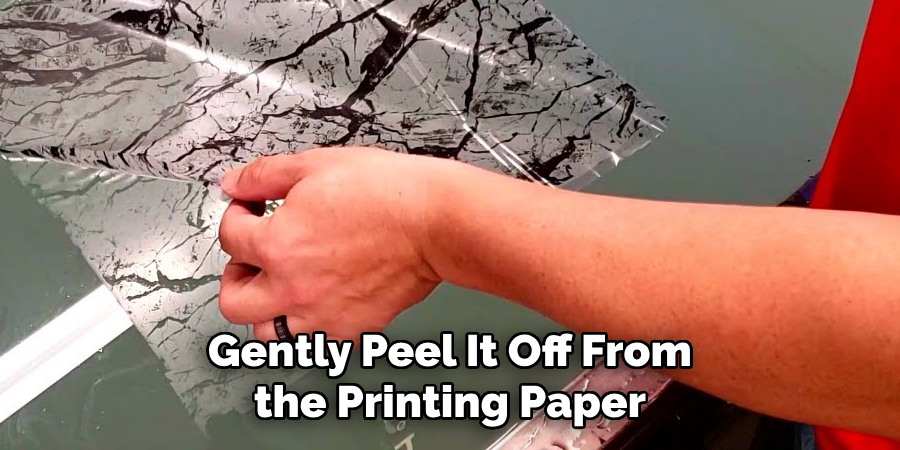
Once the film is completely dry, gently peel it off from the printing paper. Be careful not to tear or wrinkle the film while removing it. If you notice any areas that are still wet or sticky,
let them dry for a bit longer before attempting to remove the film. The film should come off easily and stay intact without any tears or holes. It is recommended to handle the film with clean and dry hands to prevent any unwanted transfer of oils or dirt onto the film.
You can also use gloves if preferred. The film can now be used for various art and crafts projects, such as collages, mixed media, and more. Experiment with different techniques and materials to create unique and interesting designs.
Step 9: Store the Film
If you have leftover film, you can store it for future use. Make sure to keep it in a dry and cool place, away from direct sunlight or heat sources. You can also store it between sheets of wax paper or parchment paper to prevent sticking. The film should last for several months if stored properly.
Just make sure to check the film before using it to ensure it is still in good condition and has not wrinkled or become brittle. If the film does become dry or brittle, you can try revitalizing it by adding a small amount of water to the solution and heating it again. Then follow the steps for cooling, pouring, and drying as mentioned above.
Step 10: Use in Hydro Dipping Process
Following these step-by-step guidelines on how to make hydro dipping film will help you create your own hydro dipping film for customizing various objects with vibrant and durable designs. The film can be used in the hydro dipping process, where items are dipped into a water tank with the film floating on top.
The pattern from the film will transfer onto the object when it is submerged and then coated with a clear protective layer. This process allows for endless possibilities and creative designs to be applied to various objects such as phone cases, car parts, helmets, and more.
Have fun experimenting and creating one-of-a-kind pieces with your homemade hydro dipping film! So, don’t be afraid to get creative and try out different techniques to achieve unique results. Breathe new life into old objects or add a personal touch to new ones with your own custom hydro dipping film. Happy crafting!
Common Mistakes to Avoid in Making Hydro Dipping Film
Not Mixing the Solution Properly:
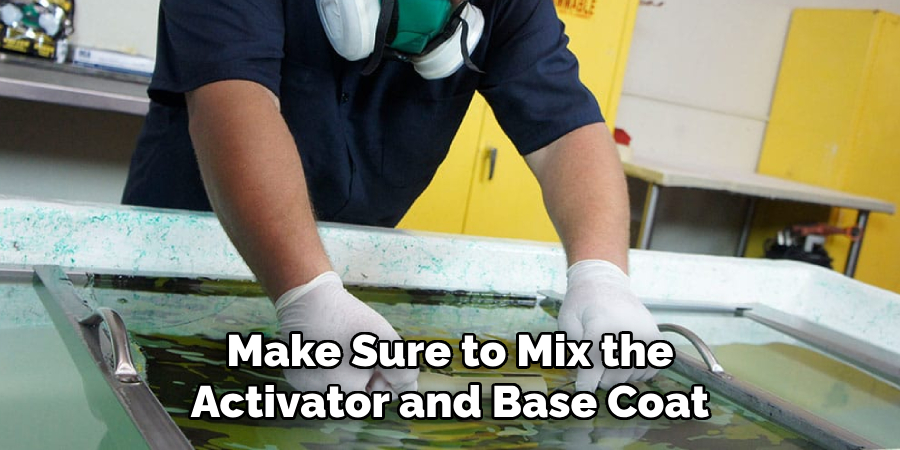
Make sure to mix the activator and base coat thoroughly to achieve a smooth and consistent solution. Failure to do so can result in lumps or air bubbles, which will affect the final print.
Overheating or Underheating the Solution:
It is important to follow the recommended heating time and temperature for the solution. Overheating can cause the film to become brittle and unusable, while underheating can result in a weak and transparent film.
Using the Wrong Type of Paper:
It is recommended to use printing paper specifically designed for hydro dipping. Other types of paper may not have the right thickness or coating, which can affect the quality and durability of the film.
Applying Too Thick or Too Thin of a Layer:
As mentioned before, the layer should be thin enough to see through but thick enough to hold together. Applying too much solution can result in a longer drying time and wrinkled film while applying too little can lead to holes or tears in the film.
Not Letting the Film Dry Completely:
Attempting to remove the film before it is completely dry can result in tearing or wrinkling. Make sure to follow the recommended drying time and use a fan or hairdryer on low heat if needed.
Not Storing the Film Properly:
Storing the film in direct sunlight, high humidity, or extreme temperatures can cause it to deteriorate. Make sure to store it in a cool and dry place for best results.
Not Wearing Protective Gear:
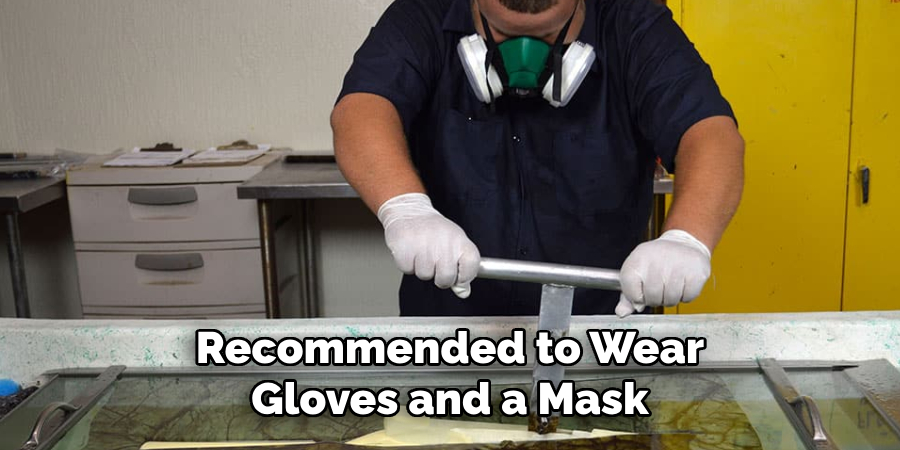
It is recommended to wear gloves and a mask when handling the solution to avoid any skin irritation or inhaling fumes. Make sure to work in a well-ventilated area as well. With these tips in mind, you can now confidently create your own hydro-dipping film and add a touch of customization to your projects. Happy crafting!
Advanced Techniques for Specialized Hydro Dipping Film
Glow-in-the-Dark Film:
To create a glow-in-the-dark film, add a small amount of phosphorescent powder to the solution before heating. This will result in a glowing effect when exposed to light and then placed in a dark room.
Metallic or Chrome Film:
Add metallic pigment powders to the solution for a shiny and reflective finish. You can also use chrome spray paint for a more realistic metallic look.
Marble or Stone Effect Film:
To achieve a marble or stone effect, add multiple colors of dye to the solution and swirl them together with a toothpick before pouring them into the water. This will create a marbling effect similar to real stone patterns. Experiment with different color combinations and techniques to achieve unique and realistic effects.
Custom Designs:
You can also create your own custom designs by drawing or printing them onto transparent film sheets and then using them in place of the plain film in the process. This allows for endless possibilities and personalized designs. Just make sure to use waterproof ink or toner for best results.
Adding Texture:
For a textured finish, you can sprinkle salt, sugar, or sand onto the film while it is still wet. This will create a unique and tactile surface when applied to objects. You can also use textured spray paint for a similar effect.
Frequently Asked Questions
Q: Can I Reuse the Film After It Has Been Used in the Hydro Dipping Process?
A: No, the film cannot be reused as it will lose its adhesion and pattern after being submerged in water. It is recommended to use a fresh sheet of film for each object being dipped. The leftover film can be stored for future use.
Q: Can I Use Any Type of Paper for Making the Film?
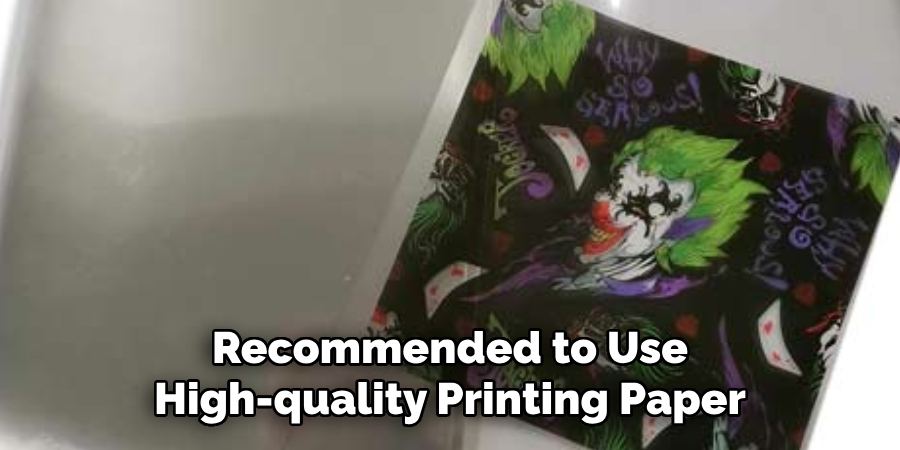
A: No, it is recommended to use high-quality printing paper or glossy photo paper for best results. Regular printer paper may not have enough adhesion and could result in a wrinkled or torn film. Experiment with different types of papers to see which one works best for you.
Q: Can I Use Different Colors in One Film?
A: Yes, you can mix different colors of dye or paint to create a multi-colored film. You can also use stencils and other techniques to add designs and patterns to the film before it dries. Just make sure to apply the colors evenly and smoothly for a clean and clear final print. Remember to let the film dry completely before peeling it off.
Q: How Do I Know If the Film Is Dry Enough?
A: The film should feel dry and rigid to the touch when it is ready to be peeled off. You can also check for any wet or sticky areas, which may need a bit more time to dry. It is recommended to let the film dry overnight for best results. Use a fan or hairdryer on low heat to speed up the process, but be careful not to overheat or burn the film.
Conclusion
In conclusion, mastering the craft of hydro dipping film production opens up a world of creativity and customization. With the right materials and a touch of patience and practice, anyone can transform ordinary objects into works of art. As we’ve explored the essential steps from selecting a pattern to the final application, always remember that each attempt is a learning experience.
Embrace the trial and error process and refine your skills to produce professional-quality results that turn everyday items into unique and personalized masterpieces. Thanks for reading this article on how to make hydro dipping film.

