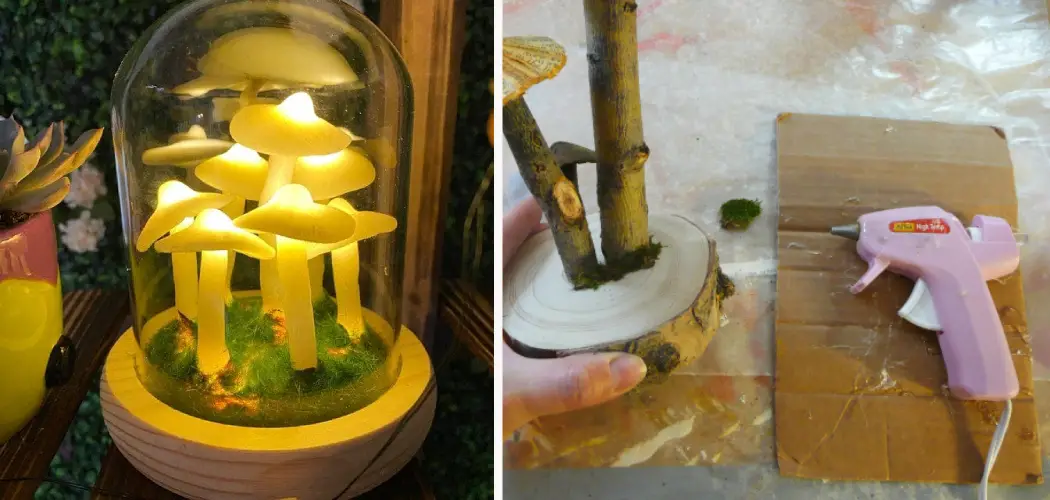
Are you looking for a fun and crafty activity you can do with the kids during your next family movie night? Look no further! Making hot glue mushrooms is an easy, inexpensive way to get creative together. Not only are glowing hot glue mushrooms mesmerizingly beautiful, but they’re also simple enough for even the littlest of hands to make.
In this blog post on how to make hot glue mushrooms, we’ll take you through the steps needed to create colorful, whimsical hot glue mushrooms that will add cheer and enchantment to any space in your home or garden. So grab some supplies from around your house (or pick up a couple of items at the store), roll up your sleeves and let’s get started!
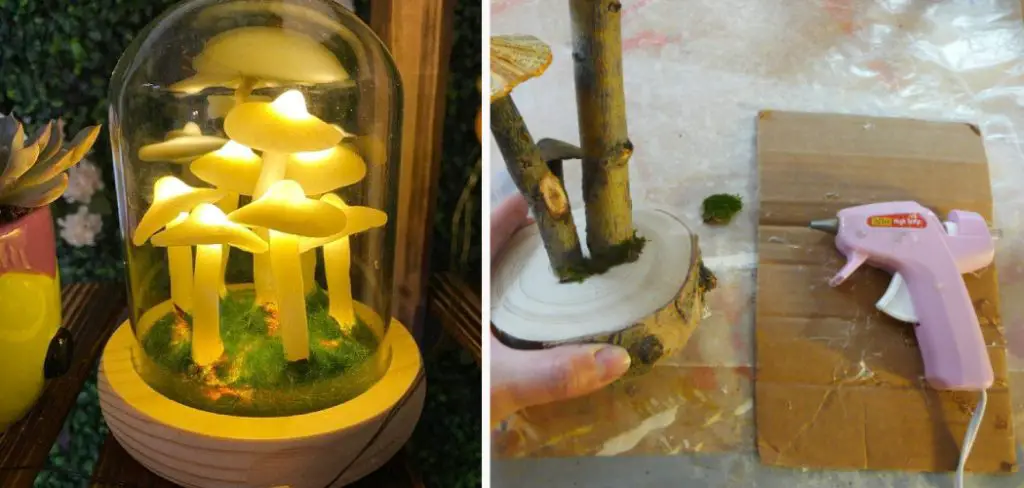
Needed Materials
- Hot glue gun
- Hot glue sticks (clear or white)
- Wax paper
- Scissors
- Paint (acrylic works best)
- A paintbrush
- Cardboard or a cutting mat to protect your work surface
- Toothpicks or wooden skewers
11 Step-by-step Instructions on How to Make Hot Glue Mushrooms
Step 1: Prepare the Surface
Lay out a piece of wax paper on your work surface. This will prevent hot glue from sticking to any household surfaces and make for easy clean-up. It will also keep your hot glue mushrooms from sticking to your work surface while they dry. But if you do find yourself with a hot glue mess, don’t worry! Hot glue is easily removable when dry.
Step 2: Heat up Your Glue Gun
Plug in your hot glue gun and let it heat up. Make sure to use protective gear like oven mitts or gloves while handling the hot glue gun, as it can get very hot. This step should only take a few minutes. It’s important to give the glue gun enough time to heat up so that it’s at the optimal temperature for crafting.

Step 3: Create Mushroom Cap
Squeeze a small amount of hot glue onto the wax paper in a circular shape. Be careful not to make it too big, as this will be your mushroom cap. Use your scissors to cut off any excess strings created by the glue gun. You can also use a toothpick to shape the edges of your mushroom cap. But don’t worry if the edges aren’t perfect; nature isn’t either!
Step 4: Add Gills
While the glue is still warm, use your toothpick or a wooden skewer to gently make gill-like lines on the underside of your mushroom cap. These lines will give your hot glue mushroom an authentic look. It’s okay if the lines aren’t perfectly straight or evenly spaced. But if you have little ones crafting with you, this step may require adult supervision.
Step 5: Let the Glue Cool
Allow your mushroom cap to dry for a few minutes. It’s important not to touch or move it while it’s still wet because this can ruin its shape. If you make too many at once, just be sure to stagger them on your wax paper so that one isn’t on top of the other. You can also gently blow on them to help speed up the cooling process.
Step 6: Create a Mushroom Stem
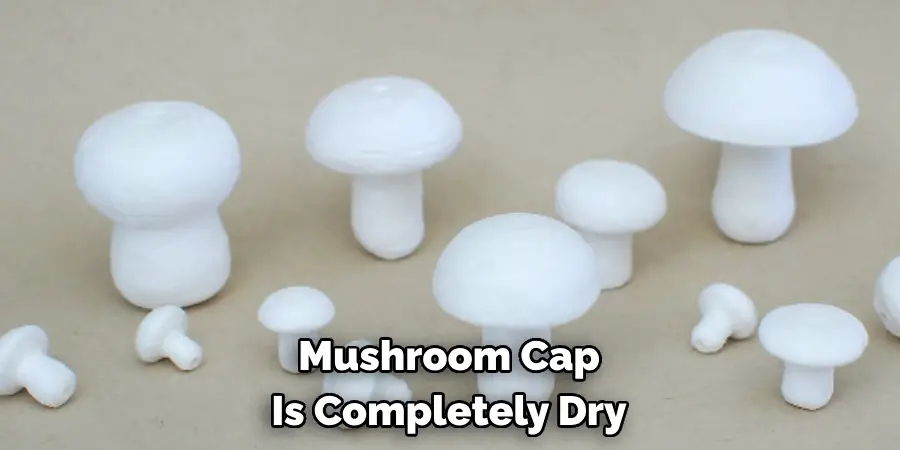
Once your mushroom cap is completely dry, it’s time to add the stem. Squeeze a long strip of hot glue onto your wax paper. This will be your mushroom stem. Then use a toothpick or wooden skewer to gently shape one end into a point for easy insertion into the ground. You can also use your scissors to trim the stem to your desired length.
Step 7: Attach the Stem
Place the bottom of your mushroom stem onto the middle of your mushroom cap. Be sure it’s centered and allow it to dry for a few minutes. If you want to make multiple mushrooms, you can use this time while they are trying to create more stems. It will save you time later on. You can also use the same toothpick or skewer to hold your mushroom stem in place while it’s drying.
Step 8: Allow Mushrooms to Cool
Once all of your mushroom caps and stems are attached, allow them to cool completely. This should only take a couple of minutes. Then carefully peel them off the wax paper. Again, be sure not to touch or move them while they are still warm. But if you do, no worries! You can always reshape them once they cool down. It’s a forgiving craft.
Step 9: Get Painting
Once your hot glue mushrooms are completely cool, it’s time to get creative and add some color. Use any acrylic paint colors you like to paint the mushroom caps and stems. You can also mix colors together for different shades or add glitter for extra sparkle. If you’re making this with little ones, let them have fun with different colors and designs.
Step 10: Let Paint Dry
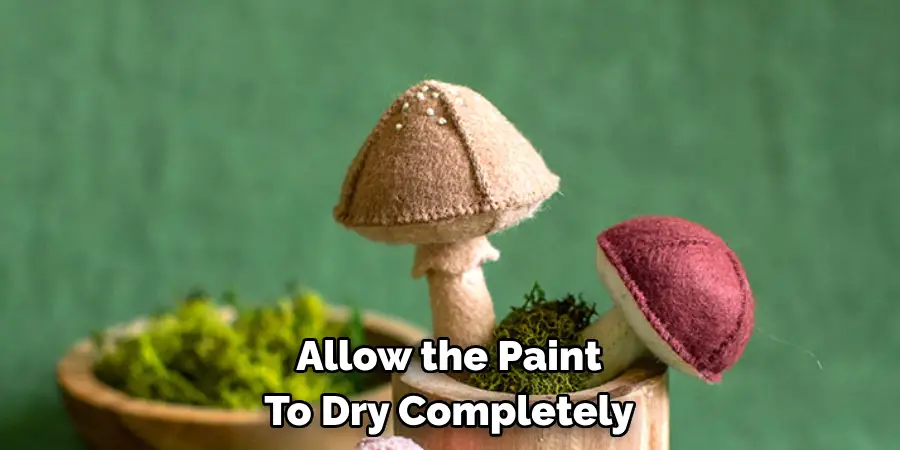
Allow the paint to dry completely before handling your hot glue mushrooms. This should only take a few minutes. You can also use a blow dryer on low heat to speed up the process. Once dry, your mushrooms are now ready to be displayed in any room or garden! This is where you can let your imagination run wild.
Step 11: Display Your Hot Glue Mushrooms
You can use your hot glue mushrooms to add some whimsy to any space in your home. They look great on shelves, bookcase tops, or even in a fairy garden. You can also make different sizes and colors to create a whole hot glue mushroom family. The possibilities are endless!
And there you have it! 11 easy steps on how to make hot glue mushrooms. We hope this creative activity brings some joy and magic into your home. So why not gather the family, grab your supplies, and make some hot glue mushrooms today? Happy crafting!
How Much Could It Cost?
As for the cost, making hot glue mushrooms is a budget-friendly craft. Most of the materials needed are common household items or can be found at a dollar store. If you need to purchase any supplies, they can typically be found for under $10. And once you have your hot glue gun and paint, you can continue creating hot glue crafts for years to come! So not only is it a fun and easy activity, but it’s also budget-friendly.
Frequently Asked Questions
Q: Can I Use a Glue Gun With Colored Glue Sticks to Make Hot Glue Mushrooms?
A: Yes, you can use any type of hot glue sticks (clear, white, or colored) to create hot glue mushrooms. Just be sure the color corresponds with your paint colors if you plan on painting them. If you’re using colored glue sticks, you can skip the painting step and have colorful mushrooms right away!
Q: Can I Make Different Sizes of Hot Glue Mushrooms?
A: Absolutely! You can make different sizes of hot glue mushrooms by varying the size of your mushroom caps and stems. You can also use smaller or larger amounts of hot glue for each step to create different sizes. This is a great way to add variety and depth to your hot glue mushroom display.
Q: Can I Use Hot Glue Mushrooms Outdoors?
A: While hot glue mushrooms can withstand mild outdoor conditions, it’s not recommended to keep them outdoors long-term. The extreme temperatures and moisture can cause the hot glue to melt or break down over time. It’s best to keep your hot glue mushrooms indoors or in a protected outdoor space. However, you can always recreate them if they do get damaged!
Q: Is Hot Glue Safe for Kids to Use?
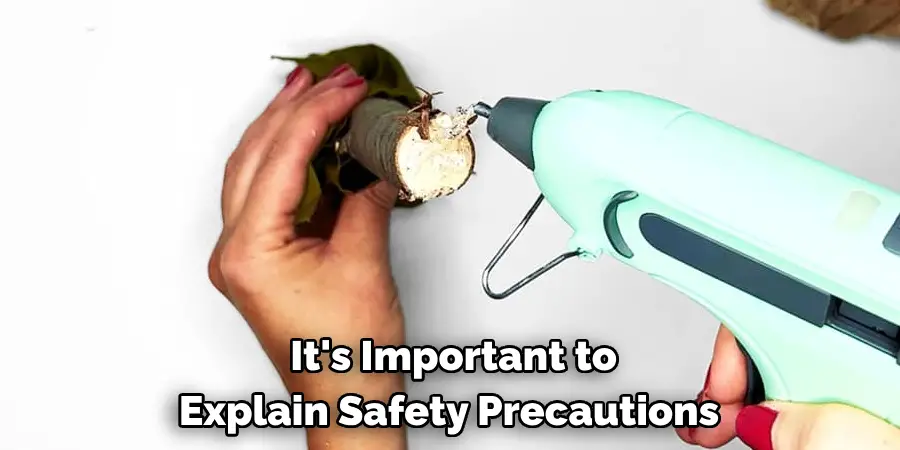
A: Hot glue should be handled with care by adults due to the high temperature it reaches when melted. However, children can still participate in making hot glue mushrooms with adult supervision. It’s important to explain safety precautions and ensure they understand not to touch the hot glue while it’s still warm. Alternatively, you can have children decorate already made hot glue mushrooms to avoid any contact with hot glue.
Conclusion
In conclusion on how to make hot glue mushrooms, after going through this post, you should be able to confidently create your own hot glue mushrooms. It’s an enjoyable craft that anyone can do with some hot glue, felt and knowing the right method for creating them. You could even make some for yourself or as a gift for someone else – they are sure to appreciate it! Feel free to get creative and experiment with different colors and sizes when crafting your hot glue mushrooms. Don’t forget to take pictures of them and share them online or with friends.
They will no doubt be impressed by what you’ve made! Hot glue crafting is a cheap yet exciting hobby that can bring out the creativity in anyone who tries it. So why wait? Get crafting today and start making your DIY hot glue mushrooms in no time!

