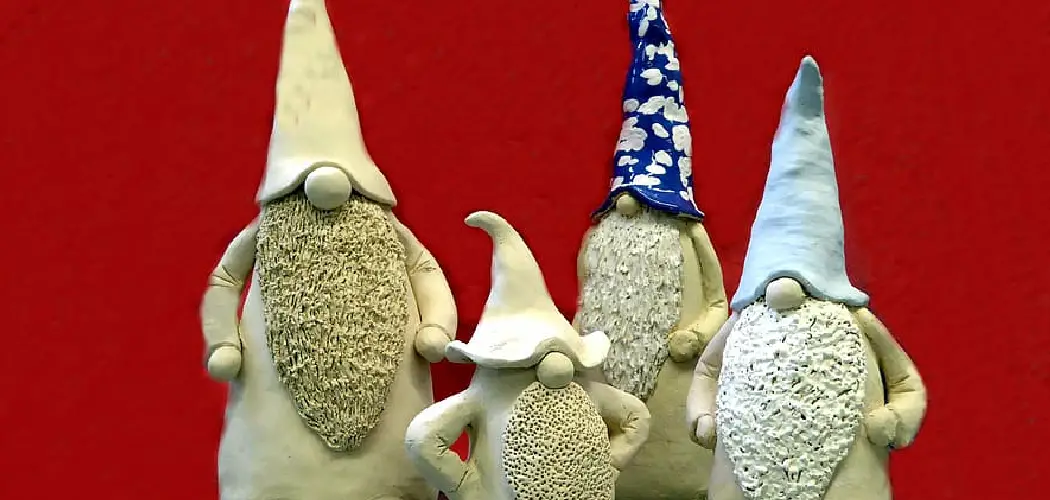
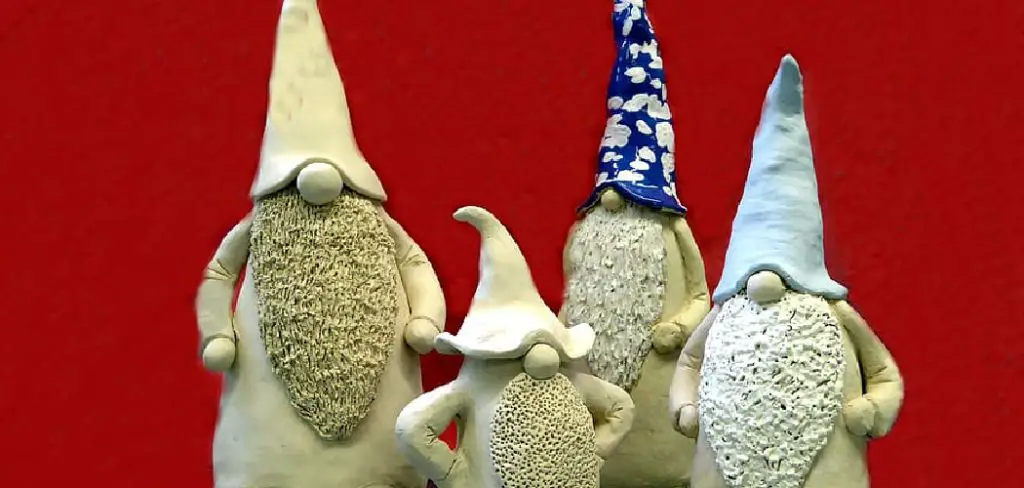
If you have ever seen a gnome in your garden, or even if you’ve brushed past one while strolling through the park, now is your chance to make your very own! Using clay, you can create an adorable and unique gnome sculpture tailored to whatever theme or design concept pleases your heart.
Clay Gnomes are super simple to craft and require only basic art materials plus about thirty minutes of sculpting time. Keep reading this blog post on how to make gnomes out of clay for a tutorial on how to get started with making your own creative creations!
Need Materials
Given below are the materials you will need to make your clay gnomes:
Clay:
either air-drying or oven-baked, whichever you prefer.
Water:
for moistening the clay as necessary.
Paintbrush:
For brushing away any excess bits of clay and smoothing out the surface.
Acrylics Paints:
For adding color and details to your sculpture.
Glue:
For attaching the accessories, such as hats, boots, and beards.
10 Step-by-step Guidelines on How to Make Gnomes Out of Clay
Step 1: Inspect the Clay
Depending on the type of clay, you can either roll it up into a ball or flatten it out to form the basic shape of your gnome sculpture. It is important to make sure that the clay is completely free of lumps and bumps before you begin your work. If the clay is too dry, you can moisten it with a little bit of water. Remember, the less water you use, the better quality your clay sculpture will be!
Step 2: Form the Body
Take a piece of clay and form it into the body of your gnome. Use your hands, a rolling pin, or any other tool you have on hand to get the desired shape. You can make the gnome round, tall, skinny, or any other shape that you prefer! You can also add any details you like, such as eyes or a nose. You can even use a toothpick or another thin tool to make small indentations in the clay for more intricate details.
Step 3: Create the Head
Take a smaller piece of clay and shape it into the head. Attach it to your body by pressing firmly on both pieces. it is important to make sure the head does not come off. If necessary, you can use a little bit of water to help hold them together. This is also a good time to add any facial details, such as eyes or a nose. You can also use the paintbrush to make sure that all the edges are smooth.
Step 4: Add Accessories
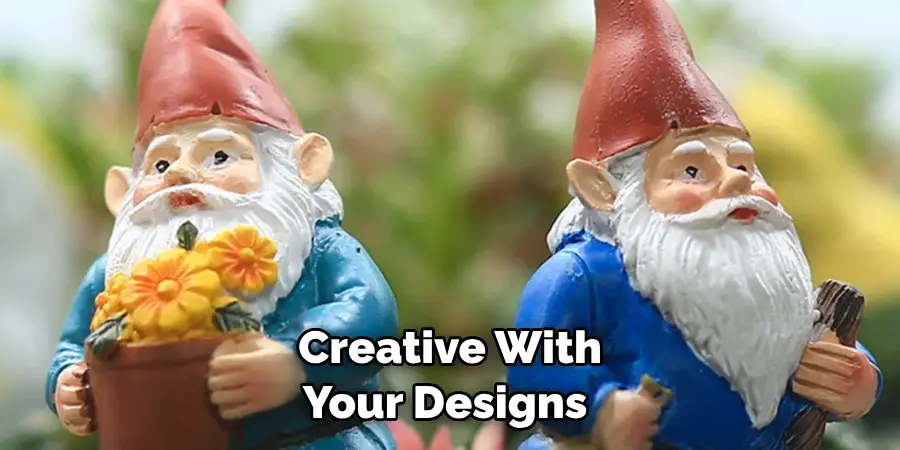
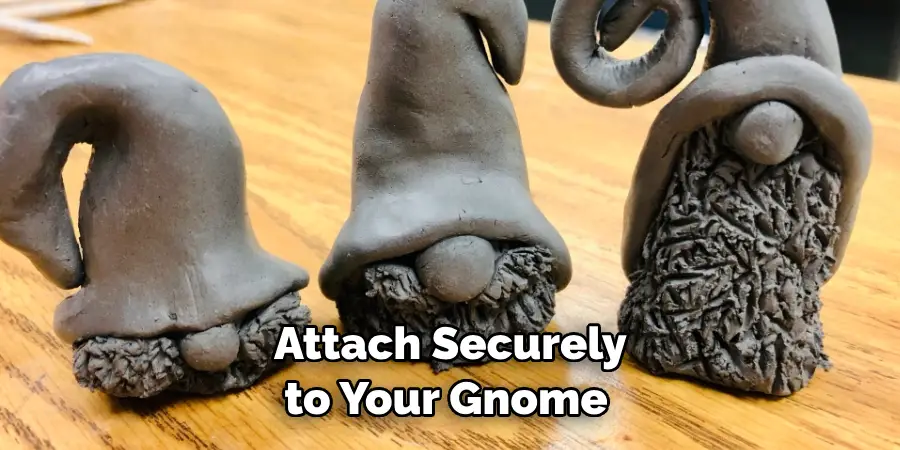
This is where you get to express your creativity! You can add any accessories that you like, such as hats, shoes, or beards. Once you have designed the accessories, use a bit of glue to attach them securely to your gnome. You can also use paint to add details, such as eyes, noses, or mouths. But, of course, this is optional! If you prefer, you can leave your gnome just as it is. Either way, it will be unique and special.
Step 4: Smooth Out the Surface
Use a paintbrush to smooth out any lumpy or bumpy surfaces. Make sure you are using gentle strokes so as to not damage the clay. It is a good idea to check the figure from different angles in order to make sure it looks even. You can also use a damp cloth to wipe away any excess bits of clay. Although not necessary, you can also use sandpaper to give the sculpture a more polished look.
Step 5: Add Details
Once you are happy with the basic shape of your gnome, start adding details such as eyes, nose, mouth and other accessories like hats or beards. You can also use acrylic paints to paint in color if desired. However, be sure to let your creation dry before you paint.
It is also a good idea to add some clay dots or lines to the figure for added texture and interest. You can even use a pair of tweezers to add small details like buttons or coins.
Step 6: Attach the Accessories
To attach any accessories, use glue. Make sure to apply an even layer of glue and press firmly for maximum hold. Otherwise, the accessories might come off easily. Allow to dry completely before handling or painting. Always take extra care when handling delicate pieces. This is especially true of hats and beards.
Step 7: Let Dry
Leave your clay gnome to dry completely before moving on to step 8. Depending on the type of clay you are using, this could take anywhere from 24 to 48 hours. It is important to be patient and not rush this step. But do check your gnome every now and then to make sure it is not cracking or warping in the process. If you are using oven-baked clay, then the drying time is considerably shorter.
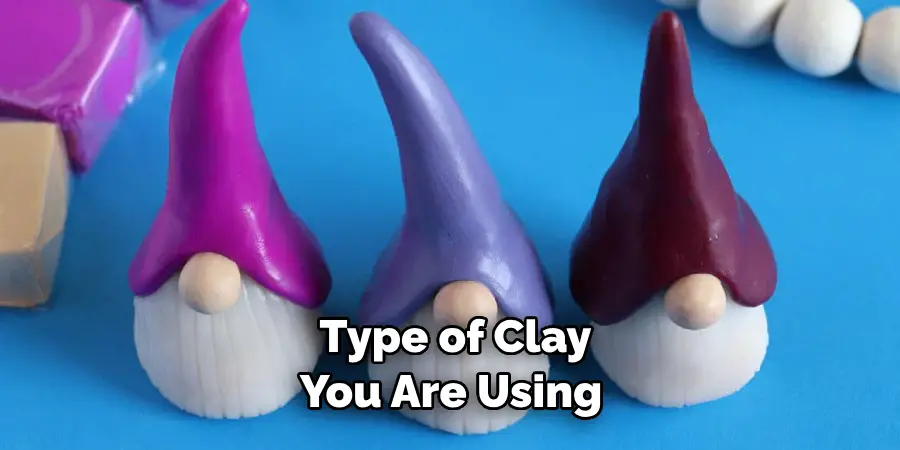
Step 8: Paint with Acrylics
Once the clay is dry, you can start painting with acrylic paints. Use various colors and shades to bring out the details of your clay gnome sculpture. It is important to use a damp cloth to wipe away any excess paint in order to avoid smudging. Once you are happy with the result, set aside for drying.
Step 9: Add Finishing Touches
This step is all about those finishing touches! Add glitter, beads, and other embellishments to your gnome. This is a great way to customize it and make it truly unique. You can also use a paintbrush to add texture and patterns such as stripes, polka dots, or swirls.
It is also a good idea to add a few coats of varnish for added protection and shine. You can also use a sealant such as Mod Podge for this step.
Step 10: Seal Your Gnome
Once you are done with all of the above steps, seal your sculpture with a coat of varnish or spray paint for extra protection. Let the varnish dry before displaying your finished work of art. Always be sure to handle your clay gnome with care and keep it away from direct sunlight or moisture. It is also important to remember that clay sculptures are a bit fragile and may break if mishandled.
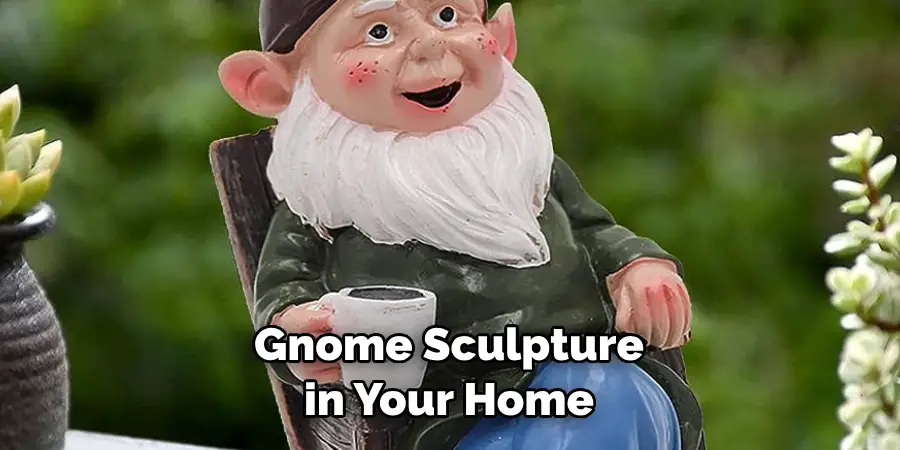
You can now proudly display your clay gnome sculpture in your home or garden and enjoy its delightful presence. Who knows, maybe it will even bring you some good luck! Have fun making your own gnome out of clay – let your creativity run wild!
Following these steps on how to make gnomes out of clay, you can also try making other characters out of clay, such as fairies, elves or even unicorns! You can use the same techniques discussed above to customize and make them your own. So what are you waiting for? Get started on creating your very own clay masterpiece today!
Frequently Asked Questions
Q: What Type of Clay Should I Use for My Gnome Sculpture?
A: You can use either air-drying or oven-baked clay. Choose the one that you’re most comfortable with. It is also important to note that you will need to use more clay for oven-baked creations, as it shrinks slightly during the baking process.
Q: How Can I Attach Accessories?
A: The best way to attach accessories is by using glue. Apply an even layer and press firmly for maximum hold. This will ensure that your accessories stay in place.
Q: What Finish Should I Use for the Gnome?
A: To protect your clay gnome sculpture, you should seal it with a coat of varnish or spray paint. This will give your work of art an extra layer of protection. It also makes it look more professional and polished.
Q: How Can I Add Color?
A: You can use acrylic paints to paint your gnome sculpture. This will give it a vibrant and colorful look. It is also a great way to customize your sculpture and make it truly unique.
Making clay gnomes is an easy and fun way to express your creativity and make something truly unique. So what are you waiting for, get started on making your own clay creations today

Conclusion
In the end on how to make gnomes out of clay, making gnomes out of clay is a fun and creative way to add a bit of whimsy to your home. It doesn’t require too much time or money and can give you hours of entertainment.
Not only will the finished product bring beauty and enchantment into any room, but it’s also great for teaching children a few basic sculpture techniques. So why not try your hand at making gnomes out of clay?
Who knows, you might come up with an amazing creation that could bring someone else joy. After all, what’s better than having something in your home that you made with your own two hands?

