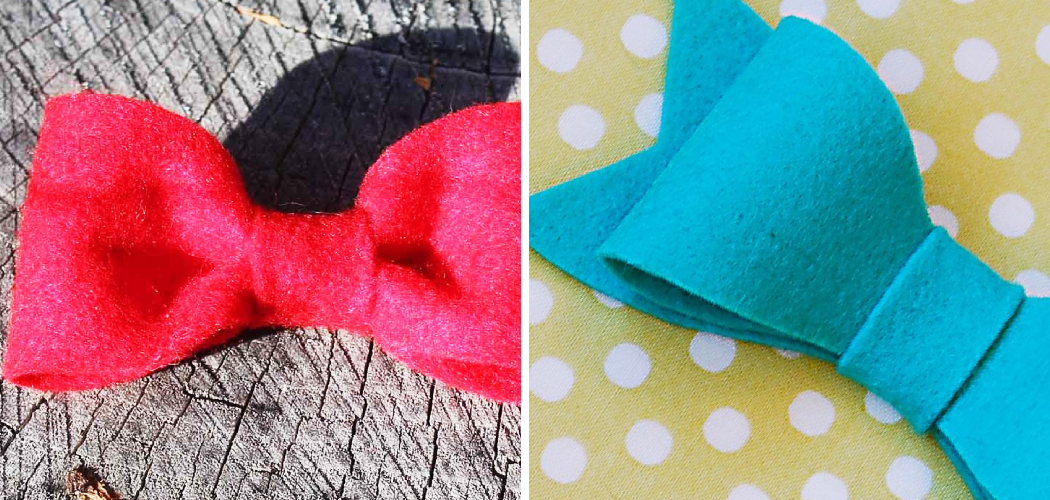
Are you looking for an easy, fun way to add a unique bow to your craft project? Felt bows are easy and fast to make, perfect for finishing any handmade item. Here’s how to make felt bows in a few simple steps.
If you’re looking for a creative way to spruce up your wardrobe or give a handmade gift, why not make felt bows? Not only is this project fun and simple to do, but it’s also an affordable way to add flair and vibrancy to any outfit.
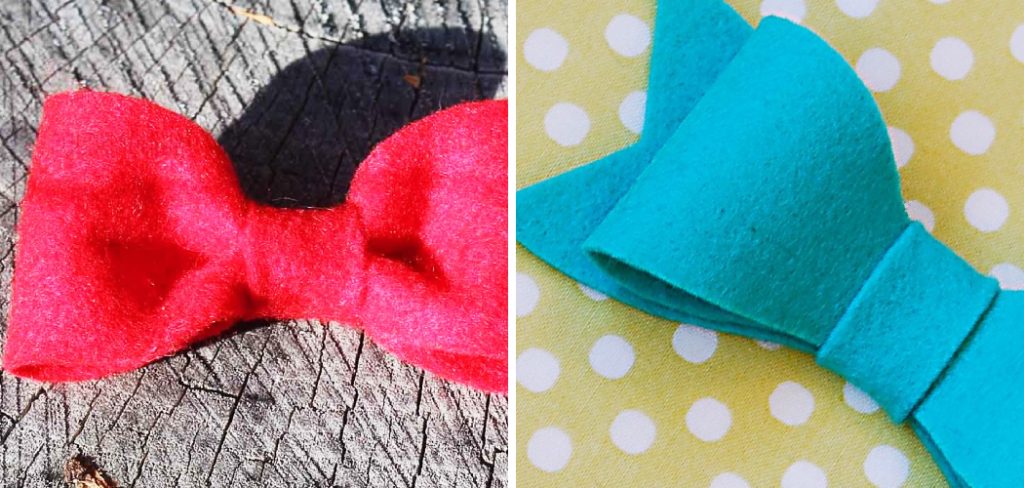
In this blog post, we will explore making felt bows step-by-step—from collecting the necessary supplies through the finishing touches that will produce beautiful results! Ready for your crash course in crafting with fabric? Let’s begin!
What are the Uses of Felt Bows?
Felt bows are ideal for decorating clothing, bags, and other craft projects. They can be used to jazz up a purse or dress by adding a unique element to help it stand out from the crowd. Additionally, felt bows make great gifts when attached to homemade items such as cards or scrapbooks.
Another great use for felt bows is as accessories. For instance, a simple felt bow can hold back hair or add a bit of flair to an outfit. Felt bows are also perfect for making jewelry and other creative pieces.
What Will You Need?
To make felt bows, you will need the following supplies:
- Felt fabric in desired color and size
- Scissors
- Glue gun and glue sticks
- Ribbon or twine (optional)
- Pencil or pen (optional)
Once you have these materials ready, you’re ready to start making your felt bows!
10 Easy Steps on How to Make Felt Bows
Step 1. Cut a piece of felt:
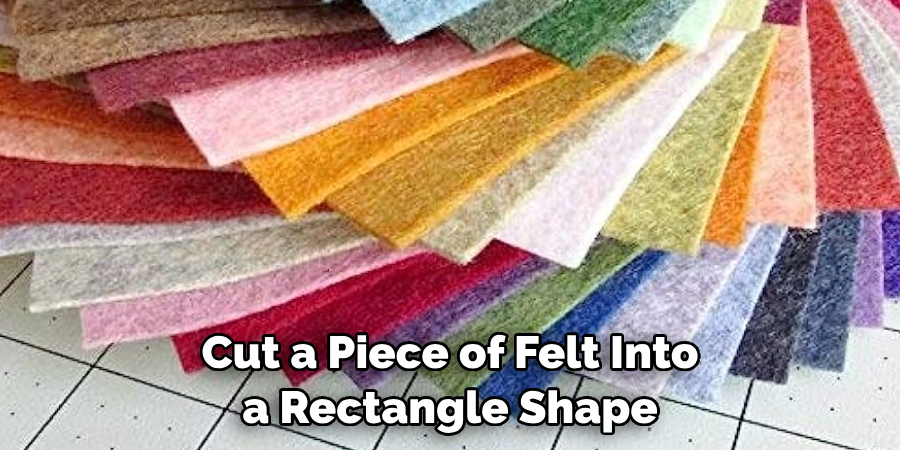
Cut a piece of felt into a rectangle shape twice as long as you want the finished bow to be. For example, if your desired bow size is 5” inches, cut a 10”x2”-inch strip of felt. As for the width of the felt can be whatever you like, although 1-2 inches is ideal.
Step 2. Fold and glue:
Fold the fabric in half lengthwise. Then, using a glue gun, apply a generous amount of glue along the folded side to secure the fabric together. Don’t worry if it’s messy; the excess will be trimmed away later.
Step 3. Make the loops:
Fold one end of the fabric to make a loop, then glue it down. Do this again for the other side so you have two equal-sized loops attached together at the center. Try to make sure that the loops are even in size and shape. Be careful with the glue gun, as it can be quite hot.
Step 4. Cut off excess fabric:
If there is any extra fabric that hangs off the ends of your loops, trim it away using scissors. This will leave you with two neat loops. Ensure that the loops are symmetrical and evenly sized.
Step 5. Make the center knot:
Fold the center of your bow in half and glue it together to create a knot in the middle. Again, make sure everything is even and symmetrical when doing this step. Otherwise, the bow will look wrong.
Step 6. Glue down edges:
Apply glue along all edges of your bow, including the backside, to ensure that everything is securely attached. You can also use a pen or pencil to press down any glue that hasn’t been secured. It will help keep the bow intact.
Step 7: Add decorations (optional):
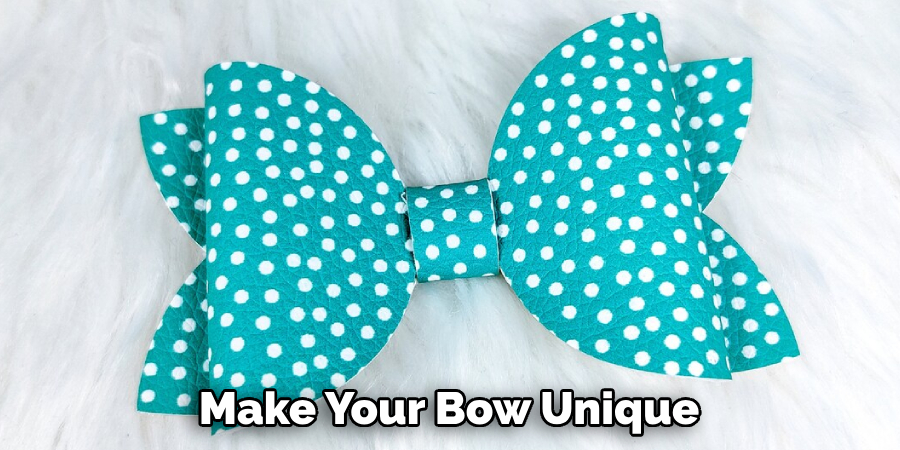
If desired, add any extra embellishments, such as ribbon or twine, to the center of your felt bow for added flair. Get creative with this step! There are endless possibilities to make your bow unique.
Step 8: Cut a slit (optional):
If you’d like to attach your bow to something, cut a small slit in the center of the knot. This will allow you to string ribbon or twine through it for easy attachment. Check that the slit is even and not too big, as it could make the bow look messy.
Step 9: Trim away any excess:
Once all steps are complete, go ahead and trim away any excess fabric or glue that may be visible along the edges of your bow. Keep in mind that this step is optional, and you can leave your bow as is if desired. But if you want a cleaner-looking bow, then this is an important step.
Step 10: Enjoy your finished felt bow!
And there you have it—your very own handmade felt bow! Whether you choose to use it as an accessory, decoration, or gift, this DIY project has added a unique element to whatever item you’re creating. Have fun with this craft, and don’t forget to show off your results!
By following these ten simple steps, you can make beautiful felt bows perfect for any project or gift. So go ahead and get creative by experimenting with different colors, fabrics, and embellishments! You never know what awesome results you’ll discover.
5 Additional Tips and Tricks
- Use a double sided felt sheet, as this will make your bow look more professional.
- If making a two-tone bow, use pins to keep the two felt colors in place.
- Use a ruler or measuring tape to ensure that all your pieces have equal size and symmetry.
- Before gluing your pieces together, secure them with safety pins so they don’t shift while you glue them.
- Use fabric scissors for a nice clean cut and to avoid fraying from your felt edges.
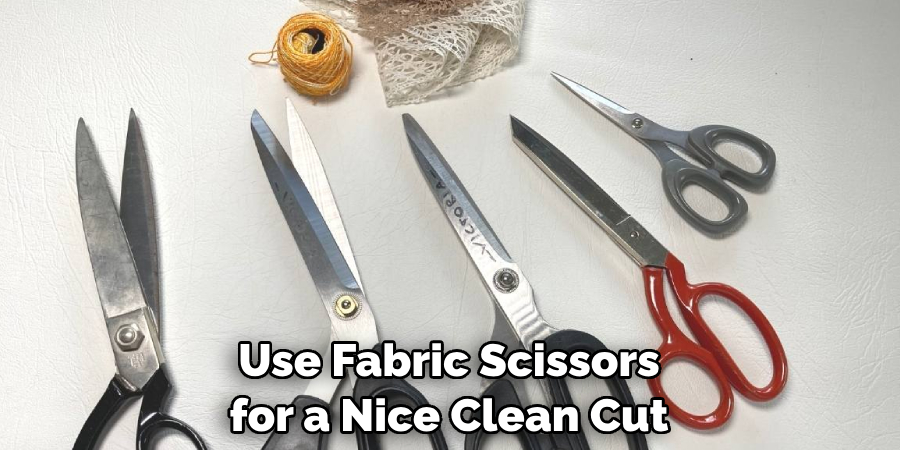
With these tips and tricks in mind, you’ll make beautiful bows quickly!
5 Things You Should Avoid
- Don’t rush when measuring and cutting the pieces of your felt bow.
- Avoid using hot glue as it will melt felt.
- Make sure not to use too much glue, as this can create an unsightly mess.
- Don’t forget to remove all pins before gluing the pieces together.
- Avoid using regular paper scissors for cutting your felt, as they can cause fraying or uneven edges.
Now that you know what to do and what not to do, you’re ready to make some stunning felt bows!
How to Make an Aesthetic Bow?
- Gather your supplies and draw a template of the shape you want your bow to be on paper.
- Trace the template onto two pieces of double sided felt and cut out both pieces with fabric scissors.
- Pin the two pieces together if necessary, ensuring that all edges are even and symmetrical, then glue them together – again making sure no edges are sticking out or off-kilter.
- Use ribbon to form loops for each side of your bow, then fasten them securely with glue or safety pins.
- To add a bit of flair, you can use small embellishments such as beads, rhinestones or pearls to decorate the center or edges of your bow.
Now you have all the tips and tricks necessary to make beautiful felt bows! Let’s get crafting!
How Do You Tie a Triple Bow?
- Place the felt pieces together and draw a template of the bow shape on one side.
- Cut out two identical shapes and pin them together.
- Fold each piece in half twice to create three equal loops, then secure all loops with safety pins or glue.
- Tie a knot around the center of your bow to hold it in place, then use twine or ribbon to tie a knot in between each loop for added detail and texture.
- Embellish your triple bow with beads, rhinestones, or pearls for an extra bit of pizzazz!
You now have all the skills necessary to make stunning felt bows!
How Can You Clean Felt Bows?
- Gently brush away any dust or dirt with a soft brush.
- If the felt is still dirty, spot-clean by using a damp cloth and mild soap solution.
- Avoid scrubbing at the felt with an abrasive material, as this can damage the fibers and cause fraying.
- After cleaning, let your bow dry naturally – never put it in a dryer!
- Store your bows in an airtight container or box to keep them protected from dust and dirt when not in use.
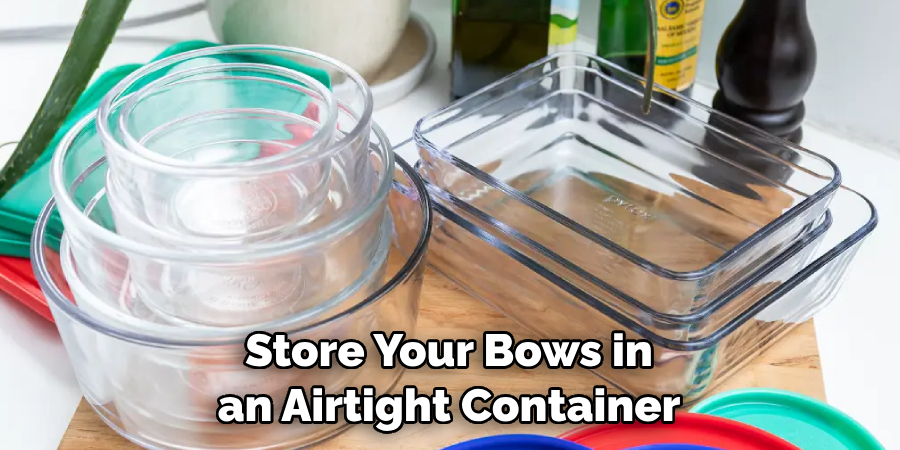
With these easy steps to follow, you can keep your beautiful felt bows looking great for years to come! Happy crafting
Conclusion
How to make felt bows might seem complicated at first, but with the easy steps outlined in this blog post, anyone can create a beautiful bow that will add style and flair to any outfit. From unique shapes and sizes to chic color combinations, there are endless possibilities for creating the perfect felt bow.
You can make a stylish bow that will turn heads with a few basic materials and creative inspiration. Whether crafting for yourself or giving it as a gift, handmade felt bows surely bring joy!
So the next time your wardrobe needs something special, why not try making a felt bow? How much fun and satisfaction you’ll get from designing and creating your beautiful accessory will surprise you.

