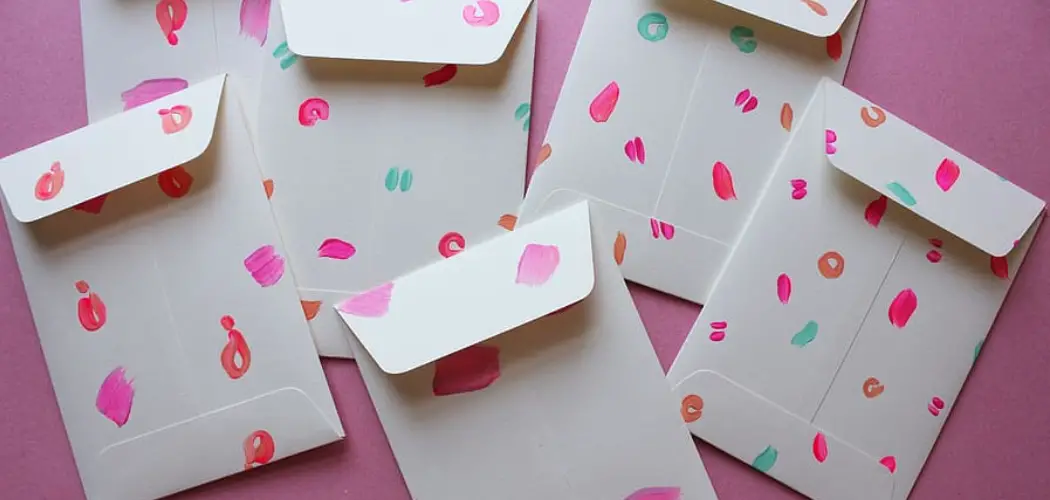
Have you ever received a beautifully wrapped gift in an intricately designed fabric envelope and wondered how it was made? Or perhaps you are tired of disposable paper envelopes that tear easily and want to add a touch of elegance to your gift-giving experience. Well, look no further!
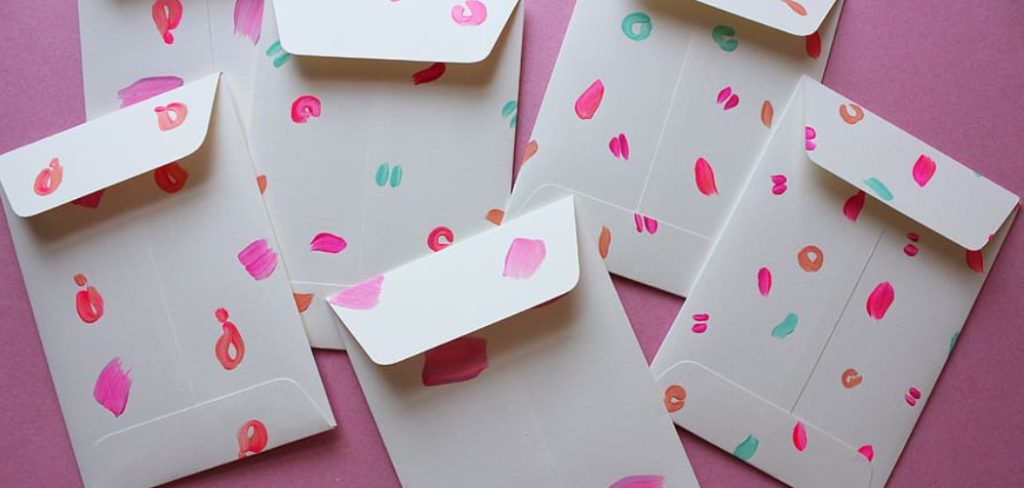
In this blog post, we will guide you through the step-by-step process of how to make fabric envelopes. These envelopes are not only eco-friendly but also customizable to suit any occasion. Whether you are looking to impress your loved ones with a unique packaging solution or simply want to indulge in a creative project, this post is for you.
Get ready to unleash your creativity and embark on a journey of making stunning fabric envelopes that will leave a lasting impression. So, grab your sewing kit, and let’s dive right in!
Supplies You Will Need to Make Fabric Envelopes
- Fabric of your choice (cotton, linen, or any other lightweight material)
- Matching thread
- Sewing machine (optional)
- Scissors
- Ruler
- Pen or fabric marker
- Iron and ironing board
Step-by-step Guidelines on How to Make Fabric Envelopes
Step 1: Choosing the Right Fabric
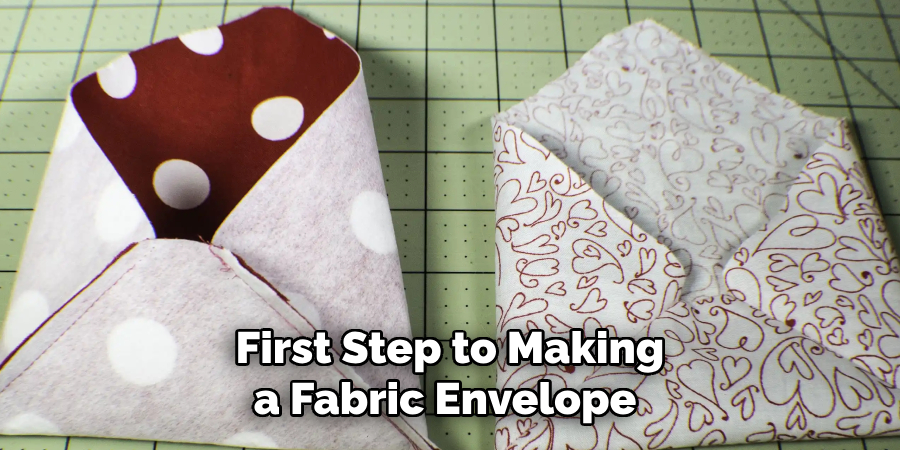
The first step to making a fabric envelope is choosing the right type of fabric. You want to select a lightweight and durable material that can withstand the folding and handling involved in making envelopes. Avoid heavy fabrics such as denim or canvas, as they will be difficult to fold and may result in bulky envelopes.
Step 2: Measuring and Cutting the Fabric
Using your ruler, measure out a rectangle on your fabric according to the size of the envelope you want to make. A standard envelope size is 7 inches by 5 inches, but you can adjust the measurements according to your preference. Once you have measured and marked your fabric, use your scissors to cut out the rectangle. Make sure to cut precisely along the markings for a neat finish.
Step 3: Folding the Fabric
Take your fabric rectangle and fold it in half, with the right sides facing each other. Use your iron to press along the folded edge, creating a crisp crease. Next, unfold the fabric and fold one of the shorter edges towards the center crease.
Repeat this step with the other short edge so that both edges meet in the middle. Press along both of these folds with your iron. When you unfold the fabric, you will have three evenly spaced creases forming a W shape.
Step 4: Sewing the Sides
With your folded fabric still facing right side down, fold one of the longer edges towards the center crease. Use pins to hold it in place and sew along this edge with an ¼ inch seam allowance. Repeat this step with the other long edge. Make sure to secure the beginning and end of your stitches with a backstitch for added stability.
Step 5: Finishing Touches
To give your fabric envelope a professional finish, trim any excess threads and iron it flat. You can also use pinking shears to cut along the edges of the envelope for a decorative touch.
Finally, fold the envelope in half, with the right sides facing each other, and sew along the bottom edge, leaving a small opening for turning it inside out. Once you have turned your envelope right side out, iron it once more to flatten any wrinkles. And voila! Your fabric envelope is complete and ready to be used!
Following these simple steps, you can now make fabric envelopes in various sizes and designs. You can also get creative by adding embellishments such as buttons, lace, or embroidery to your envelopes for a more personalized touch.
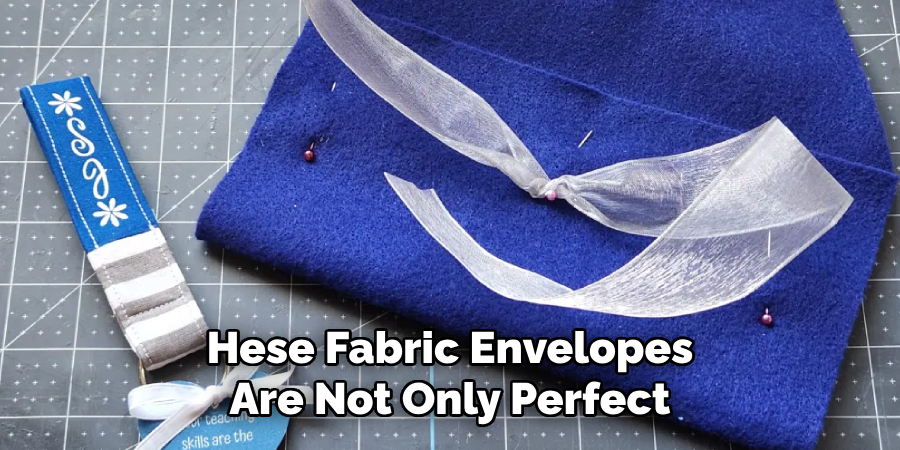
These fabric envelopes are not only perfect for gifting but also make great alternatives for storing small items or organizing your desk. Give them a try and see how this simple, eco-friendly solution can elevate your packaging game! Happy sewing!
Additional Tips and Tricks to Make Fabric Envelopes
1. If you want to make your fabric envelopes more durable, consider using interfacing or fusible webbing. This will add a layer of stability and strength to the fabric.
2. You can also use decorative elements such as beads, ribbons, or buttons to embellish your fabric envelopes. This will give them a personalized touch and make them even more unique.
3. Experiment with different types of fabric to create a variety of envelopes. For example, try using denim or canvas for a more rugged and durable envelope, or chiffon for a delicate and elegant one.
4. To add some color to your fabric envelopes, try dyeing the fabric before making them. This will give them a unique and vibrant look.
5. Don’t limit yourself to traditional envelope shapes. Play around with different shapes such as hearts, stars, or even animals to make your fabric envelopes stand out.
6. If you’re using a sewing machine to make your fabric envelopes, be sure to use a zigzag stitch for the edges. This will prevent fraying and give a clean finish.
7. Consider adding a closure mechanism to your fabric envelopes, such as a button and loop or velcro. This will not only keep your content secure but also add an extra element of design.
8. If you’re making fabric envelopes to store delicate items, consider adding a layer of padding inside the envelope to protect them.
9. Get creative with the contents of your fabric envelopes. Instead of using them for traditional letters, use them to hold gift cards, small gifts, or even as party favors.

Personalize your fabric envelopes by adding hand-painted or embroidered designs. This will make them truly one-of-a-kind and special for the recipient.
Following these tips and tricks will not only make your fabric envelopes more visually appealing but also add functionality to them. So go ahead and get creative with your fabric envelopes – the possibilities are endless! So, don’t limit yourself to just using them for mailing letters, but think outside the box and use them in unique ways. The recipient will surely appreciate the effort and thought put into making them. Happy crafting!
Things You Should Consider to Make Fabric Envelopes
1. The first thing you need to consider when making fabric envelopes is the type of fabric you will use. You can choose from a variety of fabrics such as cotton, linen, silk, or even burlap. The key is to select a fabric that is durable and can withstand being folded and unfolded multiple times.
2. Another important factor to keep in mind is the size of your envelope. You should determine the size depending on what you plan to use it for. If you want to create a small envelope for gift cards or money, then a 9×4 inch fabric will suffice. However, if you’re planning to make larger envelopes for letters or invitations, then opt for a larger fabric size.
3. It is also essential to consider the design of your fabric envelope. You can choose to have a simple, single-colored envelope or one with different patterns and prints. If you want to add a personalized touch, you can also opt for fabrics with vibrant colors or even incorporate embroidery or applique.
4. In making fabric envelopes, you should also pay attention to the type of closure you want to use. You can choose from traditional methods such as buttons, clasps, or zippers, or get creative and use ribbons, strings, or even Velcro. The closure you select will not only add to the overall look of the envelope but also affect its functionality.
5. Another important consideration is the lining of your fabric envelope. While it may seem like an unnecessary step, a lining can provide added durability and protection to your envelope. You can use a complementary fabric for the lining or even opt for water-resistant materials such as vinyl or oilcloth.
6. When preparing to make fabric envelopes, you should also consider the tools and supplies you will need. These include a sewing machine, scissors, pins, measuring tape, iron, and thread. Make sure to have all these materials on hand before starting your project.
7. Finally, it is crucial to have a clear plan or template in mind when making fabric envelopes. This will help you ensure that all the measurements and steps are accurate and result in a well-crafted envelope. You can also find templates and tutorials online for inspiration and guidance.
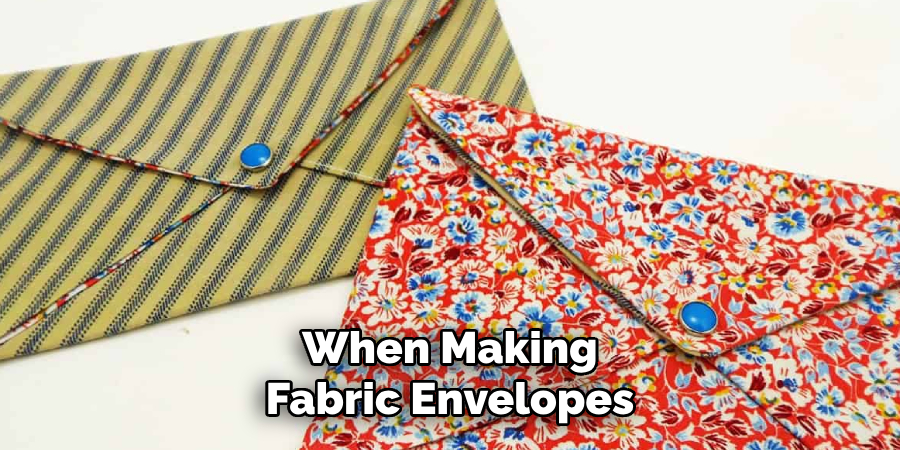
Following these considerations will help you create beautiful and functional fabric envelopes that can be used for various purposes. So gather your materials, get creative, and start making your unique fabric envelopes today! Happy crafting!
Conclusion
In conclusion, learning how to make fabric envelopes can be a fun and rewarding experience. Not only does it allow you to showcase your creativity and craft skills, but it also adds a personal touch to your gift-giving or organizing. By following the steps outlined in this blog post, you can create unique and eco-friendly envelopes that are both stylish and practical.
At the same time, you are reducing your carbon footprint by reducing the use of plastic or paper envelopes. So why not give it a try? Take some of your favorite fabric scraps and turn them into beautiful envelopes that will impress anyone who receives them. Happy crafting!

