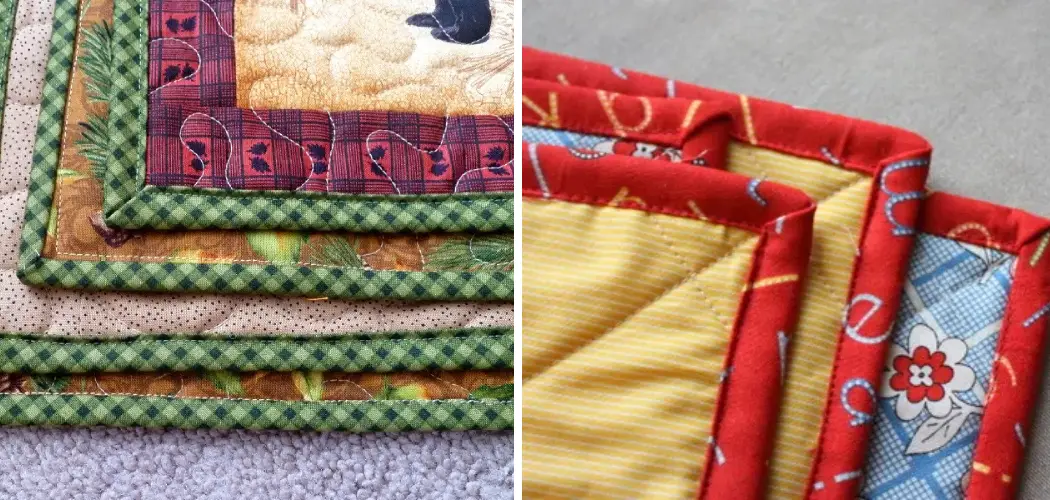
Are you looking for an easy way to bind a quilt? Using bias tape is a great solution! Bias tape is made from strips of fabric that have been cut on the fabric’s bias, creating a more flexible binding that is easy to sew into place.
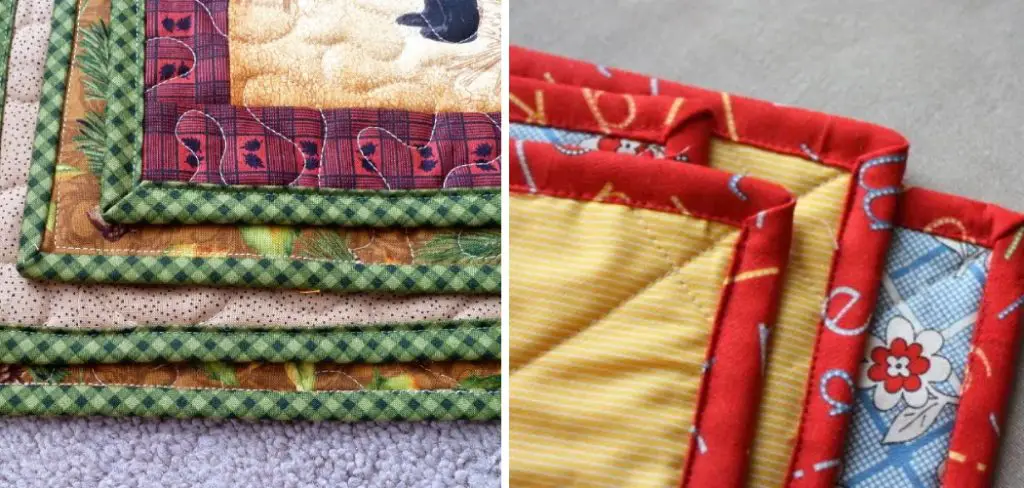
If you want to give your quilt a clean, professional look and save time, binding it with bias tape is a great option. Bias tape, or bias binding, is a narrow fabric strip cut from the fabric’s cross grain – on an angle instead of straight across – allowing for some flexibility when wrapping around curves and corners.
To help ensure your finished quilt looks just how you imagined it would look when finished, we have put together this guide on how to bind a quilt with bias tape.
What Kind of Binding Do You Use for a Quilt?
The most common type of binding used for a quilt is bias tape. Bias tape is made from strips of fabric that have been cut on the bias (at an angle), which gives it more flexibility and durability when sewn onto a quilt.
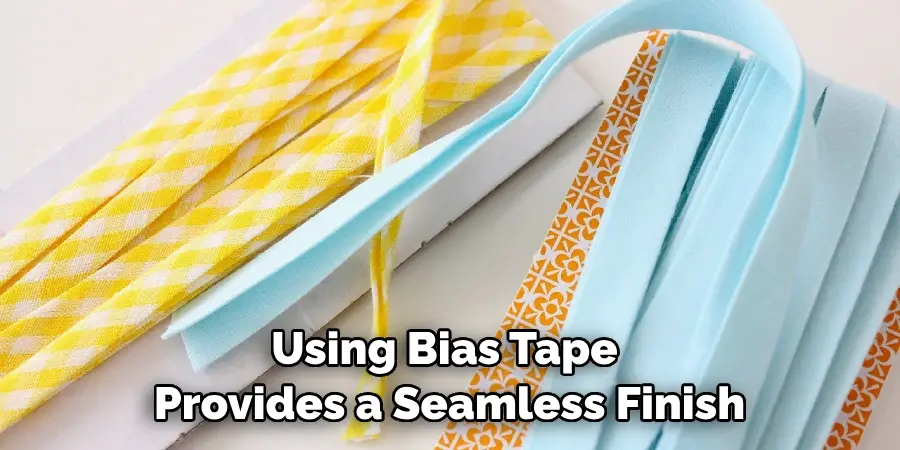
This makes it perfect for use on any kind of quilt, as it’s easy to manipulate and attach without breaking or stretching the material. Furthermore, using bias tape provides a seamless finish and ensures your quilt looks professional and polished.
However, if you don’t want to use bias tape for your quilt binding, other options are available such as pre-made binding strips or making your own using extra fabric scraps. Ultimately, which option you choose comes down to personal preference.
What Is the Importance of Bias Tape?
Bias tape is the perfect binding for quilts because it offers flexibility when wrapping around curves or corners. The cross grain of the fabric offers stretch and flexibility, so it’s easier to manage when you’re working with a large quilt. Bias tape is also available in various colors and patterns, so you can choose a binding that best complements your quilt design.
Additionally, bias tape is a great option if you’re looking to achieve a neat and finished look on your quilt. The fabric strips are pre-folded; you only have to stitch them in place. This makes the binding process much easier and less time-consuming than other methods of binding a quilt, such as mitering the edges or using a double-fold binding.
Finally, bias tape is very durable and can withstand the wear and tear of being washed and dried regularly. This makes it ideal for quilts that will be used frequently or need to be washed often.
What Will You Need?
To bind your quilt with bias tape, you will need the following:
- Bias tape (available in a variety of colors and patterns)
- A quilt sandwich (quilt top, batting, and backing fabric)
- Scissors
- Pins
- Sewing machine or hand needle
Once you have all the supplies, you are ready to begin binding your quilt with bias tape.
10 Easy Steps on How to Bind a Quilt With Bias Tape
Step 1. Measure the Length:
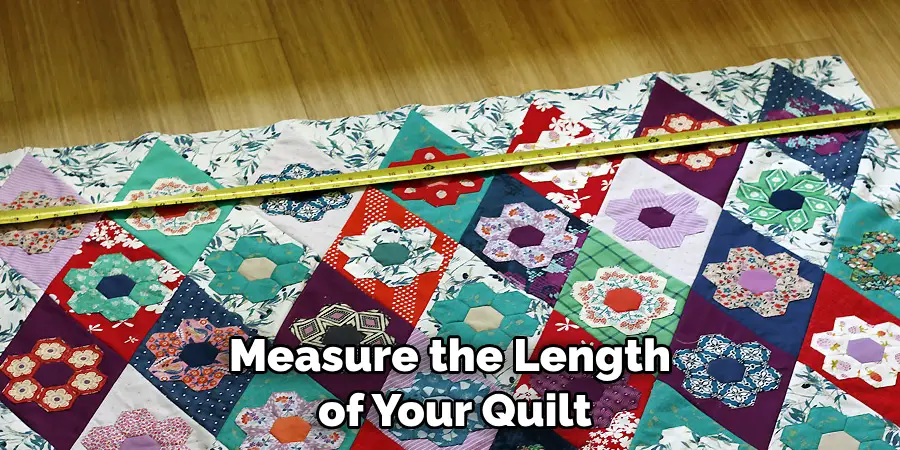
Measure the length of your quilt and cut bias tape at least three inches longer than the length of the quilt. You can use a single length of bias tape or cut multiple lengths if your quilt is vast. It will depend on the size of the quilt and the amount of bias tape you have.
Step 2. Pin in Place:
Start by pinning the bias tape onto the quilt’s edge, with the right side of the tape facing down. Make sure you start at a corner and make small pins along the entire length of the bias tape. Otherwise, you can use a quilting ruler and rotary cutter to cut the tape to size.
Step 3. Sew in Place:
Using a sewing machine or hand needle, stitch around each end of the quilt to secure it in place. Make sure to backstitch at both ends for added strength. Try to keep your stitches as close to the edge of the bias tape as possible.
Step 4. Fold Bias Tape:
Fold one end of the bias tape over the quilt, overlapping it by ½ inch, and pin it in place. As you work along one side of your quilt, fold over each section until you reach the opposite end. If your quilt is vast, fold the bias tape into two separate sections.
Step 5. Trim Excess Fabric:
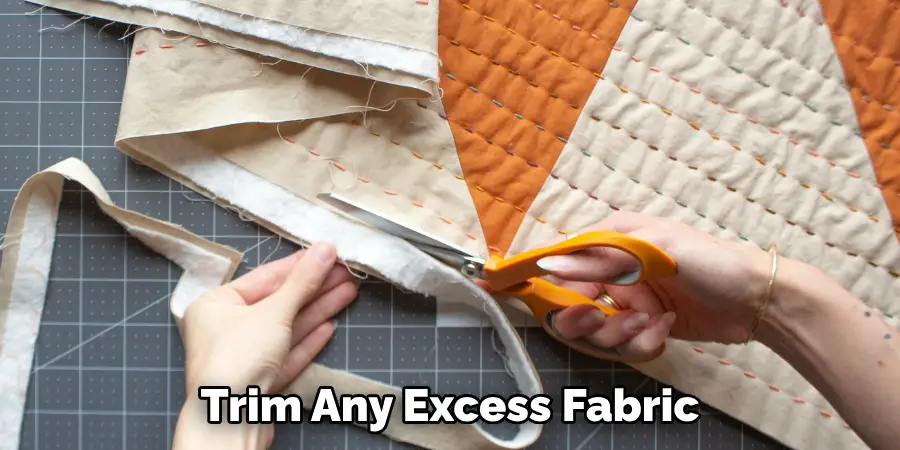
Trim any excess fabric or batting along the quilt’s edge with scissors or a rotary cutter. Once you’ve finished binding it with bias tape, this will create a neat finish on your quilt. You can also use pinking shears to give the quilt a decorative edge.
Step 6. Fold Bias Tape Over:
Fold the other end of the bias tape over the quilt, overlapping it by ½ inch and pinning it. Keep the bias tape folded neatly around each corner or curve of your quilt. Additionally, you can use a ruler and rotary cutter to trim the bias tape to fit perfectly around your quilt.
Step 7. Keep Pinning:
Pin the bias tape in place, ensuring it follows the contour of your quilt’s edge. Trim any excess fabric or batting with scissors or a rotary cutter. If you’re using two separate sections of bias tape, ensure the ends overlap by at least ½ inch.
Step 8. Sew & Finish:
Once you have pinned all edges, sew along each side of the bias tape to secure it. Make sure to backstitch at both ends for added strength and durability. You can also use a sewing machine with an adjustable stitch length to make the process easier and quicker. Once you are finished, give your quilt one final press with an iron for a neat and professional finish!
Step 9. Maintain & Enjoy:
Now that your quilt is finished, it’s time to enjoy the fruits of your labor! To ensure that your quilt remains in good condition, follow the care instructions for your fabric and batting. If you’re using pre-washed batting, you can machine wash your quilt gently with cold water.
Step 10. Share Your Masterpiece:
Lastly, don’t forget to show off your beautiful quilt! You can share photos of it online or give it as a special gift to someone you know who would appreciate its beauty and craftsmanship. Remember, quilts are a precious reminder of the time and effort you put into creating them.
By following these steps, you should better understand how to bind a quilt with bias tape. With a bit of patience and practice, you can create stunning quilts that will last for years!
5 Additional Tips and Tricks
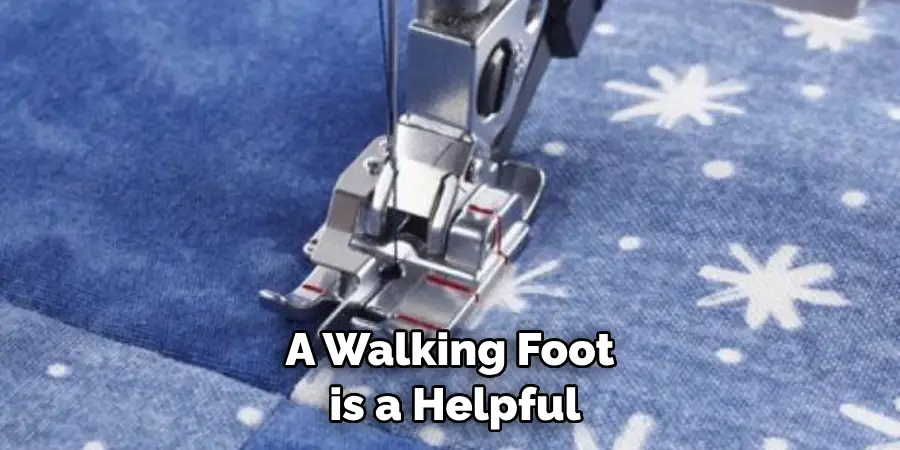
1. Use a Walking Foot: A walking foot is a helpful quilting tool that enables the operator to sew through multiple layers of fabric easily. This can be especially helpful when binding a quilt with bias tape, as it adds an extra layer of stability and uniformity to the process.
2. Try Using Fusible Webbing: Fusible webbing is a great way to secure the bias tape onto the quilt, allowing for more binding accuracy and precision. Simply iron the fusible webbing onto the bias tape before attaching it to the quilt – this will help hold it in place while you sew.
3. Measure Accurately: Before beginning, be sure to measure your quilt accurately so that you know precisely how much bias tape you need and where to attach it. This can save a lot of time and effort down the line!
4. Practice on Scrap Fabric First: If you’re new to sewing with bias tape, or if this is your first time binding a quilt with it, it’s always a good idea to practice on some scrap fabric first. This will help you get accustomed to the technique before tackling the large project at hand.
5. Take Your Time: Binding a quilt with bias tape can be tedious work, so take your time and don’t rush it! The extra care you put in now will pay off in the end when you have a beautiful and perfectly bound quilt.
With these tips and tricks in mind, you’ll be well on your way to binding a quilt with bias tape like a pro!
5 Things You Should Avoid
1. Don’t Use too Much Fusible Webbing: It can make the bias tape hard to work with and cause it to bunch up when attached to the quilt. Be sure not to overdo it!
2. Avoid Stretching the Bias Tape: Stretching the bias tape may cause puckering or other imperfections in your quilt binding, so take care not to pull on it too hard as you sew.
3. Don’t Cut Corners: When cutting fabric for binding a quilt with bias tape, make sure that all of your cuts are exact and square. This will help ensure an even and flawless finish after sewing.
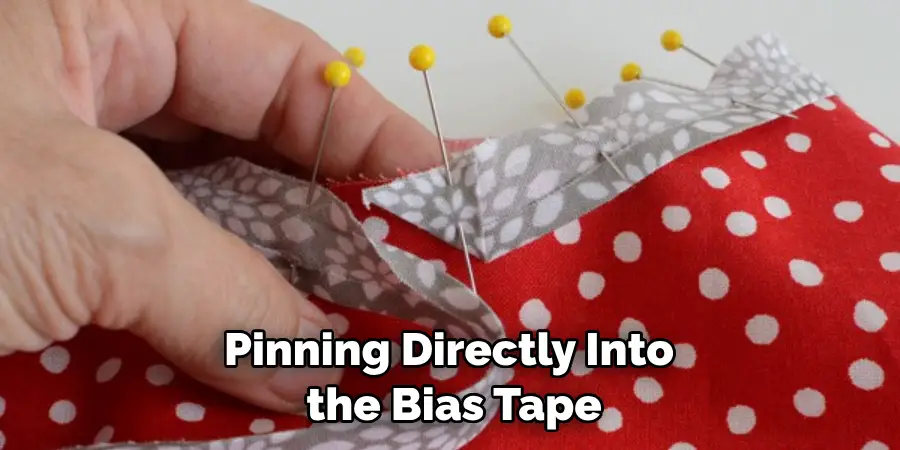
4. Avoid Pinning Directly into the Bias Tape: Pinning directly into the bias tape can cause it to bunch up or become misshapen. Instead, try pinning onto the fabric underneath the bias tape to help keep everything in place.
5. Don’t Rush: As previously mentioned, binding a quilt with bias tape is no easy task and requires much patience and precision. Avoid rushing through the process; you’ll want to get it just right.
By avoiding these common mistakes and following the tips and tricks above, you’ll be sure to have success in binding a quilt with bias tape!
Is Quilt Binding the Same as Bias Tape?
No, they are not the same thing. Quilt binding is the fabric strip that is attached to the edge of a quilt and used to finish it off. Bias tape, on the other hand, is a type of material used for quilt binding – it’s made from strips of fabric that have been cut on the bias (at an angle) to give it more flexibility and durability when sewn onto a quilt.
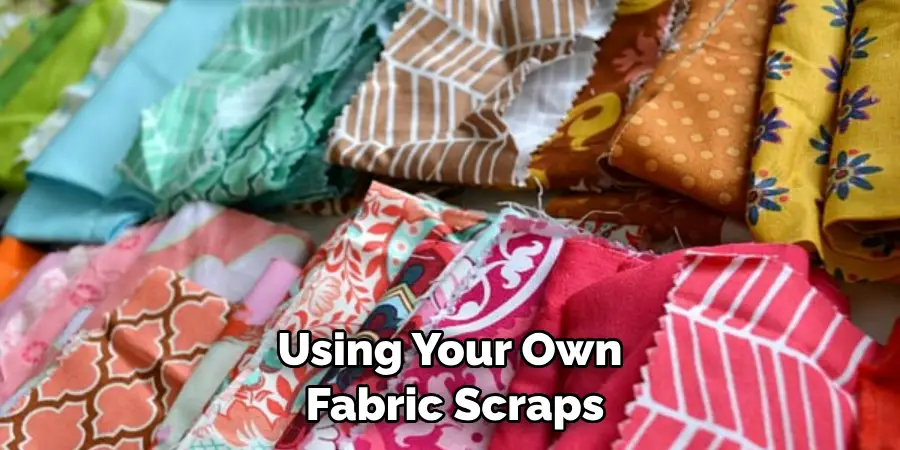
Although many people use bias tape for their quilt bindings, other options are available such as pre-made binding strips or even using your own fabric scraps. Ultimately, which option you choose comes down to personal preference.
Now that you know what bias tape is and how to use it to bind a quilt properly, you’re well on your way to creating beautiful and professional-looking quilts!
Can You Finish a Quilt Without Binding?
Yes, you can finish a quilt without binding it. If you choose this route, a few different options are available. You can opt for a “self-binding” technique in which the edges of the quilt are turned under and top-stitched together. Alternatively, you could use an invisible stitch to hold the edges of the quilt together or even sew on some decorative trim or bias tape to give it a finished look.
You can also leave the edges of your quilt raw – this works especially well for quilts made with natural fibers like cotton or wool. Whichever option you choose, it is important to ensure the edges are secure so they will not fray over time.
No matter what method you choose, remember that proper finishing is essential for giving your quilt a professional appearance and longevity. With these tips in mind, now you have everything you need to finish your quilts like a pro!
Conclusion
Binding a quilt with bias tape is a great way to finish any project because it produces a neat and professional look that makes it stand out. Your friends and family will be amazed at your handiwork! Don’t forget to practice patience when binding a quilt with bias tape, as it takes careful measurements and precision to get it right.
Now that you have the basics of this technique go ahead and try it! Quilting can be time-consuming, but if done properly, the results will be worth every effort. Now you are ready to start doing unique projects no one else has.
Hopefully, the article on how to bind a quilt with bias tape has given you the confidence to take on this quilting technique. Have fun and happy quilting!

