Have you been searching for a way to add structure and stability to your sewing projects? Fusible interfacing is the answer you’ve been looking for! Not only does fusible interfacing make lightweight fabrics more durable and wrinkle-resistant, but it also provides additional insulation in areas that require higher protection.
Whether you’re a beginner seamstress or an experienced garment maker, understanding how to use fusible interfacing can significantly enhance the quality of your work. In this blog post, we will provide you with everything you need to know about using fusible interfacing – from choosing the right weight for reinforced fabrics, to properly applying it to materials. We’ll even explore some creative ways to design with fusible interfacings so get ready to upgrade your repertoire of DIYs and see all that fusing can do!
Why May You Want to Use Fusible Interfacing?
1 . To Stabilize Fabrics
When working with lightweight or loosely woven fabrics, you may find that they tend to stretch or shift while sewing. This can be especially frustrating when trying to sew precise seams or patterns. Fusible interfacing is an excellent solution for stabilizing these types of fabrics as it helps keep them in place and prevent stretching.
2 . To Add Structure
Fusible interfacing is also great for adding structure to garments or other projects. It can make the fabric stiffer and help maintain its shape, making it perfect for items such as collars, cuffs, or waistbands.
3 . To Add Strength
If you are working with delicate fabrics that may fray easily, fusible interfacing can add strength to those areas. By fusing the interfacing to the back of the fabric, you can help prevent fraying and extend the life of your project.
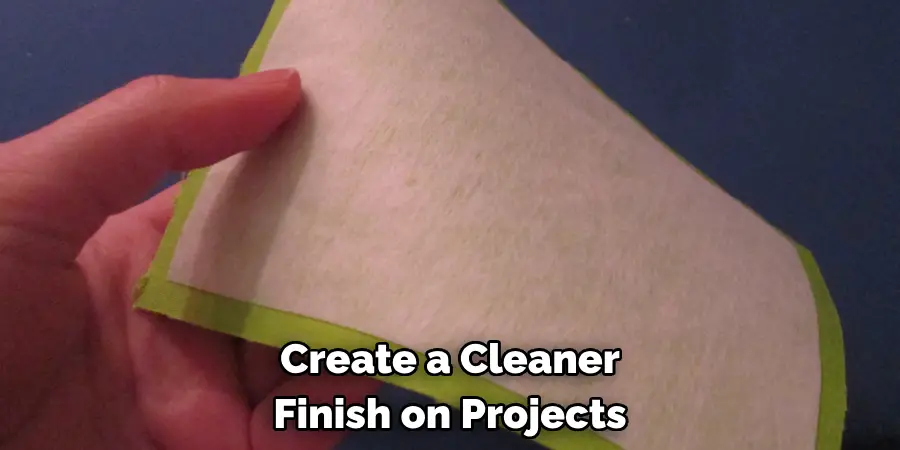
4 . To Create a Cleaner Finish
Fusible interfacing can also help create a cleaner finish on projects such as bags or wallets. By fusing the interfacing to the wrong side of the fabric, you can hide raw edges and create a more polished look.
How to Use Fusible Interfacing in 5 Easy Steps
Step 1: Choose the Right Fusible Interfacing
Fusible interfacing is a textile material used to provide structure and stiffness to fabrics. There are different types of fusible interfacing available in the market, each with its own specific purpose and properties. When choosing fusible interfacing, consider the weight and drape of your fabric, as well as the level of structure and support you want to achieve.
Step 2: Pre-Wash Your Fabric
Before using fusible interfacing, it is important to pre-wash your fabric. This helps to remove any sizing or chemicals that may interfere with the fusible properties of the interfacing. It also ensures that both your fabric and interfacing will shrink at the same rate, preventing any puckering or distortion after washing.
Step 3: Cut the Interfacing and Fabric
Once you have chosen your fusible interfacing and pre-washed your fabric, it’s time to cut them to size. Make sure to cut both the interfacing and fabric slightly larger than your desired final measurements, as some shrinkage may occur during fusing.
Step 4: Fuse the Interfacing to Your Fabric
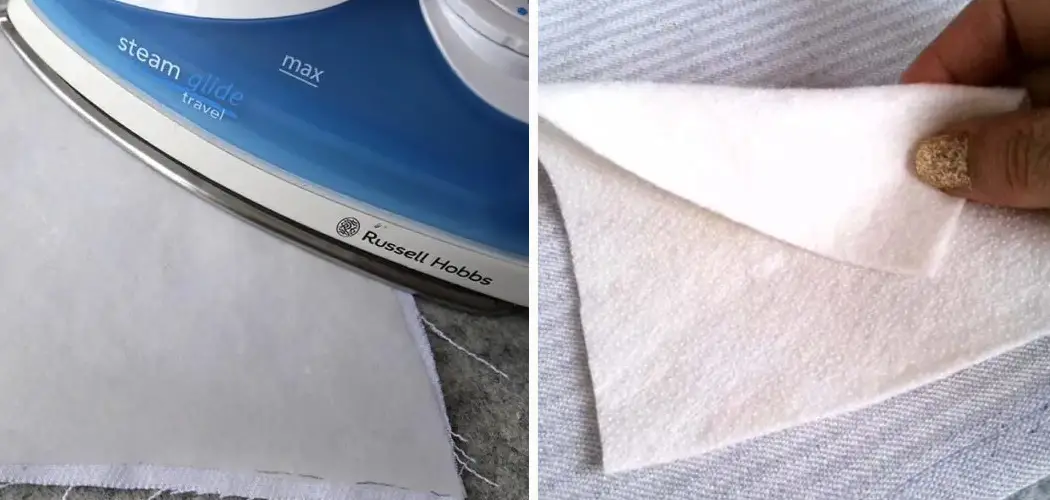
Place your fabric on an ironing board with the right side facing down. Lay the fusible interfacing, adhesive side down, on top of your fabric, making sure that it is centered and covers all edges.
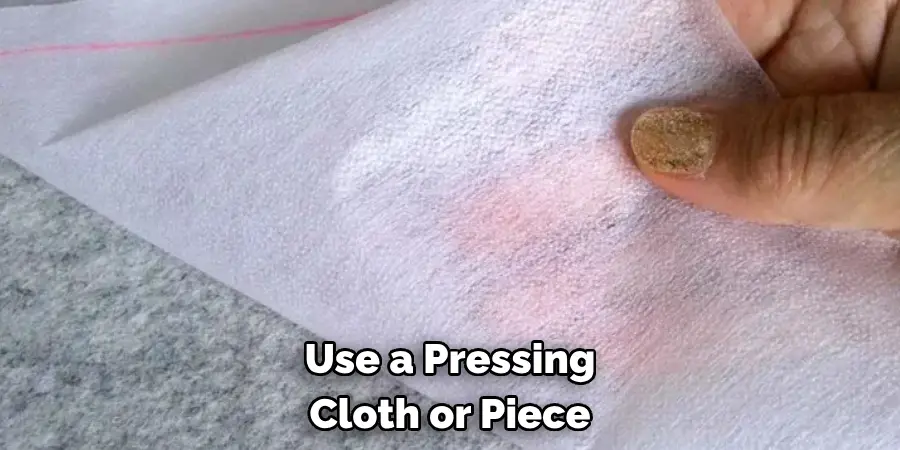
Use a pressing cloth or piece of lightweight cotton fabric to cover the interfacing and prevent any sticky residue from getting on your iron. Set your iron to the appropriate heat setting for your fabric and begin fusing by pressing down firmly and using slow, steady strokes. Be sure to hold the iron in place for a few seconds before moving it to ensure that the adhesive fully melts and bonds with the fabric.
Step 5: Finish Your Project
After fusing, wait a few minutes for the fabric and interfacing to cool down before handling. Once they have cooled, you can continue with your project as desired. Fusible interfacing is commonly used in sewing projects such as collars, cuffs, waistbands, and facings to add structure and stability to garments.
Some Extra Tips to Use Fusible Interfacing
1 . Choosing the Right Type
When it comes to fusible interfacing, one size does not fit all. There are different types of fusible interfacing available in the market, each suitable for specific fabrics and projects.
It’s important to choose the right type of interfacing for your fabric to achieve the desired results. For lightweight fabrics like silk or chiffon, go for a lightweight fusible interfacing. For heavier fabrics like denim or corduroy, medium to heavyweight interfacing would be more suitable.
2 . Preparing the Fabric and Interfacing
Before fusing the interfacing onto your fabric, it’s essential to prepare both materials properly. Make sure to pre-wash and dry your fabric to avoid any shrinkage later on. Also, preheat your iron to the correct temperature according to the interfacing’s packaging instructions. It’s important to use a dry iron and not steam as it can affect the adhesion of the interfacing.

3 . Placement is Key
Placing the interfacing on your fabric may seem like a straightforward process, but it requires precision for best results. It’s recommended to place the interfacing on the wrong side of the fabric, with the adhesive side facing the fabric. Make sure to align both materials perfectly before fusing.
4 . Fusing Process
To fuse the interfacing onto your fabric, start by placing a damp press cloth or muslin over the interfacing and then press down firmly with your iron. Move the iron in a back-and-forth motion, making sure to not lift the iron as it can cause creases. Follow the interfacing packaging instructions for the recommended amount of time to fuse.
5 . Cooling and Checking
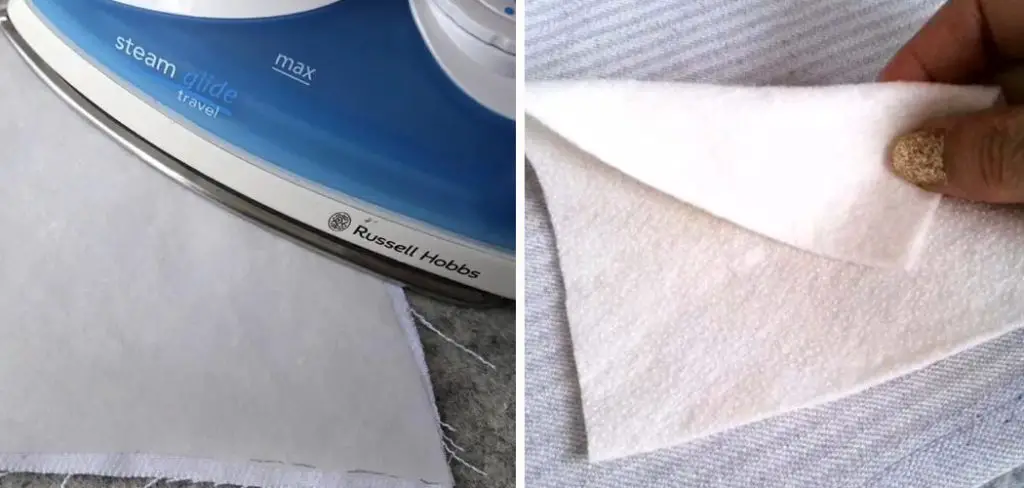
After fusing, allow your fabric to cool down completely before checking the adhesion. Gently lift a corner of the interfacing to see if it’s securely fused onto the fabric. If not, repeat the fusing process until the interfacing is fully adhered to.
6 . Using a Pressing Cloth
If you’re working with delicate fabrics or ones that cannot withstand direct heat, using a pressing cloth is highly recommended. A pressing cloth acts as a barrier between your iron and fabric and prevents any damage or melting of delicate fabrics. Make sure to use a clean pressing cloth and avoid using one that has been used with steam before.
7 . Practice Makes Perfect
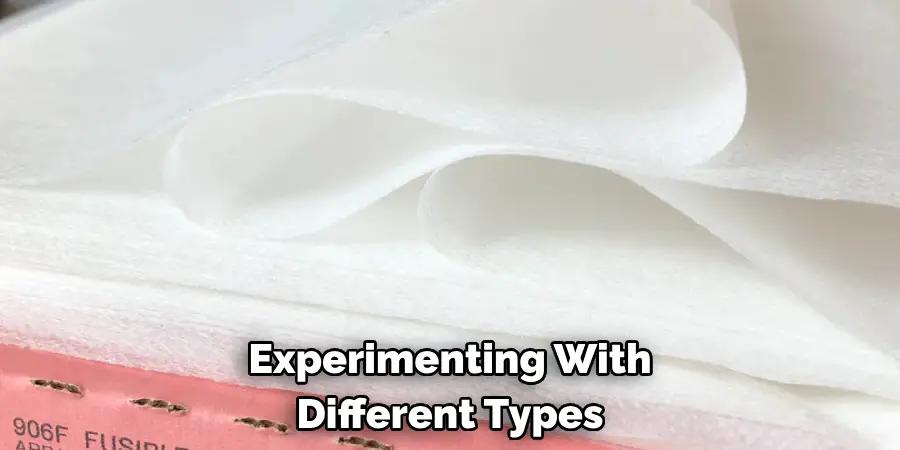
As with any new skill, it takes practice to perfect fuse interfacing onto fabric. Experimenting with different types of interfacing and fabrics will help you understand which combinations work best for different projects.
Frequently Asked Questions
What Precautions Should I Take When Using Fusible Interfacing?
When using fusible interfacing, it is important to follow a few precautions to achieve the best results. Firstly, make sure to test the interfacing on a scrap fabric before applying it to your main project. This will allow you to see how well the interfacing adheres and how it affects the drape of the fabric. Secondly, always use a pressing cloth to protect your iron and fabric from any excess glue that may seep out during the fusing process. It is also recommended to use a steam iron on medium heat for best results.
Can I Wash My Project After Applying Fusible Interfacing?
Yes, you can wash your project after applying fusible interfacing. However, make sure to follow the washing instructions on your interfacing’s packaging. Some types of fusible interfacing may require handwashing or dry cleaning only. If you are unsure, it is always best to err on the side of caution and hand wash or dry clean your project.
Can I Use Fusible Interfacing On Delicate Fabrics?
Yes, you can use fusible interfacing on delicate fabrics. However, it is important to choose the correct type of interfacing for your fabric. Lightweight or sheer fabrics may require a lightweight fusible interfacing while heavier fabrics may need a medium or heavy-weight interfacing. It is also recommended to test the interfacing on a scrap of your delicate fabric first before applying it to your main project.
What Are Some Alternative Uses for Fusible Interfacing?
While fusible interfacing is primarily used to add structure and stability to fabric, there are actually a few alternative uses for it. One common use is to create applique patches by fusing the interfacing onto the back of a piece of fabric before cutting out shapes and sewing them onto another fabric. Fusible interfacing can also be used to create stencils for painting on fabric, as it provides a firm and stable base for cutting out intricate designs. Lastly, some crafters use fusible interfacing as a quick fix for hemming or repairing tears in clothing.
Conclusion
professional look. When it comes to using this product the possibilities are endless. Whether you’re sewing craft items, quilting or even creating clothing, adding fusible interfacing will dramatically increase the durability and wearability of your item.
Now you know how to use fusible interfacing! Taking the time to use fusible interfacing before stitching can make all the difference in giving your work an upscale feel. So relax and take advantage of this useful little product! Get creative and build something amazing with the help of fusible interfacing today! The best part is that there’s no excuse not to try it out – materials are easily accessible from local retailers or online stores at low prices. So let’s go out there and make something extraordinary!

