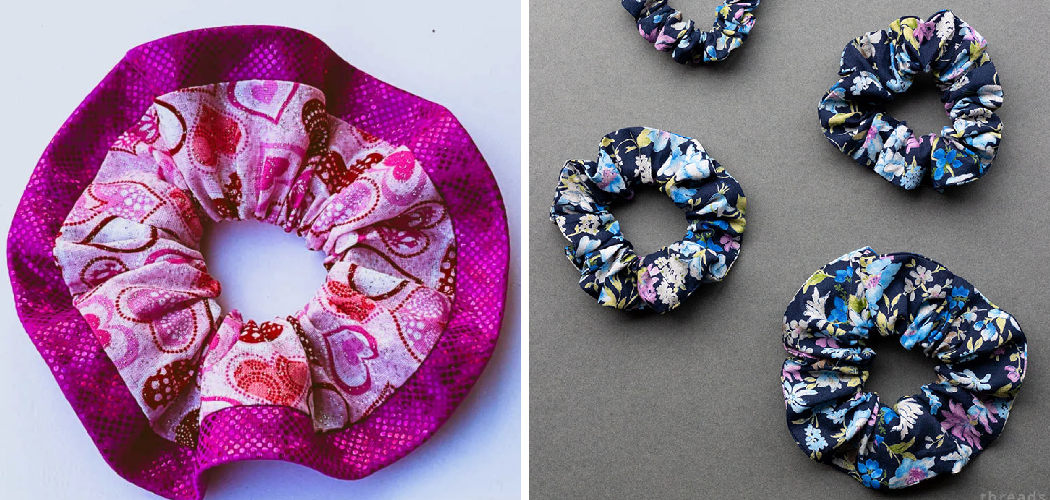
Scrunchies are a popular and stylish accessory that can add a touch of fun and flair to any hairstyle. Making your own scrunchies allows you to customize them to match your outfits, create unique designs, and even make them for special occasions.
In this article, we will guide you through the process of making a professional scrunchie. From selecting the right materials and measurements to sewing and finishing the scrunchie, we will cover all the essential steps of how to make a professional scrunchie.
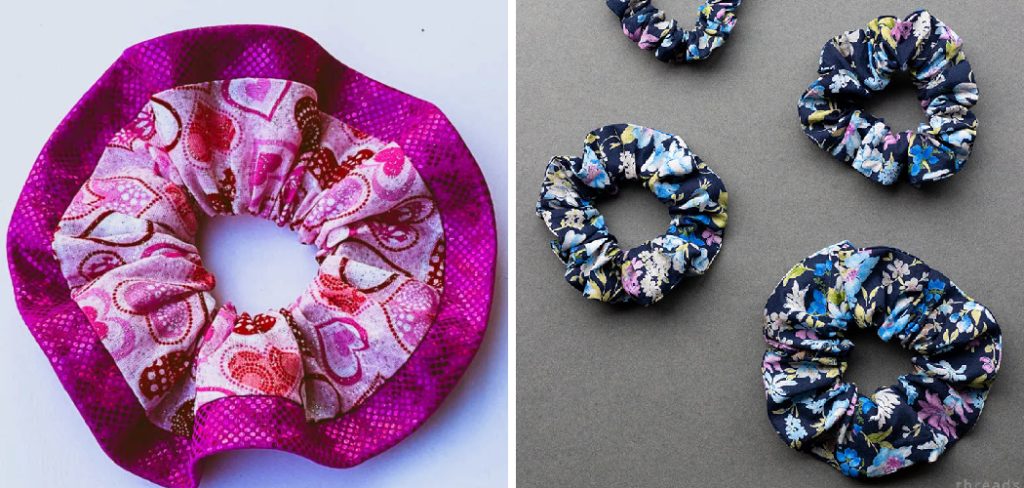
Whether you’re a sewing enthusiast or a beginner, making a professional scrunchie is a simple and rewarding project that will elevate your hair accessories collection. Get ready to unleash your creativity and learn how to make scrunchies that are stylish, durable, and worthy of a professional touch.
Benefits of Making Your Own Scrunchies
Making your own scrunchies offers many benefits. Not only will you be able to create unique and stylish accessories, but they can also save you money in the long run.
With just a few materials, you can make a professional-looking scrunchie that lasts much longer than those made with cheap fabrics or store-bought versions. Plus, you’ll have the satisfaction of having crafted something beautiful with your own two hands.
Additionally, making your own scrunchies allows you to customize them for any occasion or look. You can choose different fabrics and colors to create signature pieces that represent your individual style.
And if you’re feeling extra creative, you can even add decorations like beads, ribbons, and buttons for a one-of-a-kind accessory. By making your own scrunchies, you won’t ever have to worry about having the same scrunchie as someone else!
Finally, when you make your own scrunchies instead of buying them from a store, you can be sure that they are made with quality materials and construction techniques. You can be confident that your scrunchies will last a long time and won’t fall apart after just a few uses.
So, if you’re looking for an affordable way to accessorize your wardrobe or give as gifts, why not make your own professional-looking scrunchies? With the right materials and techniques, you can create beautiful accessories that are sure to add a special touch to any outfit.
Factors to Consider for a Professional Finish
1. Quality of Materials:
When making a professional scrunchie, it’s important to use quality materials that will hold up over time. Invest in fabric that is durable and won’t easily fray or tear. Choose elastics in the right size for your needs; too large an elastic can make the scrunchie droop while too small will be uncomfortable. Consider different color and pattern combinations to create a unique look.
2. Sewing Skills:
A professional-looking scrunchie requires precise sewing skills and attention to detail. Learn how to sew using tutorials online or take a class if necessary. Strong seams and accurate measurements are essential to get a neat finish every time. Also consider using techniques such as topstitching or French seams to give your scrunchie a professional look.
3. Finishing Touches:
The last step is to add a few finishing touches. Consider adding decorative elements such as ribbons or buttons for extra flair. You can also use a fabric sealant to help keep the fabric from fraying and make it more durable. With these tips, you’ll have a professional-looking scrunchie in no time!
10 Ways How to Make a Professional Scrunchie
1. Gather Materials:
Start by gathering the necessary materials for making a professional scrunchie. This typically includes fabric, elastic, scissors, pins, a sewing machine or needle and thread, and optional embellishments like ribbons or beads.
Make sure to choose fabric that complements your wardrobe and won’t be too bulky when tied. While you can use any type of fabric, cotton or polyester blends are usually ideal. It’s also important to choose elastic that is strong enough to hold your hair without breaking.
2. Select the Right Fabric:
Choose a high-quality fabric that is both durable and visually appealing. Consider fabrics like silk, satin, or cotton with a tight weave that will hold up well over time. Select your colors and patterns to create a unique design. While you may be tempted to choose a frilly fabric, it is important to remember that the scrunchie must still hold your hair firmly in place.
3. Measure and Cut the Fabric:
Measure and cut a strip of fabric according to the desired length and width of your scrunchie. The standard size is usually around 22 inches in length and 4 inches in width, but you can adjust these measurements to your preference. When cutting, make sure you leave at least a quarter of an inch for seam allowances. After cutting the strip, fold it lengthwise and press with an iron.
4. Fold and Sew the Fabric:
Fold the fabric lengthwise with the right sides facing each other. Pin the edges together and sew a straight line along the pinned edge, leaving a small opening for turning the fabric right-side out. Trim any excess fabric along the seam allowance and turn right-side out.
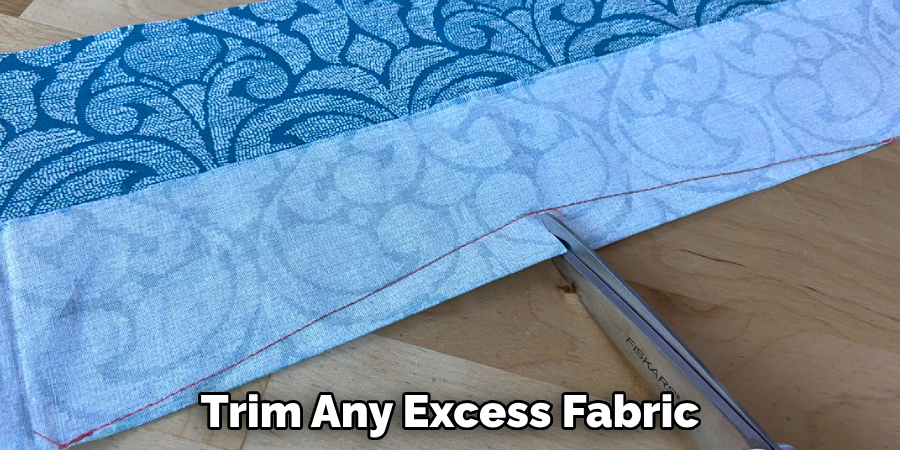
Iron the seams flat and sew a second line of stitching to reinforce the seam. Trim the edges to create a smooth, professional look.
5. Turn the Fabric Right-Side Out:
Carefully turn the fabric right-side out through the small opening. Use a blunt tool or your fingers to gently push out the corners and smooth the edges. If you used a patterned fabric, the scrunchie will look more professional if you press it with an iron to give it a nice crispness. Though, make sure to not press the elastic as this will damage it.
6. Insert the Elastic:
Cut a piece of elastic to the desired length, usually around 8 to 10 inches. Attach a safety pin to one end of the elastic and feed it through the fabric tube, gathering the fabric as you go. Once the elastic is completely fed through, tie a knot in each end and cut off any excess. You can also sew the ends of the elastic together to give extra strength if needed. Now the scrunchie is complete and ready to be worn.
7. Secure the Elastic:
Overlap the ends of the elastic and sew them together securely. Make sure the elastic is evenly distributed within the fabric tube, and then sew the small opening closed. You may want to use a zigzag stitch for extra reinforcement. Although a few stitches will do, be sure the elastic is securely held in place. You can also hand stitch the opening closed for a more polished look.
8. Create a Pleated Effect:
To give your scrunchie a professional look, create pleats along the fabric tube. Pinch the fabric at regular intervals and secure it with pins. Sew a straight line across the width of the scrunchie to hold the pleats in place. Make sure to use a coordinating thread color for the pleats. Once the pleats have been sewn, trim off any excess fabric from the seams.
9. Add Embellishments (Optional):
If desired, embellish your scrunchie with ribbons, bows, beads, or other decorative elements. Attach them securely using a needle and thread or fabric glue, ensuring they are evenly spaced and well-secured. For a more sophisticated look, choose metallic accents or intricate details. Add any additional decorations before you sew the scrunchie together.
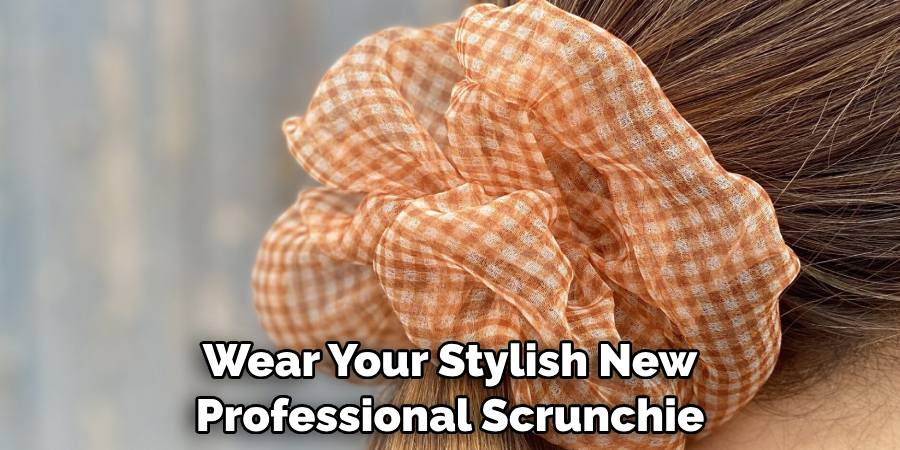
That way, you can ensure equal amounts of embellishment on each side. After you’ve completed the basic scrunchie construction, hold it up and examine it to make sure everything looks perfect. If you’re happy with your work, you can now proudly wear your stylish new professional scrunchie!
10. Finish and Inspect:
Inspect your scrunchie for any loose threads or uneven stitches. Trim any excess threads and make any necessary adjustments to ensure a clean and polished appearance. Once you are happy with your scrunchie, create a few more of different sizes and fabrics to add some variety.
Things to Consider When Making a Professional Scrunchie
1. Fabric Choice:
When it comes to making a professional scrunchie, the fabric choice is essential. Make sure you select a high-quality fabric to ensure a neat and professional appearance. Natural fabrics, such as silk or cotton, are ideal for making a scrunchie as they provide strength and durability.
2. Color:
The color of the fabric you choose is also important when it comes to creating a professional look with your scrunchie. Neutral colors, like black, grey, or white, work best for a more polished look. You can also opt for brighter colors if you prefer something more eye-catching. Ultimately, make sure the color complements any outfits you’ll be wearing the scrunchie with!
3. Size:
The size of your scrunchie should match the style you wish to achieve – either small or large. Smaller scrunchies are great for a subtle, elegant look, while larger scrunchies can be more noticeable and stylish.
4. Accessories:
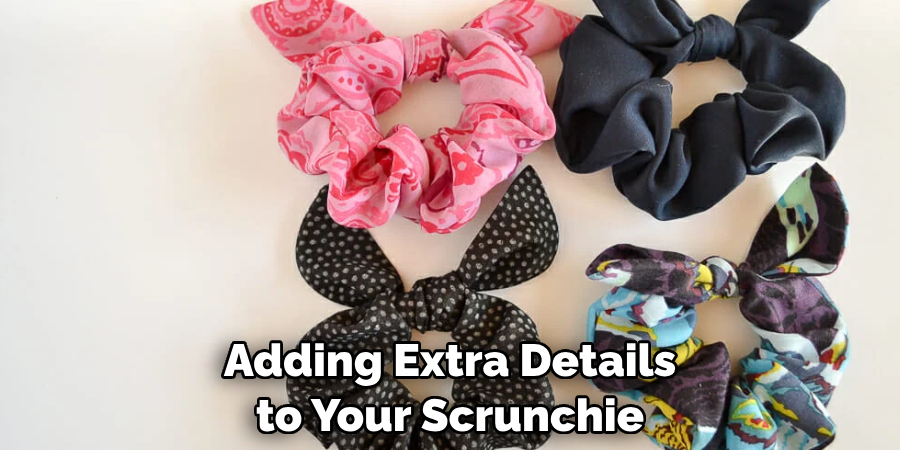
Adding extra details to your scrunchie is an easy way to further customize it and make it even more unique and professional looking. Consider using ribbons or beads to add texture and color to your scrunchie – this small detail makes all the difference!
Conclusion
With these simple steps, you now have the necessary tools to make a professional scrunchie. Remember that practice makes perfect – so keep at it! It just takes a few supplies, some creative ideas, and a bit of your own style to create something eye-catching and professional.
Scrunchies can be made in any size or color of fabric you like and are the perfect way to add a special touch to your wardrobe. Have fun creating your own unique looks with professional-looking scrunchies! Don’t forget to share them with us – we’d love to see what you come up with! Now that you know How to Make a Professional Scrunchie, why not give it a try? Enjoy!

