

With Easter just around the corner, it’s time to get creative with your holiday decorations and gifts. If you’re feeling crafty this year, why not make a unique Easter bunny basket for your loved ones? Not only are these beautiful DIY baskets easy enough for anyone to make, but they also provide a truly heartfelt touch that will show just how much you care this season.
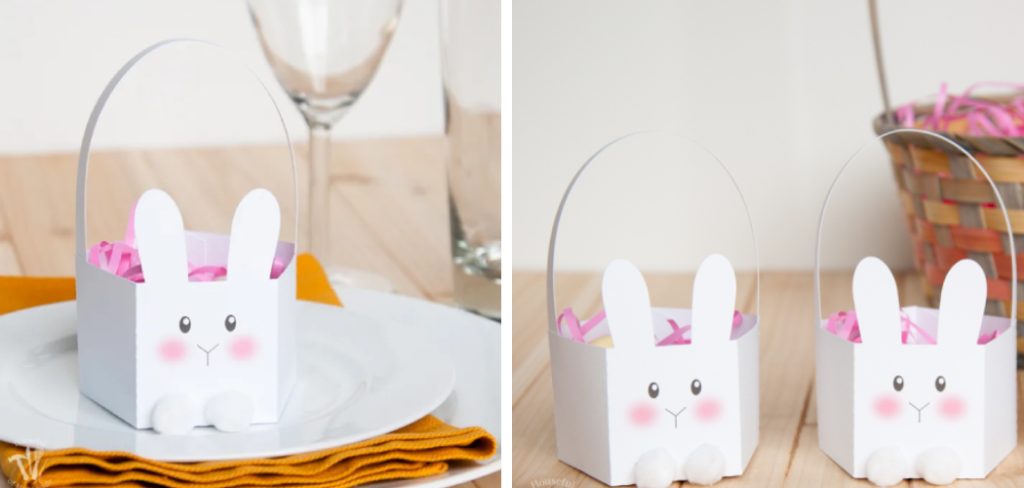
So grab your supplies and follow our directions on how to make easter bunny basket below so you can learn how to create an adorable handmade Easter bunny basket!
Needed Materials
Given below is a list of all the materials which are required for making an Easter bunny basket:
- Cardboard or Plastic Box, Preferably With a Handle
- Felt in the Desired Colors of Your Bunny
- Glue Gun and Glue Sticks
- Craft Scissors
- Ribbon, Lace, or Twine
- Colorful Pompoms and Googly Eyes (Optional)
10 Step-by-step Guides on How to Make Easter Bunny Basket
Step 1: Cut the Cardboard Box
Measure and mark the required length, and then cut off the extra part with your craft scissors. It’s better to leave a little extra room when cutting the box so you won’t cut off too much. This will be the base of your Easter bunny basket. This step is also necessary if you are using an old cardboard box or plastic container. It’s important that the box is large enough to fit in all of your goodies.
Step 2: Cut the Felt
Using your craft scissors, cut two triangles for the ears out of the felt in your desired color. Once done, attach it to the top of your cardboard box with a glue gun. It’s a good idea to mark out the shape of your ears before cutting them.
It’s best to leave a bit of extra fabric around the edges so you can make sure everything is secure. This is also the time to add in any extra detailing such as pompoms for a nose or googly eyes. It’s up to you how creative you want to get here!
Step 3: Make and Attach the Bunny’s Nose
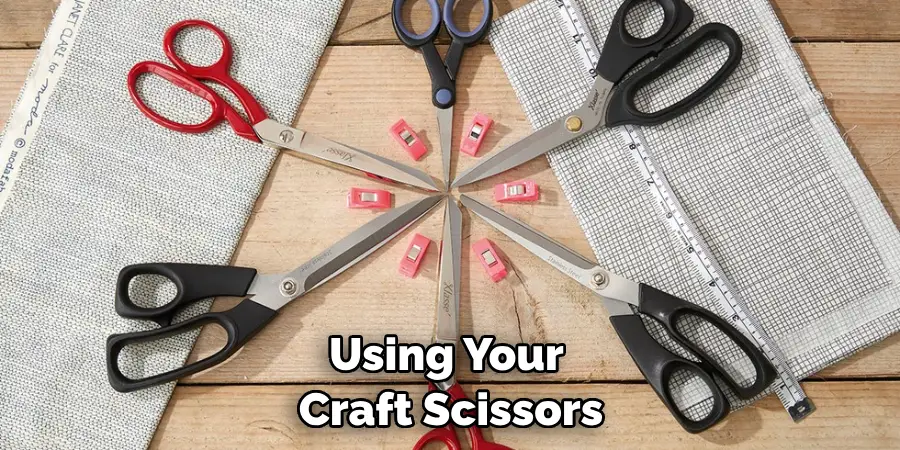
Using your craft scissors, cut a small triangle out of pink or white felt and attach it with glue beneath one of the ears. Make sure it is centered and symmetrical for best results. This will be the bunny’s nose. It can be as simple or detailed as you’d like. It’s best to use a glue gun for this step so that everything is secure and won’t fall off. But if you don’t have a glue gun, you can use regular craft glue or fabric glue. It won’t be as secure, but it should do the trick.
Step 4: Add Perfectly Placed Whiskers
Take four thin pieces of twine or ribbon and make two small cuts on either side of the nose. Insert the twine into the holes using a glue gun for extra security. It’s best to keep the whiskers symmetrical for a better look.
This step is optional, but it adds a nice touch to your Easter bunny basket. It’s best to use twine that is thin enough so the whiskers don’t look overly bulky. If you don’t have twine, lace or ribbon can also be used. This is the perfect time to get creative!
Step 5: Add Googly Eyes
Glue two googly eyes in place above the nose of your Easter bunny basket. Make sure to adjust them until they are centered and looking straight ahead if you want a more realistic look.
This step is optional, but it really helps to bring your project to life. It’s best to use a glue gun for this step so that the eyes stay in place. It is also possible to use fabric glue or regular craft glue if you don’t have a glue gun. It just won’t be as secure. It’s up to you how detailed you want to make your Easter bunny basket!
Step 6: Create Cute Ears
Cut out two triangle-shaped pieces of felt, slightly larger than the ones from step 2, and attach them behind the ears with a glue gun. You can also add some stuffing inside each ear for added effect. This is optional but it helps give your bunny a fuller and cuter look.
But if you don’t have any stuffing, it’s not a problem. Just make sure the ears are glued securely in place so they won’t fall off. It’s best to use a glue gun for this step so that everything is secure and won’t fall off.
Step 7: Add Details to Your Bunny’s Face
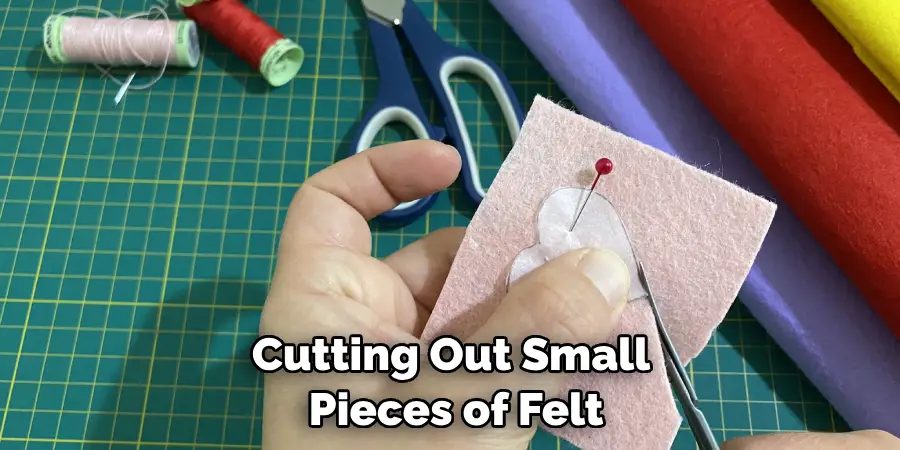
You can add a few details to your bunny’s face by cutting out small pieces of felt and gluing them around the eyes, nose, and mouth. This will give your Easter bunny basket a unique look. This step is optional, but it adds a nice touch to your project. It’s best to use a glue gun for this step so that everything is secure and won’t fall off. It’s also a good idea to plan out the exact details before you start gluing.
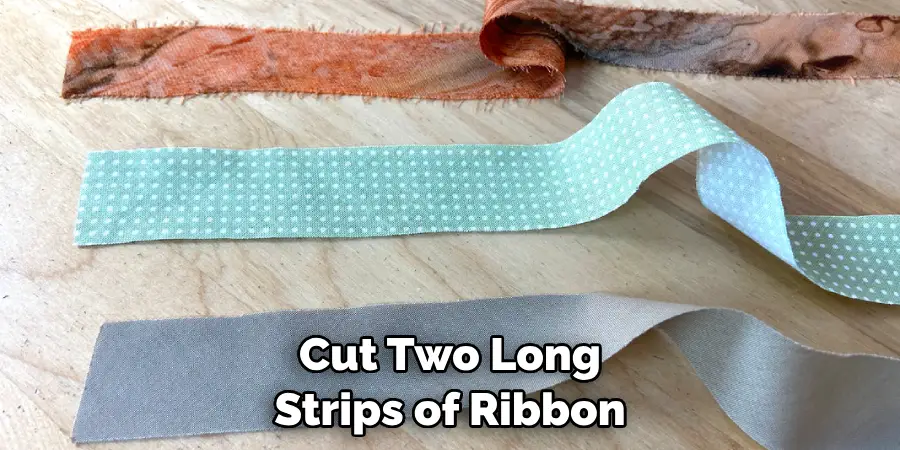
Step 8: Make the Bunny’s Ears Floppy
Cut two long strips of ribbon or lace and attach them to either side of each ear with a glue gun so that they hang down from the ears like floppy rabbit ears. But if you don’t have any ribbon or lace, twine can also be used. It’s best to use a glue gun for this step so that everything is secure and won’t fall off.
This step is optional, but it really helps to add some extra charm to your Easter bunny basket. It’s important to make sure that the ribbon or lace is glued securely in place so it won’t come off easily.
Step 9: Decorate Your Basket
You can decorate your Easter bunny basket using colorful pompoms. Stick them on with a glue gun for added stability. You can also use ribbons to make a bow and attach it to the handle of the basket for decoration.
It’s best to use a glue gun for this step so that everything is secure and won’t fall off. This step is optional, but it helps to add a festive touch to your project. This is also the time to add in any extra detailing such as pompoms for a nose or googly eyes.
Step 10: Enjoy Your Easter Bunny Basket!
You’re done! Now your Easter bunny basket is ready to give away as a special gift or use it to decorate your home for the holidays. Enjoy your creation and have a wonderful Easter! Always remember to use caution when using a glue gun. It’s a good idea to keep the glue gun away from children and out of reach of pets. This is especially important if you’re using a hot glue gun.
Following these 10 steps on how to make easter bunny basket carefully will help you to create a beautiful Easter bunny basket with ease! With this DIY craft, you can surprise your loved ones and make them feel extra special during the holiday season. Have fun making it and have a wonderful Easter!
Frequently Asked Questions
Q: What is the Best Material to Use for an Easter Bunny Basket?
A: Cardboard or plastic boxes with handles are ideal for making Easter bunny baskets as they are easy to cut and shape.

Q: How Should I Attach the Ears to the Basket?
A: It’s best to attach the ears with a glue gun for extra security. This will ensure that your Easter bunny basket is sturdy and can last longer.
Q: What Other Decorations Can I Use for My Easter Bunny Basket?
A: You can decorate your Easter bunny basket with colorful pompoms, ribbons, lace, googly eyes, and twine for added effect. You can also use felt to create details on the face of your bunny. Have fun decorating!
Q: Can I Use This Easter Bunny Basket for Other Holidays?
A: Absolutely! You can use this Easter bunny basket to decorate your home or give as a gift for other holidays and occasions. Just change up the decorations to suit whatever holiday you’re celebrating.
Conclusion
In conclusion, making an Easter Bunny basket is a fun and creative way to get your home into the spirit of the holiday season. With a few simple materials from around your home, you can turn this cute bunny-shaped basket into something special that will bring a smile to everyone’s face this Easter. Don’t be afraid to get creative with your Easter Bunny baskets!
Paint them, decorate them or simply fill them with small surprises for loved ones. Get ready for the most beautiful Easter celebration ever and make sure you have some bunny baskets filled with goodies handy! Make it even more memorable by having your kids join in on making their own bunny baskets. Now it’s time to hop into action – start getting creative and show off your festive side this holiday season! Thanks for reading this article on how to make easter bunny basket.