
If you think creating unique wall art is beyond your abilities, then this blog post is for you. We’ll show you how to frame a tea towel in just a few steps and without much expense! With our simple how-to guides, there’s no need to be intimidated by the process – even if you’re not very crafty.
Transform your plain white or patterned cotton fabric into colorful pieces of artwork that will bring personality and character to any room in your home. In no time at all, you’ll become an expert framer!
11 Step-by-step Guidelines on How to Frame a Tea Towel
Step 1: Gather Your Materials
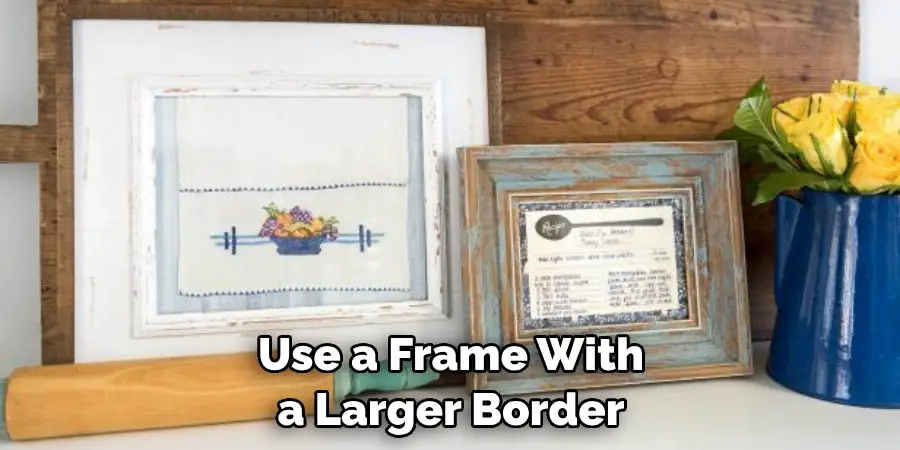
You will need a tea towel, a picture frame with glass, scissors, and a mounting or matting board (optional). It helps to use a frame with a larger border around the opening so that the tea towel can easily be tucked into it. This will give you a nice clean look, with no fraying of the edges. It also helps to use a frame with a backing that is slightly larger than the opening so you can easily tuck the edges of the towel in.
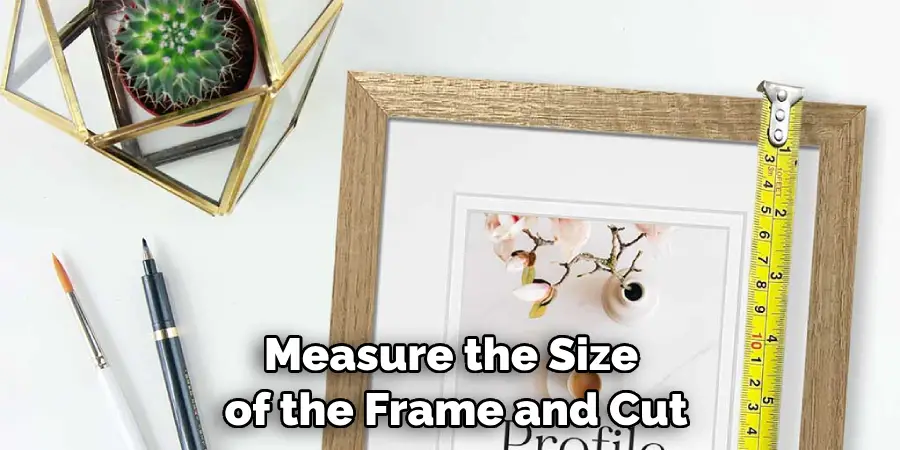
Step 2: Cut the Tea Towel to the Desired Size
Measure the size of the frame and cut accordingly. For best results, leave at least one inch of fabric around all sides of the frame for framing. This will give you a nice, crisp frame. If you are using a mounted or matted backing board with the frame, add two inches around all sides of the frame instead. It is very important to remember that there should be at least one inch of fabric around all sides of the frame.
Step 3: Place the Fabric Inside the Frame’s Border
Make sure that it is centered and evenly placed in relation to each side before you secure it with a few pieces of tape. This will help keep the fabric in place and give it a nice, neat appearance.
It is also important to note that if the fabric stretches too much, it might not lay correctly inside the frame. But don’t worry, you can always adjust it later if necessary. It is also helpful to tuck the edges of the fabric into the frame’s border for a cleaner look.
Step 4: Secure Any Extra Fabric
This ensures that everything looks neat and tidy once you mount it in the frame. if there is a mat board, tuck the extra fabric underneath it. This will help to keep the fabric from getting in the way of the frame’s backing. Buying a frame with a larger border around the opening is recommended for this step. It will make it easier to tuck the fabric in without bunching or folding. This also helps to use a backing board that is slightly larger than the frame opening.
Step 5: Place the Glass Over the Fabric
If you are using a matting board, place it behind the tea towel before setting the glass on top. It is important to make sure that no air bubbles are trapped under the glass. If you do find any, take off the glass and replace it until there are no air bubbles. But don’t worry, if you do find some air bubbles, it won’t ruin your project – just make sure to take care of them before you move on. It is also important to make sure the glass fits properly on top of the frame. This will help keep everything looking nice and neat.
Step 6: Secure the Back of the Frame
Most frames come with these already attached, but if yours does not, make sure to get them so everything stays secure. This helps to make sure that your frame looks its best and lasts a long time. However, if you are using a matting board, it may be necessary to use special mounting hardware. It all depends on the type of matting board you are using.
Step 7: Hang Your Framed Tea Towel!
Now you have a unique piece of wall art that is eye-catching and fun to look at – an ideal way to personalize any room in your home. This is also a great way to display your favorite patterned tea towels, as framed artwork can make a great addition to any space. It’s also a great way to upcycle those plain white tea towels you might have lying around. But no matter what type of tea towel you choose to frame, it is sure to make any room in your home feel more special and unique.
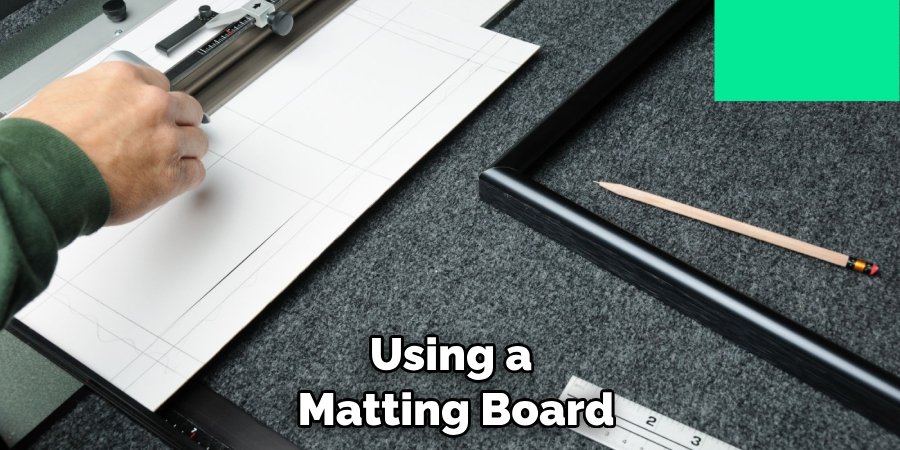
Step 8: Add a Matting Board (Optional)
This is an extra step that can add an extra touch of sophistication to your newly framed tea towel. This step also helps to add an extra border of protection around your artwork. If you would like to include this step, make sure to buy a matting board that is slightly larger than the frame opening. You can also find matting board kits that come with instructions and all of the tools you will need. It helps to buy a kit that has all of the tools included, as this will make it easier to complete this step.
Step 9: Choose the Right Picture Frame
Choose a picture frame that complements the style and color of your tea towel – wooden frames work best for lighter fabrics, while metal frames are great for bolder colored designs. This step will also help to tie in any other artwork you might have in the room, creating a cohesive look. It is also important to make sure that the frame you choose meets your budget. It can be difficult to find the perfect frame at a price you can afford, but it is worth doing your research before making your purchase.
Step 10: Consider Adding Framing Accessories
Framing accessories like hooks and wire allow you to hang your framed tea towel on the wall without any worries. This step also helps to protect the artwork from any possible damage or wear and tear. It is important to make sure that the framing accessories you use are of good quality and able to hold the weight of the artwork. Once you have chosen a frame, it will be much easier to find framing accessories that are a good match.
Step 11: Have Fun with It!
Don’t be afraid to experiment with different combinations of frames, fabrics, and accessories. Have fun with it – the possibilities are endless! Always remember to take your time and don’t be afraid to get creative. Have fun with it and you are sure to come up with something that you love. It is a great way to show off your creative side and add a unique touch to any room in your home.
With these 11 steps on how to frame a tea towel, you now have all the information you need to successfully frame a tea towel in no time at all! If you follow all of these simple instructions, your home will be filled with unique pieces of wall art that everyone can enjoy. So don’t wait any longer – get crafting today!
Frequently Asked Questions
Q: What Other Materials Do I Need Besides a Tea Towel and Frame?
A: You’ll need scissors, tape, and optionally a matting board.
Q: How Do I Measure the Size of a Tea Towel?
A: Measure the size of the frame and cut accordingly. For best results, leave at least one inch of fabric around all sides of the frame for framing.
Q: Is Framing a Tea Towel Difficult?
A: Not at all! With our simple how-to guides, there’s no need to be intimidated by the process – even if you’re not very crafty! In no time at all, you’ll become an expert framer.
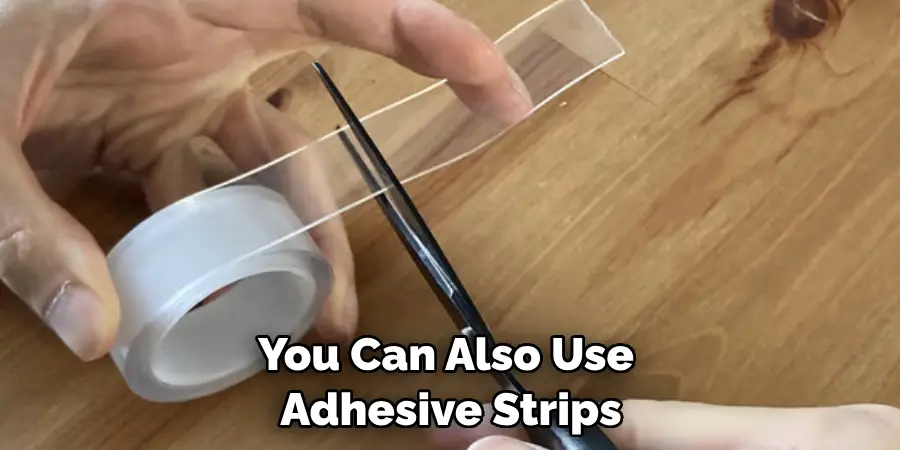
Q: How Do I Hang My Framed Tea Towel?
A: Depending on the type of frame you use, there are several ways to hang it. For most frames, hooks and wire are your best bet. You can also use adhesive strips for lightweight frames.
Conclusion
In conclusion, creating a custom frame for a teatowel can be an easy and creative way to add decorative flair to any space. Whether you’re looking to display a favorite quote or showcase your own artwork, framing a tea towel gives you the freedom to choose how you want to decorate your space.
With these few simple tips on how to frame a tea towel and some creativity, you are sure to take your wall decor game up a notch! Make sure you have all the necessary materials before getting started so that you don’t find yourself stuck in the middle of the project needing something that isn’t available.
Also, be sure to think outside the box when selecting materials as not everything has to match. So what are you waiting for? It is time for you to grab your supplies and start creating uniquely framed tea towels now!
You Can Check It Out To-Make a Train Out of a Box