
Are you tired of buying expensive gift bags for special occasions? Why not try making your own gift bag out of cardstock? Not only is it a creative and cost-effective alternative, but it also allows you to personalize the bag according to the recipient’s taste. Making a gift bag out of cardstock is a fun and straightforward craft project that requires minimal materials and can be completed in a short amount of time.

In this article, we will guide you through the process of how to make a gift bag out of cardstock. Whether it’s for a birthday, anniversary, or any other special event, follow our step-by-step instructions to make a unique and stylish gift bag that will add an extra touch of thoughtfulness to your gift-giving. Get ready to unleash your creativity and impress your loved ones with a handmade gift bag that is sure to make a lasting impression.
The Charm and Personal Touch of a Handmade Gift Bag
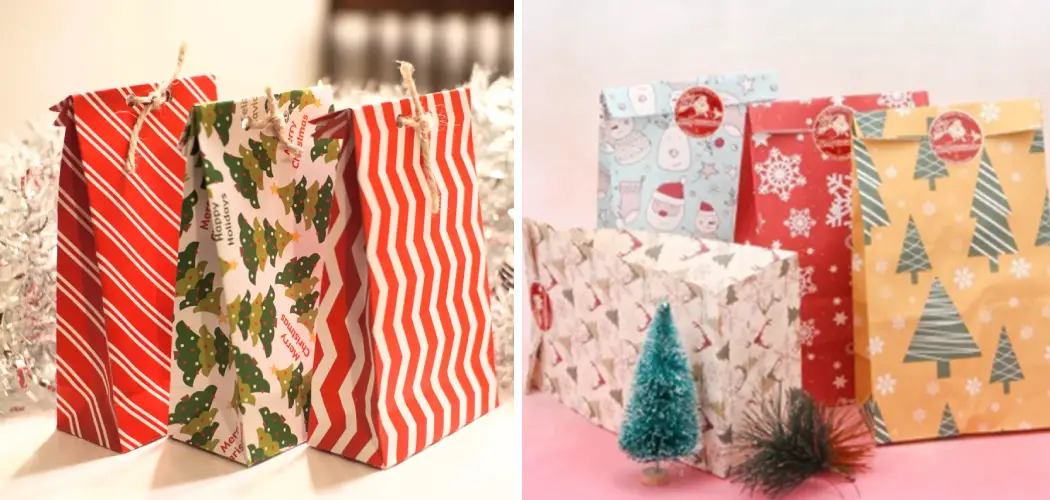
Making a gift bag out of cardstock gives you the opportunity to create something truly unique and special. A handmade gift bag adds a personal touch and charm to any present, and helps make the recipient feel extra special. Not only is making your own gift bag easy and inexpensive, but it also allows you to customize it with colors, designs, and shapes that match the gift and the recipient perfectly. Here are some tips on how to make a beautiful, custom gift bag out of cardstock.
First, choose your materials. You’ll need cardstock paper in whatever color or pattern you would like for your bag, as well as two sheets of colored tissue paper (one to line the inside of the bag, and one to make a bow). You’ll also need scissors, a glue stick, and a ruler.
Next, measure and cut your cardstock into the shape of the bag. To do this, lay out two pieces of cardstock side by side (one on top of the other) and measure 12 inches wide by 8 inches long. Using those measurements as your guide, draw and then cut your cardstock into the shape of a bag, or whatever design you choose.
Importance of Using Cardstock for Durability and Customization
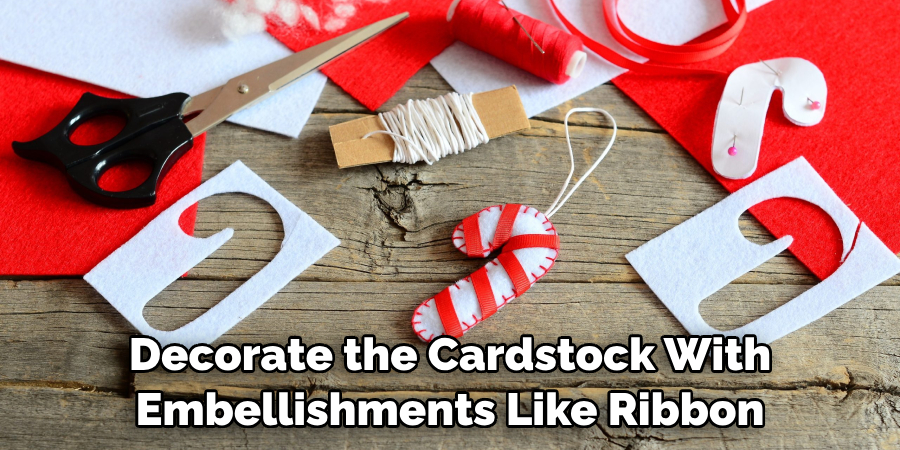
Cardstock is a great material to use for creating gift bags, because of its durability and customization potential. It is thicker than regular paper, so it won’t rip or tear easily when being handled. Additionally, you can decorate the cardstock with embellishments like ribbon, buttons, stickers, glitter glue and more in order to create a personalized bag that will be sure to stand out from the rest! You can also choose a variety of colors and patterns of cardstock to make different size and style of bags.
All this flexibility allows you to create one-of-a-kind gift bags perfect for any occasion that will definitely impress your recipient. Furthermore, these homemade gift bags are much more environment friendly then their store bought counterparts as they can be reused and recycled. So, when looking for a crafting material to make your gift bags out of, you simply cannot go wrong with cardstock!
Once the bag is finished, it’s time to fill it with all types of goodies. You can use tissue paper or gift filler in the bottom for cushioning, then add any type of treat that will fit inside. Candy, jewelry, small figurines, candles or even homemade treats are all great things to put inside a gift bag. Once everything is tucked away nicely inside the bag tie it up with a ribbon and you’ve got an amazing custom made gift that everyone will love!
Choosing the Right Cardstock for Your Gift Bag
When it comes to making a gift bag out of cardstock, the type of cardstock you use is very important. Cardstock can come in many thicknesses and colors, so you’ll need to consider the size and shape of your gift bag when selecting your cardstock. Thicker cardstocks are great for larger bags, as they won’t easily tear or crease when filled with heavier items.
If you plan on making smaller bags, choose a thinner cardstock that will be easier to fold and manipulate into the desired shape. When choosing cardstock colors, pick something that will coordinate well with the color scheme of your wrapping paper. As an added bonus, metallic cardstocks can add a bit of sparkle to any gift-wrapping project!
Once you’ve selected the right cardstock for your project, it’s time to begin assembling your gift bag. Lay out your cardstock and make sure it’s the size and shape you want. Use a ruler and craft knife to cut out any extra paper, then fold in the edges of your cardstock to form the sides of your bag. Finally, use double-sided tape or glue dots to secure your folds in place. Now you have a sturdy gift bag that will look great with any wrapping paper!
10 Methods How to Make a Gift Bag Out of Cardstock
Method 1: Gather Materials
To make a gift bag out of cardstock, you will need the following materials: cardstock paper, a ruler, a pencil, scissors, adhesive (such as glue or double-sided tape), decorative elements (such as ribbon, stickers, or markers), and a bone folder (optional, but helpful for creating crisp folds).
Method 2: Determine Bag Size

Decide on the size of your gift bag based on the item you plan to put inside. Measure the dimensions of the gift and add extra space for the bag to accommodate it comfortably. Use a ruler and pencil to mark the measurements on the cardstock, keeping in mind that you will need two equal-sized rectangles for the front and back panels of the bag.
Method 3: Cut Cardstock
Using scissors, carefully cut out the rectangles you marked in the previous step. These will serve as the front and back panels of the gift bag. Ensure that the rectangles are of the same size and have straight, clean edges.
Method 4: Create Side Panels
Measure the width of your gift and add extra space for the sides of the bag. Mark these measurements on the remaining cardstock and cut out two additional rectangles, which will become the side panels. The width of the side panels should match the width of the front and back panels.
Method 5: Fold the Panels
Take each panel and score it along the long edges using a ruler and a bone folder or the edge of a pair of scissors. This will create clean fold lines. Fold the cardstock along the scored lines, making crisp and even creases. These folds will form the sides of the gift bag.
Method 6: Secure the Bottom
Place the front and back panels on a flat surface, with the folded side panels standing upright. Align the edges of the panels to create a rectangular shape. Apply adhesive (glue or double-sided tape) to the bottom flaps of the side panels and fold them inward, pressing firmly to secure them to the front and back panels. This forms the bottom of the gift bag.
Method 7: Create Handles
Measure and mark the desired length of the handles on the top edges of the front and back panels. Cut out two long strips of cardstock, each with a width that suits the size of the handles. Attach the ends of the strips to the marked spots on the front and back panels using adhesive. Make sure the handles are firmly secured and can bear the weight of the gift.
Method 8: Decorate the Bag
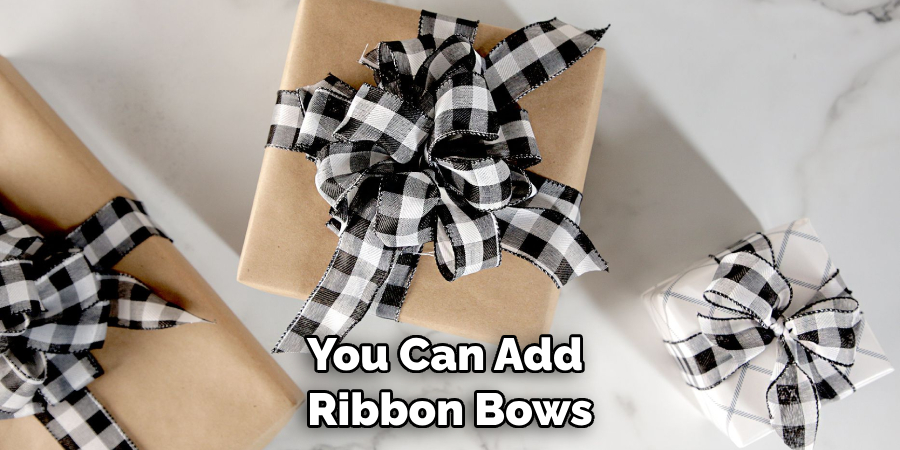
Now comes the fun part! Use your creativity to decorate the gift bag. You can add ribbon bows, stickers, drawings, or any other decorative elements you like. Personalize the bag according to the occasion or the recipient’s taste, making it even more special.
Method 9: Fold the Top
To give the gift bag a neat finish, fold the top edges inward towards the inside of the bag. Apply adhesive along the folded edges to secure them in place. This will create a clean edge and prevent the cardstock from unraveling.
Method 10: Fill and Present
Your gift bag is now ready to be filled with the present of your choice. Gently place the gift inside the bag, ensuring it fits comfortably. If desired, you can add tissue paper or other decorative elements to enhance the presentation. Close the top of the bag by tying a ribbon or securing it with a sticker. Your handmade gift bag is complete and ready to be presented to the lucky recipient.
Conclusion
With a few simple steps, you can make a personalized and stylish gift bag out of cardstock. The finished product is durable and eco-friendly, adding to the special nature of the gift giving experience. Best of all, unique bags like these can be created for any occasion and in whatever design you prefer! So why wait?
Get creative and start crafting your own beautiful gift bags today! If you are still unsure how to make a giftbag out of cardstock or need additional assistance with the process, check out our guide on How to Make a Gift Bag Out of Cardstock. With just some crafting supplies and a lot of imagination, you’ll be able to make attractive gifts bags that are sure to impress any recipient.