Are you looking for a fun and straightforward DIY project that will give your home a stylish update? Look no further than making your cushion covers! Making cushions is one of the easiest projects to tackle, but it can also really transform a space. It is important to know how to make cushion covers.
Not only do custom-made cushions fit perfectly on any couch or chair, but they can also easily be swapped around and layered to give different looks throughout the year without having to invest in extensive furniture changes.
So if you are ready to refresh your decor with some personalized touches, follow this step-by-step guide and learn how you can create beautiful cushion covers from start to finish.
Tools you Will Need
To get started, you will need the following tools:
- Fabric – You will need enough fabric to cover the size of your cushions. How much fabric you need depends on the size and shape of each cushion, so make sure to measure them before buying.
- Sewing machine
- Scissors or rotary cutter
- Thread
- Iron and ironing board
- Measuring tape
- Pins
8 Steps Guide on How to Make Cushion Covers
1. Measuring Your Cushion
Use a ruler and pencil to mark the dimensions on the edge of your fabric and cut with a craft knife or scissors.
Making your cushion covers may seem intimidating, but it is quite simple! To get the pieces you need to make your cover, start by measuring the size of your cushion. Make sure to use a ruler and a pencil to accurately mark the dimensions of the fabric you will cut out.
Then, you need to decide whether you plan to use a craft knife or scissors for making your precise cuts – both options can get the job done with ease! Finally, iron the pieces together and stitch them safely in place. With a few simple steps, you are now ready to enjoy your homemade cushion covers.
2. Pin Together the Right Sides
Sewing cushion covers are a great way to add a unique touch to any room in your home. To begin the project, you need to pin together the right sides of two pieces of fabric, using straight pins. This will help keep them securely in place when you sew them together.
By using straight pins instead of clips, you ensure that all essential details stay in place while being sewn, and be sure to check that the pins are evenly spaced so there is no risk of uneven stitching or loose seams. With all these steps in place, you’re ready to start sewing and adding your style and touch by creating cushion covers!
3. Sew Along the Pinned Edges
Leave a few inches unsewn to insert your cushion stuffing into the cover later on.
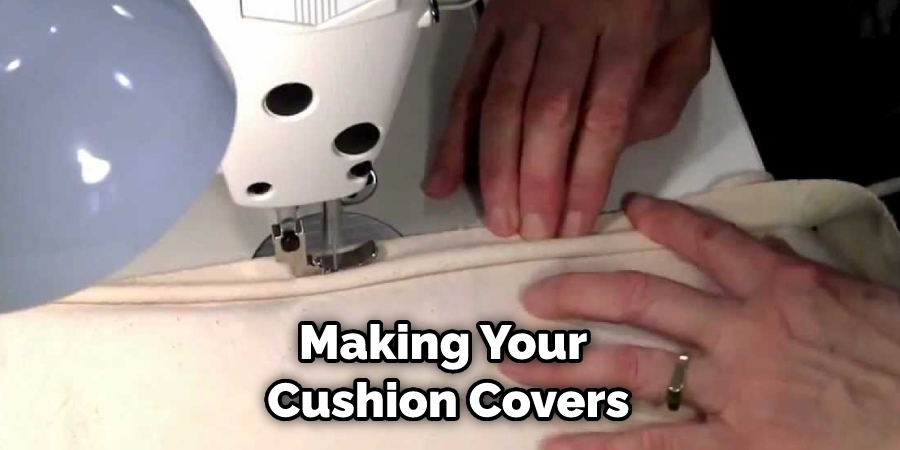
Once you have finished pinning the edges of your cushion cover, it’s time to start sewing. Starting from one corner, begin to machine stitch around the entire shape of your cushion, following closely along the pinned edge line until you reach the opposite corner.
Leave a few inches unsewn so that it is easier for you to insert your cushion stuffing when complete. This will give your pillow an exquisite and polished finish. With a few simple steps, you can easily make a beautiful cushion cover to perfectly suit your home décor!
4. Cut Off Any Excess Fabric
Making cushion covers can be a fun and creative way to give your space some personality. To get started, it’s best to cut off any excess fabric from the edges so the cover fits nicely around the cushion form. Then turn the cover inside out and sew along the edges, making sure to leave some of it open for inserting in the cushion form.
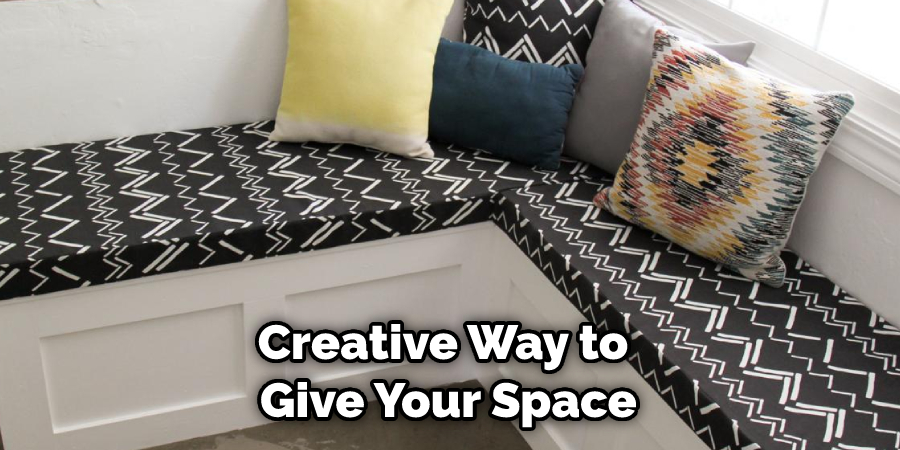
Once you have finished sewing all sides shut and inserted your cushion form, you are ready to sit back and admire your hard work! All in all, this simple DIY project is a great way to switch up the style of your home quickly and easily with minimal effort.
5. Insert Your Cushion Stuffing
Making cushion covers with your stuffing is an easy and economical way to quickly and effectively freshen up an old piece of furniture. To do this, all you need to do is turn the cover inside out and fill it with your cushion stuffing. Make sure you evenly spread it out within each corner and side before gently pushing it in with either a spoon or a stick.
Doing so ensures that the result looks neat and the stuffing does not move about when used. Once you have successfully stuffed the cover, simply turn the cover back to its original shape and close it off with sewing or zipping – whichever method applies depending on the design of your cover!
6. Sew Up Those Openings
Now that the edges of your cushion cover have been sewn, you need to close up one end of the cover. Take both open-ended pieces of the cover and pin them together, ensuring they fit neatly around the pillow.
Stitch together the pinned section as you did with the other edges in step three – use small stitches to make sure the seams are neat and secure. This should keep your cushion nice and snug on its pillow, so when it’s time to relax on your freshly completed piece of furniture, you’ll be able to enjoy it without any worries!
7. Turn the Cover Back
Making cushion covers can be a great activity to occupy your time and express your creative side. After sewing the cover inside out, the next step is to turn it back to the right side. The easiest way to do so is by finding any small openings that were made when sewing to gently and carefully turn the fabric inside out.
Doing this makes sure that all of your hard work will pay off, as you will have created a beautiful cushion cover that you can add character and warmth to any living space!
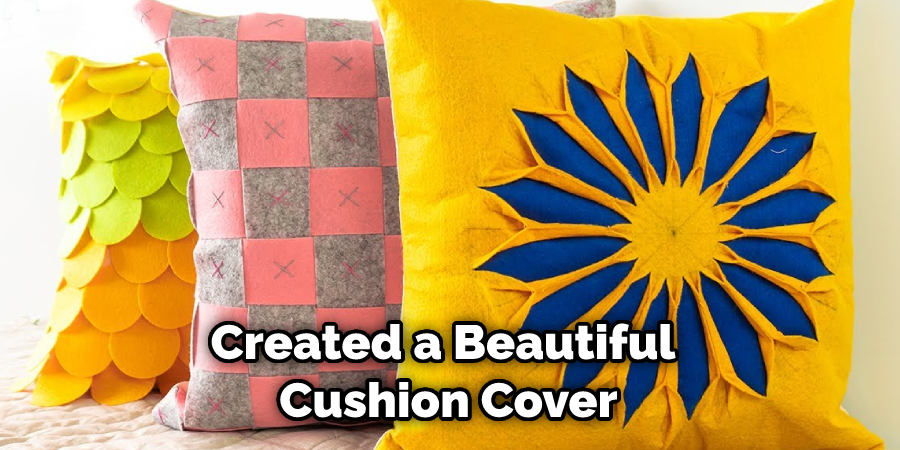
8. Press Your Cushion Cover
After you’ve chosen the fabric and designed a pattern, it’s time to put your creative cushion cover ideas into practice by sewing the pieces together. Once your cushion cover has been stitched together and zippered, you’re almost there!
All that’s left to do is iron the fabric flat so that your cushion cover can look professional and retain its crisp shape. To ensure a wrinkle-free finish, use a heavy cotton press cloth between your finished product and the iron.
Allow sufficient time for the cushion covers to cool before placing them on display or giving them away as gifts. In no time at all, you’ll have handmade pillowcases with personality!
That’s it! You have now learned how to make cushion covers. By following these simple steps, you can easily create beautiful handmade cushions that will add a unique personal touch to any room. Get creative and make all sorts of designs by playing around with fabric colors, textures, and shapes! Have fun crafting!
Tips for Making Cushion Covers
- Decide on the size of the cushion cover.
- Cut a piece of fabric that is twice the width of the cushion and 1 1/2 times the height of the cushion.
- Fold the fabric in half lengthwise and press it with an iron.
- Sew a seam along the long side of the fabric, using a sewing machine or needle and thread.
- Sew a seam along the short side of the fabric, leaving a 3-inch opening.
- Turn the fabric right side out and insert the cushion into the cover.
- Sew the opening closed using a needle and thread or a sewing machine.
- Repeat steps 2 through 8 for each cushion cover you wish to make.
- Enjoy your new cushion covers!
Frequently Asked Questions
How to Get Professional Results Making Cushion Covers at Home?
Crafting custom cushion covers is a great way to make your home feel more inviting and personalized. Getting professional results at home requires some patience, skill, and the right tools for the job. Start by choosing a heavy-duty fabric that stands up to wear and tear.

Make sure to use an industrial sewing machine so that you can secure the seams correctly. Next, measure the pillow form carefully and account for any shrinkage in the material due to laundering. Cut with good quality scissors or a rotary cutter, then sew the pieces together before moving on to the decorative elements.
If you’re feeling ambitious, consider adding a zipper closure or piping trim to give it a polished look. With careful attention to detail and a bit of practice, you’ll be proud of your homemade cushion covers!
How to Add Personality and Comfort to Your Home with Homemade Cushion Covers?
Adding personality and style to your home has never been easier with homemade cushion covers! From patterned pillowcases to cute cartoon ones, these pieces can bring much-needed comfort and coziness to your living space.
With a few fabric pieces, some needles, and thread – or if you’re more of a modern crafter a sewing machine – you can easily create beautiful covers for different types of cushions.
And you don’t even need ideas or patterns – just pick up some bright colors, combine them as you wish, and voila! You’ve created something unique that will bring an upbeat feeling into your home.
How To Create Beautiful, Uniquely Designed Cushion Covers?
Creating beautiful, uniquely designed cushion covers can take a bit of time and effort but the result will make all the hard work worth it. If you’re short on ideas, taking inspiration from some of your favorite artwork or items around the house works well.
With some patience, you can create something wholly original and truly one-of-a-kind which will be sure to become a centerpiece of your decor. Start by gathering materials such as fabric—preferably one with a pattern or vibrant hue—as well as scissors, needles, and thread (or a sewing machine for more involved designs).
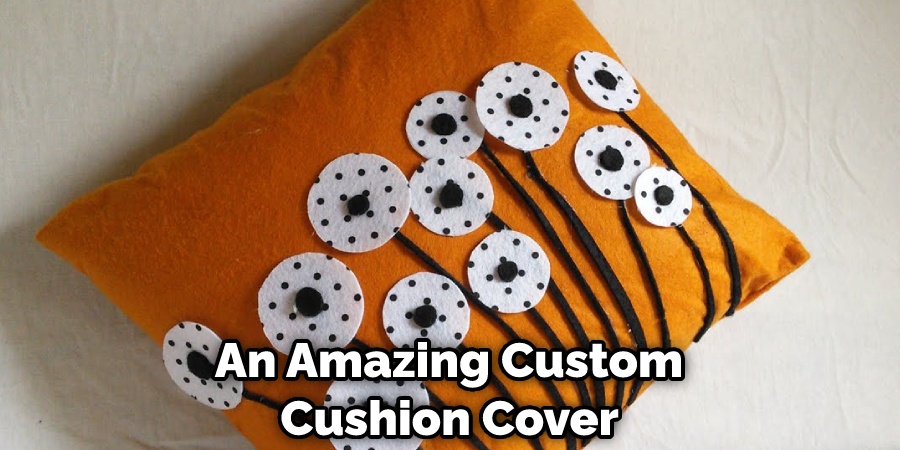
Once this is done you can move on to designing: use a paper template for size guidelines, cut out holes for buttons or draw shapes with a marker if desired. Finally, sew the different pieces together, and voila! You’ll have an amazing custom cushion cover that is sure to spruce up any home.
Conclusion
Now that you know how to make your cushion covers, will you be giving them a try? You should carefully determine and observe how to make cushion covers. Cushion covers are an easy way to add a personal touch to your home decor and they make great gifts too! If you do give it a go, be sure to share your photos and results with us in the comments below. We’d love to see what you come up with!
You Can Check It Out To Make Paper Pine Cones

