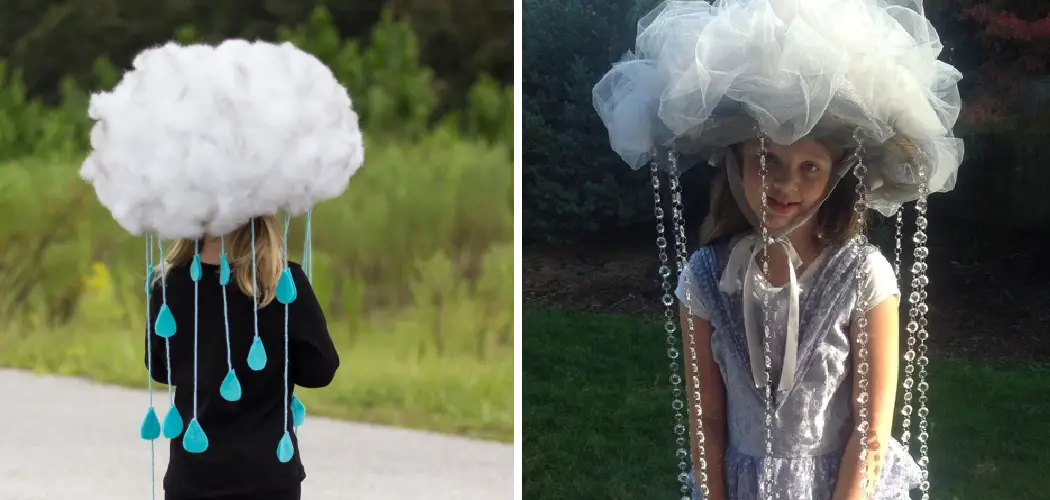
A cloud costume is a whimsical and creative choice for various occasions, from Halloween to costume parties and school plays. Crafted with fluffy materials and a touch of imagination, a cloud costume can transform you into a walking, floating cloud, adding a charming and ethereal element to your ensemble.
In this comprehensive guide, we’ll explore the step-by-step process of how to make cloud costume.
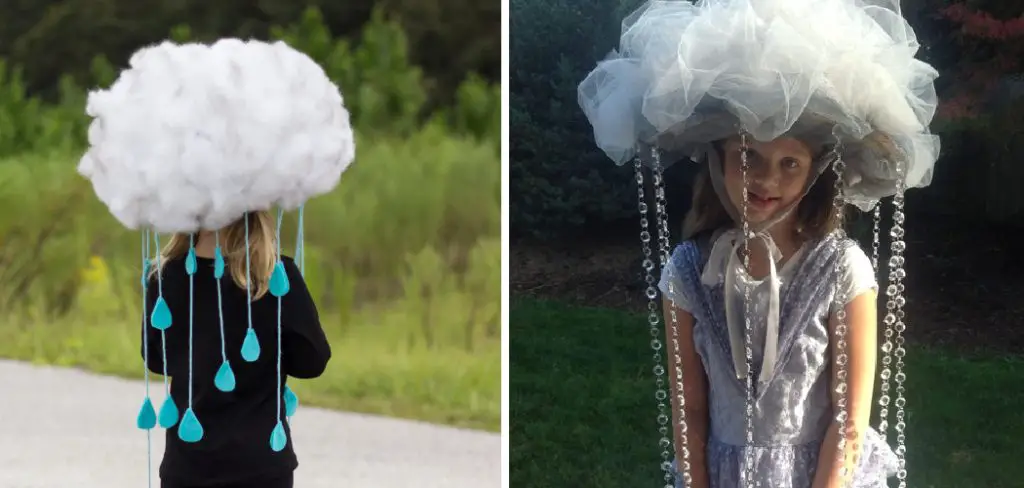
Whether you’re a DIY enthusiast looking for a fun project or a parent helping your child prepare for a school event, these instructions will lead you through the crafting journey. With some readily available materials and a dash of creativity, you’ll soon be ready to bring the sky down to Earth with your unique cloud costume creation.
The Appeal of a Cloud Costume
Making a cloud costume is an excellent choice for anyone looking to make their own unique and creative Halloween costume. Its fluffy, wispy shape offers a lot of scope for experimentation, and lends itself well to the use of bright colors or interesting materials.
Best of all, it can be easy to assemble with the right supplies. With just a few simple ingredients, you can make a fun, eye-catching costume that will be sure to turn heads!
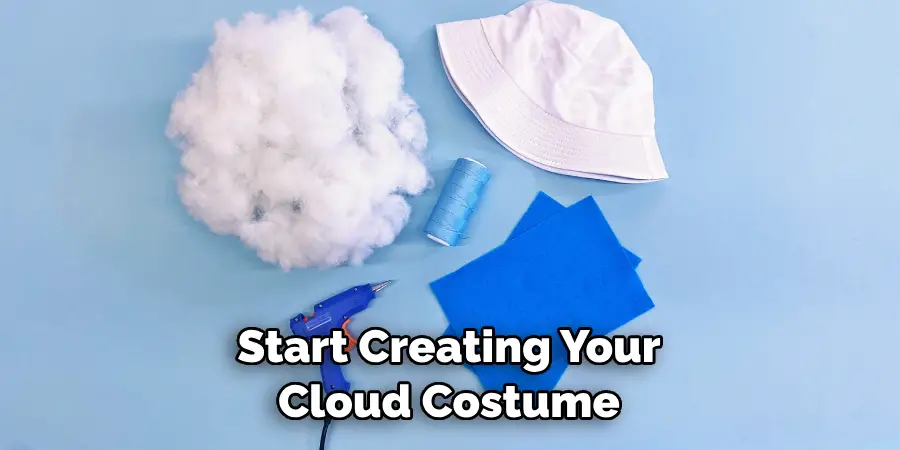
To get started on your DIY cloud costume, you’ll need some basic materials. These include white felt or fleece fabric, polyester stuffing material, scissors, and either a sewing machine or needle and thread. The type of fabric you choose for your costume should be lightweight yet sturdy enough to hold the stuffing in place. You’ll also need fabric paint, glue or sequins for decoration.
Once you have all of your supplies together, you can begin constructing the costume itself. Start by cutting out a large oval shape from the white felt or fleece; this will form one half of the cloud’s body. Then, cut two more ovals for the other half and stitch them together. To create a fluffy look, fill the cloud costume with stuffing material until it’s nice and thick.
If you want to add some extra pizzazz to your cloud costume, use fabric paint or sequins to decorate it. You could also glue some cotton balls onto the surface of the costume for an even more whimsical look. With a bit of creativity, you can really make your cloud costume stand out!
Determining the Type of Cloud Costume You Want To Make
Before you start creating your cloud costume, it’s important to decide what type of cloud you want to make. Do you want a cumulus cloud? Or are you more interested in making a cirrus or stratus? Once you have chosen which type of clouds, then it’s time to get started!
Once you’ve decided on the type of cloud you want to make, it’s time to start gathering all the materials and supplies needed for your costume. Gather fabric in various shades of white and light blues, as well as stuffing material such as cotton balls or foam balls. You can also add wisps of yarn for an extra layer of texture.
Next, trace out the shape of your cloud onto fabric and cut it out. Make sure to use a generous amount of fabric so that you have enough room for stuffing and other material. Sew the edges together to form your base shape before adding in stuffing or other materials.
Once you’ve sewn the basic shape together, it’s time to start adding decorations. Use yarn or other materials to create clouds, stars, and moons. You can also attach small LED lights to the costume for a glowing effect in low-light conditions.
10 Steps How to Make Cloud Costume
Gather Materials
To make a cloud costume, you will need a white sheet, some white or light-colored fabric, cotton batting, a hot glue gun, scissors, and some ribbon or elastic. You will also need to have access to an iron and sewing machine. Before starting your project, make sure that you have all of the necessary materials on hand.
Cut Out the Pieces
Using the white sheet and fabric, cut out two large cloud shapes for the front and back of the costume. Make sure that they are large enough to fit around your body comfortably. You can use a plate or bowl as a template to help you get the right shape.
When you are satisfied with the shape, trim and adjust the edges as needed. Make sure that all the sides match up evenly and there are no jagged pieces sticking out.
Add Cotton Batting
Once you have cut out the pieces for your cloud costume, it is time to add some padding. Take the cotton batting and layer it between the two pieces of fabric for added warmth and comfort. Make sure that you spread it out evenly so that it covers all areas of the costume.
Once complete, you can then sew the two pieces together. It is important to make sure that all of the batting is securely tucked away before sewing to prevent any accidental poking or prodding. After you have completed the sewing process, your cloud costume will be ready for some fun!
Sew Together
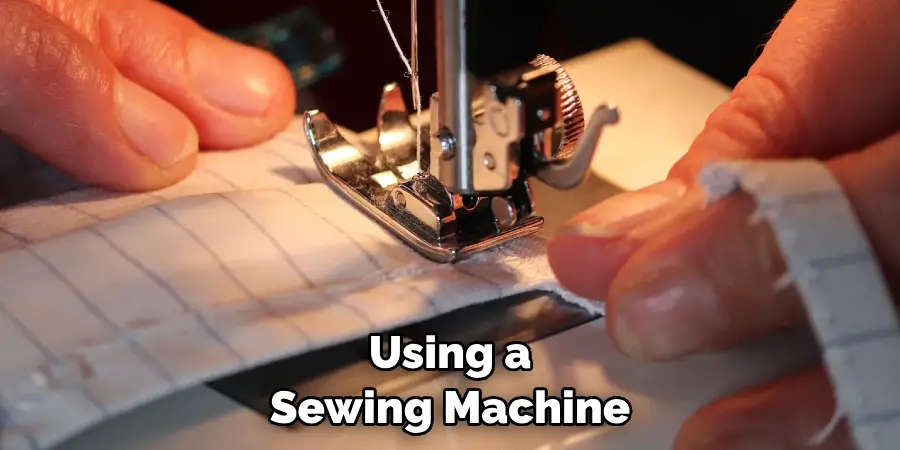
Once you have added the cotton batting, it is time to sew together your two pieces of fabric. Use a sewing machine to stitch them together along all four sides, making sure that there are no gaps or holes in your seams. Once complete, set aside until later in this process.
Iron Out Wrinkles
Before adding any decorations to your cloud costume, take an iron and go over both sides of the fabric in order to remove any wrinkles or creases from when you were sewing them together earlier on in this process. This will ensure that your costume looks neat and professional once finished!
Add Ribbon or Elastic
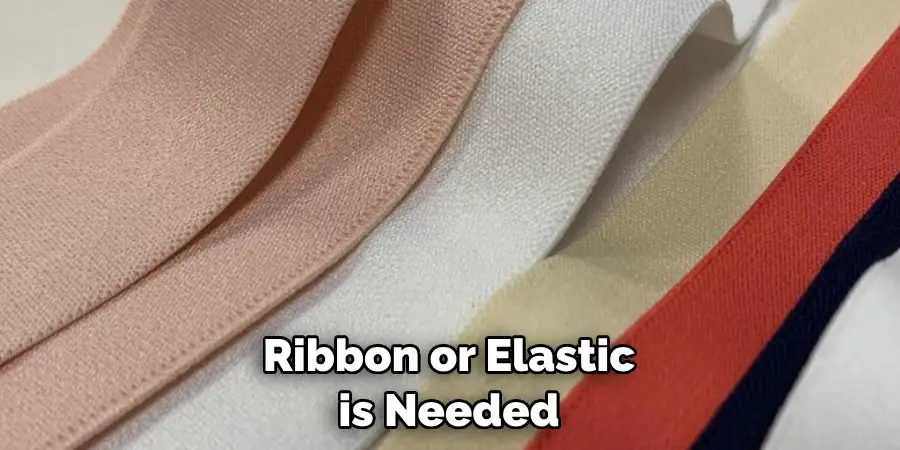
Next up is adding straps or ties onto your cloud costume so that it can stay securely in place while being worn by its wearer! Measure out how much ribbon or elastic is needed depending on where you want them placed on the costume (usually at shoulder level), then use a hot glue gun to attach them securely into place – just be careful not to burn yourself!
Decorate with Fabric Paint
Using either acrylic paint or fabric paint (depending on what type of fabric you are using), start decorating your cloud costume with various designs such as stars, moons, rainbows, etc. Be creative here and let your imagination run wild! Just remember not to go overboard with too many colors, as this could end up looking messy rather than cute!
Add Glitter
For extra sparkle and shine, add some glitter onto certain parts of your cloud costume, such as stars or rainbows that were painted on earlier – this will give them an extra special touch! Again be careful not to overdo it here, as too much glitter can look tacky rather than pretty!
Attach Clouds Together
Now it’s time for assembly! Place both sides of your cloud costume together (right side facing each other), then use pins to hold them in place before using a sewing machine again (or hand stitching if preferred) in order to attach both pieces together along all four edges – don’t forget about leaving an opening somewhere along one side so that whoever wears this can easily slip their arms through without having any problems later down the line!
Final Touches
The last step is adding any final touches, such as pom-poms around the neckline/hemline area for extra fun factor – alternatively, if pom-poms aren’t available, then simply attaching ribbons/elastic around these areas should do just fine instead! Once everything has been attached securely then voila -you now have yourself an adorable homemade cloud costume ready for its first wear!
Things to Consider When Making Cloud Costume
Making a cloud costume can be a fun and creative project. But before you get started, there are some things to consider before beginning the process of making your own cloud costume.
First and foremost, decide which type of materials you would like to use for your costume. Choose something lightweight that will allow enough room for movement and flexibility, such as tulle or chiffon. Cotton fabric is also a great option and can be used to add texture and color to your costume.
Then you will want to figure out the design and colors of your costume. Use accessories such as feathers, glitter, rhinestones or beads to create an eye-catching look that will stand out in a crowd. If you’re feeling extra creative, consider making your own designs to add some personality and uniqueness to your costume.
Additionally, consider the logistics of actually wearing the costume. Make sure you have enough room for comfortable movement and can easily take it off or put it on as needed.
Conclusion
Making your own cloud costume can be an enjoyable and rewarding experience. Along with providing a sense of accomplishment, it offers you the opportunity to express your creativity and have fun experimenting. Once all the materials are gathered, the construction of the costume itself is quite easy.
To complete the look, don’t forget to add details such as white or grey fluffy fabric sticking out from none areas that may appear empty on your costume.
Ultimately, this project can be done rather quickly, especially if you already have most of the supplies at home. If you’re looking for a great way to make an awesome cloud costume for Halloween this year, our tutorial should provide all the information you need to create something outstanding in no time!
Hopefully, this article gave you some helpful tips about how to make cloud costume successfully, so now that you have the proper knowledge on how to get the job done, why not give it a try today?
You Can Check It Out to Crochet a Cloud

