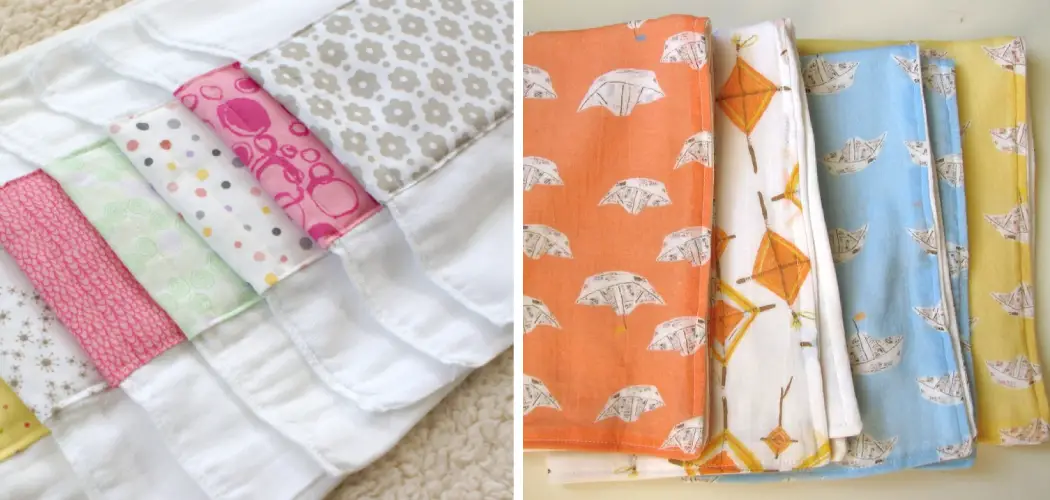
Are you looking for a fun way to make your baby’s burps look stylish? Then why not try making burping clothes? Not only are they incredibly easy to make, but you can also customize them however you like – giving them an extra-special touch that will both look great and show off your love as a parent.
Keep reading on how to make burping cloths to find out how to craft these adorable little clothes with just some fabric, scissors, and sewing supplies!
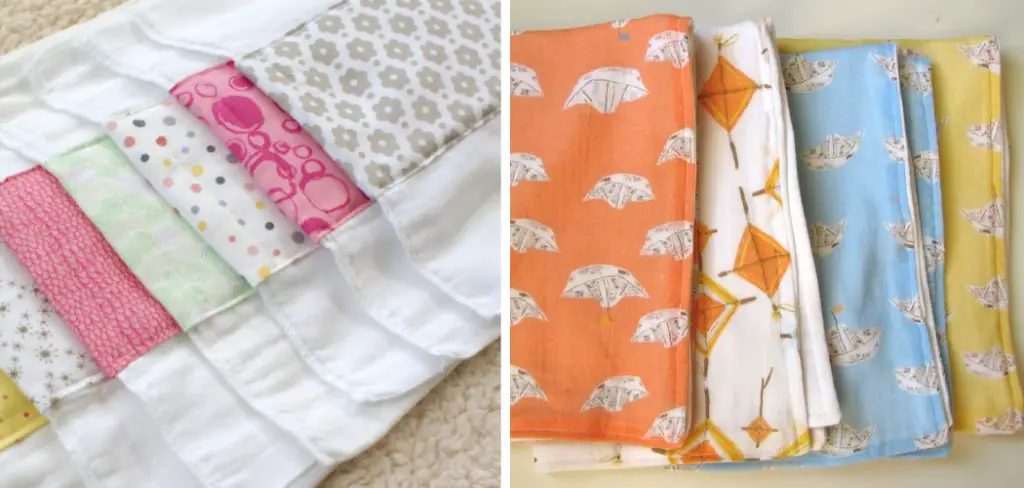
What are Burping Cloths?
Burping cloths are often called “burpies” or “burp rags” and they’re small pieces of fabric that are used to protect your clothing and furniture when burping a baby. You simply place the cloth over your shoulder while holding the baby, so their mouth is close to the material. This way, any spit-up can be easily contained and cleaned up quickly with a wash of the cloth.
Necessary Tools and Materials
Given below is an overview of the materials and tools that you’ll need for making burping cloths.
- Fabric (Like Flannel, Cotton, Etc.)
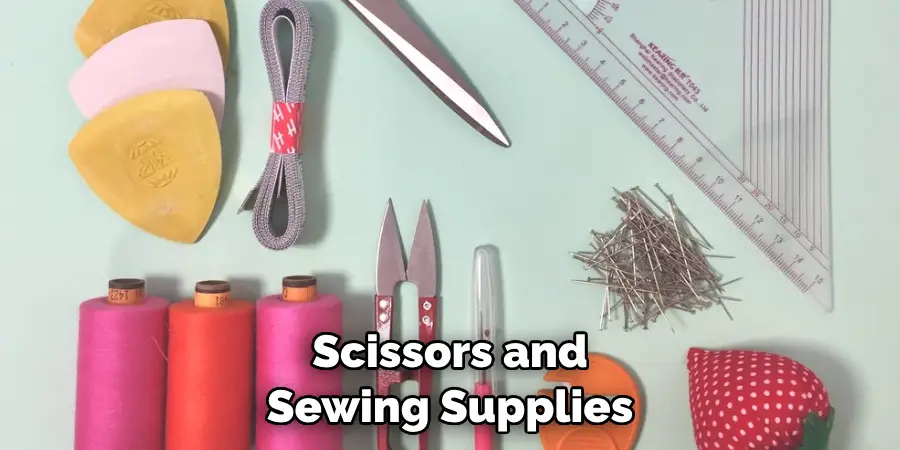
- Sewing Supplies (Scissors, Pins, Thread, a Needle)
- An Iron
- A Sewing Machine (Optional)
9 Step-by-step Guides on How to Make Burping Cloths
Step 1: Choose a Fabric
The type of fabric you use will determine how absorbent and comfy your burping cloths will be, so make sure to choose something that’s both soft and absorbent – like flannel or cotton. It’s best to opt for fabric with a tight weave so that cleaning and washing them later won’t be too difficult. It’s also a good idea to pre-wash your fabric before starting on your project in order to achieve the best results.
Step 2: Cut out the Fabric
Cut the fabric into squares or rectangles of your desired size. A good rule of thumb is to make the size of the burping cloth slightly larger than your baby’s shoulder width as this will help keep any spills from getting on their clothes.
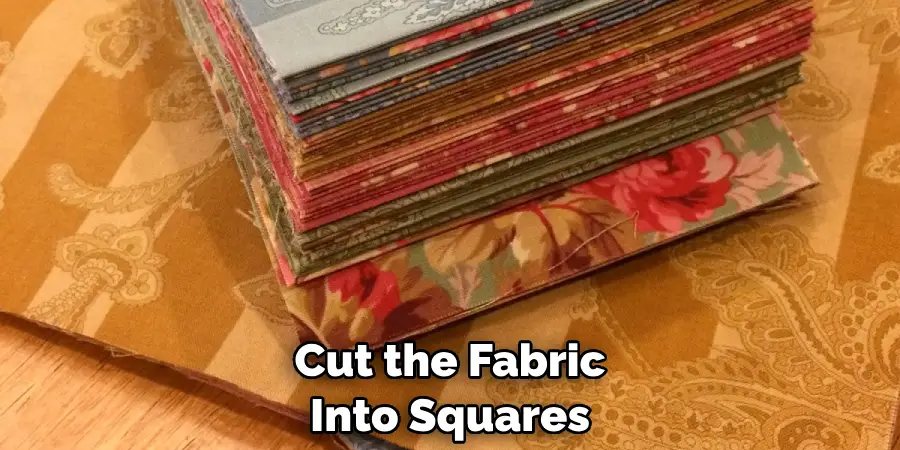
But feel free to experiment with different sizes and shapes and get creative! It’s your burping cloth after all. But make sure to leave a small seam allowance (around ¼”) when cutting out your fabric.
Step 3: Hem the Edges
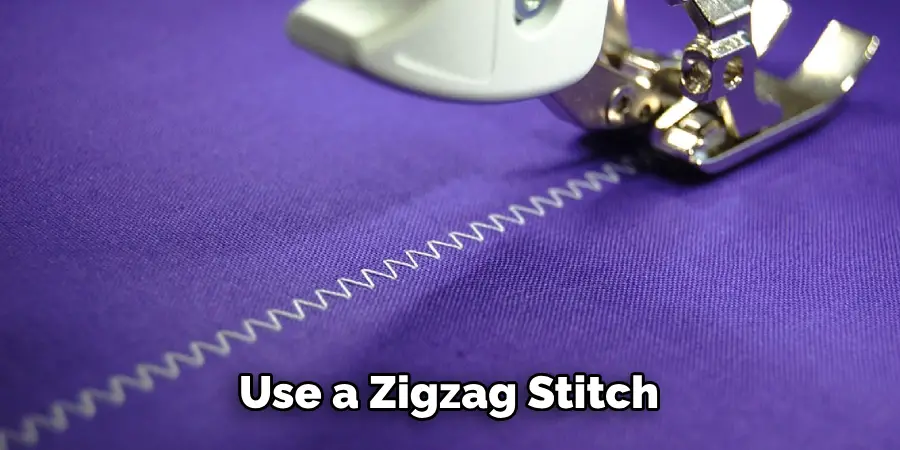
Press the edges of your fabric pieces with an iron. This will help make sure your burping clothe’s edges don’t fray over time. To further secure the edges, you can opt to sew a hem around them. It’s best to use a zigzag stitch for this so that it won’t unravel too easily. This step is optional, though, so feel free to skip it if you wish! You can also use bias tape to give your burping clothes a professional finish.
Step 4: Sew the Cloth Pieces Together
Place two of your fabric pieces together, the wrong sides facing out, and pin them in place. Begin sewing from one corner to another using a simple running stitch, making sure to go over each corner several times for extra strength. You can use a sewing machine if you prefer, though it’s not necessary. It’s also recommended that you reinforce the corners with extra stitching.
Step 5: Secure the Seams
Once you’ve finished sewing the pieces together, secure the seams by stitching a few more stitches along them. This will ensure that your burping cloths can withstand regular use and frequent washings.
But make sure to leave enough room for the fabric to stretch without breaking. However, it’s best to use a zigzag stitch instead of a straight stitch for this step – as the former will help prevent fraying.
Step 6: Add Embellishments
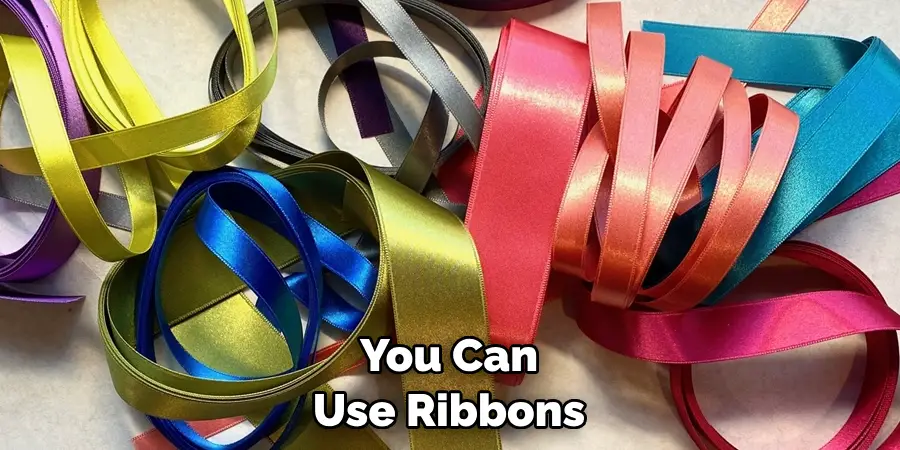
To make your burping clothes even cuter, why not add some decorative touches? You can use ribbons, appliques, buttons or any other embellishment of your choice. Have fun and get creative! It’s also a great way to make the burping clothes more personal and special for your baby. You can also add embroidery if you’d like. This can be done by either hand or using a machine.
Step 7: Iron the Clothes
Once you’ve added all the decorative touches, give your burping cloths a good press with an iron to make sure the pieces lie flat and all the edges are neat. This will also help set the stitches in place so that they don’t move after a few washings. Although this step is completely optional it is highly recommended as it will give your burping cloths a professional and neat finish.
Step 8: Add a Label
To make sure you don’t mix up your homemade burping cloths with store-bought ones, add a label or tag onto each one. A simple handwritten note or piece of fabric with the date and your baby’s name should do the trick. It’s also a great way to make your burping clothes extra special. This step is entirely optional, though, so feel free to skip it if you like.
Step 9: Enjoy!
You’re all done! Now you can enjoy using your handmade burping cloths whenever needed. And don’t forget to throw them in the wash regularly to ensure they stay clean and fresh!
It’s also a good idea to make several burping clothes in advance so that you always have clean ones on hand when needed. Always make sure to use fabric softener when washing your burping cloths in order to keep them nice and soft.
Making burping clothes is a great way to show off your creativity and make sure that your baby’s burps will look as stylish as can be. We hope these step-by-step instructions on how to make burping cloths have been helpful in guiding you through the process. So why not give it a try? You won’t regret it!
Do You Need to Use Professionals?
While making burping clothes is incredibly easy to do, some people might prefer to hire a professional for the job. This is especially true if you don’t have much sewing experience or don’t feel confident in your ability to make them. Hiring a professional can save you time and ensure that you get exactly what you want – so it might be worth considering.
However, if you’re looking for a cheaper and more personal option, why not ask a friend or family member to help? It’s always nice to have someone with experience on hand to offer advice and support – so it can be great fun (and cost-effective) to make burping cloths together! Whichever route you decide to take, we wish you luck in your burping cloth-making journey.
Tips and Tricks
- When Cutting Out the Fabric Pieces, Try to Make Sure They’re as Even as Possible. This Will Ensure Your Burping Cloths Look Neat and Professional.
- If You’d Like to Add Some Extra Padding to Your Burping Cloths, Consider Adding a Laye of Flannel in Between the Two Pieces of Fabric You’ll Be Sewing Together.
- Experiment with Different Embellishments and Colors to Make Your Burping Cloths as Unique and Special as Possible.
- Don’t Forget to Label Each Cloth – This Will Help Keep Things Organised!
- If You Have Any Leftover Fabric, You Can Use It to Make Matching Bibs or Small Blankets for Your Baby.
- Have Fun and Enjoy the Process! Making Something with Your Own Hands Is a Wonderful Feeling!
Making your own burping clothes is a great way to show off your crafty side as a parent. With just some fabric, scissors, and sewing supplies, you can create something that’s both cute and functional. So why not give it a try? You won’t regret it!
Frequently Asked Questions
Q1: How Big Should the Burping Cloths Be?
A1: It’s best to make them slightly larger than your baby’s shoulder width. This will help keep any spills from getting on their clothes. It’s also a good idea to experiment with different sizes and shapes – get creative!
Q2: What Type of Embellishments Should I Use?
A2: The sky’s the limit! You can use ribbons, appliques, buttons or any other embellishment of your choice. Have fun and get creative! It’s also a great way to make the burping cloth extra special and unique.
Q3: Can I Use These Burping Cloths Over and Over Again?
A3: Absolutely! To ensure your burping cloths can withstand regular use and frequent washes, be sure to secure the seams by stitching a few more stitches along them. And don’t forget to throw them in the wash regularly to keep them fresh and clean.
Q4: What Other Uses Can I Get Out of These Cloths?
A4: Aside from using them to burp your baby, these cloths can also be used as a washcloth in the bath, a small blanket for your baby when they’re cold, and even as an absorbent bib. So get creative and find new ways to use them!
Conclusion
Now that you know the basics of how to make burping cloths, you have all the tools necessary to get started. With patience and skill, you can turn your fabric scraps into beautiful works of art that will help protect your clothing from any messes.
So why not give it a try? Grab some fabric, a needle and thread, and some stuffing, and create something unique that is both stylish and functional. You’ll be amazed at what you can do with a few basic supplies and a bit of creativity!
And if you don’t feel up to making one yourself, no worries; there are plenty of amazing handmade burping cloths for sale online. No matter which route you choose, burping clothes makes for great baby gifts too!

