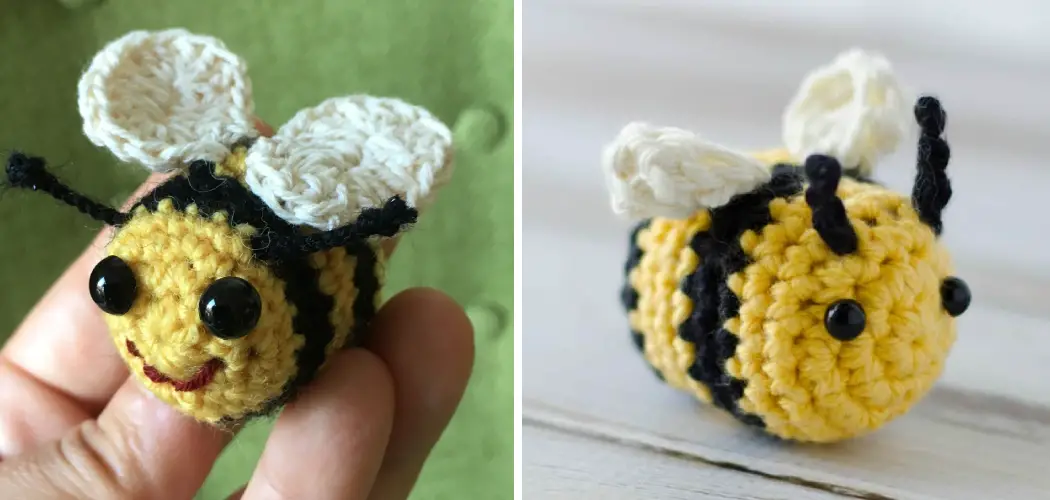
Crocheting, a delightful craft that turns yarn into whimsical creations, invites you to explore the world of oversized charm with a jumbo bee project. Crocheting a jumbo bee is a captivating endeavor that combines the intricacy of stitches with the joy of crafting a larger-than-life amigurumi.
The artistry of shaping yarn into an adorable bee, magnified for extra impact, brings forth a sense of accomplishment and creativity.
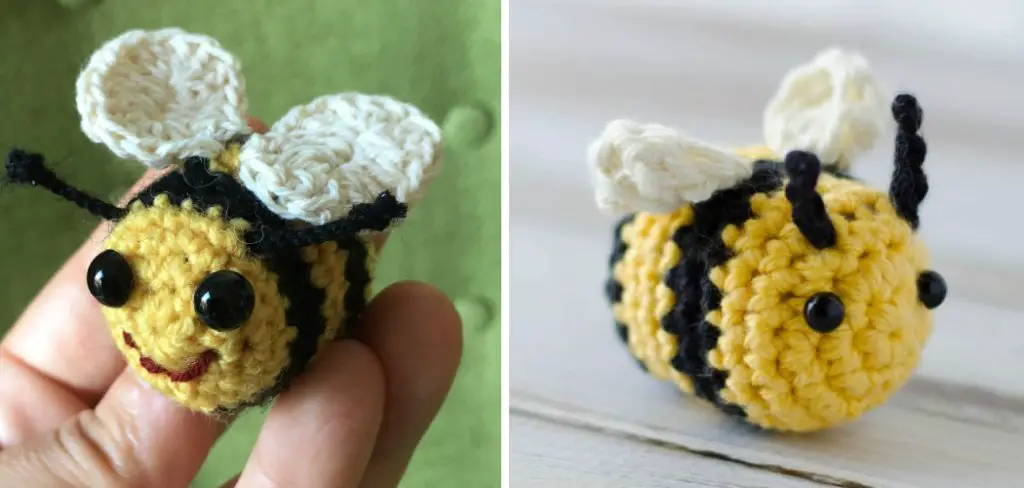
This project not only showcases the versatility of crochet but also offers a chance to immerse yourself in a captivating process that results in a remarkable finished piece. In this article, we will delve into how to crochet a jumbo bee, guiding you through each step to create a whimsical and attention-grabbing amigurumi that is sure to capture hearts and spark conversations.
The Appeal of Crocheting a Jumbo Bee as a Unique and Eye-Catching Project
Once you crochet a jumbo bee, it’s sure to become a conversation starter. This fun and unique project will add an interesting element to any room or patio! Plus, crocheting your own bee is a great way to show off your skills as a crafter while also making something that’s incredibly cute and eye-catching. With the right supplies and instructions, you can easily learn how to crochet a jumbo bee.
Before starting your project, be sure to gather the necessary supplies and review the pattern instructions. To make this project easier, it’s recommended that you use a Jumbo-sized 12mm crochet hook to create each piece separately before joining them together.
Also, you’ll need some colorful yarn (preferably in bright yellow and black), a tapestry needle, scissors, fiber fill stuffing, safety eyes, and some stitch markers.
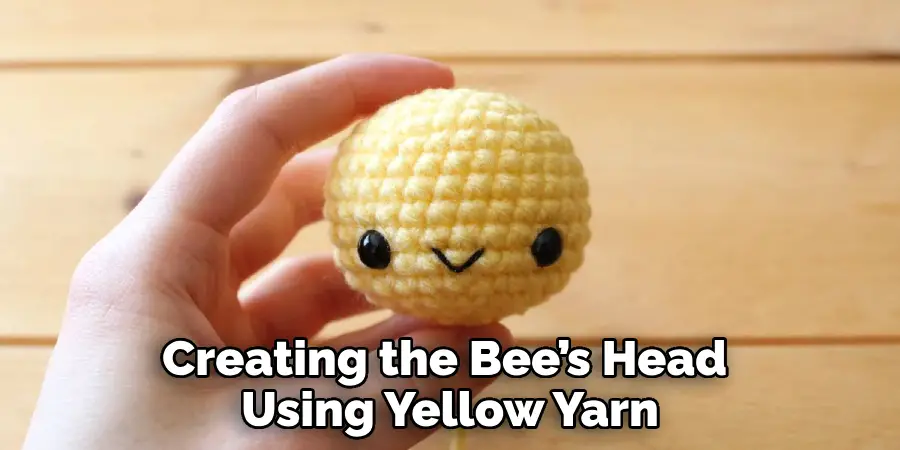
Once you have all of your supplies ready, it’s time to get started! Begin by creating the bee’s head using yellow yarn. Make sure to leave a long tail for sewing later on. After that, you can move onto the body and wings by following the pattern instructions and using black yarn.
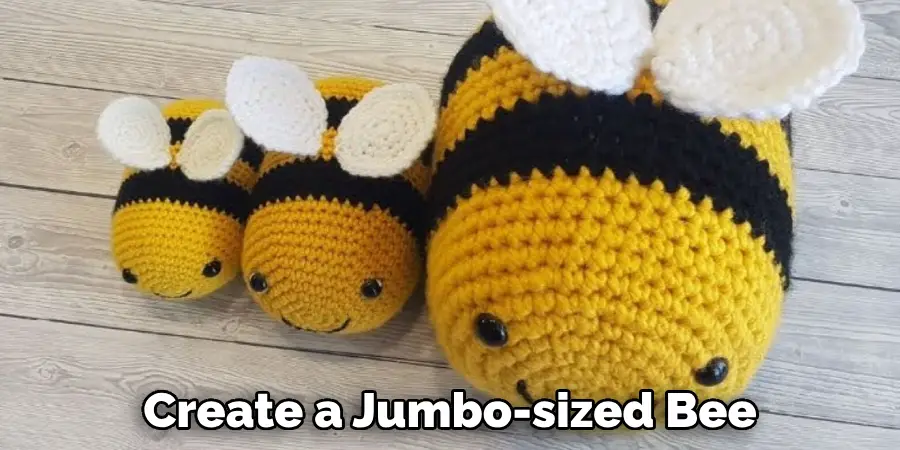
The Blend of Creativity and Skill Required for This Endeavor
Crocheting a jumbo-sized bee isn’t your typical craft project. It requires a combination of creativity and skill to ensure the finished product will look as good or better than what you envisioned. This guide will provide you with all of the necessary materials, step-by-step instructions, and helpful tips to help you create this unique piece of art that will bring a smile to your face each time you look at it.
The materials that are required for this project include: worsted weight acrylic yarn in yellow, black, and white; and an appropriate crochet hook size (H-8/5mm is recommended). You’ll also need scissors, stitch markers, and a large-eyed needle.
Once you’ve gathered all of the necessary supplies, it’s time to start crocheting! Begin with the yellow yarn and make a magic circle. This will be the bee’s body. Then continue making single crochet stitches around the circle until you reach your desired size (an 8-10 inch diameter is ideal). Make sure to mark your last stitch for counting purposes.
Next, switch to the black yarn and make a single crochet stitch in each stitch of the yellow circle. When you’ve reached the end, slip stitch into the first single crochet to join and fasten off. This will be the bee’s head.
11 Steps How to Crochet a Jumbo Bee
Step 1: Gather Your Materials and Find Inspiration
Before you embark on crocheting a jumbo bee, gather all the necessary materials and seek inspiration for your project. Here’s what you’ll need:
Crochet hooks: Choose a large hook size that matches your selected yarn weight. This will help create a jumbo-sized bee.
Yarn: Opt for black and yellow yarns for the body, and white and black yarns for the eyes and details.
Fiberfill stuffing: This will give your bee its volume and shape.
Safety eyes or embroidery thread: Safety eyes are recommended for a polished look, but you can also embroider eyes using black and white yarn.
Yarn needle and scissors: Essential tools for weaving in ends and sewing parts together.
Wire (optional): Thin wire to provide structure and poseability to the bee’s antennae and limbs.
Black pipe cleaners (optional): For creating bendable legs.
As you gather materials, explore bee-themed crochet patterns, images, and nature references to inspire your jumbo bee’s design.
Step 2: Choose a Pattern or Design
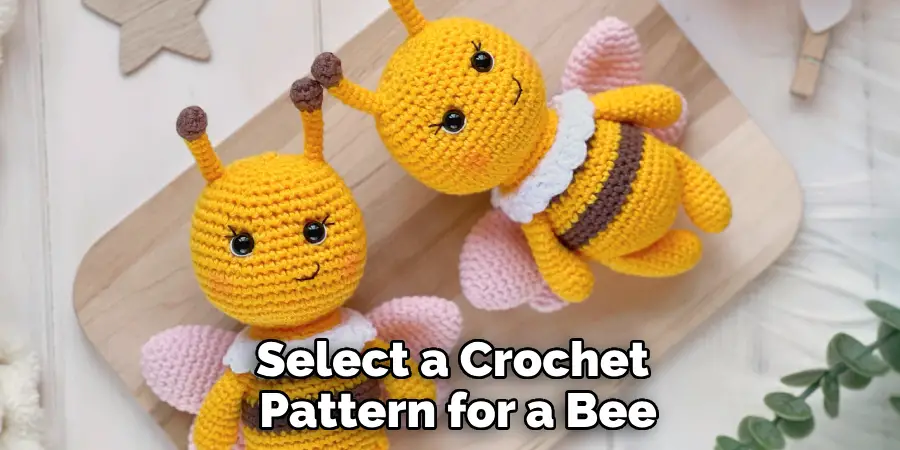
Select a crochet pattern for a bee that matches your skill level and desired jumbo size. Be sure to read through the pattern instructions thoroughly before starting. Choose a pattern with clear instructions, allowing for easy and efficient crocheting.
Step 3: Begin with the Body
Start by crocheting the body of the bee using the black and yellow yarns. Usually, you’ll begin with a magic ring and work single crochet stitches in continuous rounds to form a cylindrical shape. Follow the pattern’s stitch counts and rounds closely.
Step 4: Add Fiberfill Stuffing
As you crochet the body, periodically stuff it with fiberfill to give the bee its shape and volume. Stuff the body firmly but not so much that it becomes overly stiff.
Step 5: Create the Head
After completing the body, continue working in rounds to create the bee’s head. Increase stitches gradually to form a spherical shape. Before closing the head, insert the safety eyes or embroider the eyes using white and black yarn.
Step 6: Craft the Wings
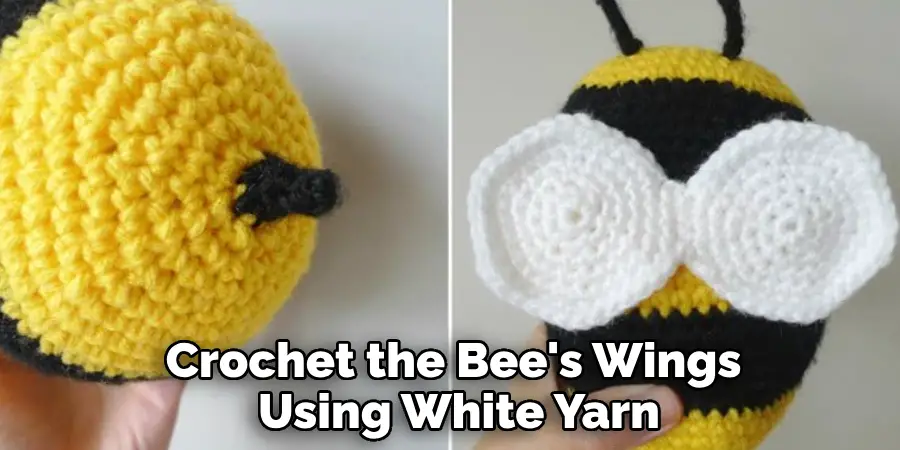
Crochet the bee’s wings using white yarn. These can be simple oval shapes or more intricate designs, depending on your chosen pattern. Attach the wings to the body using a yarn needle, positioning them on the sides of the bee.
Step 7: Shape the Antennae and Legs
To create the antennae, use wire if desired to give them structure and bendability. Crochet over the wire with black yarn, leaving a loop at the top for the antennae’s tips. Attach the antennae to the bee’s head.
If you’re using pipe cleaners for the legs, attach them to the body by crocheting around them with black yarn. If not, crochet the legs directly onto the body.
Step 8: Add Details and Features
Use black yarn to embroider stripes on the bee’s body, creating the classic striped pattern. You can also embroider a small smile or mouth on the head using black yarn. These details bring your bee to life. You can also add wings with black yarn to give your bee a more realistic look.
To finish, attach two wiggly eyes or small felt pieces to the head and use green yarn to create antennae atop the head. Your jumbo bee is now complete and ready for play!
Step 9: Shape and Pose the Bee
If you used wire for the antennae, you can bend them into different poses to give your bee personality. Arrange the legs to create a natural stance or pose. Finally, choose a spot for your bee and carefully insert the antennae into it.
Step 10: Finishing Touches
Once you’re satisfied with the bee’s appearance, weave in any loose yarn ends using a yarn needle. Adjust the stuffing and overall shape as needed. And, if you’d like, add some extra details such as eyes, antennae, a cute smiley face or other decorations to make your bee truly unique.
Step 11: Display Your Jumbo Bee
With your jumbo bee completed, you now have a unique and eye-catching crocheted creation. Display it as a whimsical decoration in your home, use it as a centerpiece, or give it as a gift to someone who appreciates your crochet skills and creativity.
Things to Consider When Crochet a Jumbo Bee
When you decide to crochet a jumbo bee, there are several things that you should consider. First and foremost, determine the size of the bee you would like to make. If your goal is to make a large jumbo bee, then it is best to use thick yarn and a large hook so that your stitches will be nice and tight. You will also need safety eyes and stuffing to make the bee’s body.
Once you have gathered all of your materials, it is time to start crocheting. To get started, create a large magic circle and chain six stitches. This will give you a total of seven loops on your hook. From here, single crochet into each loop around until you reach the desired height for your bee’s body. When you are done, do not fasten off, but instead join the first and last stitches with a slip stitch.
Conclusion
It’s time to spread your wings and create a jumbo bee. Gather up your supplies, get creative, and have fun making a bee-utiful new friend! With a few basic crochet stitches, you too can learn how to crochet a jumbo bee.
The end result will be something truly unique that you can proudly display in your home or give away as charming gifts. And don’t forget to add personal touches like buttons for the eyes or felt for the body so that your bee stands out from all the rest. So get started now and show us what amazing things you can come up with when crocheting a jumbo bee!

