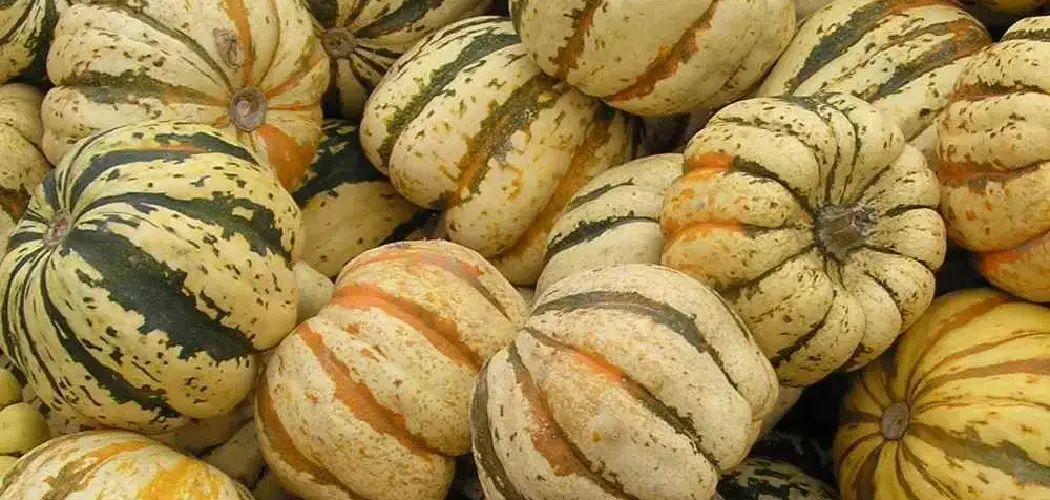
Welcome to the harvest season! With fall coming into full swing, it’s time to get creative and crafty. Are you looking for a unique way to decorate your home this year? Why not make some adorable burlap pumpkins? This fun, simple project is perfect for giving your autumn decorations a rustic and charming vibe.
Best of all, you can customize each pumpkin in as many ways as you can imagine- from bow tie accents or seasonal embellishments like leaves and berries. Read on how to make burlap pumpkins and learn how to make these cute and festive decorations that will bring warmth and uniqueness into any room!
What Are Burlap Pumpkins?
You may be familiar with traditional pumpkins made of real or artificial materials, but burlap pumpkins are an especially charming variation. These handmade decorations are fashioned from a coarse and durable fabric that gives them a natural and rustic appearance.
The texture of these pumpkins adds depth to the decoration while still being soft enough to seamlessly blend in any room. Burlap is often associated with farmhouses, but this versatile fabric can work in any setting. Plus, it’s an inexpensive material that you can easily find at your local craft store.
Supplies You Will Need
- Burlap
- Scissors
- Twine or Jute Rope
- Poly-fil or Stuffing Material of Your Choice
- Hot Glue Gun and Glue Sticks
- Assorted Fall-themed Decorations (Optional)
11 Step-by-step Guides on How to Make Burlap Pumpkins
Step 1: Prepare Your WorkSpace
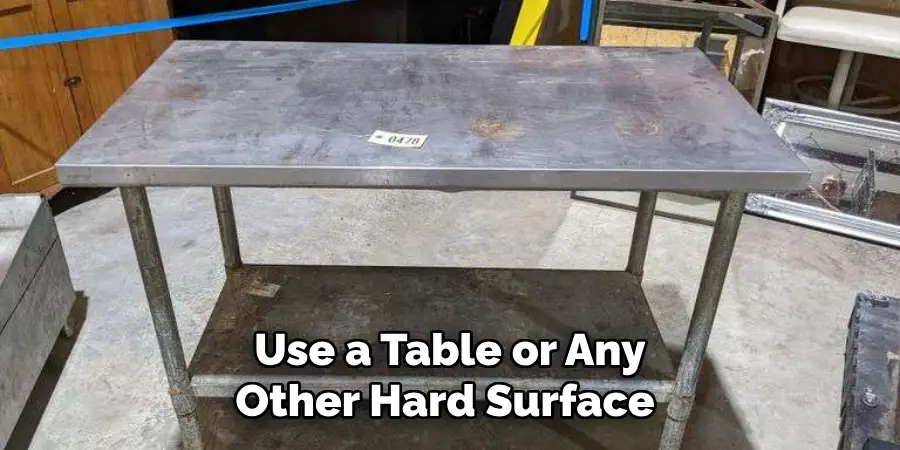
Gather all your supplies and clear a flat surface to work on. You can use a table or any other hard surface that’s comfortable for you. It’s best to have a clean and spacious area, so you can easily move around and not worry about making a mess. Otherwise, cover your workspace with a drop cloth or newspaper. But don’t forget to wear old clothes or an apron, as this project can get messy.
Step 2: Cut the Burlap
Measure and cut a rectangular piece of burlap approximately 12 inches wide and 18 inches long. You can adjust the size according to your preference, but remember that this will be the main body of your pumpkin. It’s best to stick with a base size that’s easy to work with for your first try. You can always make smaller or larger pumpkins later. This piece of burlap will be used to create a tube or funnel shape.
Step 3: Fold and Glue the Burlap
Fold the burlap in half lengthwise, with the printed sides together. Then apply hot glue along one long edge and press it down over the other long edge to create a seam. Secure both ends of the seam by adding hot glue to create a tube or funnel. You can also use fabric glue if you prefer. It helps maintain the shape of your pumpkin.
Step 4: Tie the Top of the Tube
Tightly tie one end of the tube with twine or jute, making a knot close to the edge. This will form the top of your pumpkin. The excess burlap sticking out above the knot will be used for creating pumpkin ribs. It’s best to have an inch or more of burlap remaining. But you can adjust this length according to your pumpkin’s size.
Step 5: Fill the Tube with Stuffing
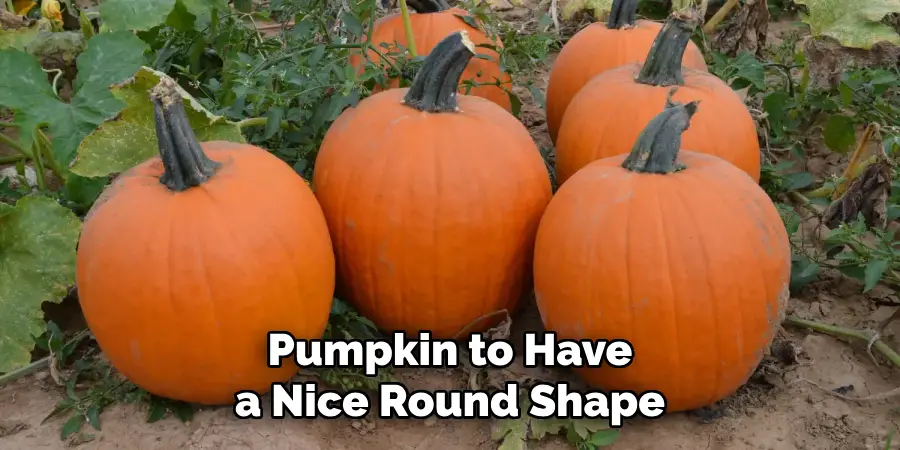
Sloppily stuff poly-fil or any other stuffing material into the tube. Fill it 3/4th of the way and make sure to push some filling into the corners. You want your pumpkin to have a nice round shape, so don’t overstuff it or leave too much space inside.
It’s best to work with smaller portions of filling at a time, so you can evenly distribute it and achieve the desired shape. You can also use scrunched-up newspaper or fabric scraps to stuff the pumpkin.
Step 6: Tie the Bottom of the Tube
Tightly tie the other end to close off the bottom of your pumpkin. Make sure to leave some excess burlap for creating pumpkin ribs, but try not to make it too much since you will be trimming off any additional fabric. You can adjust the tautness of the twine to modify your pumpkin’s shape. But you want to make sure it’s secure and holds the stuffing in place.
Step 7: Glue Pumpkin Ribs
Apply hot glue along one end of the pumpkin ribs. Firmly and tightly press it onto the bottom seam of your pumpkin, making sure that the burlap is evenly distributed around the knot. You can repeat this process until you reach the top of the pumpkin, securing the ribs along the way. You can also create a different rib pattern by varying the space between each one.
Step 8: Trim Excess Fabric
Once you have attached all the ribs and are happy with your pumpkin’s shape, trim off any excess fabric from both ends. Make sure to leave a small amount on top to form your pumpkin’s stem. Otherwise, you can add a stick or other embellishments in the next step. It’s best to use sharp scissors and be careful not to cut through the twine.
Step 9: Add a Stem
To add a stem, you can wrap twine or jute around one end of the pumpkin. You can also hot glue it in place if necessary. If you prefer a more realistic-looking stem, you can add a stick by poking it through the center of your pumpkin.
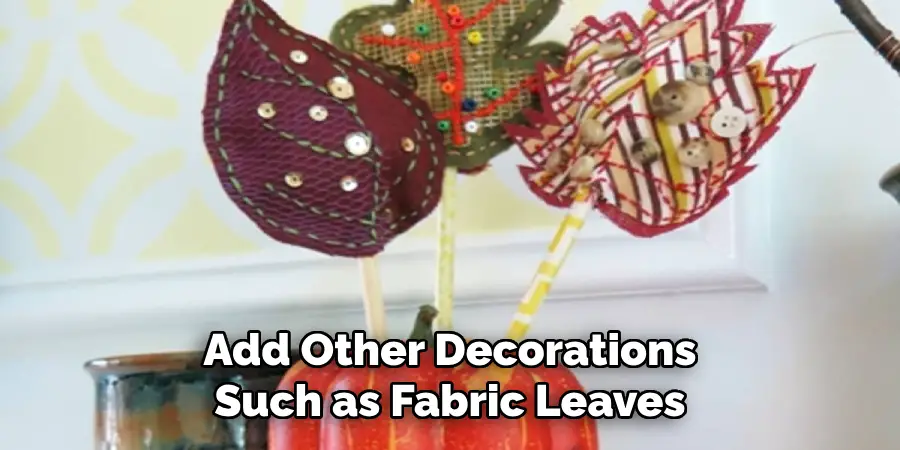
Just make sure to secure it with hot glue or wrap twine around it. You can also add other decorations, such as fabric leaves or ribbons, to give your pumpkin a personal touch.
Step 10: Accessorize
Once you are satisfied with the overall look of your burlap pumpkin, you can start accessorizing. You can use seasonal embellishments like faux leaves and berries, small twigs, decorative ribbons, or even paint. The possibilities are endless, and you can get as creative as you want. It’s best to use hot glue for a stronger hold, but be careful not to burn yourself.
Step 11: Display Your Burlap Pumpkin
Congratulations! You have successfully made your very own burlap pumpkin! Now it’s time to display it and enjoy the fruits of your labor. You can place it on your front porch, mantel, or anywhere else in your home for a touch of autumn charm. These burlap pumpkins also make great gifts for family and friends, so don’t hesitate to make more and spread the fall vibes! Happy crafting!
Following these step-by-step guidelines on how to make burlap pumpkins, you can easily make your very own burlap pumpkin. With a little creativity and some basic supplies, you can add a rustic touch to your home decor for the fall season. So why not give it a try? Happy crafting!
Tips and Tricks
- If you want to add more texture to your pumpkin, you can use different types of burlap, such as jute or linen burlap.
- You can also add more layers of burlap to give your pumpkin a fuller look.
- Experiment with different rib patterns, such as criss cross or diagonal, to create unique pumpkins.
- Instead of filling the tube with stuffing, you can also use dried beans or rice for a weighted bottom.
- Use fabric paint to add patterns or designs to your pumpkin before attaching the ribs. This will give it a more personalized touch.
- To achieve a more weathered and aged look, you can lightly spray the burlap with water and then crumple it before starting the project.
- Don’t be afraid to mix and match different colors of burlap to make a colorful pumpkin patch display.
- You can also use these steps to create smaller or larger pumpkins burlap pumpkins, just adjust the sizes of your burlap and filling accordingly.
- For a more eco-friendly option, you can use old t-shirts or fabric scraps instead of poly-fil for stuffing.
Frequently Asked Questions
Q: How Long Does It Take to Make a Burlap Pumpkin?
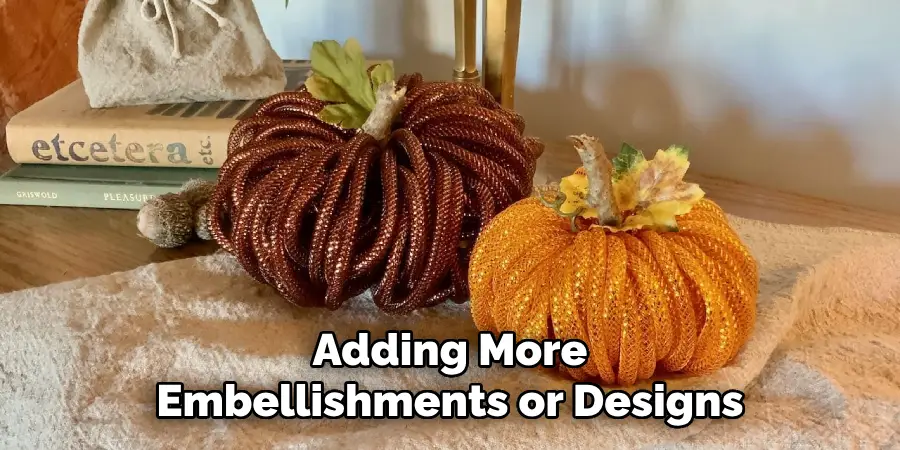
A: It can take anywhere from 30 minutes to an hour, depending on the size and complexity of the pumpkin. It may take longer if you are adding more embellishments or designs. It’s best to set aside some time and enjoy the crafting process.
Q: Can I Wash My Burlap Pumpkin?
A: Yes, you can wash your burlap pumpkin if needed. However, it’s best to spot clean with a damp cloth instead of fully submerging it in water. You can also use a fabric protector spray to make your pumpkin more resistant to dirt and stains.
Q: Can I Use Other Materials Instead of Burlap?
A: Absolutely! You can use other types of fabric, such as cotton or muslin, and follow the same steps to make a fabric pumpkin. You can also experiment with different textures by using faux fur or velvet for a unique look.
Conclusion
With a little bit of imagination, creativity, and the right supplies, you can easily make your own unique burlap pumpkins. Whether it’s for Halloween or Thanksgiving, these pumpkins are sure to add a special touch of sophistication to your home this season. All that is left is picking out your favorite colors and adding them to your home.
Don’t forget: these designs don’t have to be limited only to pumpkins – you can use the same techniques with any shape or size! So have fun creating your masterpiece with burlap and let the compliments come rolling in for your autumnal artistry. Thanks for reading this article on how to make burlap pumpkins.

