
Creating a bucket bag can be both fun and rewarding. Not only is it an easy project, but you will also have a beautiful accessory to show off at the end. With some practice, you will soon become skilled at making these bags. The great thing about making your own accessories is that you can personalize them with colors and fabrics of your choice, so you have a unique item that no one else has.
Depending on the size and shape of the bag, you can also receive compliments from friends and family or even strangers admiring your handiwork. Making a bucket bag offers many advantages. First, it is an easy sewing project that can be completed with minimal supplies and tools.

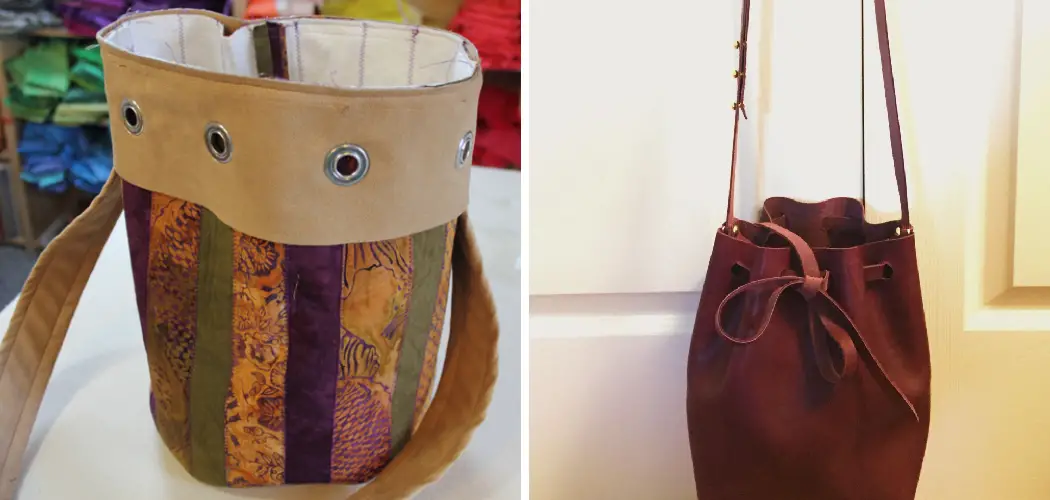
Second, the shape of the bag makes it very versatile; you can use it as a shopping tote, a beach bag, a stylish purse or even for storage. Thirdly, because the bottom of the bag is wide, it can fit a lot of items. In this blog post, You will learn how to make a bucket bag.
Step by Step Processes for How to Make Bucket Bag
Step 1: Inspect the Fabric
Choose a medium-weight fabric of your choice. It may be canvas, denim or even faux leather to make the perfect bag. Measure out two pieces for each side of the Bag. The measurements should be 19″ x 12″ and 17″ x 9 ½”. With these measurements, cut two pieces for each side and mark them.
Step 2: Sew the Pieces Together
Pin the 19” x 12” piece to the 17” x 9 ½” piece, with the right sides together. The top edge of the smaller piece should meet up with the bottom edge of the large one. Stitch along this line. Fold the fabric down, with the right sides together, and pin it. Stitch along the two sides of the bag using a 1/2-inch seam allowance and leave a 3-4 inch opening at the bottom for turning out later on.
Step 3: Make Handles
To make the handles, cut two strips of fabric measuring 6” x 24”. Fold the strip in half longways and pin it, then stitch down the length with a 1/4-inch seam allowance. Pin each handle onto each side of the bag with the ends pointing towards the top of the bag. Stitch around each handle, making sure that it is securely attached to your bag.
Step 4: Make Pockets
To make pockets for your bag, cut two pieces of fabric measuring 11” x 7” and pin them right sides together. Then stitch along three sides with a 1/2-inch allowance. Slide the pocket piece into the bag and pin it in place. Stitch along the top of the pocket with a 1/4-inch seam allowance to secure it.

Step 5: Complete Bag Construction
Turn your bag right side out through that opening at the bottom. Topstitch around the top of your bag with a 1/4-inch seam allowance and close up the bottom opening at the same time.
The above step processes are the guide on making bucket bags. With these easy steps, you can make your own bag in no time.
Tips for How to Make Bucket Bag
- Always use the proper equipment and take safety precautions when using a sewing machine. Make sure you understand all instructions and be mindful of your surroundings.
- Use sharp scissors to cut fabric, as dull scissors can cause fraying or snags in the material.
- Wear protective gloves when handling fabrics that may contain harmful dyes or other irritants.
- Read the sewing pattern instructions carefully before beginning each step. This will help to ensure accuracy and precision in your finished product.
- Take extra care when pinning and marking the fabric for cutting, seam allowance, and pockets. Make sure everything is clearly marked before proceeding with the next step.
- Take frequent breaks while sewing to relax your hands and arms. It is important not to overwork yourself when working with a needle and thread.
- Always check the stitching of each seam for accuracy before completing the project. This will help prevent any unsightly mistakes or inaccuracies in the finished product.
Following these tips will ensure that your bucket bag project is a success.
Can You Make a Waterproof Bucket Bag?
Making a waterproof bucket bag is not impossible, but it may require some extra effort. The most important factor when making a bucket bag waterproof is to use the right materials and techniques for construction. You must choose fabrics treated with water-resistant finishes, such as waxed canvas or polyurethane-coated fabric.

Additionally, you may need to use waterproof zippers or seam sealing tape in order to block out moisture completely. The result will be a bag that is much more resistant to water and can stand up to the elements without becoming saturated.
With some extra care and effort, you can easily make a bucket bag that is both fashionable and functional. You should always be mindful of stitching and seams when constructing the bag. Ensure that your stitches are secure and tight to prevent water from seeping through.
You may also want to consider applying additional layers of waterproofing material, such as silicone or urethane, onto the underside of the fabric. This will help add an extra layer of protection against moisture and keep your bag dry.
How Do You Store Your Finished Bucket Bag?
Once you have finished your bucket bag, it is important to store it properly so that it lasts a long time and retains its shape. Staying the bag in a dust-free area out of direct sunlight is best. If you plan on storing the bag for a long period of time, make sure to stuff it with tissue paper or bubble wrap to keep it from collapsing in on itself.
Store the bag with the handles laid flat and not folded over, as this can cause damage to the straps. If you plan to store your bucket bag away for a while, make sure that all of its parts (including sewing needles and pins) are removed so that it is free of sharp objects. You can also spray the bag with a fabric protector to protect it from dirt and stains.

How Should You Care for the Bucket Bag After It is Completed?
Now that you have created your bucket bag, it is time to take care of it. Caring for the bucket bag is easy and does not require much effort. Here are some tips on how to make sure your newly-created bag stays in good condition:
- Use gentle detergents when cleaning. Avoid using harsh soaps or strong cleaning agents, as these might damage the fabric and weaken the threads.
- Hang your bag to air dry rather than putting it in a drying machine. This will help preserve the shape of the bag and prevent shrinkage.
- Use a soft brush or cloth to wipe off dust and dirt from the fabric. Avoid using any abrasive materials, as these might leave scratches on the surface of the bag.
- If you need to store your bucket bag away for a time, ensure it is in an environment with low humidity and not exposed to direct sunlight. This will prevent fading or discoloration of the material.
By following these simple steps, you can ensure that your bucket bag will remain in great condition and will be ready for use whenever you need it.
What Are Some Common Mistakes to Avoid When Making a Bucket Bag?
When creating a bucket bag, it’s important to consider the size and shape of the bag before beginning your project. It’s also important to think about how you want to close the bag, as this will affect the overall look of your creation. One common mistake when making a bucket bag is using too much fabric.
If you’re using a pattern, make sure to follow the measurements exactly so your bag won’t be too large or too small. Otherwise, it may not look as good when finished.
Another mistake is forgetting to reinforce the handles of the bag. The handles will take most of the strain and weight of whatever is in the bag, so it’s important to ensure they are sturdy enough to withstand regular use. You can do this by adding extra layers of fabric or using heavier materials like leather or canvas.
In addition, many people forget to add a lining material inside their bucket bags. This not only adds structure and stability to the bag but also helps keep the inside of the bag clean and free from dirt or spills.

Conclusion
One of the main disadvantages of making a bucket bag is that it can be quite time-consuming to create. The sewing process requires precise stitching and cutting, which can take several hours to complete. Additionally, it may take even longer if you’re not experienced with sewing bags.
In conclusion, making a bucket bag is easy and straightforward. With some basic sewing skills, you can create a functional and stylish accessory in no time! A bucket bag is great for everyday use or adds a unique twist to any outfit. Plus, once you get the hang of it, you can make them in all sorts of colors and fabrics.
I hope this article has been beneficial for learning how to make bucket bag. Make Sure the precautionary measures are followed chronologically.