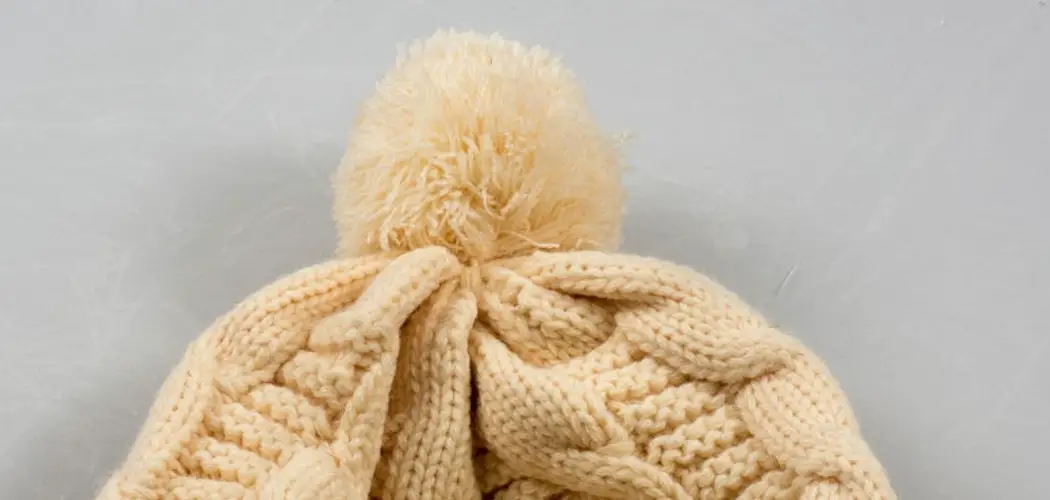
Are you looking to add a splash of color, texture, and warmth to your wardrobe? If so, beanie pom-poms are the perfect way to do just that! If you’re looking to add a pop of color or fun texture to your crafts, then making beanie pom-poms is the perfect way to go. Not only will they give your headgear a fashionable twist, but these easy-to-make crafty accessories can be used to adorn a variety of items.
So no matter if you’re interested in embellishing backpacks, hats, or knitwear – read on for all the tips and tricks on how to make beanie pom pom necessary for creating some fabulous homemade pom-poms.
From adding some extra flair to hats and headwear to giving regular items like jars and jars gift bags a cozy personality – these sweet little balls of yarn make it easy to achieve that finished look with minimal effort!
What is Beanie Pom Pom?
A beanie pom-pom is a decorative adornment made from yarn, fabric, or faux fur. It is usually attached to the top of a hat, headband, or other item to add charm and texture. These small balls of fluff are easy to make with just a few basic supplies and craft materials.
Where Can You Use Beanie Pom Pom?
1. Decorative Piece
Beanie pom-poms can be used to decorate just about anything! From headwear such as hats, beanies, and headbands to purses, keychains, backpacks, or even jars and gift bags – these crafty accessories make a great addition.
2. Accessories
Beanie pom-poms are also a great addition to your wardrobe! You can use them to adorn scarves, mittens, or even jewelry pieces to give them some extra flair and character. They’re also perfect for adding texture and color to knitted items such as sweaters and beanies.
3. Gift Wrapping
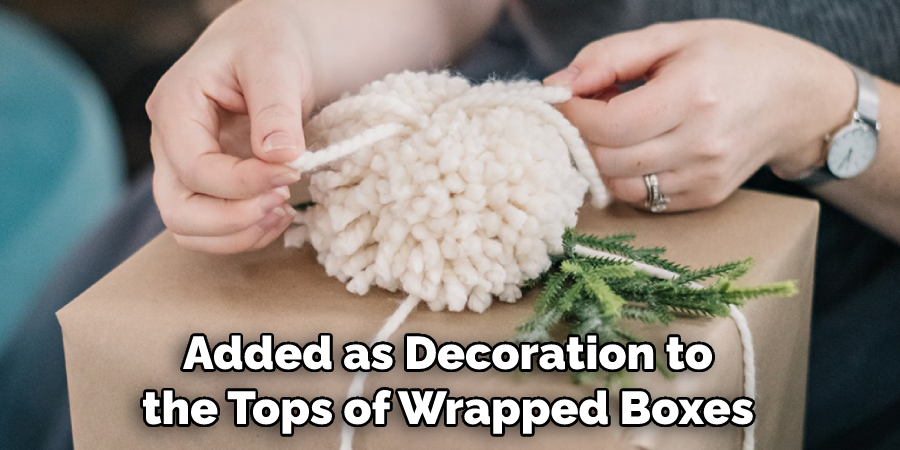
Lastly, you can use beanie pom-poms to give your gift wrapping that extra special touch! They look great tied onto the handles of gift bags or added as decoration to the tops of wrapped boxes. They also make great additions to homemade cards and scrapbook pages!
Required Items
- Yarn, fabric, or Faux fur
- Scissors
- Needle and Thread
10 Instructions on How to Make Beanie Pom Pom
1. Cutting
Cut out a piece of yarn, fabric, or faux fur in the size and shape you want your beanie pom-pom to be. If you can, try to make the piece in a circular shape. Also, make sure that the piece is larger than the size you want your finished pom-pom to be.
2. Wrapping
Start wrapping the fabric around a piece of cardboard or stiff paper, like an old magazine page. Keep wrapping until the fabric is tight and secure. Make sure to keep your wraps even so that the finished pom-pom will have a uniform look.
3. Tying
Once you’ve wrapped the fabric to your desired size, tie a piece of string around it tightly and secure it with a knot. Make sure that the string is tight so that the pom-pom won’t come undone when you’re finished.
4. Cutting
Carefully cut the fabric around the edges of the cardboard or paper with a Scissor, making sure not to cut through the string that is holding it together. Remove the cardboard or paper from inside the pom-pom and fluff out the fabric so that it takes on a ball shape.
5. Trimming
Trim any uneven edges from the pom-pom to ensure that it is neat and tidy. Make sure that you don’t accidentally cut through the string holding it together. Trim off any extra strings as well.
6. Securing
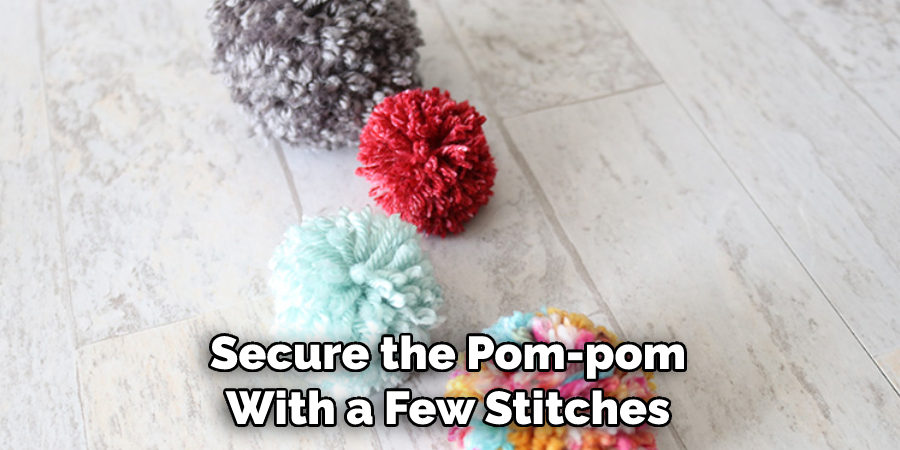
Secure the pom-pom with a few stitches to make sure it won’t come apart when you’re finished. Tie off the thread and cut any excess string that is leftover from tying it together. If you’re using faux fur, you can hand stitch the edges to secure it even more.
7. Fluffing
Fluff out the pom-pom and make sure that all of the fabric pieces are evenly dispersed. This will give your beanie pom-pom a nice and full look when it is finished. Also, make sure to fluff any other fabric pieces that may have been cut off when trimming.
8. Adding Glue
Add a dab of glue to the center of your beanie pom-pom and press it together so that all of the fabric pieces stay in place. This will help ensure that your pom-pom won’t come apart when you’re done. Glue can also be used to hold faux fur in place.
9. Finishing Touch
Finally, tie a piece of string to the top of your beanie pom-pom and use it as an adornment or decoration for whatever item you want to add it to. You can also glue small beads or charms onto the ends of the string for a more decorative look.
10. Enjoy!
You’re finished, and you have your very own beanie pom-pom! With just a few supplies, you can create your own unique accessories and decorations that will add character and style to whatever items you decide to adorn with them. Enjoy!
There you have it! These are the steps on how to make a beanie pom-pom. With just a few supplies and some time, you’ll be able to create your own unique and stylish accessories that will add character to any item they adorn.
8 Maintenance Tips for a Beanie Pom Pom
1. Make sure your beanie pom is clean and dry before wearing it to avoid any dirt or dust buildup. Dirt may cause a discoloration of the yarn. Also, keep in mind that the pom pom may lose its shape if it gets wet.
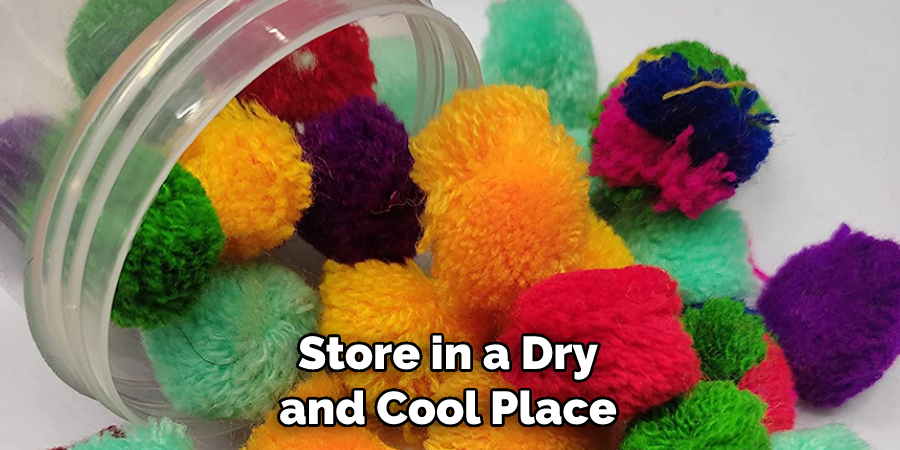
2. To preserve the shape of your beanie pom, store it separately from other items that could squish or flatten it. Store in a dry and cool place to . The shape of the pom pom can be affected by temperature and humidity.
3. When wearing a beanie with a pom pom, try to avoid areas where it could get caught in something. Avoid brushing against walls or other rough surfaces that may cause damage to the yarn material. Be aware of your surroundings when walking out in public so as to not place your beanie in a hazardous area.
4. If the pom needs to be cleaned, do so with gentle hand-washing techniques and avoid machine-washing, which could cause damage to the yarn material. Use only mild detergent and lukewarm water when washing and leave it to air dry afterward.
5. For a longer-lasting pom, avoid using it in any kind of vigorous activity such as sports or exercise. If you need to wear the beanie for outdoor activities, make sure to cover up the pom with a hat or cap so that it is protected from getting dirty or damaged.
6. To maintain the shape of your beanie pom, you can use hairspray to help keep the fibers in place. Spray a light coat over the pom pom and gently brush it with a soft-bristled brush to shape. Brush in a single direction to keep the shape of the pom pom.
7. If you need to travel with your beanie pom, always pack it in a padded bag or box and make sure it is secure inside before carrying it around. Securely packing the beanie will help prevent any damage caused by shifting and rubbing against other items in the bag.
8. To keep your beanie pom looking fresh and vibrant, use a color restorer on it occasionally to help prevent fading of colors due to frequent wear and exposure to sunlight. Always test a small area first before applying any product to the entire piece.

Make sure to follow the instructions carefully before using any color restorative products. Taking the time to properly care for your beanie pom will help keep it looking great for a longer period of time. With these tips, you’ll be able to maintain and enjoy your beanie pom for many years to come!
Conclusion
Crafting a beanie pom can be an enjoyable and creative activity that you can do with family and friends. You don’t need to worry if it’s not perfect or if it takes you a few times before getting the technique down pat. The important thing is having fun while creating something new.
Taking different materials such as yarn, fabric, or fur and experimenting with the craft project opens up opportunities for exploration.
It is also a great way to strengthen relationships with loved ones when they join in on crafting projects. Once finished, the beanie pom could make a great accessory or gift for family and friends. All you need are some supplies and tools, some patience, and your own inspiration! What unique creations will you come up with? Go ahead and give it a try. Surprise yourself with what you can create!
Follow these tips on how to make beanie pom pom and care for it so you can enjoy your project for many years to come.

