
Are you looking to add a special touch to your formal outfit? Look no further than the timeless boutonniere. This small but powerful accessory adds instant sophistication and panache to your look. But how do you create one?

While it may seem intimidating, wrapping a boutonniere is hardly rocket science — with the right supplies, some time, and patience, you’ll be able to craft the perfect piece for any occasion in no time! In this article on how to wrap a boutonniere, we’ll walk you through the steps and provide some helpful tips along the way.
What is Boutonniere?
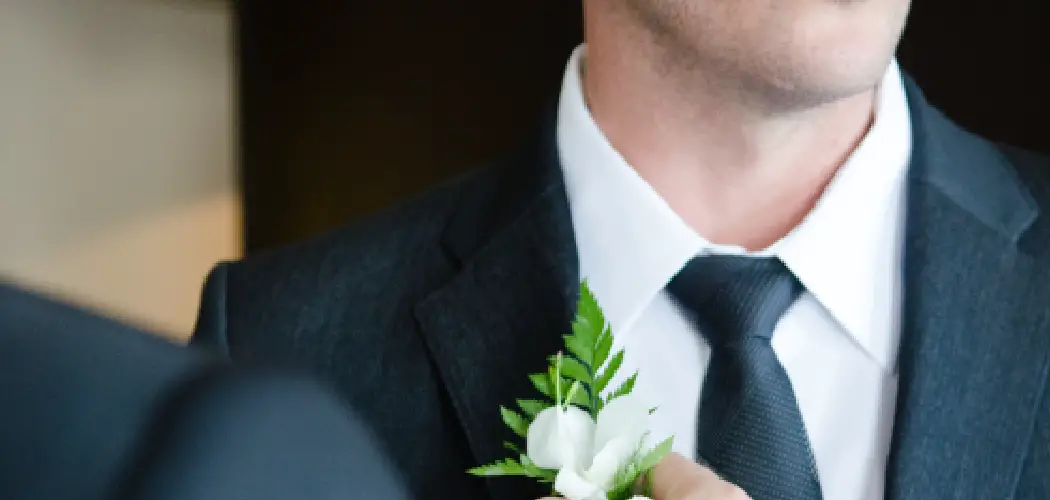
A boutonniere is a small flower, usually a rose or carnation, worn on the lapel of a suit jacket. Boutonnieres are traditionally associated with special occasions such as weddings and proms — but they can also be used to add an extra element of sophistication to any formal outfit.
It’s also not uncommon to see men wearing boutonnieres as a sign of respect at funerals. It is considered to be a timeless and elegant way of dressing up any look. This is likely why it has been a popular accessory since Victorian times. But how do you make one?
What You’ll Need
Before you get started with wrapping your boutonniere, there are a few supplies you’ll need to gather:
- Floral Tape
- Ribbon or Fabric of Your Choice
- Scissors
- Floral Stem or Pin
- Glue Gun and Glue (Optional)
10 Step-by-step Instructions on How to Wrap a Boutonniere
Step 1: Select the Ribbon or Fabric of Your Choice
The material can be anything you want, so feel free to get creative! Think about the occasion you’re attending and the look you want to achieve. It can be anything from a simple ribbon to a thick, luxurious piece of velvet fabric.
If you’re not sure what to go with, a classic grosgrain ribbon is always a safe bet. This simple yet timeless material will add a touch of elegance and sophistication to any look. But feel free to be bold and creative! Whatever you decide, make sure the material is approximately 1 ½ inch wide.

Step 2: Cut the Ribbon or Fabric
Using your scissors, cut two pieces of fabric that are slightly longer than the floral stem you’ll be using. For example, if the stem measures 3 inches in length, cut two pieces of fabric that are 4 inches in length.
It’s important to make sure the pieces are slightly longer than the stem — this will help ensure that your wrap is secure and snug. If the pieces are too short, your wrap may slip. This is also why it’s important to measure the stem carefully before cutting.
Step 3: Wrapping the Ribbon Around the Stem
Place the floral stem in between the two pieces of ribbon and then tie them together at one end with a knot. Make sure that it’s tight enough so that it doesn’t come undone. You can use floral tape to secure the knot if needed. It’s important to make sure the knot is on one side of the stem so that the other side has a sharp edge. This will help create a more structured and professional look. You can also use a glue gun to secure the ribbon if desired.
Step 4: Trim Off the Excess Ribbon
Using your scissors, trim off any excess ribbon or fabric at both ends of the stem. You want it to be even and neat so that everything looks professional when you’re done! It’s important to make sure that the edges are sharp, as this will add an extra element of sophistication to your boutonniere. But be careful not to trim off too much — you don’t want the ribbon or fabric to be too short. This is why it’s important to measure the stem before cutting.
Step 5: Secure the Ribbon with Glue (optional)
If you’d like, you can use a glue gun to secure the ribbon around the stem. This also helps make sure that it won’t come undone when you wear it. It’s important to be careful when doing this, as any excess glue can make your boutonniere look messy and unprofessional. But if done carefully, it can help create a more polished look. You can also use floral tape to secure the ribbon if desired.

Step 6: Finish with a Ribbon Bow
To complete your boutonniere, tie a bow at one end of the stem. This adds a touch of elegance and helps to keep everything in place. It’s important to make sure that the bow is tight — this will ensure your wrap stays put. You can use glue or floral tape to secure the ribbon if desired. This is also a great way to add an extra element of sophistication and style to your look. You can also use pins or clips if desired.
Step 7: Add the Floral Stem or Pin
Now, it’s time to add the finishing touches! Glue or pin a floral stem or pin onto your boutonniere. This will help to give it an even more professional look. It’s important to make sure the stem or pin is secure — you don’t want it to come undone when you wear it! You can also use floral tape if desired. But be careful not to glue or pin the stem too tightly — you don’t want it to rip off when you wear it.
Step 8: Allow the Boutonniere to Dry
Let the boutonniere dry completely before wearing it. If you’ve used a glue gun, make sure that all of the pieces are securely attached and that all of the glue has dried completely.
If you’ve used floral tape, make sure it has been secured tightly. You don’t want your wrap to come undone when you wear it! But if done correctly, your boutonniere should last for years to come. It’s important to take your time and make sure that everything is secure before you wear it.
Step 9: Secure the Boutonniere to Your Outfit
Now that your boutonniere is complete, you’ll need to secure it onto your outfit. You can use a safety pin or double-sided tape. Make sure that everything is securely fastened and won’t come undone throughout the day. Otherwise, it will look messy and unprofessional.
It’s important to take your time when attaching the boutonniere — you don’t want it to rip or come undone during the day. You can also use glue or pins if desired.

Step 10: Enjoy!
You did it! Now you can enjoy your beautiful, homemade boutonniere. Wear it with pride and confidence knowing that you created something truly special. Always remember that a boutonniere is the perfect way to add some sophistication and style to any outfit.
It’s also a great way to express yourself and show off your creative side. So enjoy wearing it and remember: you did an amazing job! This is something you can be proud of.
Now that you know how to wrap a boutonniere, why not try creating one for yourself? It’s a great way to add a unique touch to any formal ensemble. With the right supplies and time, you’ll be able to craft the perfect piece for any occasion. Have fun and happy crafting!
Frequently Asked Questions
Q: What Kind of Ribbon Should I Use to Wrap the Boutonniere?
A: When it comes to wrapping a boutonniere, you have many options. You can choose from classic grosgrain ribbon, velvet fabric, or even organza for a more delicate look.
It’s important to choose a material that will be strong enough to hold the stem in place and won’t slip throughout the day. Consider your outfit, color scheme, and budget when deciding what kind of ribbon or fabric to use. Whatever you decide, make sure it complements your look!
Q: How Do I Make Sure the Wrap Stays Secure?
A: The best way to make sure your wrap stays secure is by using a glue gun and/or floral tape. Both of these materials will help keep everything in place and make sure it won’t come undone throughout the day. You can also use pins or clips if desired. Just make sure that whatever you use is secure enough so that it won’t come undone.
Q: What Else Can I Use to Secure the Wrap?
A: You can use a variety of items to make sure your wrap stays in place. Glue guns are great for this purpose, as they provide a strong hold and don’t require any additional tools. You can also use pins or clips if desired.
If you’d like a more delicate look, you can use floral tape to secure the wrap. But make sure that whatever you use is strong enough to hold the stem in place and won’t slip throughout the day.

Q: What Else Can I Add to My Boutonniere?
A: If you’d like, you can add a few extra embellishments to your boutonniere. A few pieces of decorative fabric or ribbon can help to give it an even more sophisticated look. You can also use small items such as beads or charms for an extra touch of sparkle and shine. Just make sure that whatever you use is securely fastened and won’t come undone throughout the day.
Conclusion
With a bit of practice, every aspiring florist or floral arranger can learn how to elegantly and artfully wrap a boutonniere in no time. By following these steps on how to wrap a boutonniere carefully, you will be one step closer to creating beautiful pieces and satisfied customers. With this newfound knowledge, you’ll be able to share your expertise to help others create wonderful works of art. Why not take the opportunity today and start wrapping your own boutonniers?
Who knows, you might just discover that it’s easier than you think and even gain some satisfaction from it! So give it a try – go out there and impress with creative bouts. Let’s get started and make something amazing!